As healthcare technology advances, secure real-time communication is becoming increasingly crucial to any modern healthcare application. It's essential to provide the technology experiences patients expect while protecting their privacy and healthcare data. Chat messages often contain protected health information (PHI), so you must consider end-to-end encryption when building chat into your application.
In this tutorial, we will walk through how to create a full, end-to-end encrypted chat solution using Stream Chat combined with Virgil Security. These two services allow developers to integrate chat that is HIPAA compliant by protecting PHI and patient communications. The application embeds Virgil Security's eThree Kit with Stream Chat React's components. All source code for this application is available on GitHub.
Both Stream Chat and Virgil make it easy to build a solution with excellent security with all the features you expect.
End-to-end encryption means that they can only read messages sent between two people. To do this, the message is encrypted before it leaves a user's device, and can only be decrypted by the intended recipient.
Virgil Security is a vendor that will enable us to create end-to-end encryption via public/private key technology. Virgil provides a platform and JavaScript SDK that will enable us to create, store, and offer robust end-to-end secure encryption.
During this tutorial, we will create a Stream Chat app that uses Virgil's encryption to prevent anyone except the intended parties from reading messages. No one in your company, nor any cloud provider you use, can read these messages. Even if a malicious person gained access to the database containing the messages, all they would see is encrypted text, called ciphertext.
To build this application, we're going to rely on three libraries, Stream React Chat, Virgil SDK and Virgil Crypto. Our final product will encrypt text in the browser before sending a message. Decryption and verification will both happen in the receiver's browser.
To accomplish this, the app performs the following steps:
- A user authenticates with your backend.
- The user's app requests a Stream auth token and api key from the backend. The browser creates a Stream Chat Client for that user.
- The user's app requests a Virgil auth token from the backend and registers with Virgil. This generates their private and public key. The private key is stored locally, and the public key is stored in Virgil.
- Once the user decides who they want to chat with the app creates and joins a Stream Chat Channel.
- The app asks Virgil for receiver's public key.
- The user types a message and sends it to stream. Before sending, the app passes the receiver's public key to Virgil to encrypt the message. The message is relayed through Stream Chat to the receiver. Stream receives ciphertext, meaning they can never see the original message.
- The receiving user decrypts the sent message using Virgil. When the message is received, app decrypts the message using the Virgil and this is passed along to Stream's React components. Virgil verifies the message is authentic by using the sender's public key.
This looks intimidating, but luckily Stream and Virgil do the heavy lifting for us. As a developer using these services, our responsibility is to wire them together correctly.
The code is split between the React frontend contained in the frontend folder
and the Express (Node.js) backend is found in the backend folder. See the
README.md in each folder to see installing and running instructions. If you'd
like to follow along with running code, make sure you get both the backend and
frontend running before continuing.
Let's walk through and look at the important code needed for each step.
Basic knowledge of React and Node.js is required to follow this tutorial. This code is intended to run locally on your machine.
You will need an account with Stream
and Virgil. Once you've created
your accounts, place your credentials in backend/.env. You can use
backend/.env.example as a reference for what credentials are required.
This tutorial uses the following package versions:
- Node 11.14.0
- Yarn 1.17.0
- Stream Chat 0.13.3
- Stream Chat React 0.6.26
- Virgil Crypto 3.2.0
- Virgil SDK 5.3.0
- Virgil e3Kit 0.5.3
- Express 4.17.1
Except for node and yarn, all of these dependencies are declared in
backend/package.json and frontend/package.json.
For our React frontend to interact with Stream and Virgil, the application provides three endpoints:
-
POST /v1/authenticate: This endpoint generates an auth token that allows the React frontend to communicate with/v1/stream-credentialsand/v1/virgil-credentials. To keep things simple, this endpoint allows the client to be any user. The frontend tells the backend who it wants to authenticate as. In your application, this should be replaced with your API's authentication endpoint. -
POST /v1/stream-credentials: This returns the data required for the React app to establish a session with Stream. In order return this info we need to tell Stream this user exists and ask them to create a valid auth token:// backend/src/controllers/v1/stream-credentials.js exports.streamCredentials = async (req, res) => { const data = req.body; const apiKey = process.env.STREAM_API_KEY; const apiSecret = process.env.STREAM_API_SECRET; const client = new StreamChat(apiKey, apiSecret); const user = Object.assign({}, data, { id: `${req.user.sender}`, role: 'admin', image: `https://robohash.org/${req.user.sender}`, }); const token = client.createToken(user.id); await client.updateUsers([user]); res.status(200).json({ user, token, apiKey }); }
The response payload has this shape:
{ "apiKey": "<string>", "token": "<string>", "user": { "id": "<string>", "role": "<string>", "image": "<string>" } }apiKeyis the stream account identifier for your Stream instance. Needed to identify what account your frontend is trying to connect with.tokenJWT token to authorize the frontend with Stream.user: This object contains the data that the frontend needs to connect and render the user's view.
-
POST /v1/virgil-credentials: This returns the authentication token used to connect the frontend to Virgil. We use the Virgil Crypto SDK to generate a valid auth token for us:// backend/src/controllers/v1/virgil-credentials.js const virgilCrypto = new VirgilCrypto(); const generator = new JwtGenerator({ appId: process.env.VIRGIL_APP_ID, apiKeyId: process.env.VIRGIL_KEY_ID, apiKey: virgilCrypto.importPrivateKey(process.env.VIRGIL_PRIVATE_KEY), accessTokenSigner: new VirgilAccessTokenSigner(virgilCrypto) }); exports.virgilCredentials = async (req, res) => { const virgilJwtToken = generator.generateToken(req.user.sender); res.json({ token: virgilJwtToken.toString() }); };
In this case, the frontend only needs the auth token.
Now that we have our backend set up and running, it is time to authenticate with the backend. If you're running the application, you'll be presented with a screen like so:
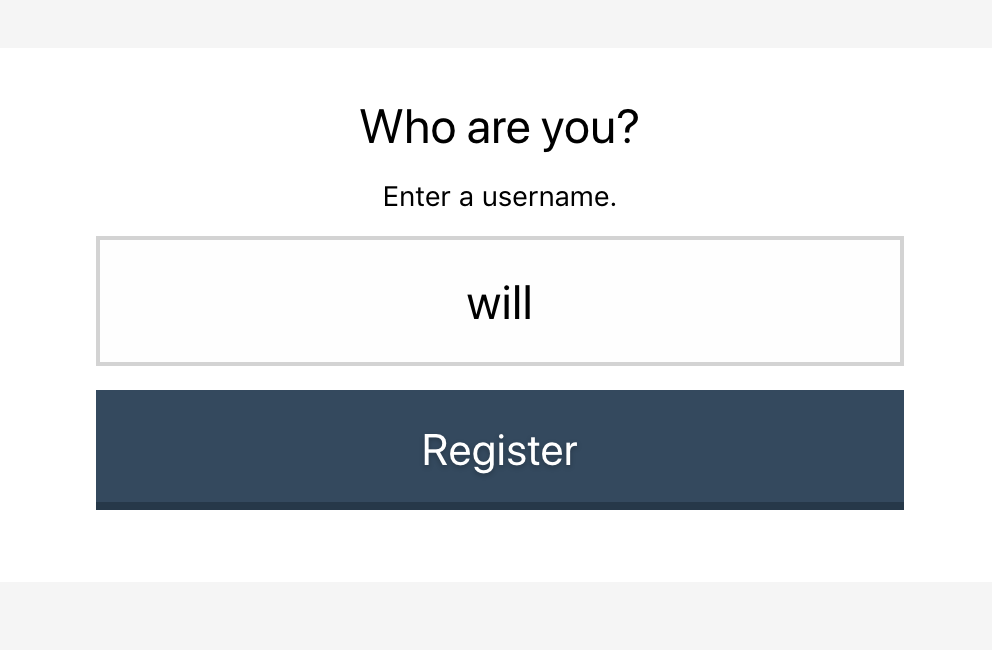
This is a simple React form that takes the provided input, stores it in the
state as sender, and uses that information to authenticate against the
backend:
// frontend/src/StartChat.js
post("http://localhost:8080/v1/authenticate", { sender: this.state.sender })
  .then(res => res.authToken)
  .then(this._connect);
Once we have created an sender identity with an auth token, we can connect to Stream and Virgil.
Using the credentials from Step 1, we can request Stream credentials from the backend. Using those we connect our frontend client to Stream:
// frontend/src/StartChat.js
const response = await post("http://localhost:8080/v1/stream-credentials", {}, backendAuthToken);

const client = new StreamChat(response.apiKey);
client.setUser(response.user, response.token);
This initializes the StreamChat object from the Stream Chat React library
and authenticates a user using the token generated in the backend.
Once again, using the credentials acquired in
Step 1 we ask the backend to generate
a Virgil auth token. Using this token we initialize the EThree object from
Virgil's e3kit library:
// frontend/src/StartChat.js
const response = await post("http://localhost:8080/v1/virgil-credentials", {}, backendAuthToken);
const eThree = await EThree.initialize(() => response.token);
await eThree.register();Once we're connected to both Stream and Virgil, we're ready to start chatting with someone. After you've clicked "Register" in the tutorial app, you'll see a screen like this:
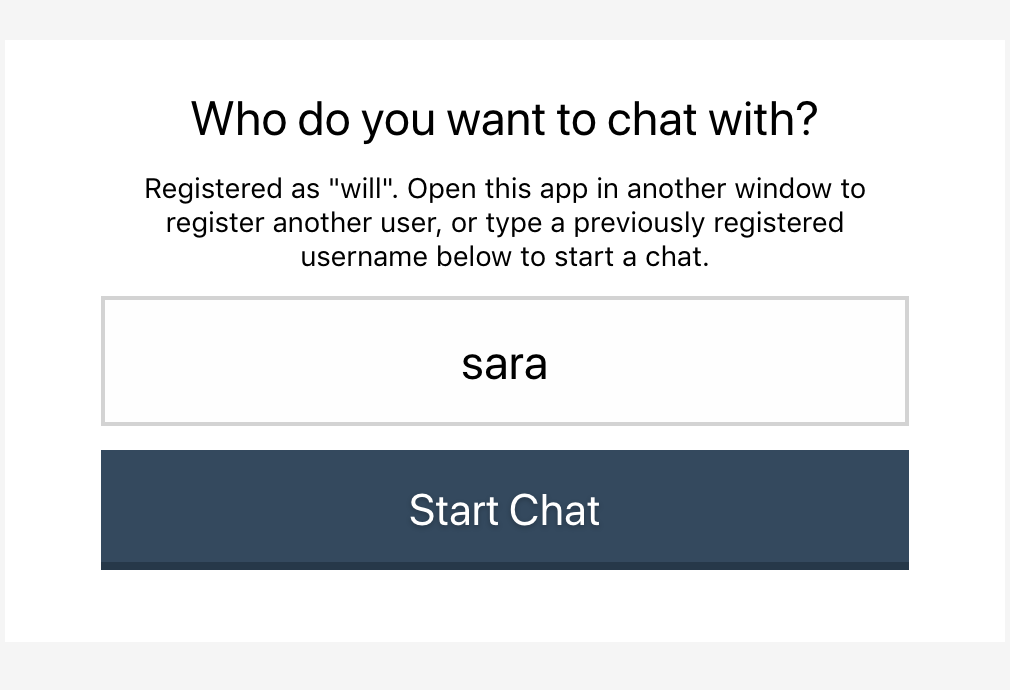
This form asks for the identity of the user you want to chat with. If they have
registered in another browser window, we can create a Stream Chat Channel
that's private to those two members:
// frontend/src/StartChat.js
let members = [this.state.sender, this.state.receiver];
members.sort();

const channel = this.state.stream.client.channel('messaging', {
  image: `https://getstream.io/random_svg/?id=rapid-recipe-0&name=${members.join("+")}`,
  name: members.join(", "),
  members: members,
});
The client we're accessing in the state is the one created in
Step 2. Calling .channel will create or
join a unique channel based on the identities of the members. Only those two
members will be allowed in. However, this is not enough to protect Stream or
others from viewing those users' messages.
In order to encrypt a message before sending it through a Stream channel, we need to look up the receiver's public key:
// frontend/src/StartChat.js
const publicKeys = await this.state.virgil.eThree.lookupPublicKeys([this.state.sender, this.state.receiver]);
The eThree instance in our state is from
Step 3. Assuming that the sender's identity
is will and the receiver's identity is sara, this returns an object that
looks like:
{
  will: {/* Public Key Info */},
  sara: {/* Public Key Info */}
}
Since we need to decrypt received own messages for display, and for convenience, we ask for both public keys at the same time.
We have everything we need to send a secure, end-to-end encrypted message via Stream. Time to chat! First, we need to show the user the chat room:
// frontend/src/App.js
<Chat client={this.state.stream.client} theme={'messaging light'}>
<Channel channel={this.state.stream.channel}>
<Window>
<ChannelHeader/>
<MessageList Message={this._buildMessageEncrypted}/>
<MessageInputEncrypted virgil={this.state.virgil} channel={this.state.stream.channel}/>
</Window>
<Thread/>
</Channel>
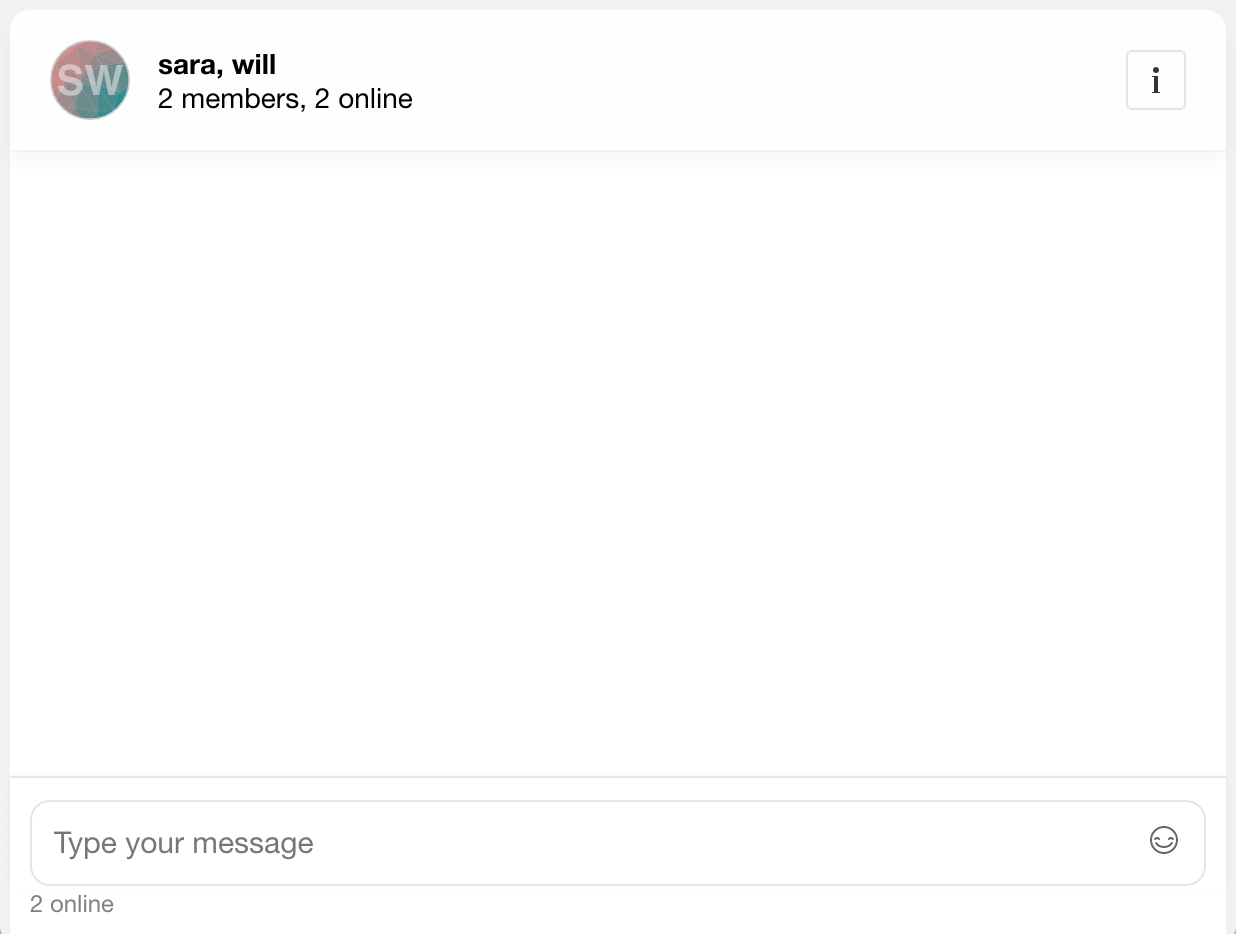
</Chat>This renders the Stream React Chat component that creates a great out-of-the box experience for our users. If you're following along you'll see this:
Notice the line where we include our custom class MessageInputEncrypted. This
component uses the sender's public key from Virgil to encrypt, then wrap, a
Stream React MessageInput component before sending the message over the Stream
channel:
// frontend/src/MessageInputEncrypted.js
export class MessageInputEncrypted extends PureComponent {
sendMessageEncrypted = async (data) => {
const encryptedText = await this.props.virgil.eThree.encrypt(data.text, this.props.virgil.publicKeys);
await this.props.channel.sendMessage({
...data,
text: encryptedText
});
};
render = () => {
const newProps = {
...this.props,
sendMessage: this.sendMessageEncrypted
};
return <MessageInput {...newProps} />
}
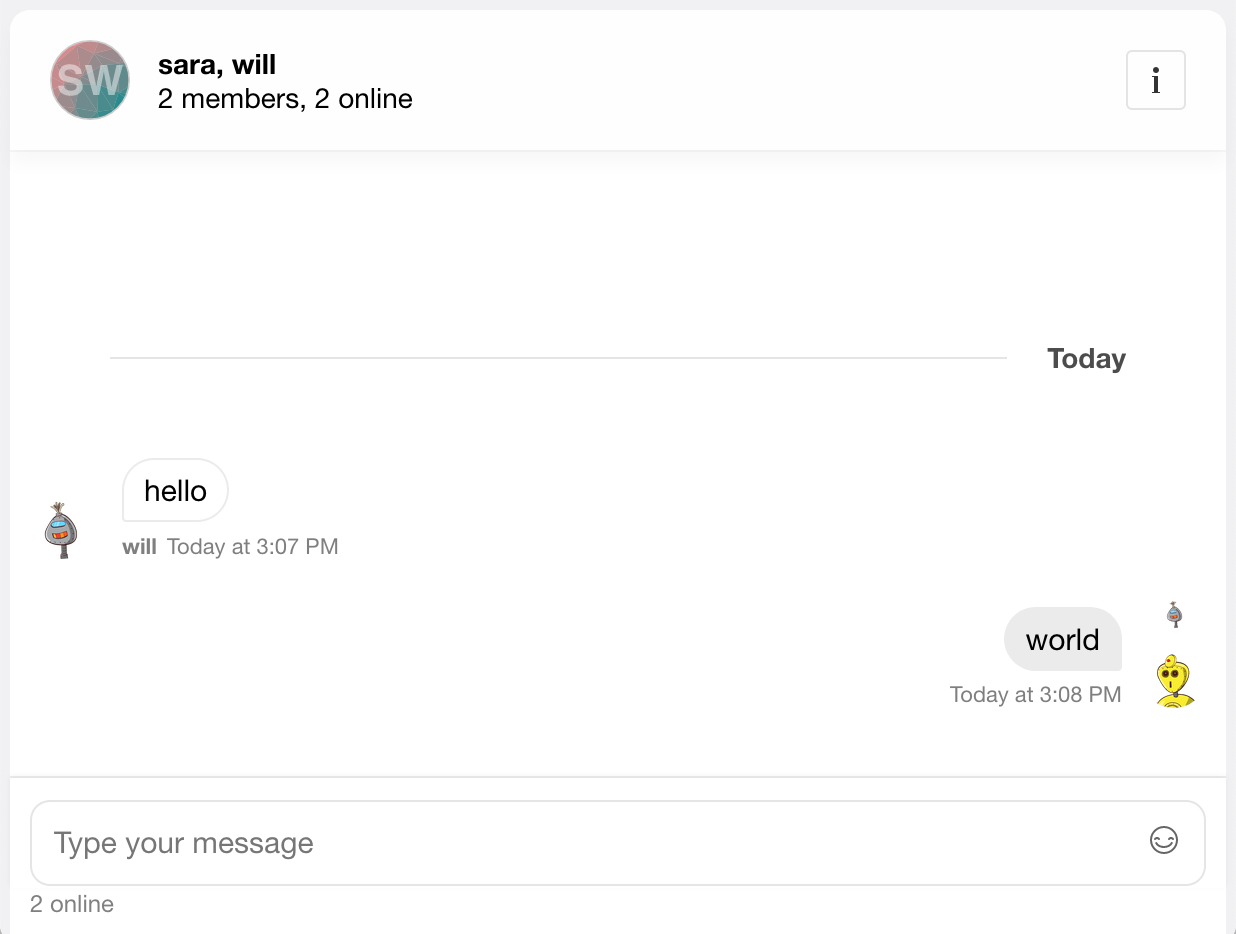
}Now all Stream will see is the ciphertext!
The last thing to do is decrypt the sender's message on the receiver's side. Assuming you've gone through chat room setup you will see:
To decrypt the message we follow a similar pattern to
Step 6. If you look
at how we create the MessageList you'll see a custom Message component
called MessageEncrypted:
// frontend/src/App.js
<MessageList Message={this._buildMessageEncrypted}/>
Since we need to provide decryption props to add props for decryption
to our custom Message component, we add them to the props passed by the
Stream React:
// frontend/src/App.js
_buildMessageEncrypted = (props) => {
  const newProps = {
    ...props,
    sender: this.state.sender,
    receiver: this.state.receiver,
    virgil: this.state.virgil
  };
  return <MessageEncrypted {...newProps}/>
};
Once we have the props we need, we can decrypt each message:
// frontend/src/MessageEncrypted.js
export class MessageEncrypted extends PureComponent {
  _isMounted = false;

  constructor(props) {
    super(props);
    this.state = { decryptedText: null };
  }

  componentDidMount = () => {
    this._isMounted = true;
    this._decryptText()
      .then(
        (decryptedText) => {
          if (this._isMounted) {
            this.setState({ decryptedText });
          }
        }
      );
  };

  componentWillUnmount = () => {
    this._isMounted = false;
  };

  _decryptText = async () => {
    const messageCreator = this.props.isMyMessage(this.props.message) ? this.props.sender : this.props.receiver;
    return this.props.virgil.eThree.decrypt(
      this.props.message.text,
      this.props.virgil.publicKeys[messageCreator]
    );
  };

  render = () => {
    const newProps = {
      ...this.props,
      message: {
        ...this.props.message,
        text: this.state.decryptedText || ""
      }
    };

    return <MessageSimple {...newProps} />
  }
}
This class decrypts the message before rendering the MessageSimple component
from Stream Chat React. To do this, we first determine if the message is
actually our message with Stream's .isMyMessage. We then find the correct
public key and ask Virgil to decrypt it. Once that's done, we can pass the key
along with the rest of the props to the Stream's MessageSimple component.
The _isMounted flag prevents updating the component after the message
has been decrypted. This can occur if you're scrolling quickly, or upon page load
when there's lots of messages.
This tutorial is intended to get you up and running as fast as possible. Because of this, some critical functionality may be missing from your application. Here are some tips for what to do next with your app.
- Build real user registration and protect identity registration. This tutorial simplified registration and retrieving valid tokens to interact with Stream and Virgil.
- Backup user's private keys to restore sessions and for multiple devices. Using
Virgil's
eThree.backupPrivateKey(pwd)will securely store the private key for restoration on any device. - Integrate user image and file uploads. This functionality is hidden in this app via CSS. You can look at hooking into Stream React Chat's MessageInput or use as a jumping off point to build your own chat widget.