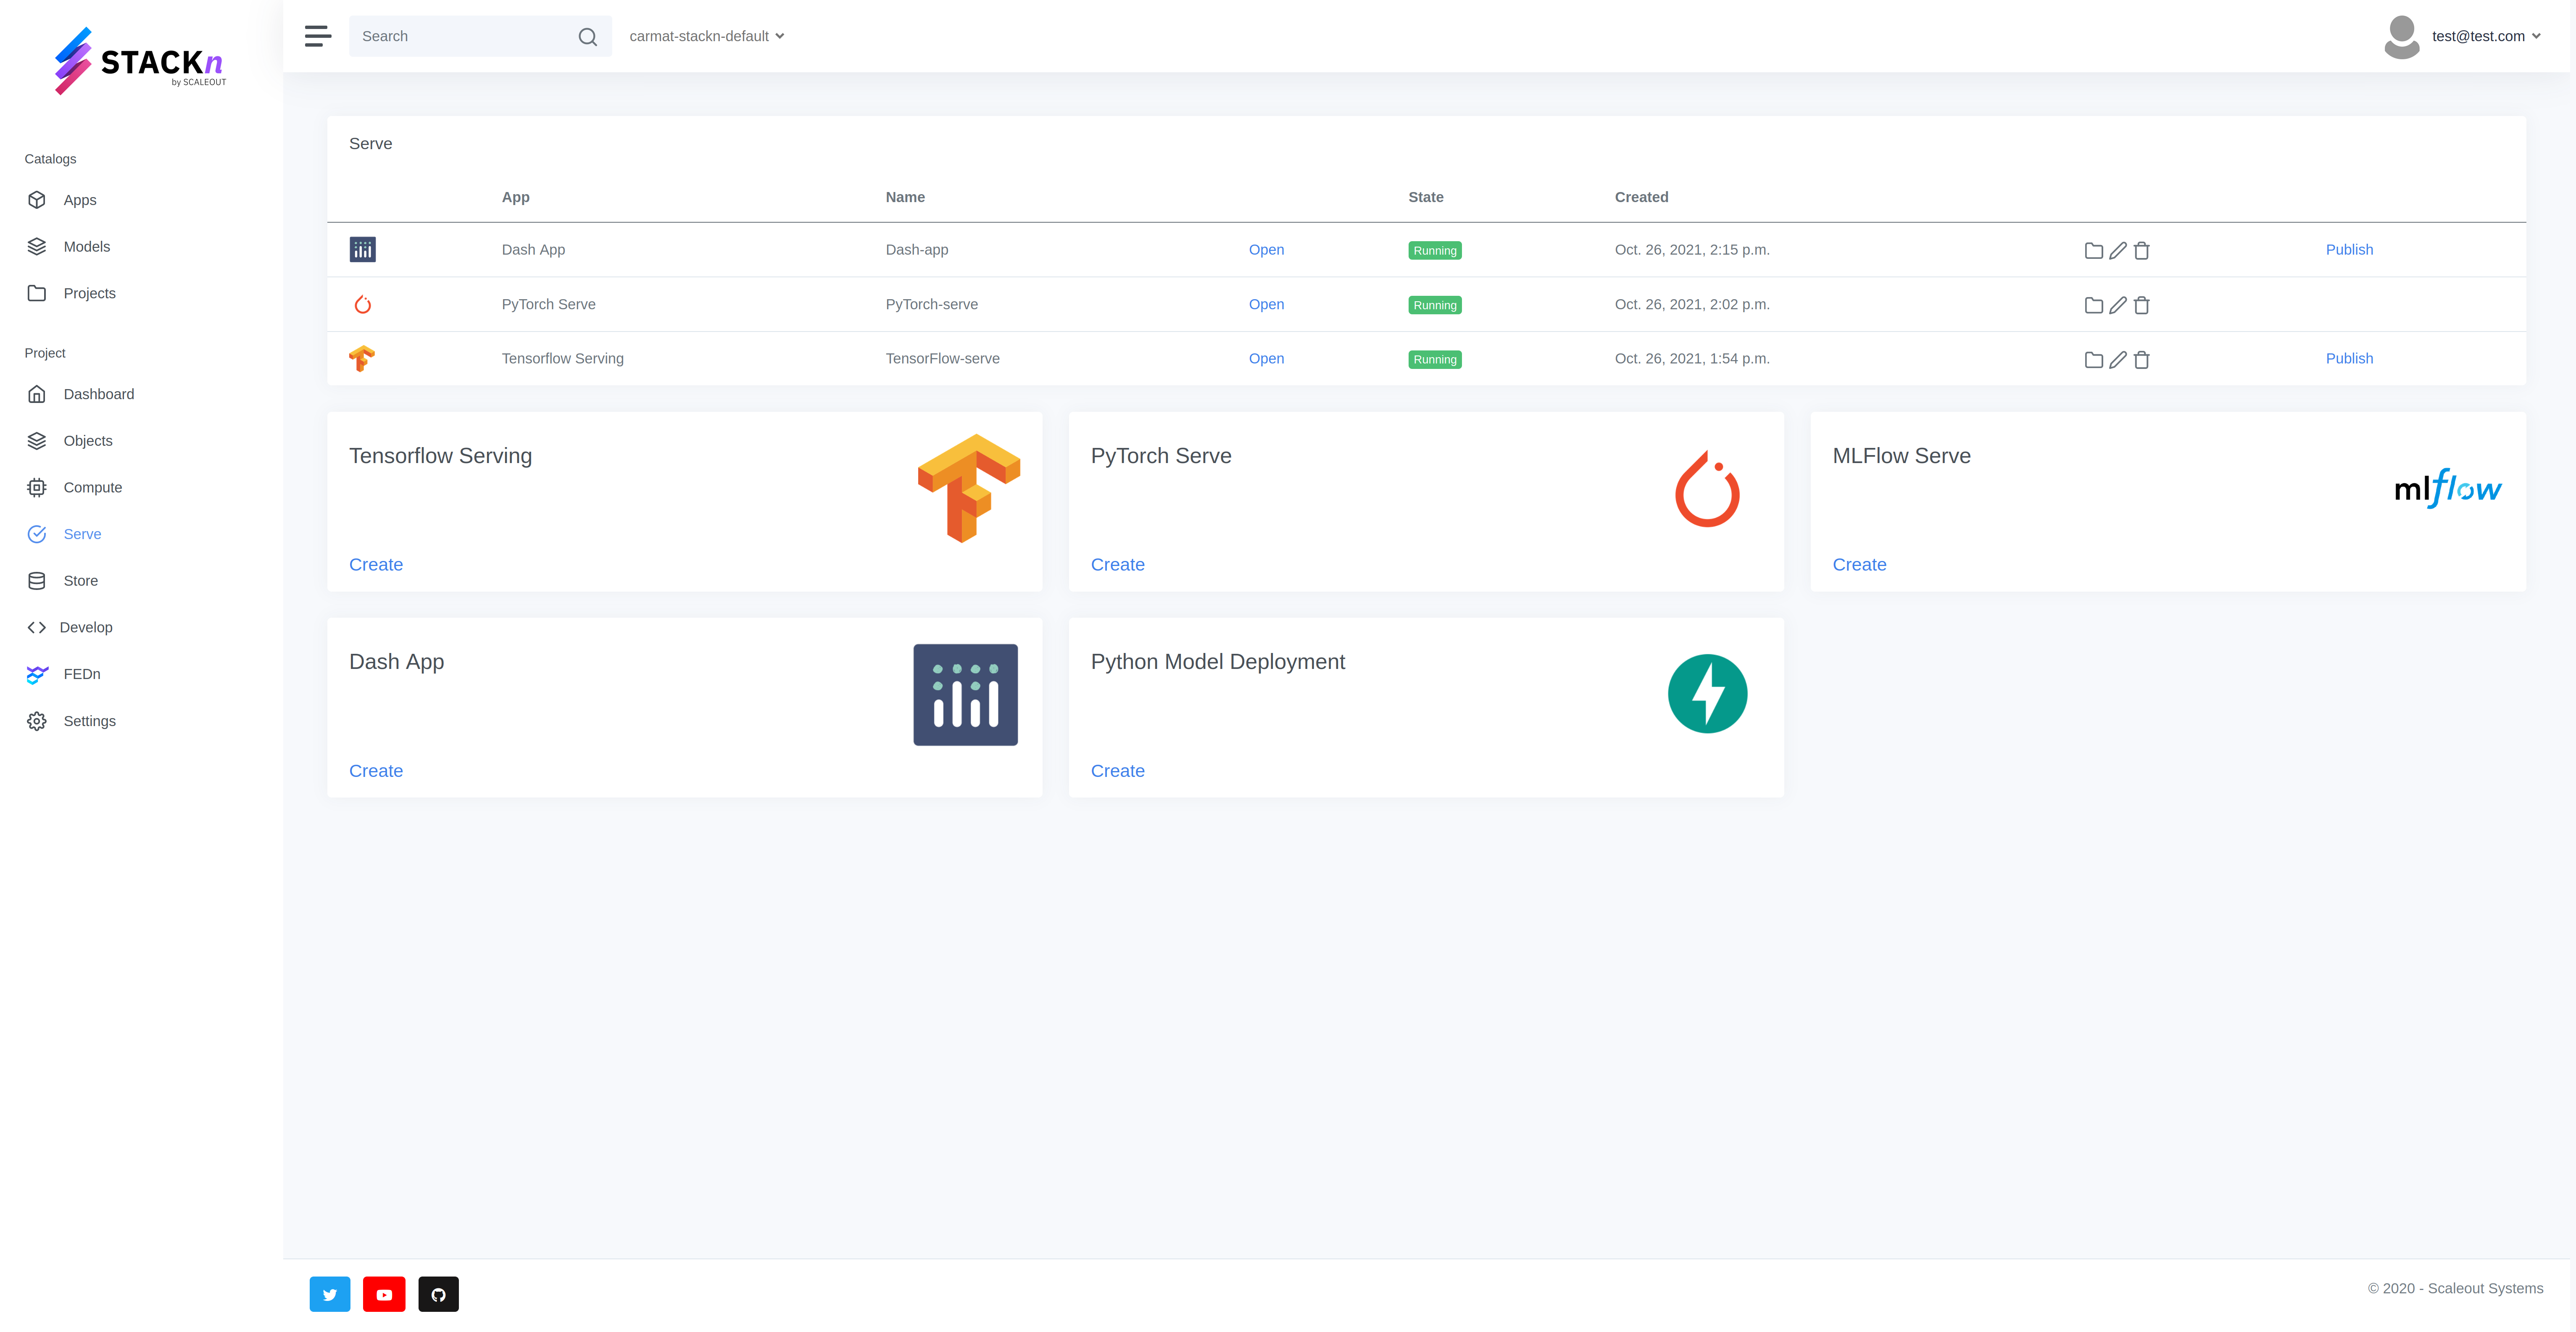
STACKn is a machine learning platform that lets data scientist collaborate on projects where they can share datasets, work in various development environments, and deploy and serve trained models and analytics apps without worrying about DevOps.
With an intuitive web UI, users can create private or shared projects in which various data science applications can be deployed, such as
- Dataset: project storage volumes, object stores, and databases for storing and sharing datasets.
- Environments and apps: Jupyter notebooks, VSCode, MLFlow etc. for experimentation and training models with pre-configured data science environments.
- STACKn Models: enables trained models to be deployed and served using tools such as Tensorflow Serving, PyTorch Serve and MLFlow Serve, which in turn enables deployment of analytics apps and custom UIs using served model endpoints (Dash, Flask etc).
STACKn has been designed to be highly customizable (but comes packaged with the most widely used applications) and cloud agnostic. STACKn deployments can be configured on any infrastructure that implements the Kubernetes API, and is packaged using Helm charts.
STACKn also integrates FEDn, a framework for federated machine learning which enables collaborative projects between stakeholders where data cannot be shared due to private, regulatory or practical reasons.
This deployment is for quick testing on Debian/Ubuntu and will not require any TLS certificates. For a production deployment, please see the documentation.
- Install microk8s
sudo snap install microk8s --classic- Add user to microk8s group and give permissions to the k8s config folder
sudo usermod -a -G microk8s $USER
sudo chown -f -R $USER ~/.kube
newgrp microk8s
- Enable extensions
microk8s.enable dns rbac ingress storage
- If kubectl is installed on host add cluster config to kubectl config
microk8s config >> ~/.kube/config
- Finally, install the latest version of Helm since microk8s is usually not packaged with the latest Helm version. Follow the instructions here
- Clone Helm chart repo for STACKn
git clone https://github.com/scaleoutsystems/charts.git
- A template file for values.yaml can be found in “charts/scaleout/stackn” Please make sure to follow the instructions that you will find at the beginning of this file in order to set some required values, such as:
-
StorageClass for microk8s is “microk8s-hostpath”
-
Search and replace all occurrences of
<your-domain.com>with your local IP domain. It can be useful to use a wildcard dns such as nip.io. For example, if your local IP is 192.168.1.10 then the<your-domain.com>field becomes192.168.1.10.nip.io -
Set
oidc.verify_ssl = false, this will enable insecure options (without certificates) -
Setting passwords are optional, but we recommend setting
global.studio.superUserandglobal.studio.superUserPasswordsince these are required in step 6., if these are left blank passwords will be auto generated. -
Copy your kubernetes cluster config and paste it in the values.yaml under the
cluster_configfield. Your kubernetes config file should be locate under the path$HOME/.kube; otherwise if you have followed this tutorial and used microk8s, then run the command:
microk8s config
- After the
values.yamlis set, install STACKn via helm. This will take several minutes:
helm install stackn charts/scaleout/stackn -f values.yaml
Note: Instead of directly using the values.yaml file, one could make a copy out of it and use that. For instance:
cp values.yaml my-values.yaml
vim my-values.yaml # perform all the necessary changes
helm install stackn charts/scaleout/stackn -f my-values.yaml- Go to studio in your browser: (for example
studio.stackn.192.168.1.10.nip.io)
https://studio.<your-domain.com>
-
Register a new user. Press "sign in"
-
Go to django admin page:
https://studio.<your-domain.com>/admin
-
Sign in with the superuser which was set in helm values (<global>.studio.superUser and <global>.studio.superUserPassword). If these values were omitted, the password can be found in the Secret "stackn" and superUser is by default "admin".
-
Go to "Users" tab and click on the user you created earlier.
-
Give the user all permission (superuser, staff), then “save”.
- Clone this repository
git clone https://github.com/scaleoutsystems/stackn.git
- Install STACKn CLI
cd stackn/cli
sudo python3 setup.py install
- Login with the user (which you created in studio)
stackn login -u <user-email> -p <password> --insecure --url studio.<your-domain.com>
- Install the project templates.
cd ../../projecttemplates/default
stackn create projecttemplate --insecure
cd ../fedn-mnist/
stackn create projecttemplate --insecure
5 . Install apps
cd ../../apps
stackn create apps --insecure
Open studio in your browser and create a new project. Here are tutorials to get you started! Happy STACKning!
STACKn is used in various places, examples include SciLifeLab Data Center and within the EU-funded project EOSC-Nordics.
Scaleout Systems AB is the main contributing organization behind this project.
- Morgan Ekmefjord
- Fredrik Wrede
- Matteo Carone
THE SOFTWARE IS PROVIDED "AS IS", WITHOUT WARRANTY OF ANY KIND, EXPRESS OR IMPLIED, INCLUDING BUT NOT LIMITED TO THE WARRANTIES OF MERCHANTABILITY, FITNESS FOR A PARTICULAR PURPOSE AND NONINFRINGEMENT. IN NO EVENT SHALL THE AUTHORS OR COPYRIGHT HOLDERS BE LIABLE FOR ANY CLAIM, DAMAGES OR OTHER LIABILITY, WHETHER IN AN ACTION OF CONTRACT, TORT OR OTHERWISE, ARISING FROM, OUT OF OR IN CONNECTION WITH THE SOFTWARE OR THE USE OR OTHER DEALINGS IN THE SOFTWARE.
See LICENSE for details.


