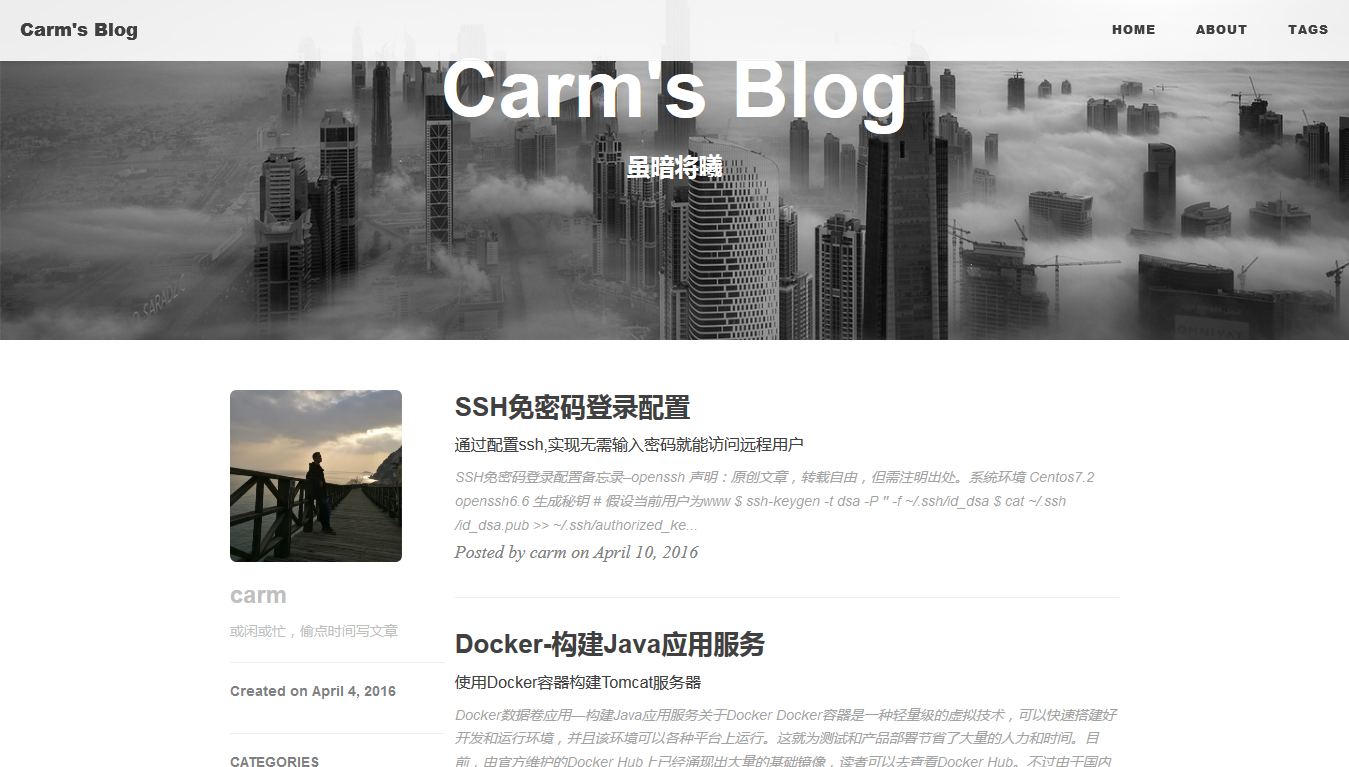
如果你安装了jekyll,那你只需要在命令行输入jekyll serve就能在本地浏览器预览主题。你还可以输入jekyll serve --watch,这样可以边修改边自动运行修改后的文件。
你可以通用修改 _config.yml文件来轻松的开始搭建自己的博客:
# Site settings
title: Carm Blog             # 你的博客网站标题
SEOTitle: Carm Blog			# 在后面会详细谈到
description: "Cool Blog"    # 随便说点,描述一下

# SNS settings
github_username: ***     # 你的github账号
weibo_username: ***     # 你的微博账号,底部链接会自动更新的。

# Build settings
# paginate: 10              # 一页你准备放几篇文章
Jekyll官方网站还有很多的参数可以调,比如设置文章的链接形式...网址在这里:Jekyll - Official Site 中文版的在这里:Jekyll中文.
要发表的文章一般以markdown的格式放在这里_posts/,你只要看看这篇模板里的文章你就立刻明白该如何设置。
yaml 头文件长这样:
---
layout:     post
title:      "Hello 2015"
subtitle:   "Hello World, Hello Blog"
date:       2015-01-29 12:00:00
author:     "carm"
header-img: "img/post-bg-2015.jpg"
tags:
    - Life
---
设置是在 _config.yml文件里面的Sidebar settings那块。
# Sidebar settings
sidebar: true  #添加侧边栏
sidebar-about-description: "简单的描述一下你自己"
sidebar-avatar: /img/avatar-***.jpg     #你的大头贴,请使用绝对地址.
侧边栏是响应式布局的,当屏幕尺寸小于992px的时候,侧边栏就会移动到底部。具体请见bootstrap栅格系统 http://v3.bootcss.com/css/
Mini-About-Me 这个模块将在你的头像下面,展示你所有的社交账号。这个也是响应式布局,当屏幕变小时候,会将其移动到页面底部,只不过会稍微有点小变化,具体请看代码。
看到这个网站 Medium 的标签云非常的炫酷,所有我在将他加了进来。 这个模块现在是独立的,可以呈现在所有页面,包括主页和发表的每一篇文章标题的头上。
# Featured Tags
featured-tags: true
featured-condition-size: 1     # A tag will be featured if the size of it is more than this condition value
唯一需要注意的是featured-condition-size: A tag will be featured if the size of it is more than this condition value.
内部有一个条件模板 {% if tag[1].size > {{site.featured-condition-size}} %} 是用来做筛选过滤的.
好友链接部分。这会在全部页面显示。
设置是在 _config.yml文件里面的Friends那块,自己加吧。
# Friends
friends: [
    {
        title: "Foo Blog",
        href: "http://foo.github.io/"
    },
    {
        title: "Bar Blog",
        href: "http://bar.github.io"
    }
]
