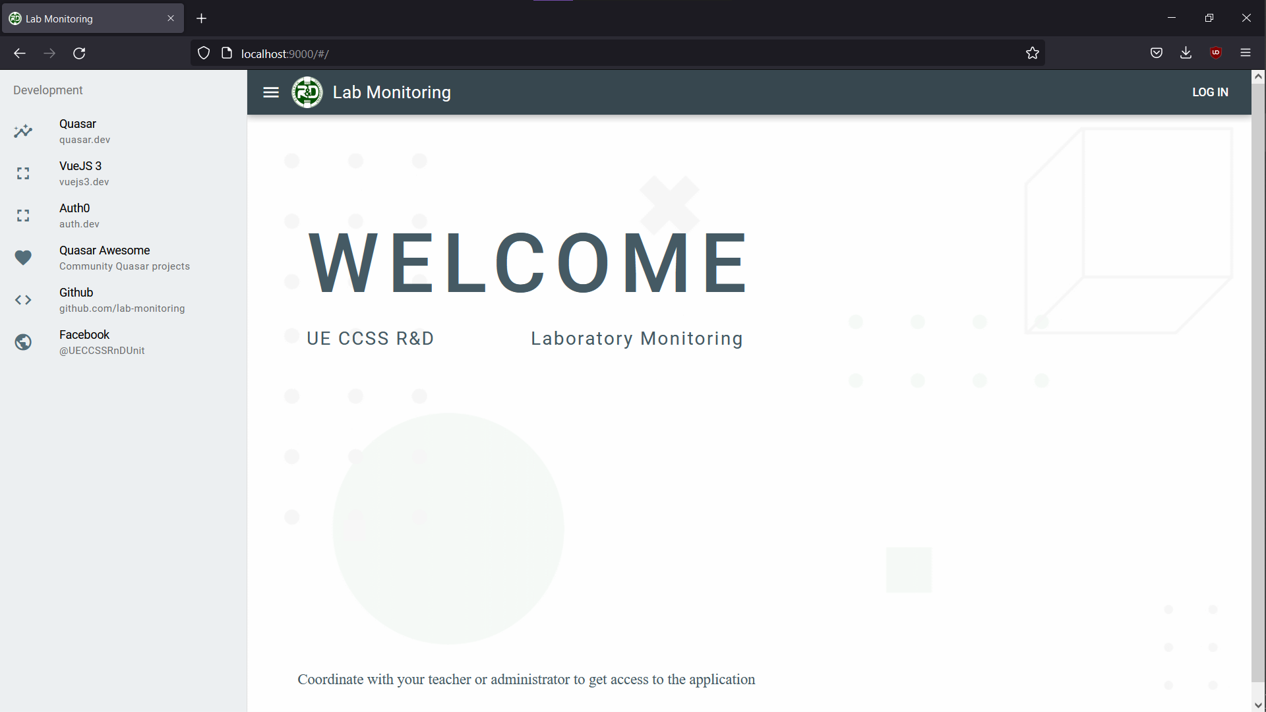
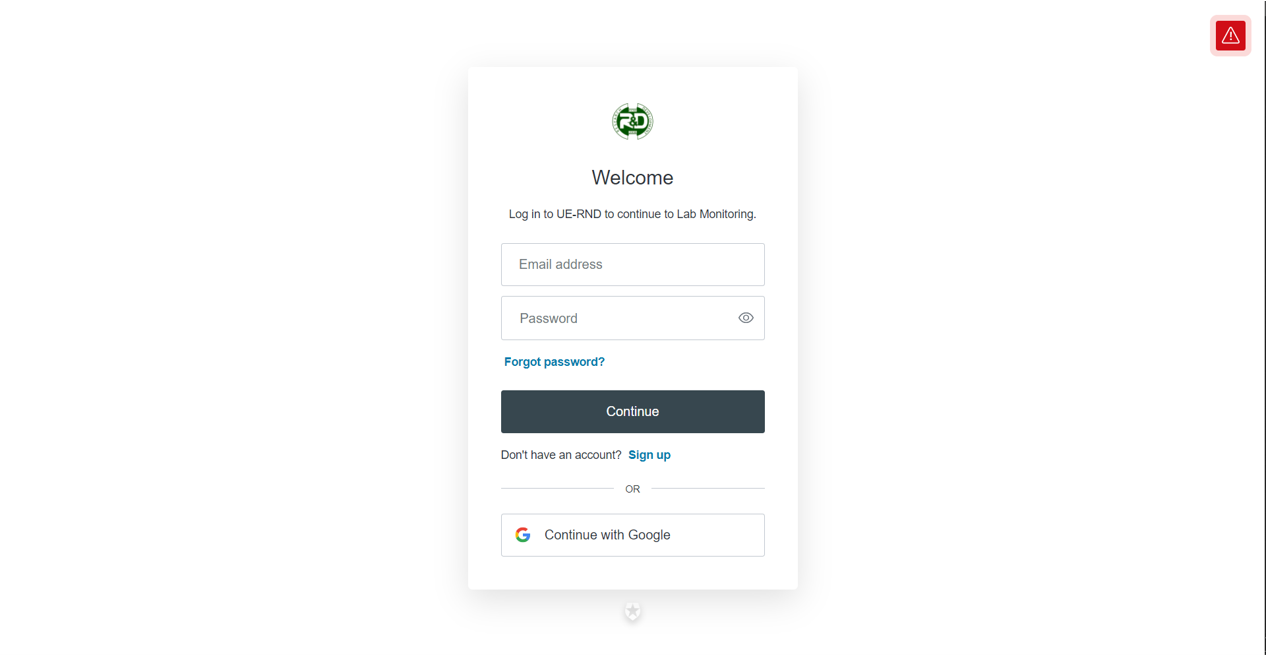
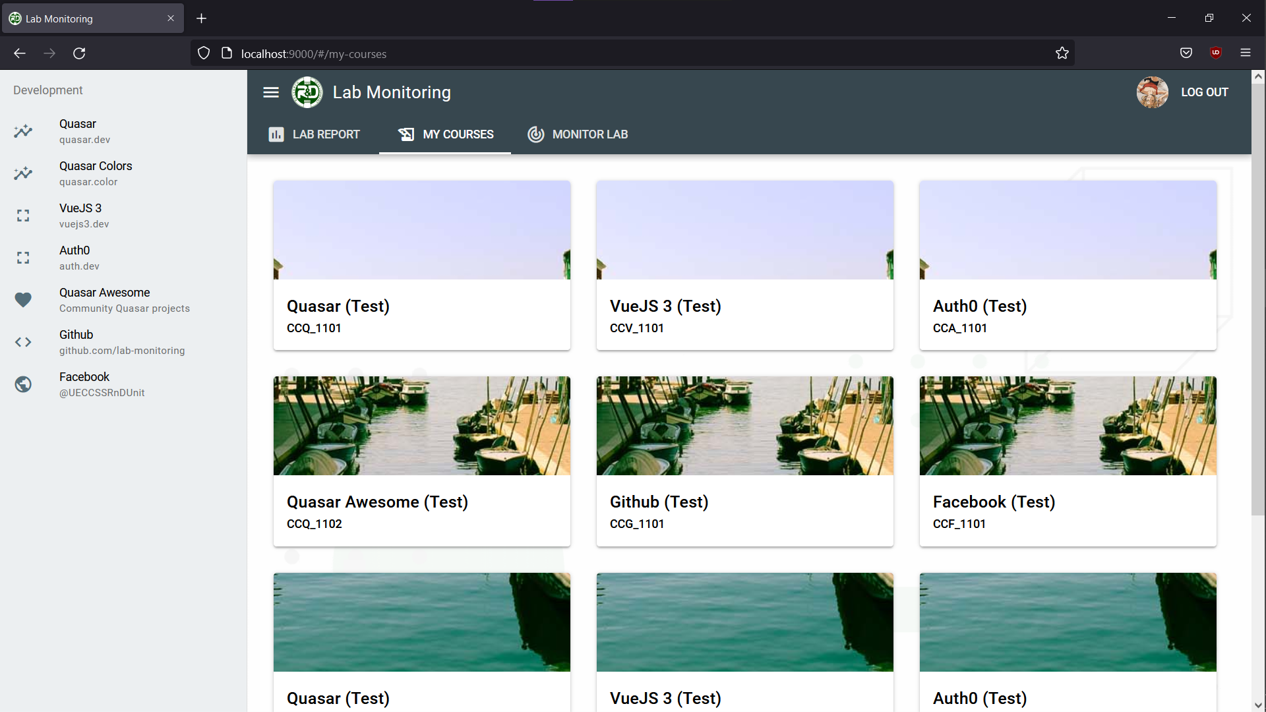
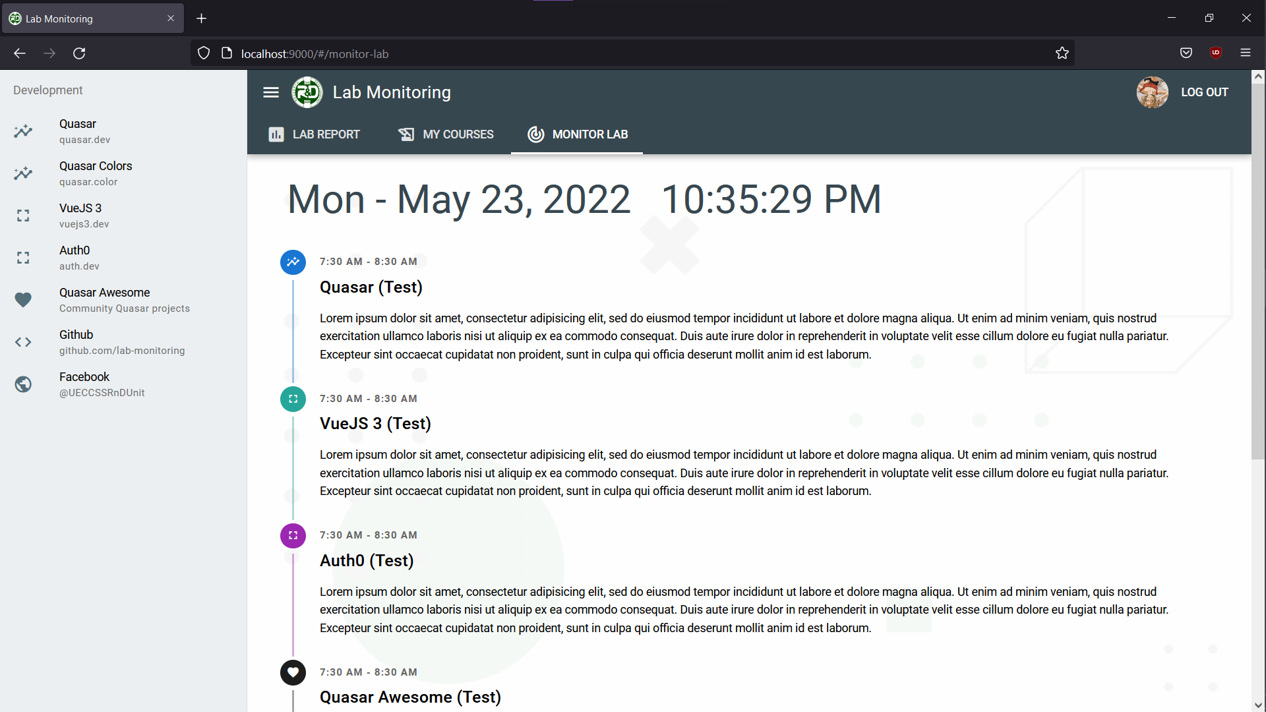
- Create a Vue Login App via Auth0 website to manage logins of the frontend
- Follow quickstart instructions for configuring your Auth0 App
- Get domain and client_id of your Auth0 app and store to .env (see .env.example inside the frontend directory)
- Go to
Dashboard > User Management > Rolesand create the following roles:Teacher- Supervises activities during a laboratory sessionStudent- Interacts with laboratory materials for learning purposes
- Go to
Dashboard > Auth Pipeline > Rules, and create the rule:Access Control > Whitelist- this is where the admin (auth0 app creator) will add teacher emails to enable access to the lab-monitoring app.
-
Rules
-
Add access control
Check if user email domain matches configured domain(@ue.edu.ph)Set roles to a user
-
Enrich profile
-
Add user roles from a SQL Server database -
Default picture for null avatars -
Enrich profile with the locations where the user logs in
-
-
Webhook
Track Logins in MixPanelorTrack Logins and signups with Splunk HEC
-
- ? admin adds instructor emails to whitelist
- ? instructor adds student emails to whitelist
Install dependencies
npm installStart the app in development mode (hot-code reloading, error reporting, etc.)
quasar devLint with ESLint
npm run lintFormat the files
npm run formatBuild the app for production
quasar buildCustomize the configuration, see Configuring quasar.config.js.
- Configure keys: replace Auth0 development key with own key via
App Dashboard > Social


