Generic Unity 3d XR virtual reality project using HDRP, XRI toolkit, OpenXR, Oculus SDK and input system.
Step by step instructions on how to build the base 3d HDRP repository / project for simple 3d HDRP XR unity projects.. lazy programmers -> clone one of the releases to access this.
when building Vr projects need to change the xr plugin -> android settings for the specific device we are building for. If not OpenXR builds will display in your oculus home room, there we will need independent builds for oculus and friends. This guide will instruct you. and is based off of this project template https://github.com/BatCountryEntertainment/unity-xr-project-3d
This is easy human, very easy. You will be a meta pro in no time using simple guide.
IMPORTANT: Quest 2 does not support standalone mode with HDRP, you will need to be wired into a PC to play your HDRP games. In the near-ish future Oculus's android SDK will support OpenGLES shaders which will allow us to compile without Vulkan API, which will allow for standalone. FOR STANDALONE PLEASE USE THE URP (UNIVERSAL RENDERING PIPELINE) WHICH IMPLEMENTS A SUBSET OF WHAT HDRP CAN PROVIDE. HOPEFULLY OCULUS QUEST PRO WILL SUPPORT DX11 SHADER SUPPORT.
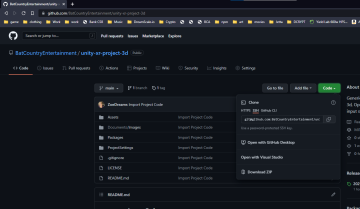
First create a new project in unity 2021.2.10f1 using the unity-xr-project-3d repository found here https://github.com/BatCountryEntertainment/unity-xr-project-3d
go to this repo, and clone it into a new project directory onto your computer
easiest way to do this is to use git hub desktop client, and when your browser prompts to open in desktop client select that and choose a location to download to.
Alternative you can also download the zip of the project and extract that to an existing repo that you might have setup.
Then load the new project directory you extracted into unity hub, and load the project. select add project from disk
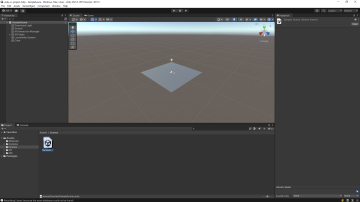
After it loads open the sample scene
Now that we have our base project setup with 3d we need to upgrade the scene to use HDRP. This will require importing a few packages and upgrading our ground material to an HDRP shader.
you can read more about this on unity docs https://docs.unity3d.com/Packages/com.unity.render-pipelines.high-definition@12.1/manual/VR-Overview.html
Basic summary is that we can use any feature or setting within HDRP however we should configure it as we have to optimize for our xr device. It is also important to note that DX12 features are currently not supported, so we need to make sure we are using DX11 to develop our APK with.
you can find more information about this upgrade process here https://docs.unity3d.com/Packages/com.unity.render-pipelines.high-definition@12.1/manual/Upgrading-To-HDRP.html
The High Definition Render Pipeline (HDRP) uses a new set of Shaders and lighting units, both of which are incompatible with the Built-in Renderer. To upgrade a Unity Project to HDRP, you must first convert all of your Materials and Shaders, then adjust individual Light settings accordingly.
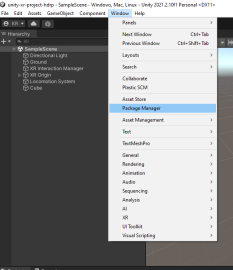
Open our package manager
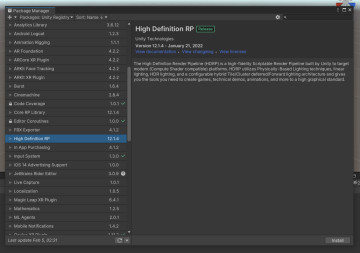
now navigate to the unity registry packages from the drop down in the top left corner. from the list select High Definition RP and click install. Be patient this can take a few minutes depending on the speed of your machine.
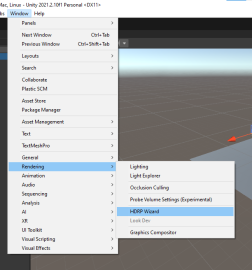
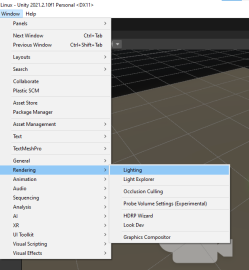
you can close the package manager now. After installing HDRP the wizard for this should be visible. if it isn't you can access it via window -> rendering -> HDRP Wizard
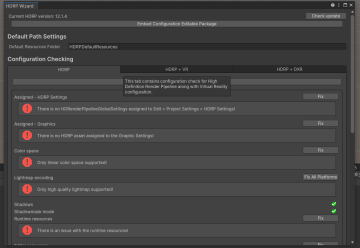
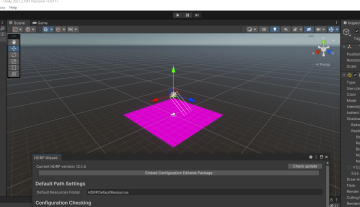
the wizard should look like this
as you can see we have a bunch of errors so click on the fix all button at the top under the tabs.. This should help us clear some of these issues up.
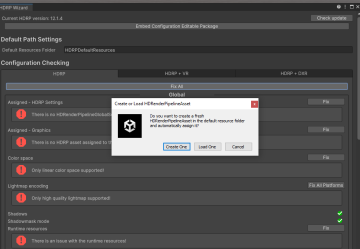
The wizard is going ask if you want to create a default profile, click create one to generate it. Again this might take a few minutes depending on your machine, so be patient it will finish.
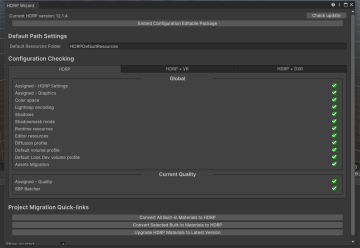
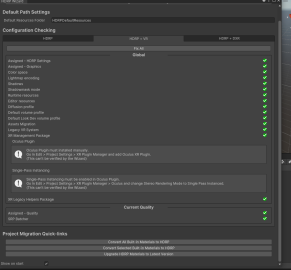
Now the wizard should have a bunch of green checks showing that all of the errors have been fixed.
As you can see our ground plane is now magenta to show that the shader is using the legacy built in material. we need to upgrade our project materials to use HDRP. If you see some errors or warnings in the console ignore them as long as the wizard is green checks then everything is okay.
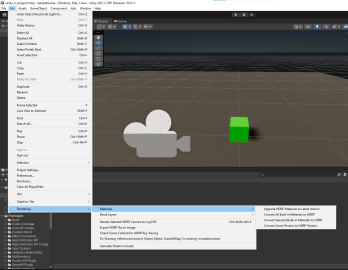
Next we are going to click the convert all built-in materials to hdrp button the top one
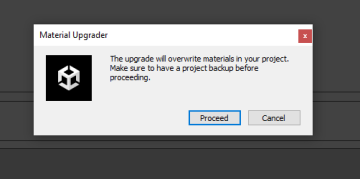
its going to ask you if you made a backup, ignore and just click Proceed. we live on the edge. thats why your here? :) For good measure after you convert i usually click on upgrade HDRP materials to Latest Version to double check nothing has errrored.
now click on the HDRP + VR tab in the wizard. you should also see all green checks. You will see a couple warning that the oculus drive needs ot be manually installed.. we performed this within the unity-xr-project-3d walk through guide found that we cloned the project from. yay.
you can also toggle off the show at shart up check box on the bottom of the wizard. now close the wizard
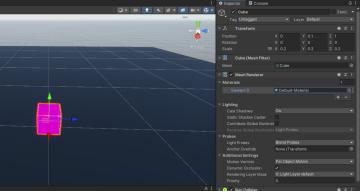
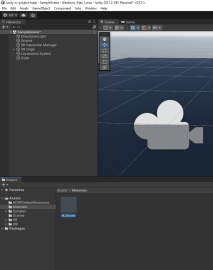
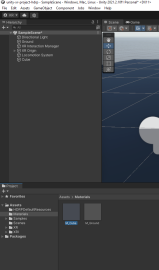
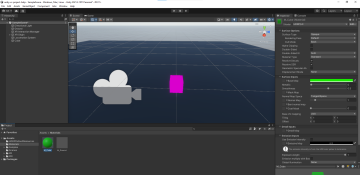
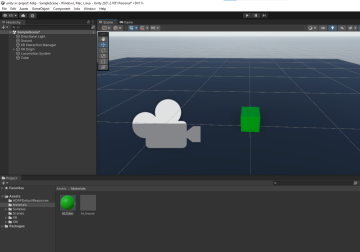
As you can see our grabbable cube is magenta, because it is using the default material. The easiest way to fix this is to make a new material from the M_Ground material by copying pasting it within the project tab
lets name our new material M_Cube. Remember that the prefix M_ is used on all of our materials so that we can easier search for them with M_*
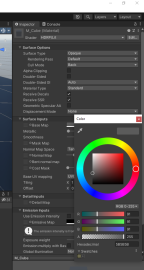
click on the new material you just renamed in the project tab to view it in your inspector tab. now click on the base map setting to open the color picker. lets make it a different color.
now click and drag the green material onto our magenta cube in the scene view.
now we should see our green cube, or whatever else you pick for its color.
now lets save our scene before we forget. if you see a bunhc of shader errors in the console, just clear them out. As long as you see no magenta on our simple scene everything is ok. very easy for human.
Its important to note that you can access the material upgrade actions within the edit menu -> rendering -> material
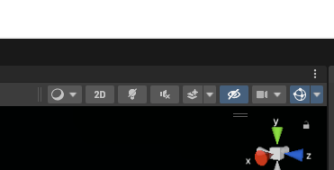
I also recommend toggling the lights off on your scene view to get unity to generate the shaders for these automagically. once done you can toggle them off. the lighting button is the third one.. you can mouse over for a tooltip.
when play testing you will notice that our laser pointers are missing, but we can still pick stuff up. lets fix this after we setup some basic lighting. For this we are going to use Global Illumination.
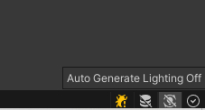
On the bottom right of the unity editor you will see four icons. click on the second to last one, which will bring up your lighting window. you can also access it via the window -> rendering -> lighting
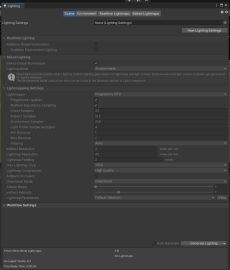
The lighting window has all of its setting grayed out. click the new lighting settings button on the top of the window.
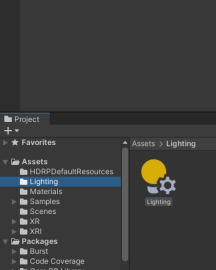
Its a good idea to make a new directory in your assets folder call lighting. lets put our new lighting setting in it.. also name it Lighting_GI.
we are going to toggle on the Real time lighting and turn off baked lighting. we can choose to bake a scene's lighting after we design it. its considered a performance feature, and is not required for local development, as anyone who has baked lighting know its takes a long time, and can eat up alot of storage space.
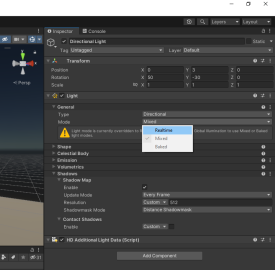
Now we need to tell our Directional light to use real time lighting. not mixed. click on the directional light in your hierachy tab, and in the inspector select realtime from the mode drop down
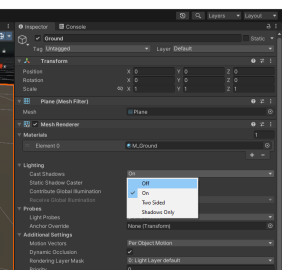
next we are going to disable shadows on the ground plane
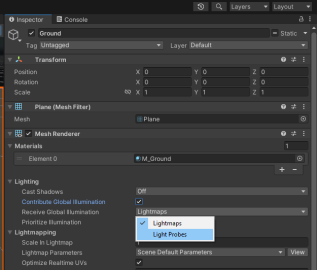
also while we are here, lets turn on global illumination and blend probes, this will allow light to bounce off the ground to create more realism.
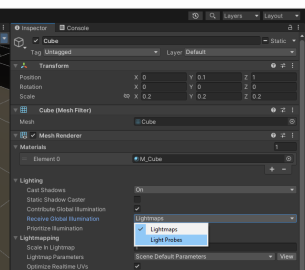
configure the cube as well with the same settings
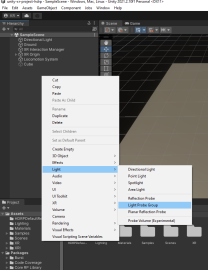
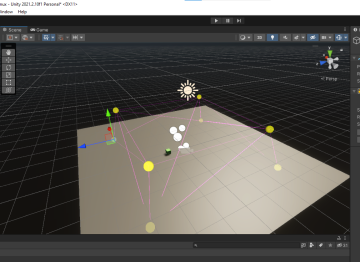
the last part of this step is to add a few light probes in to the scene. We do this by creating a light probe group, and then adding new probes into white in probe edit mode
click edit probes to move them around in an even fashion, its okay to have some a little below or at floor level to simulate the sun light bouncing off the ground.
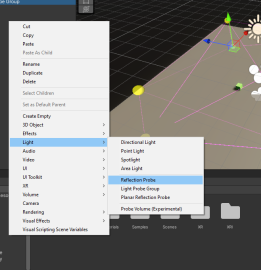
we should also add a reflection probe in too.
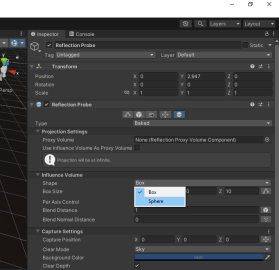
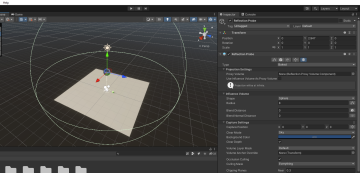
change the reflection probe type to sphere. for performance we will leave them on baked, also set the size to 8 or so. The maps should auto generate. NOTE: you can toggle off auto generate in your lighting settings if your doing alot of design changes.
If you play the game you will now notice that your laser pointers are back, our setting configurations tooke care of this automagics. how nice.
we also notice that the lines are a bit jagged, this is because our anti-alias is off, lets fix this.. Also its worth watching https://www.youtube.com/watch?v=_WkSAn55EBM&feature=youtu.be which is the Unite Copenhagen (October 2019) talk which talks about the best settings. basically we need to stay away from MSAA, as its overkill for what our devices can push a simple FAA is sufficent.
First select our camera in our scene, and select TAA from the post anti-alias dropdown. we can also use TAA.
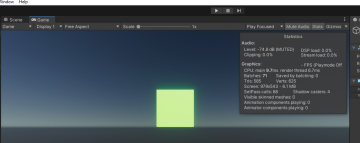
if we click on the game tab. and then on the stats window, we can see our stats when running the game. ths is useful for debugging..
we are hitting about 30fps within the unity game window, this is not what the frame rate is on the device. We need a solution like SRDebug but a simple overlay in XR. There are many more settings we can do to optimize this further. This is the amazing robustness of the HDRP scriptable pipeline. In fact we can configure this in such a way to be able to get get faster performance than using just the built in pipe line. Mostly we will be using ALOT less memory, which will be one of our biggest concerns on the oculus or index. HDRP utilizes shader memory much more efficently.
you can read more about dynamic super sampling here https://docs.unity3d.com/Packages/com.unity.render-pipelines.high-definition@12.1/manual/Dynamic-Resolution.html which is one of the best optimization features HDRP provides developers.
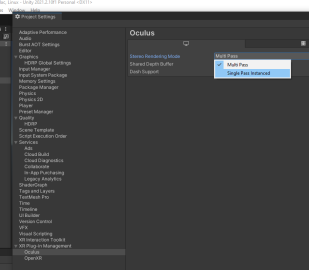
The last part of this step is to switch rendering to Single Pass (SPI) from multi. Multi works okay in built in, but HDRP can handle this with SPI which will double our allowed frame time budget, from 5.1ms to 11.2 ms.
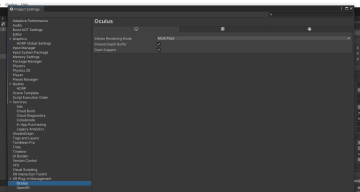
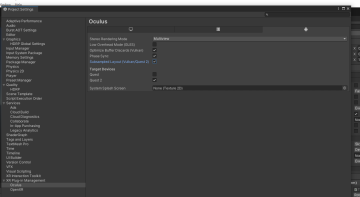
Open up your project settings and click on the oculus item below the xr plugin menu item on the left, and from the drop down select single pass. and on the android tab select multiview which is basically another term for single pass. Single pass uses a pixel trasnform to offset the eyes rather then redrawing the entire scene that is offset.
also lets toggle on phase sync. if you experience problems with rendering you can always disable this. it should save us a few ms on our rendering budget.
also toggle subsampled which will clean up artifacts when we look around. if you experience a black screen or issues, just disable.
also dont forget to configure the OpenXR which runs when we test locally. After this lets build and deploy to our oculus using the dev hub. see the walk through on unity-xr-project-3d section about deploying your APK to oculus
now play test and build. if you have issues on your local dev mode, then just switch back to multi-pass.
the first build on HDRP might take some time like 5 to 10 minutes. This will build your base shader cache and future builds should be much faster.
...to be continued

