The purpose of this example is to show how Great Expectations can protect a data pipeline from bad data and code bugs.
Please note This tutorial is work in progress. Feel free to provide feedback via our Slack channel, a GitHub issue, or just fork it and show us your own implementation, we'll be happy to answer questions and iterate on the content to make it more useful for the community!
The pipeline will look familiar to lots of data teams working with ELT pattern. It loads data from files into a database and then transforms it.
Airflow is used to orchestrate the pipeline. dbt is used to transform for the "T" step of ELT.
The purpose of this tutorial is to show how the individual components work together. Therefore, the Airflow setuo and the dbt DAG are kept fairly trivial, but hopefully realistic.
This repo contains two Airflow DAGs of this data pipeline:
- before Great Expectations was added - in
ge_tutorials_dag_without_great_expectations.py - after Great Expectations was added - in
airflow/ge_tutorials_dag_with_great_expectations.py
- Load the source files to a postgres database using SQLAlchemy
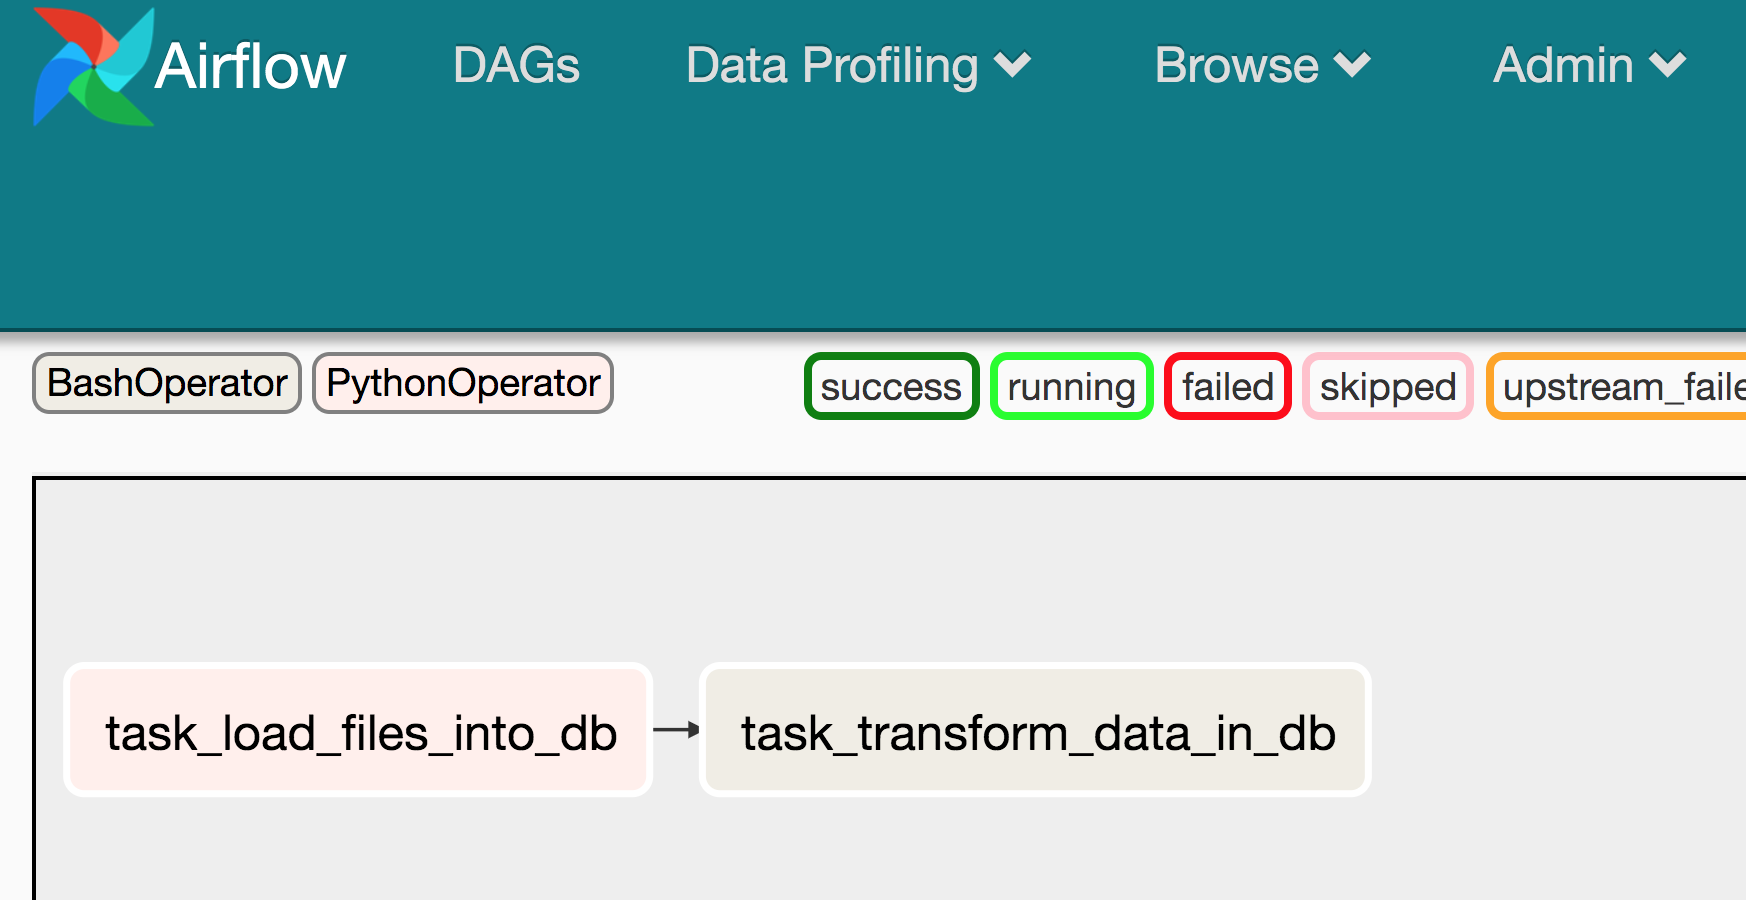
- Run the dbt DAG to create a simple analytical table, see the dbt DAG snapshot below:

- Use GE to validate the input CSV files. Stop if they do not meet our expectations
- Load the source files to a postgres database using SQLAlchemy
- Use GE to validate that the data was loaded into the database successfully
- Run the dbt DAG to create a simple analytical table, see the dbt DAG snapshot below:
- Use GE to validate the analytical result.
- If the analytical result is valid, publish (promote) the analytical table to a "prod" table by renaming it
We assume that you will run the "after" version of the pipeline, with Great Expectations integrated.
Instructions are provided below to setup this tutorial either with or without using Docker.
If you want to quickly get started, use Docker. If you already know Docker, then we have shortcut road for you to run your project:
git clone https://github.com/superconductive/ge_tutorials.git
cd ge_tutorials
# you can run this command everytime you need to start superset now:
docker-compose up
docker exec ge_tutorials_webserver_1 airflow upgradedb
Once these steps are completed, you can access Airflow at http://localhost:8080/admin/.
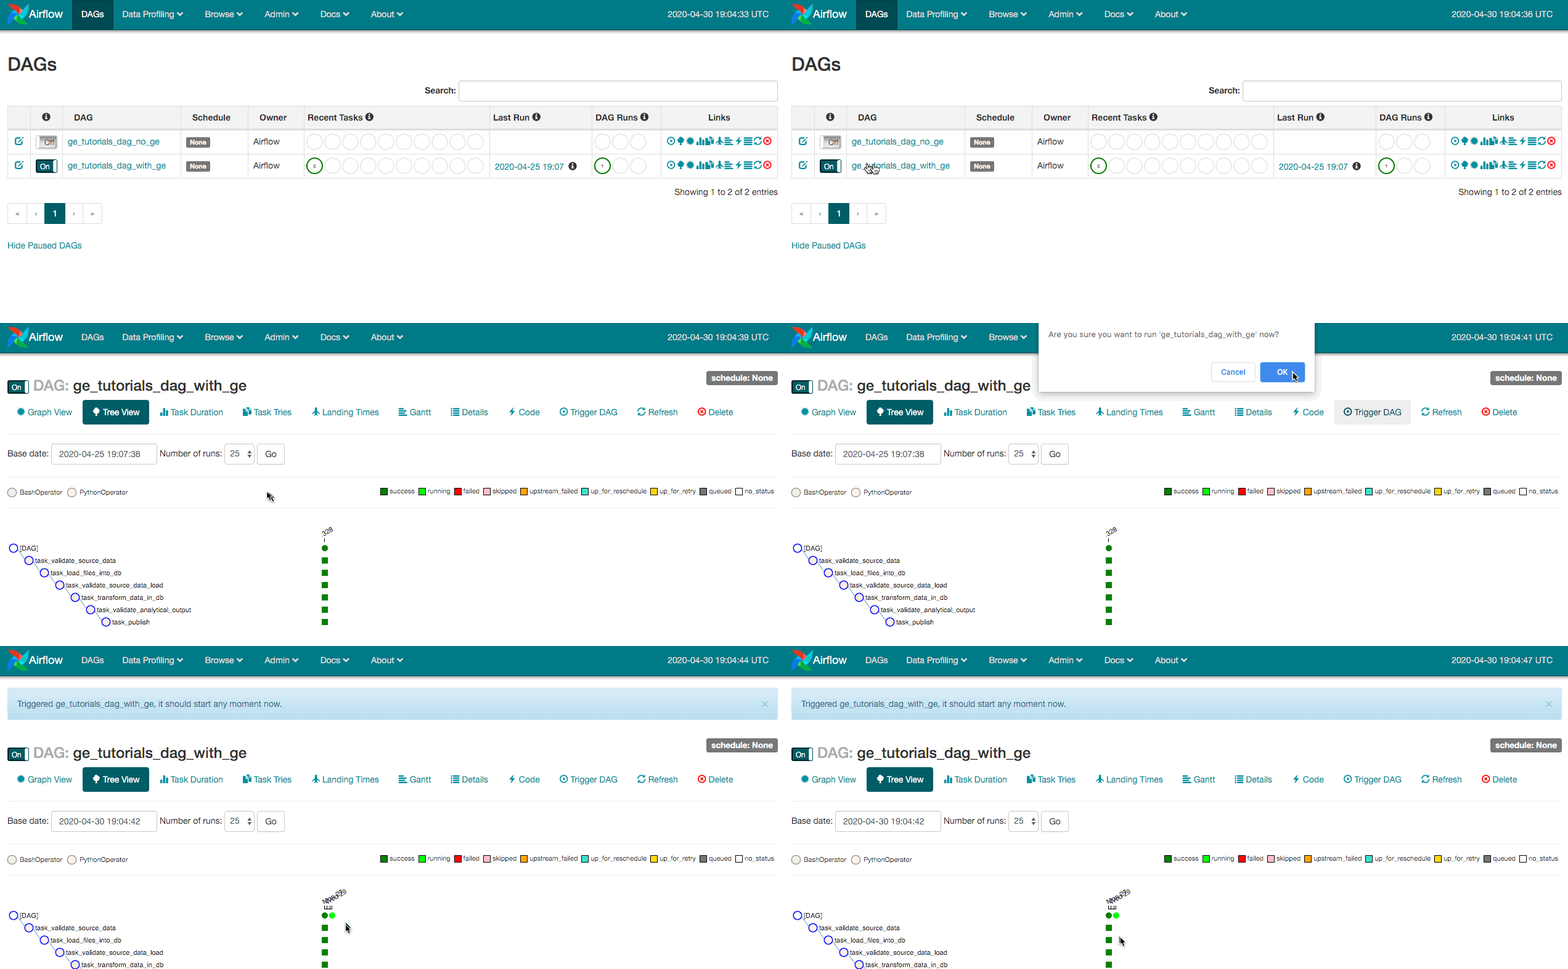
To run the DAG, you first need to turn it on, then manually trigger it. You can do so through the UI:
 (https://share.getcloudapp.com/7Ku0oygJ)
Once the DAG has run successfully, you'll be able to access the Great Expectations Data Docs at the following URL: http://localhost:8081
From there, the container servers will reload on modification made to dbt, great expectations final expectations and the airflow dags. Don’t forget to reload the page to take the new frontend into account though.
In order to run this project, you will need to go through some basic setup steps.
For the purpose of this demo, we assume you have a relational database available that can be accessed using a SQLAlchemy connection URL. We developed the tutorial using a postgres database. Of course, this can be replaced by any other DBMS when working on a real pipeline.
Create an empty database tutorials_db
- Install Great Expectations
pip install great_expectations
- Make sure that you have dbt installed and set up
- Add your database credentials in the dbt_profile.yml (see the example_dbt_profile.yml in this project)
- Make sure you have Airflow installed and set up.
- Point the dags_folder in airflow.cfg to the root directory of this project
The pipeline's configuration variables are passed using environment variables. Set the following variables:
export GE_TUTORIAL_DB_URL=postgresql://your_user:your_password@your_dh_host:5432/your_db_name
export GE_TUTORIAL_ROOT_PATH=your_project_path
You can run each individual task in the airflow DAG with airflow test ge_tutorials_dag_with_ge <task_name>.
In order to run the entire DAG, use airflow backfill ge_tutorials_dag_with_ge -s <start_date> -e <end_date>.

