-
เข้าไปยัง C:\Windows\System32\drivers\etc
-
แก้ไขไฟล์ host โดยเพิ่มบรรทัดด้านล่างลงไป
  127.0.0.1 traefik.spcn05.local
  127.0.0.1 web.spcn05.local

-
สร้างโฟลเดอร์ที่ C:\kubectl ขึ้นมา
-
ใช้คำสั่งด้านล่างที่โฟลเดอร์ C:\kubectl เพื่อดาวน์โหลด kubectl
curl.exe -LO "https://dl.k8s.io/release/v1.26.0/bin/windows/amd64/kubectl.exe"
- ทำการสร้าง path kubectl ขึ้นมา


- ตรวจสอบเวอร์ชั่น kube เพื่อเช็คสถานะการติดตั้ง
kubectl version --client
- เข้าเว็บไซต์ https://minikube.sigs.k8s.io/docs/start/ เพื่อทำการดาวน์โหลดไฟล์ exe มาอันดับแรก

- หลังดาวน์โหลดแล้วให้ชำคำสั่งด้านล่างนี้ ให้อยู่ภายในโฟลเดอร์เดียวกันกับไฟล์ exe
  $oldPath = [Environment]::GetEnvironmentVariable('Path', [EnvironmentVariableTarget]::Machine)
  if ($oldPath.Split(';') -inotcontains 'C:\minikube'){ `
  [Environment]::SetEnvironmentVariable('Path', $('{0};C:\minikube' -f $oldPath), [EnvironmentVariableTarget]::Machine) `
  }
- ทำการเริ่ม service ด้วยคำสั่ง
minikube start
- ใช้คำสั่งเพื่อทำการเปิดหน้า Dashboard
minikube dashboard

- ใช้คำสั่งติดตั้ง Traefik Resource Definitions
kubectl apply -f https://raw.githubusercontent.com/traefik/traefik/v2.9/docs/content/reference/dynamic-configuration/kubernetes-crd-definition-v1.yml
- ใช้คำสั่งติดตั้ง RBAC for Traefik
kubectl apply -f https://raw.githubusercontent.com/traefik/traefik/v2.9/docs/content/reference/dynamic-configuration/kubernetes-crd-rbac.yml
- ทำการสร้าง namespace
kubectl create namespace <namespace>
- ใช้คำสั่งติดตั้ง Traefik Helmchart
  helm repo add traefik https://traefik.github.io/charts
  helm repo update
  helm install traefik traefik/traefik
- ตรวจสอบ Service Traefik
  kubectl get svc -l app.kubernetes.io/name=traefik
  kubectl get po -l app.kubernetes.io/name=traefik
- ทำการสร้างรหัส Secret โดยทำการรันบน git bash โดย คือ User ที่ใช้ล็อกอินใน Traefik
  htpasswd -nB <user> | tee auth-secret

  kubectl create secret generic -n default dashboard-auth-secret --from-file=users=auth-secret -o yaml --dry-run=client | tee dashboard-secret.yaml
จะได้ไฟล์ที่ชื่อว่า dashboard-secret.yaml ขึ้นมา
-
นำรหัสคีย์จากไฟล์ dashboard-secret.yaml มาใส่ใน traefik-dashboard.yaml
-
ทำการ Deploy โดยใช้คำสั่ง
kubectl apply -f traefik-dashboard.yaml
- ใช้คำสั่งเปิด LoadBalance
minikube tunnel

- ทดสอบโดยการเข้าไปยังลิงค์ https://traefik.spcn05.local/dashboard/#/


-
ทำการสร้างไฟล์ rancher.yaml เพื่อเตรียมการ deploy
-
ใส่โค้ดด้านล่างนี้ลงไปในไฟล์ rancher.yaml
  apiVersion: apps/v1
  kind: Deployment
  metadata:
  name: rancher-deployment
  namespace: default
  spec:
  replicas: 1
  selector:
      matchLabels:
      app: rancher
  template:
      metadata:
      labels:
          app: rancher
      spec:
      containers:
      - name: rancher
          image: rancher/hello-world
          ports:
          - containerPort: 80
  ---
  apiVersion: v1
  kind: Service
  metadata:
  name: rancher-service
  labels:
      name: rancher-service
  namespace: default
  spec:
  selector:
      app: rancher
  ports:
  - name: http
      port: 80
      protocol: TCP
      targetPort: 80
  ---
  apiVersion: traefik.containo.us/v1alpha1
  kind: IngressRoute
  metadata:
  name: service-ingress
  namespace: default
  spec:
  entryPoints:
      - web
      - websecure
  routes:
  - match: Host(`web.spcn05.local`)
      kind: Rule
      services:
      - name: rancher-service
      port: 80
- ใช้คำสั่งเพื่อทำการ deploy
kubectl apply -f rancher.yaml
-
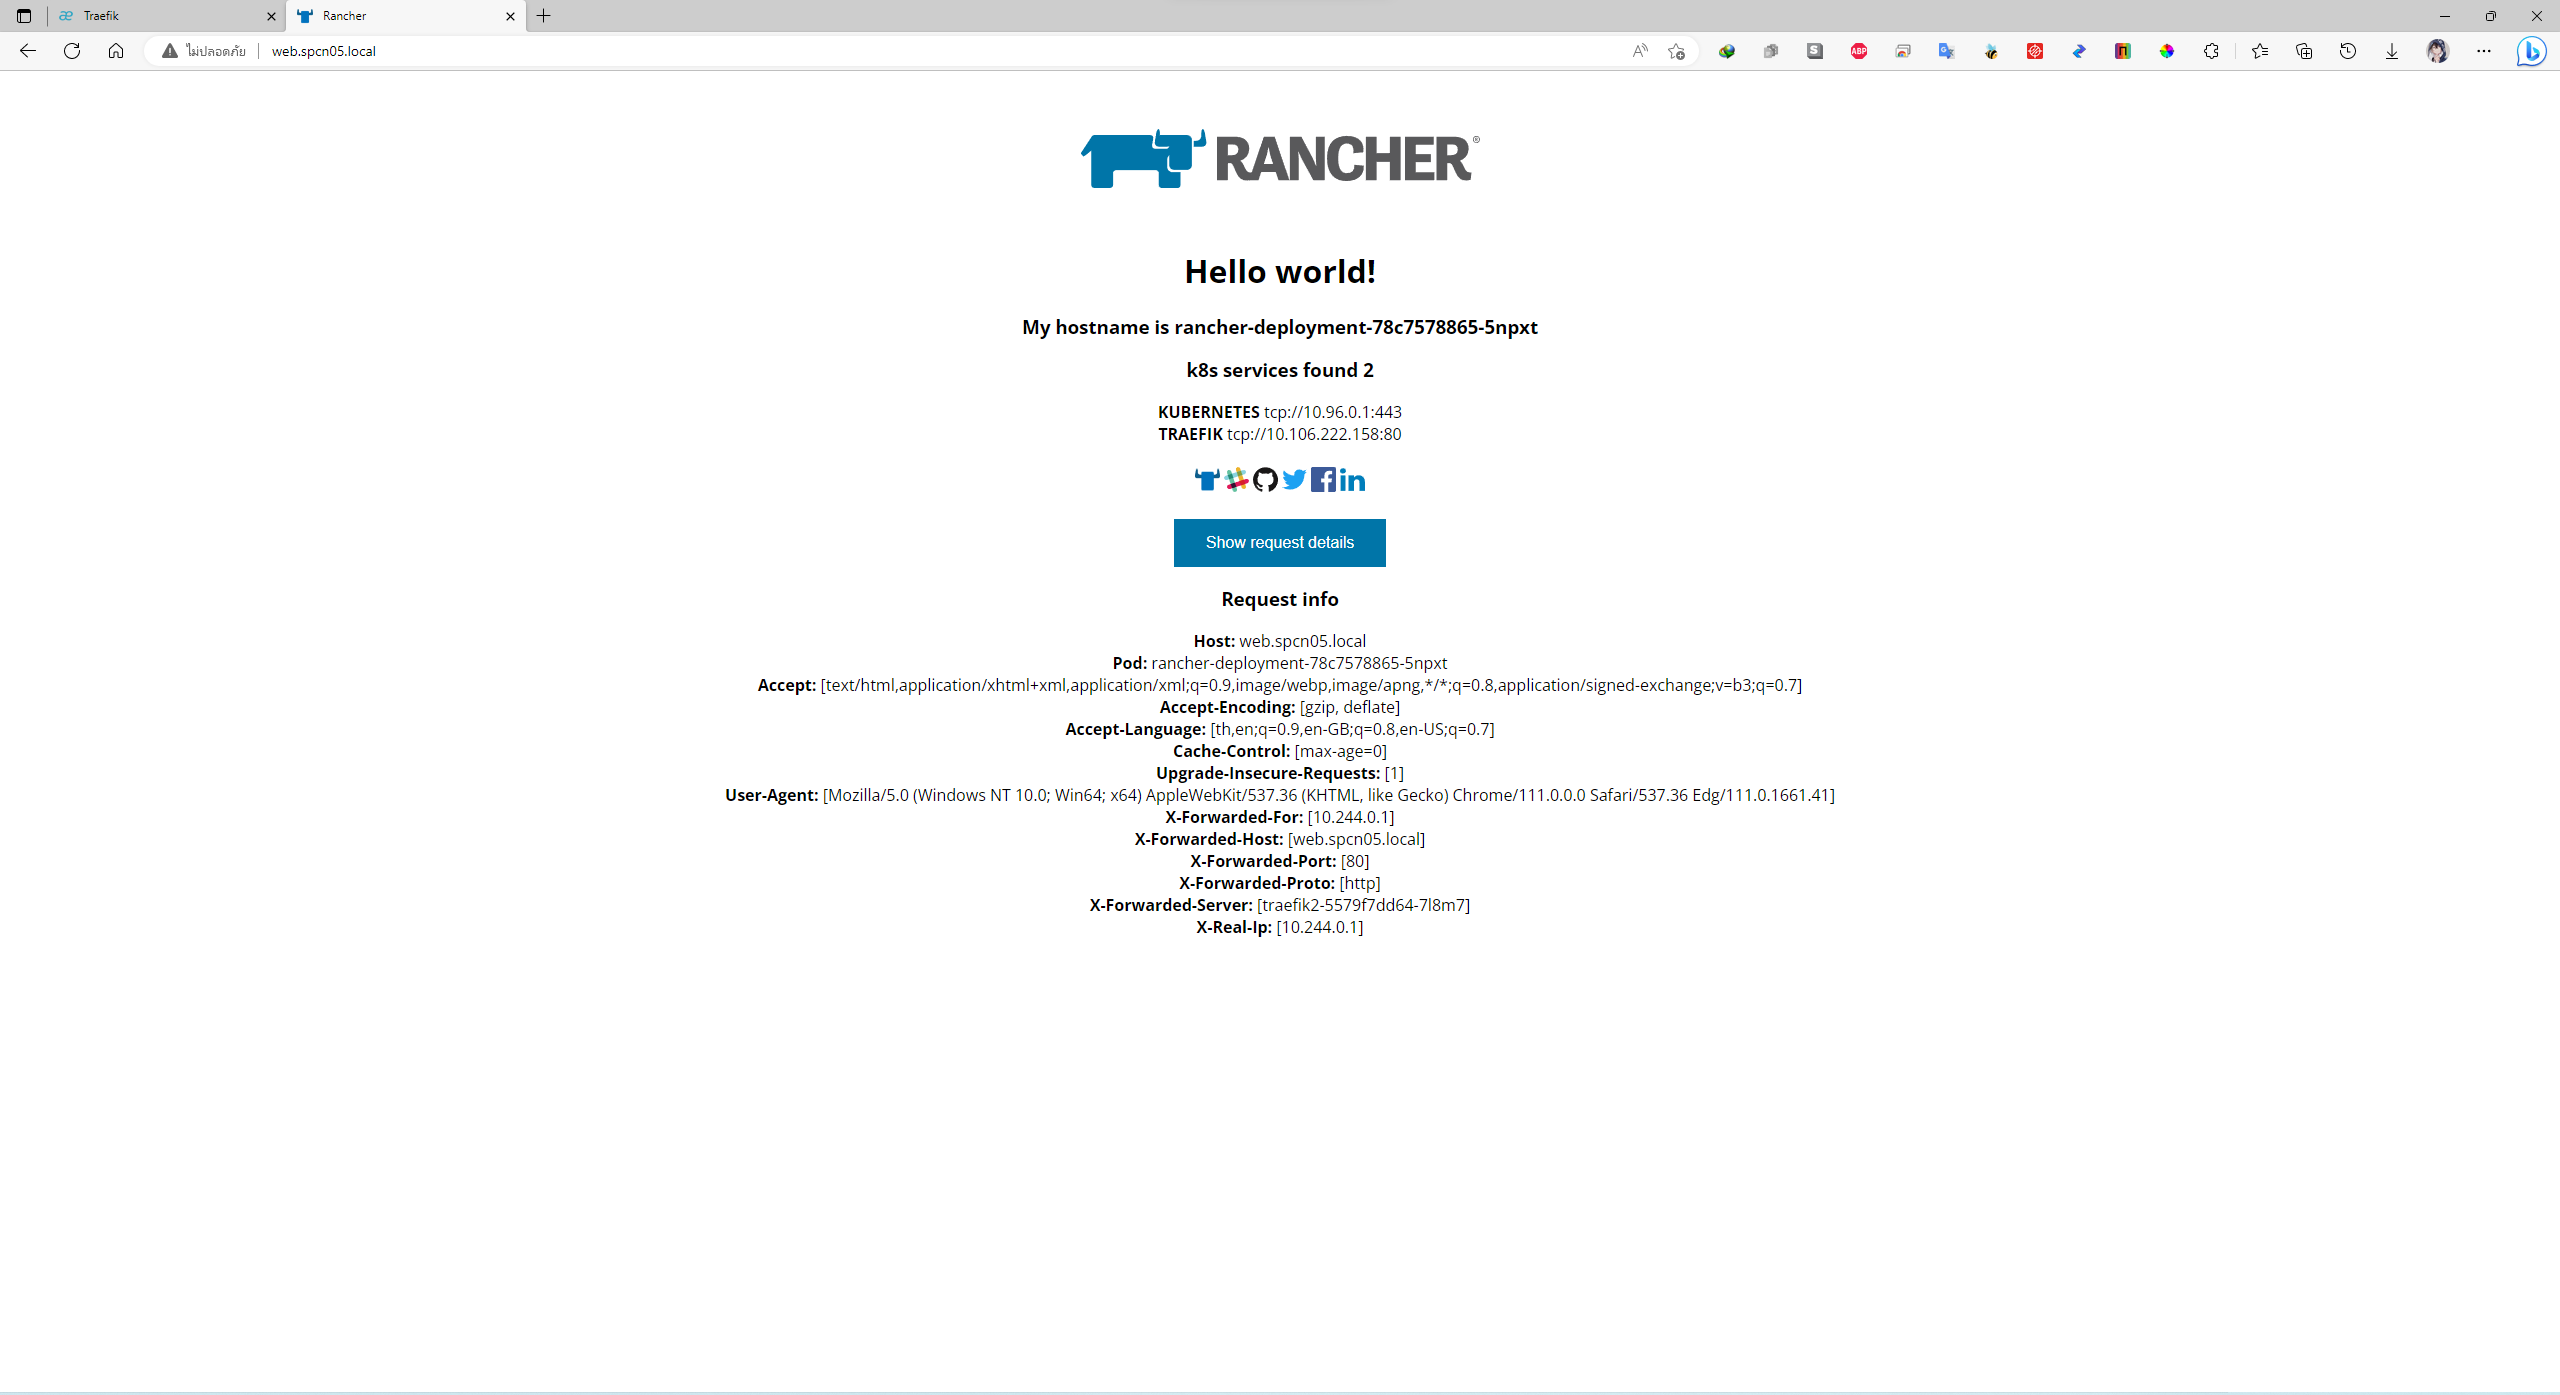
ทดสอบโดยการเข้าไปยังลิงค์ https://web.spcn05.local/