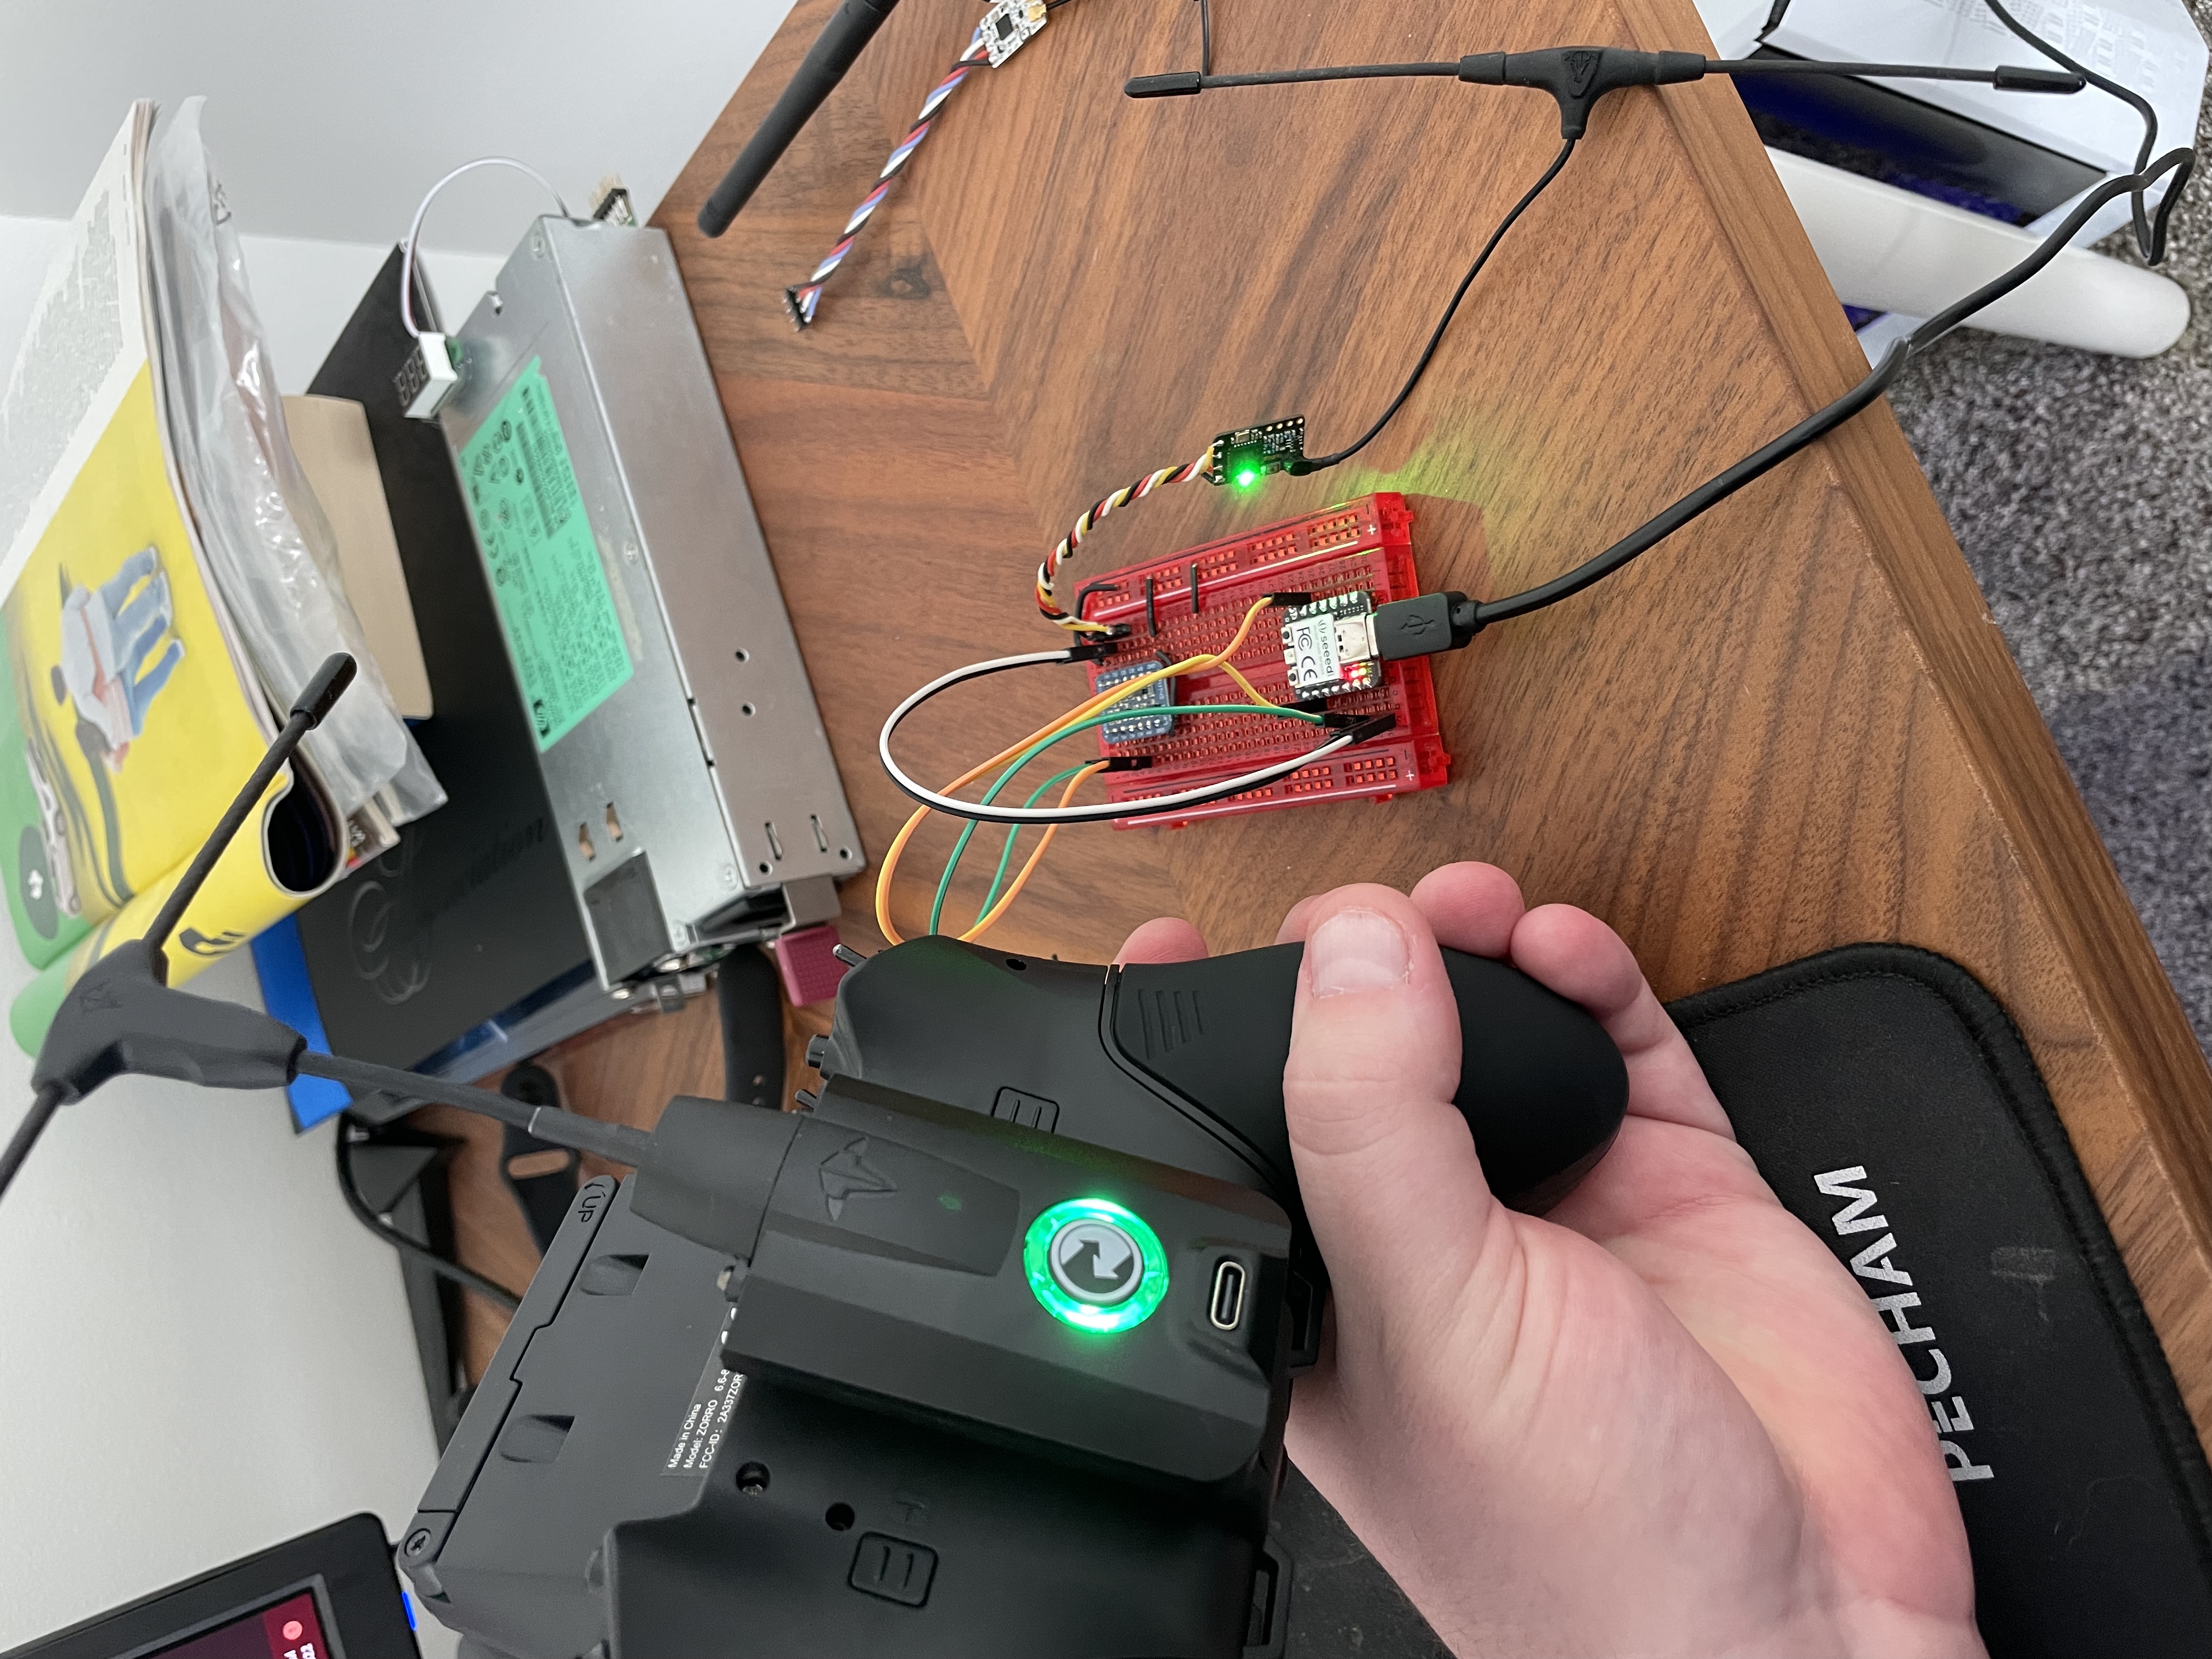
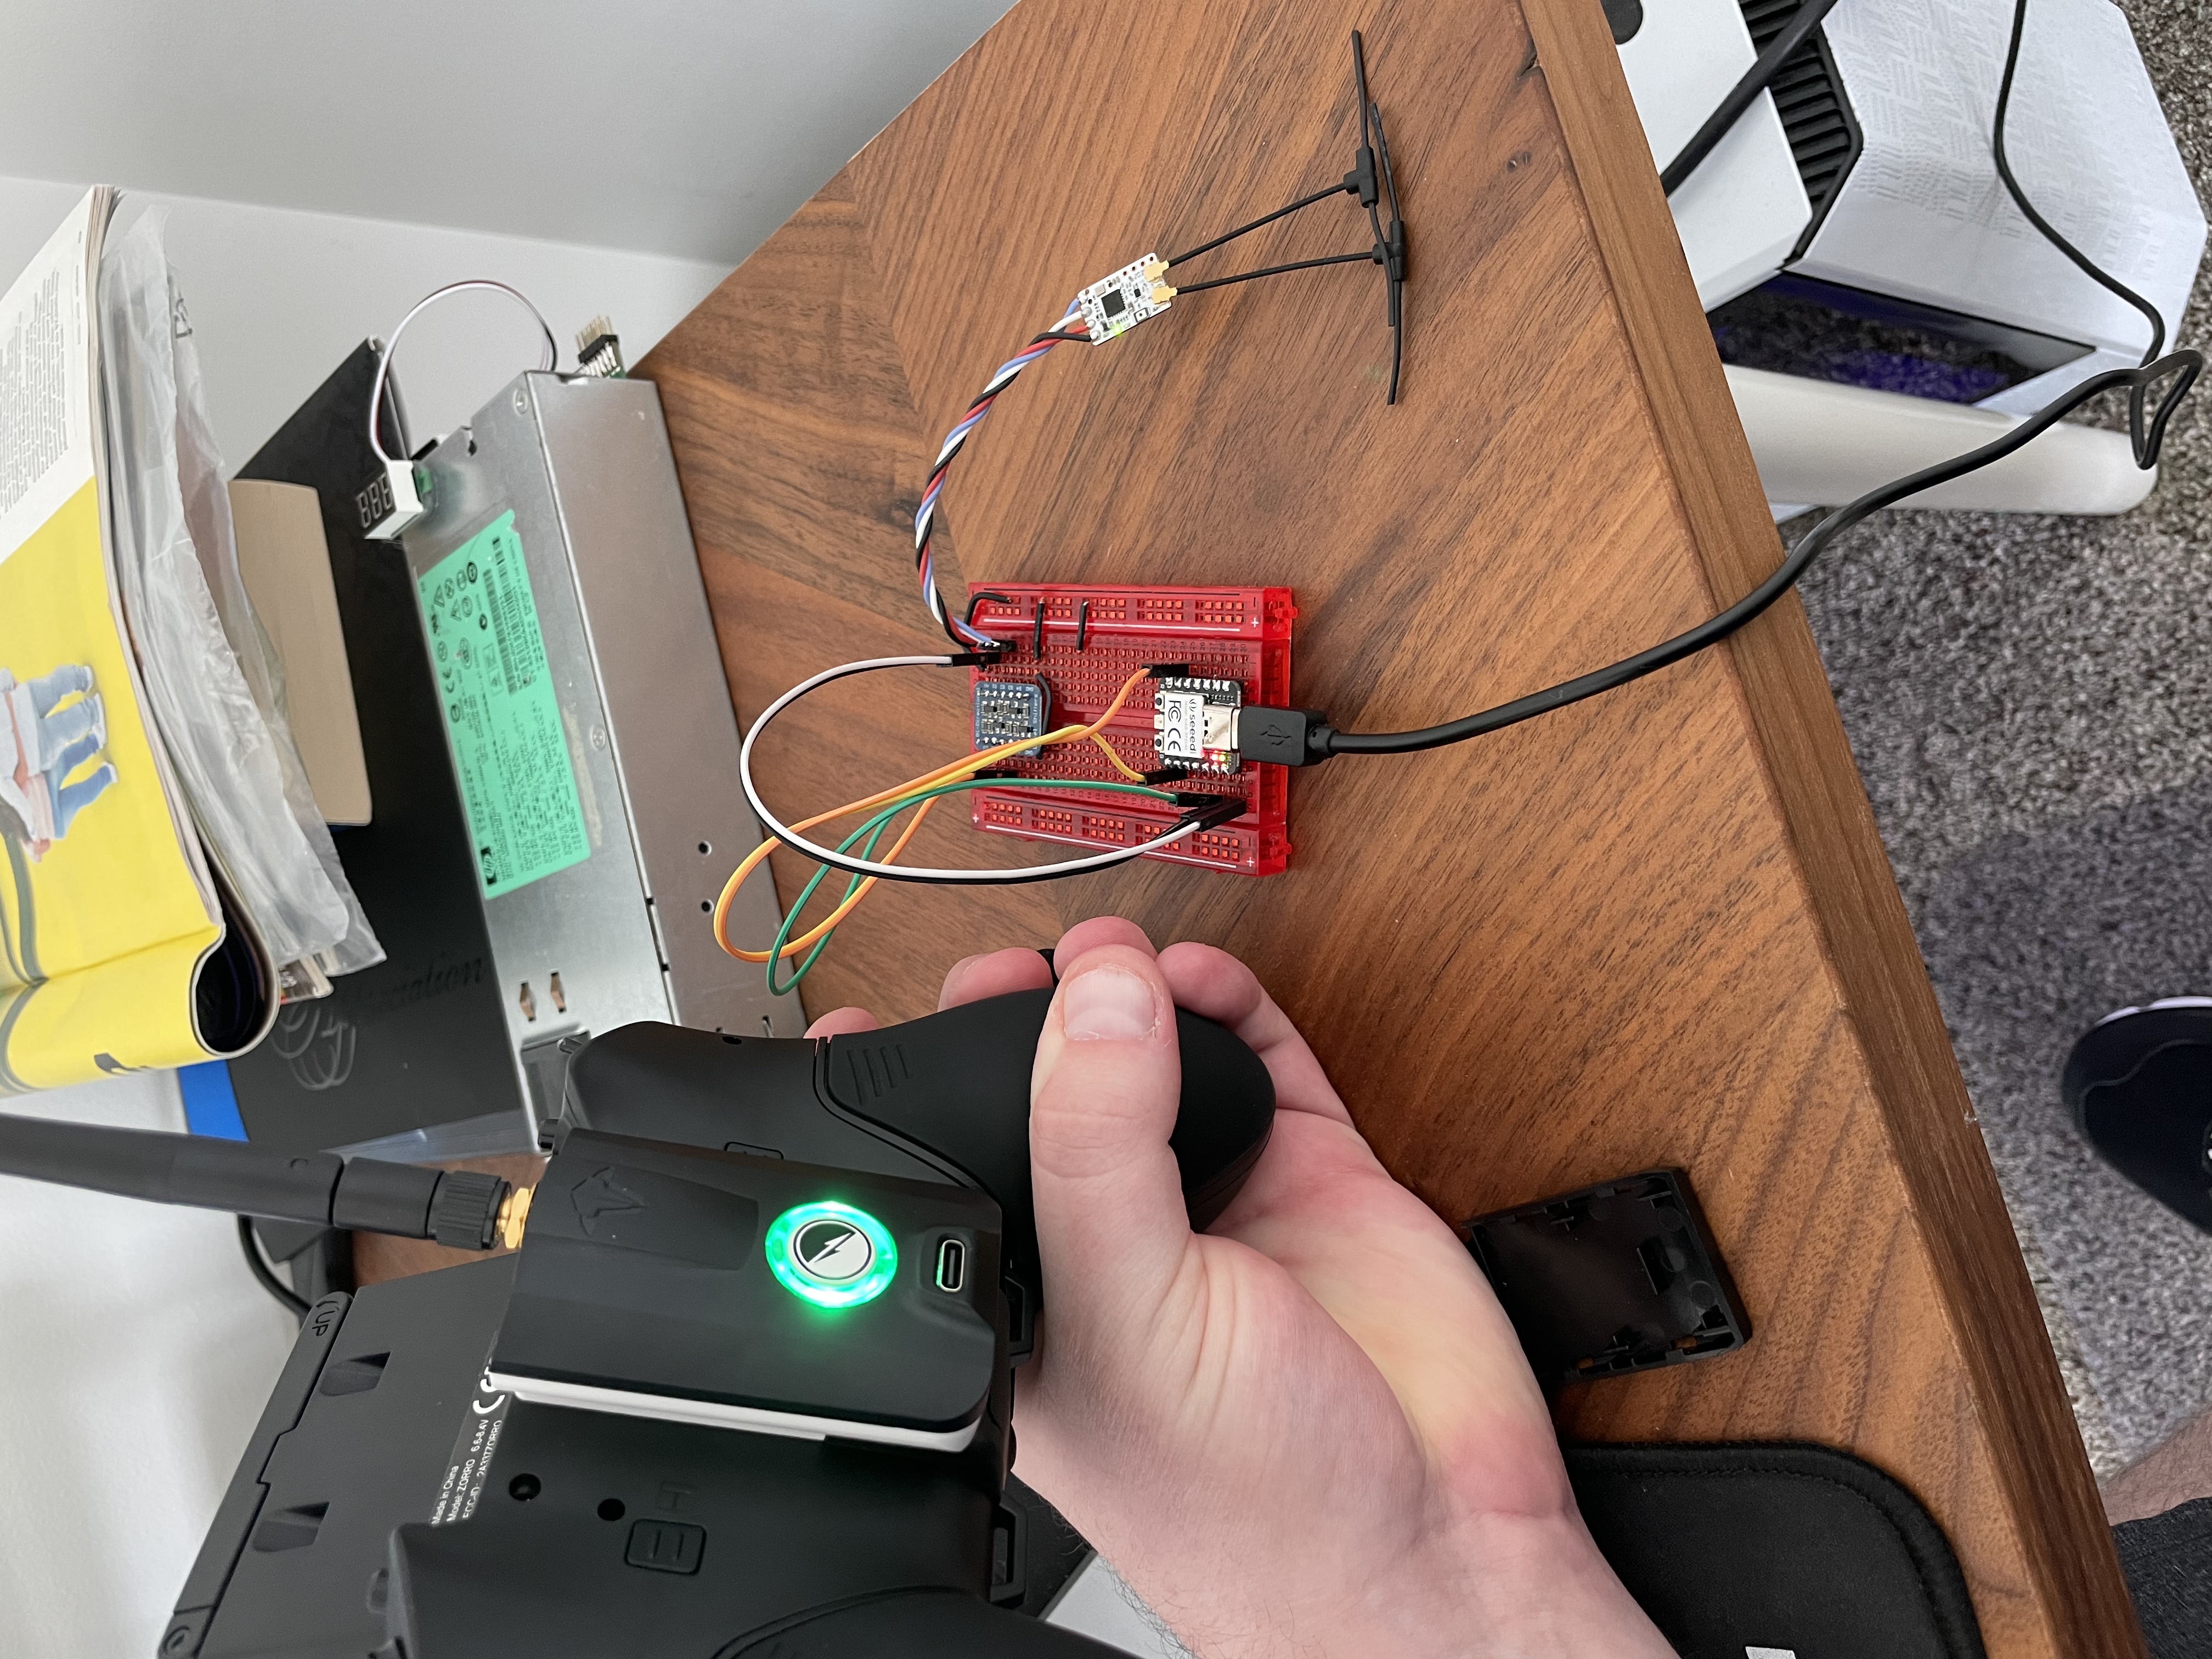
Arduino code using the mbed core that runs on a Pi Pico (2040) to emulate a USB HID Joystick
Pirmarily developed to use and ExpressLRS receiver and a HID Joystick for Sim use!
Shout out to CapnBry for the Crsf Library
https://github.com/CapnBry/CRServoF
Shout out to RealRobots.net for the Gamepad Library
https://gitlab.com/realrobots/PicoGamepad/-/tree/master
Hand built boards can be purchased from my page on FPVExchange
- HouseFPV on FPVExchange
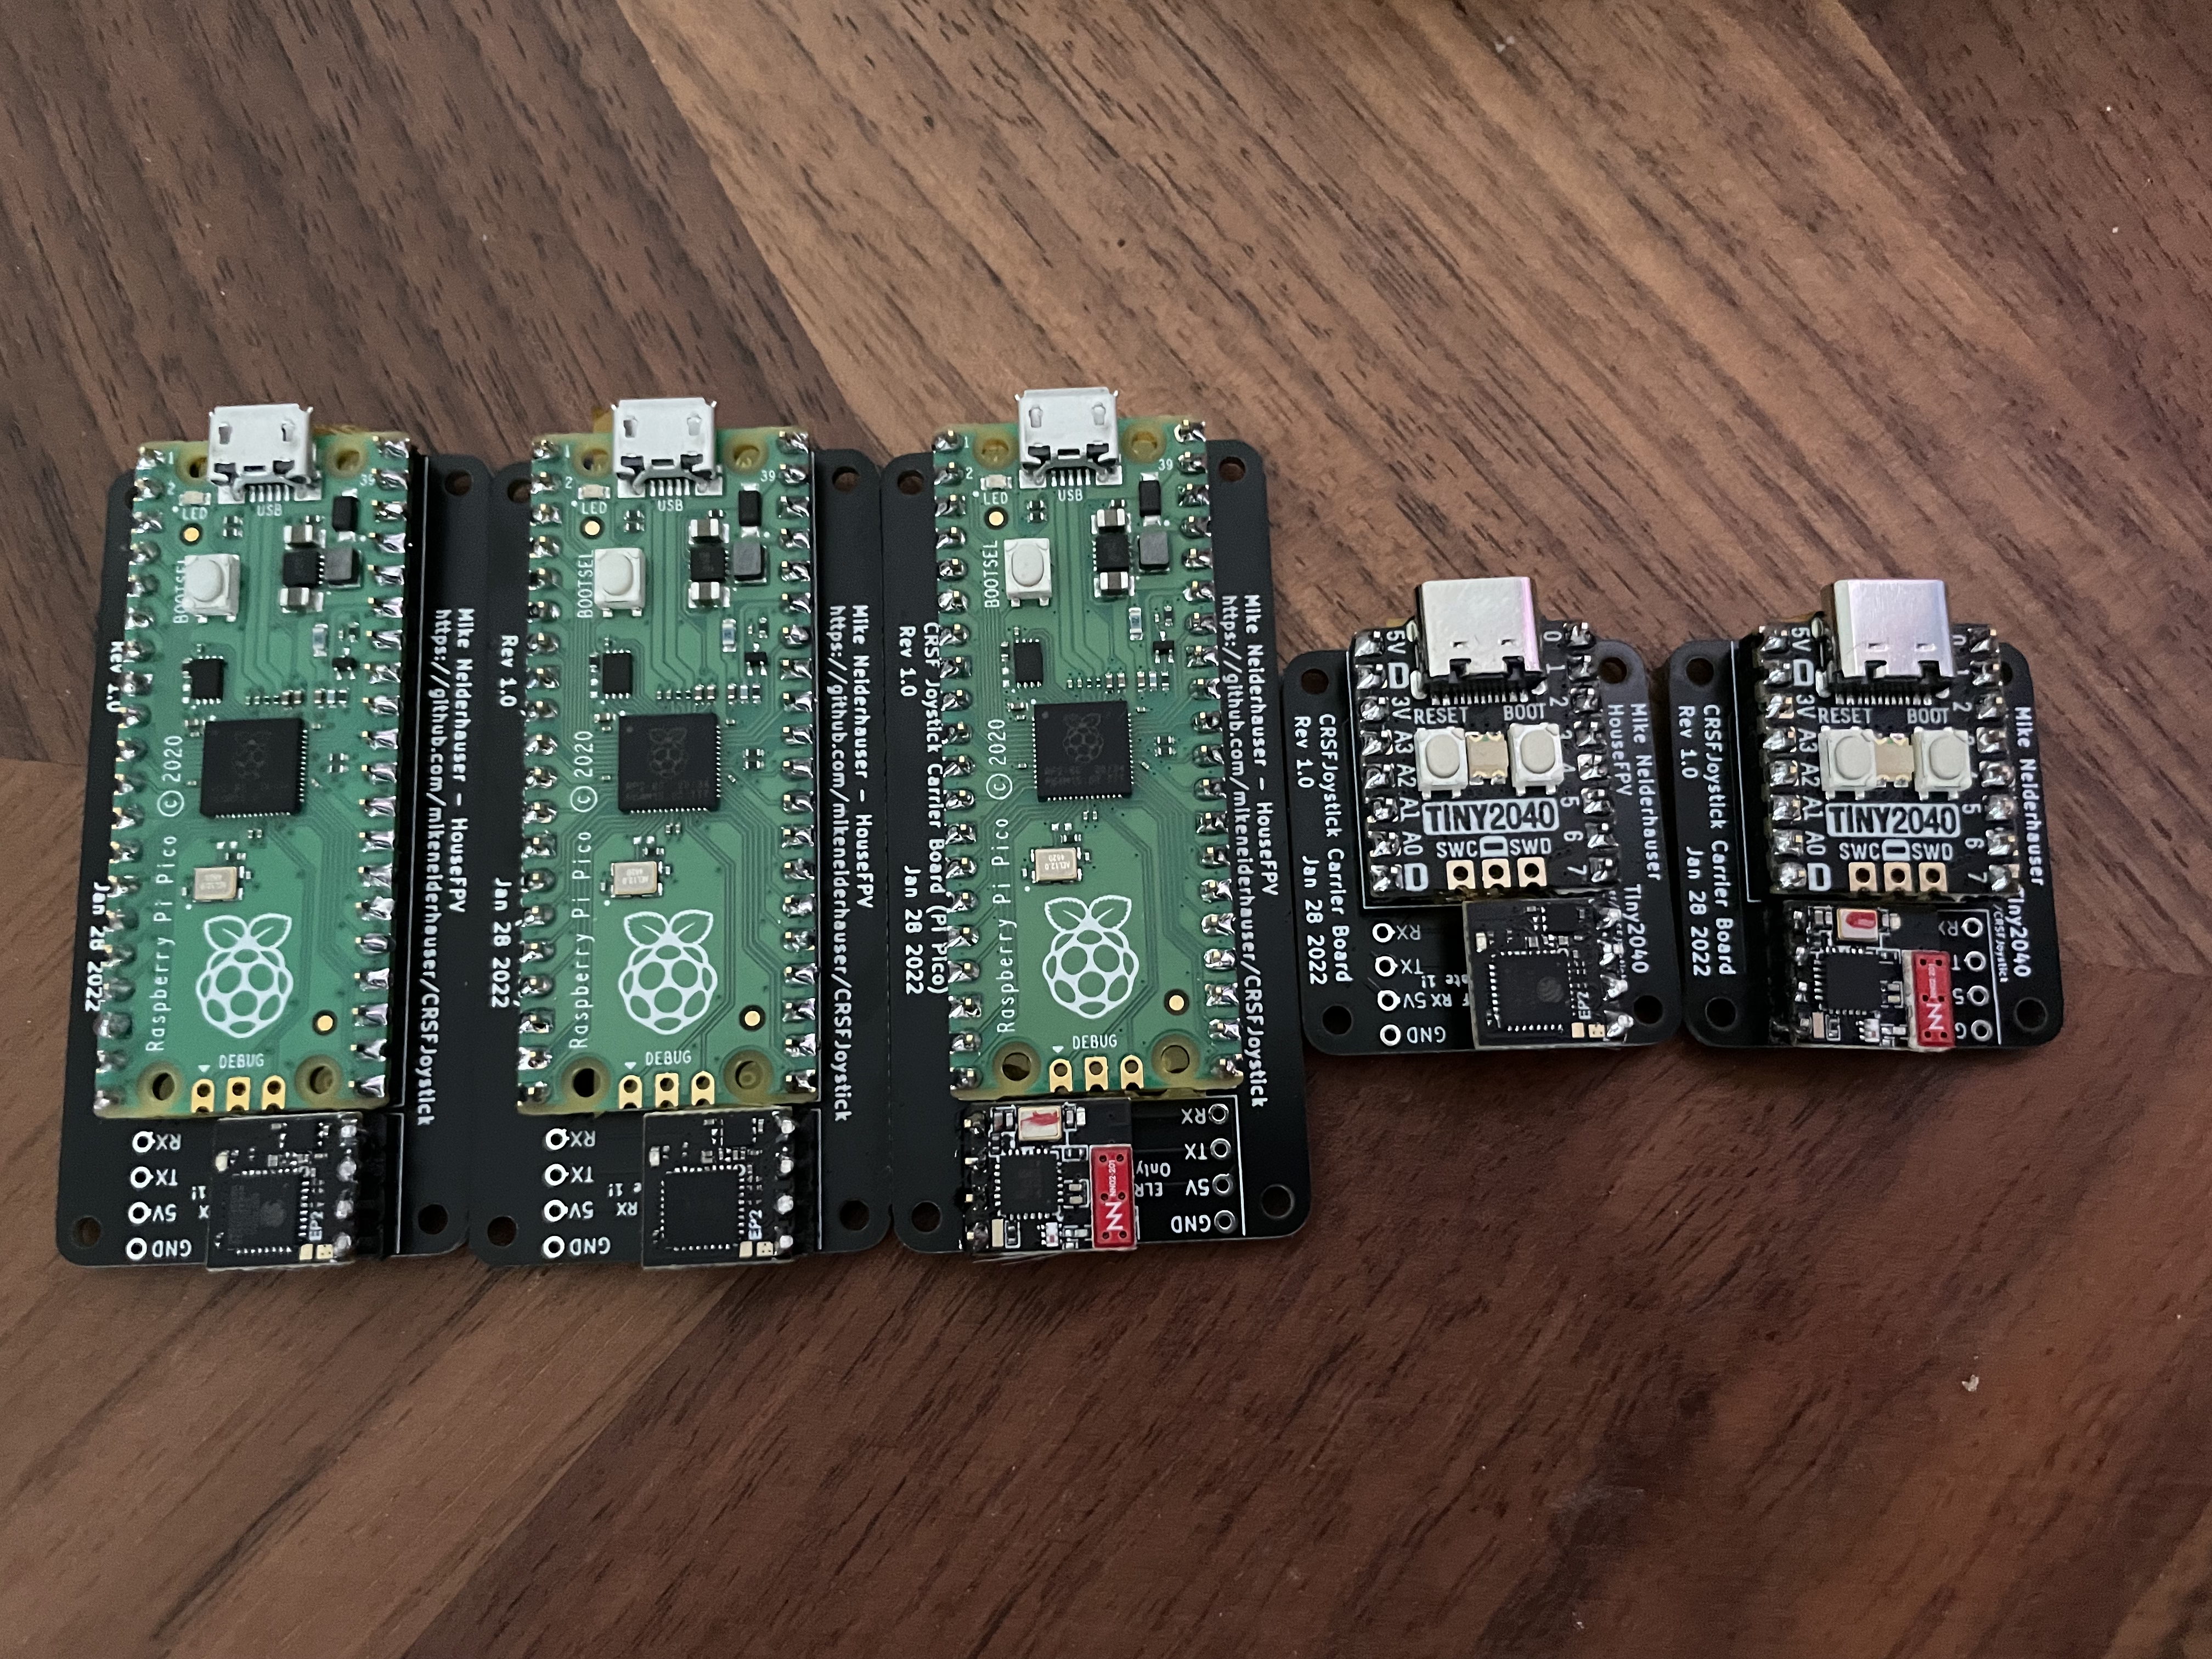
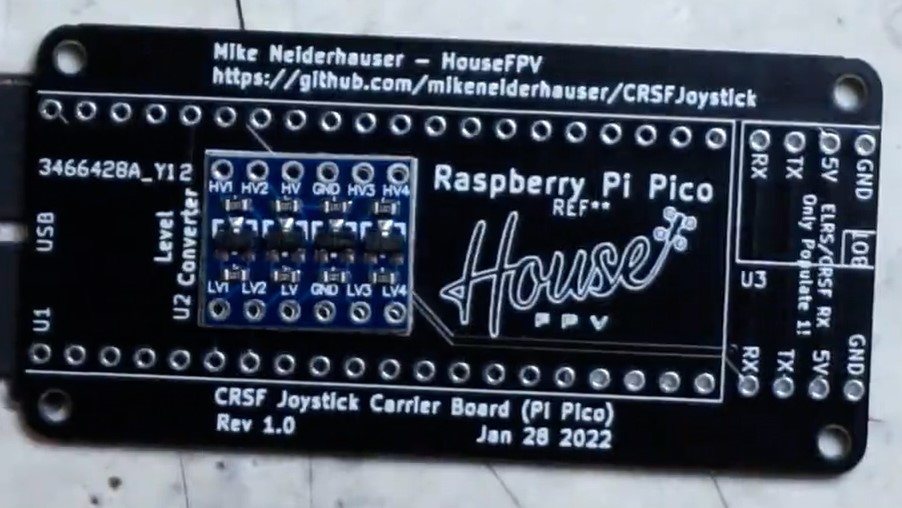
- Pi Pico Version - Built to Order
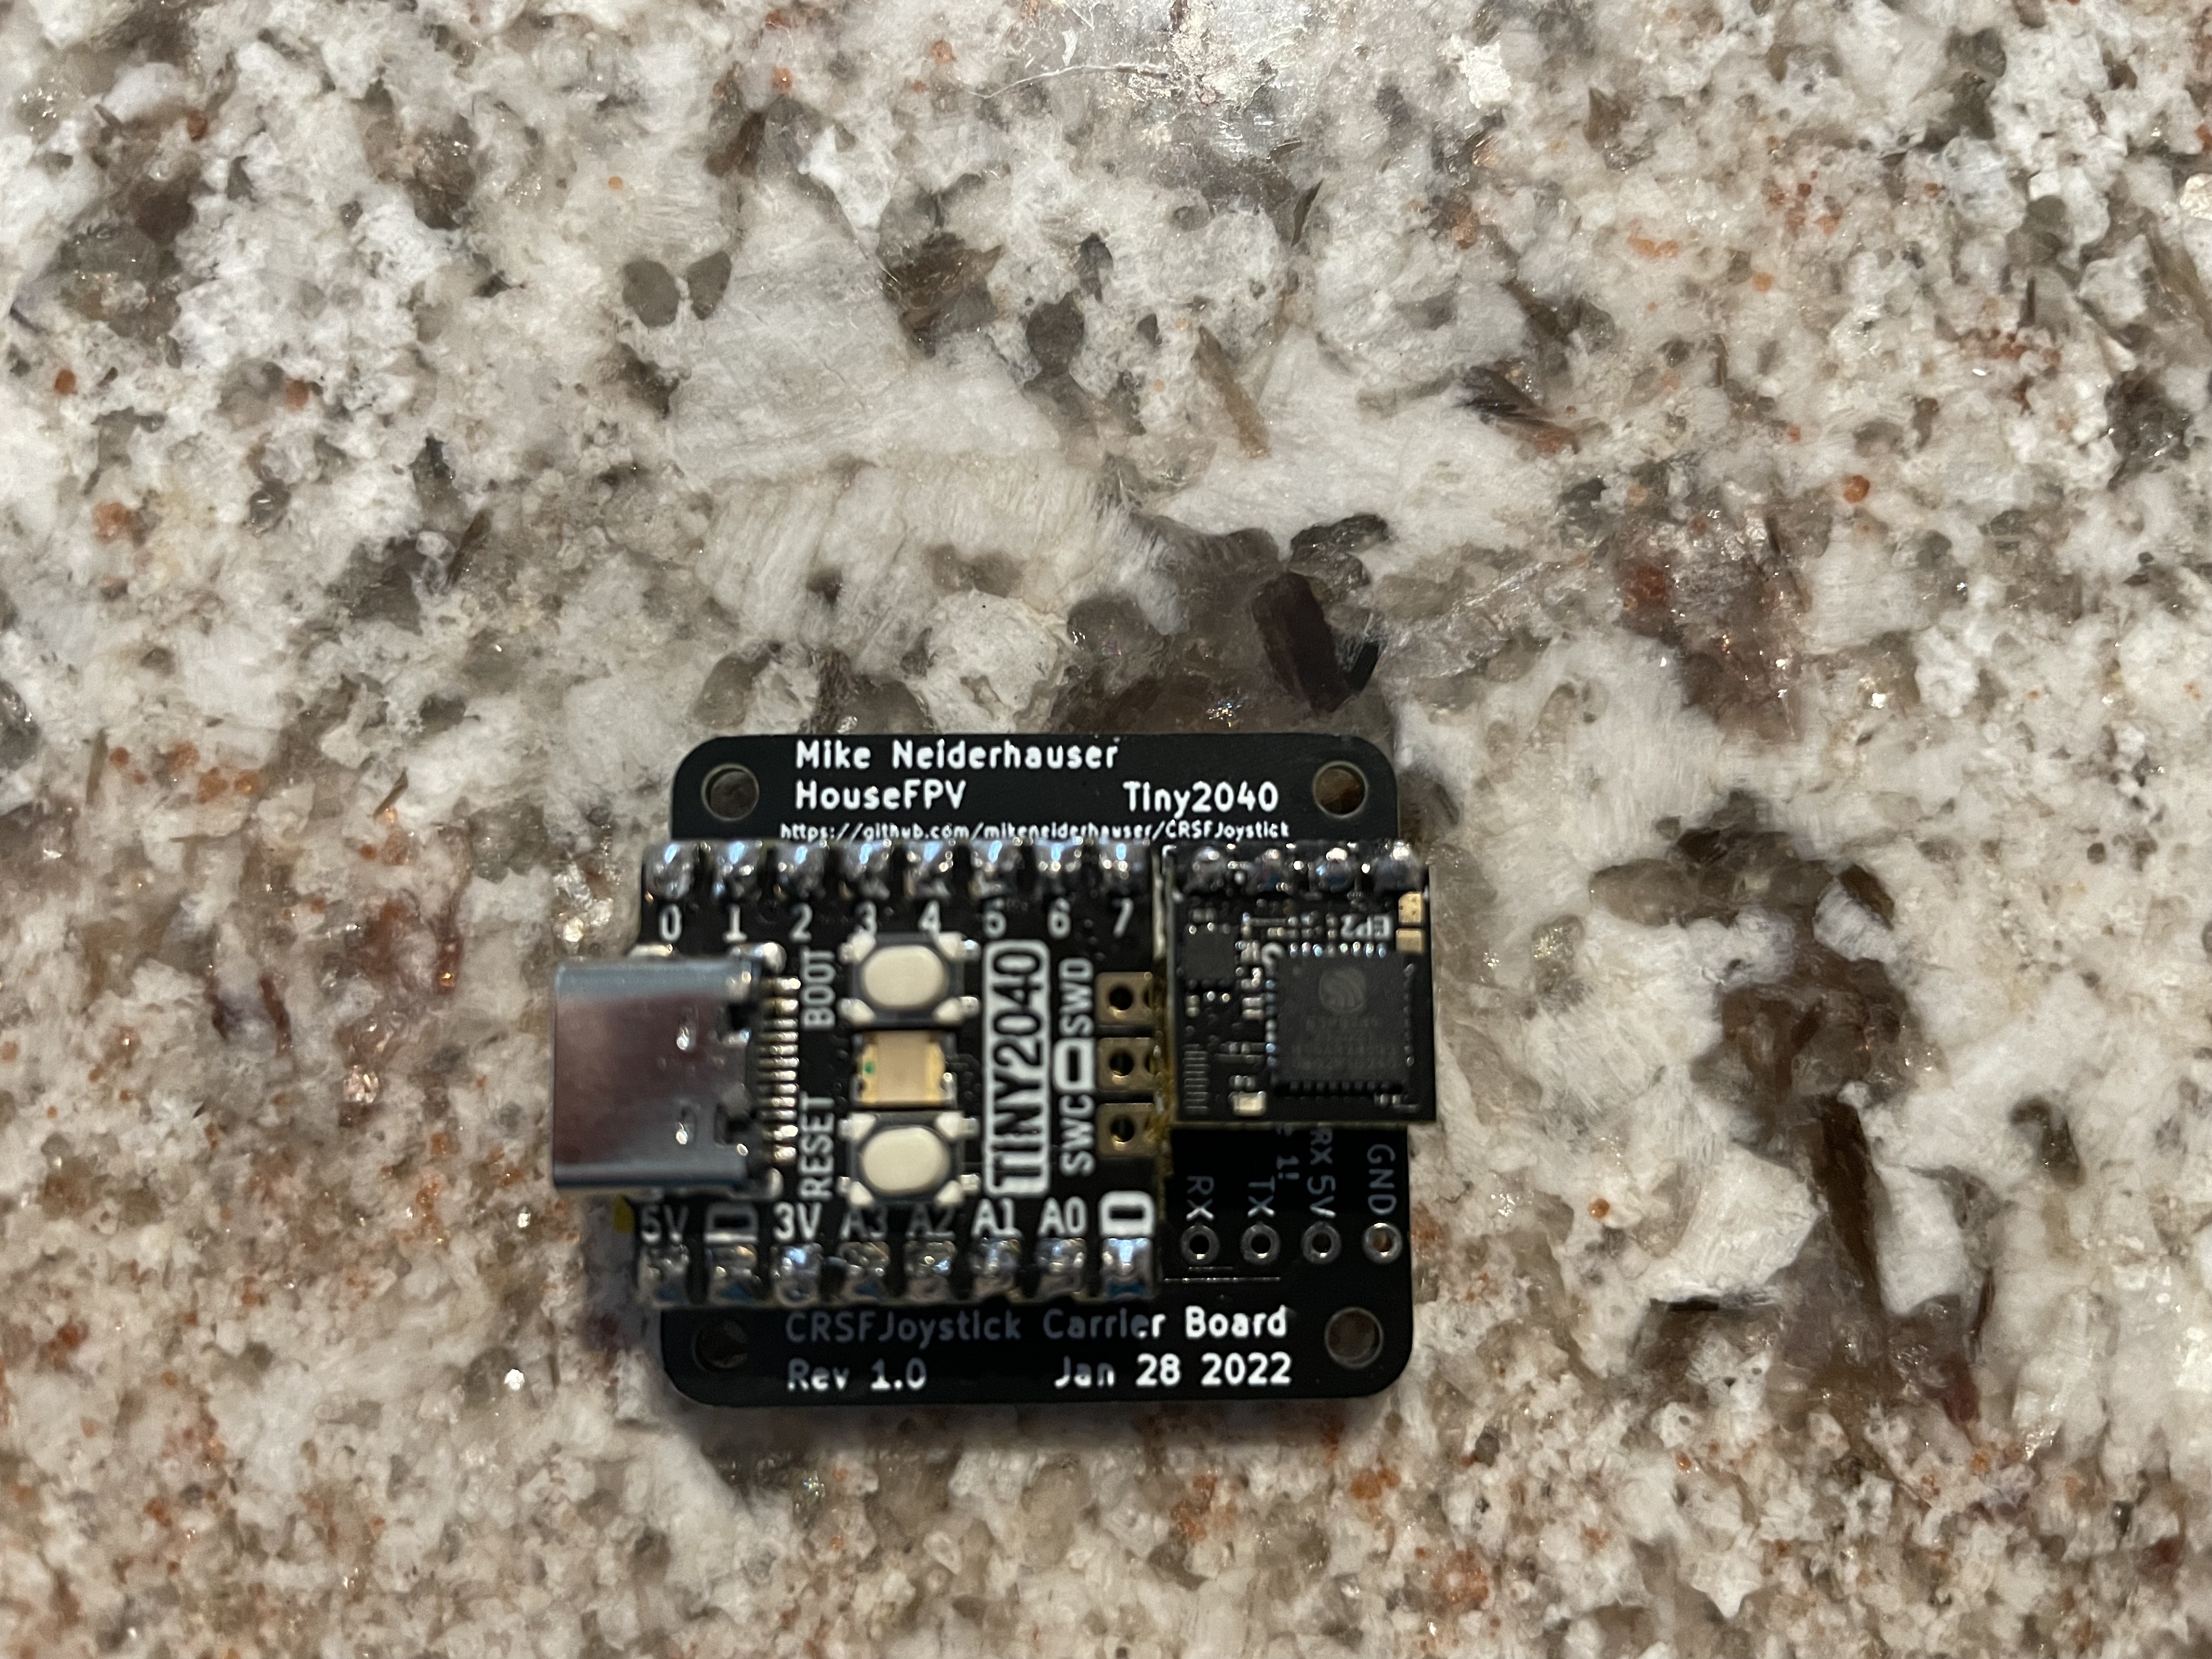
- Tiny2040 Version - Built to Order
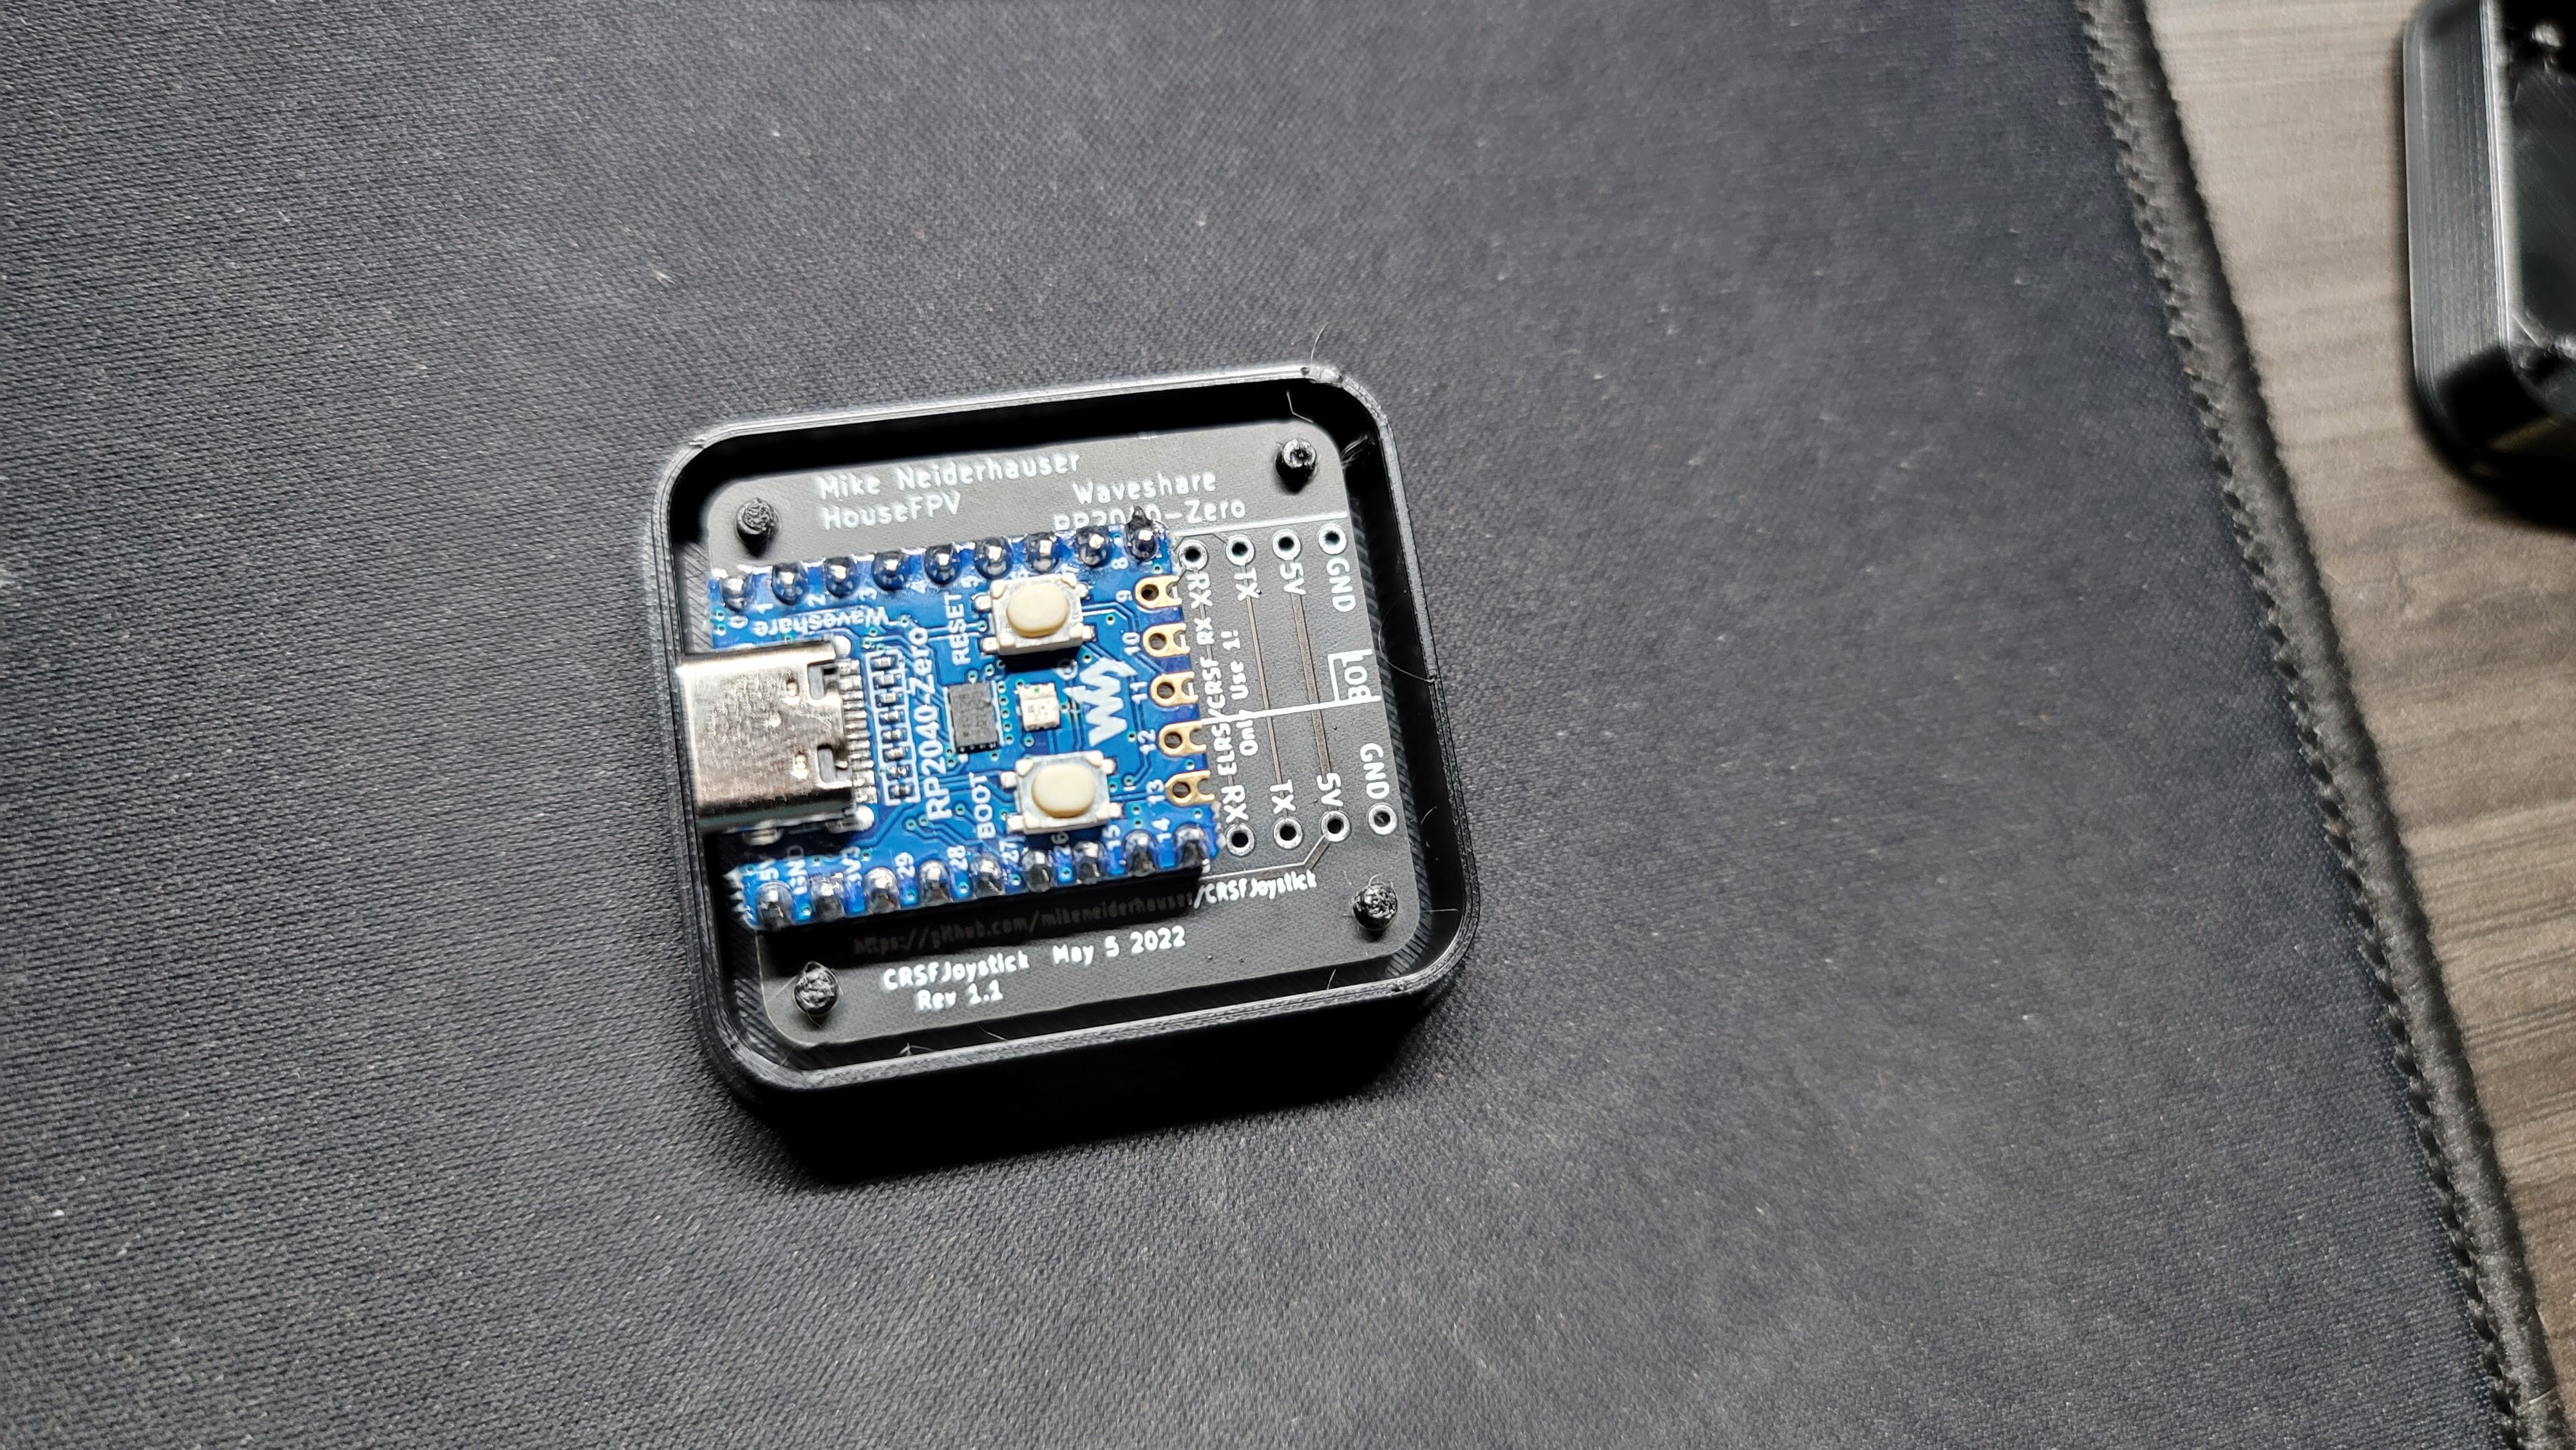
- WaveShare RP2040-Zero Version - Coming Soon!
- SEEED AXIO RP2040 Version - Coming Soon!
- BYORx Version - Coming Soon!
This project was designed primarily with ELRS usage in mind, however this code base has also been tested with TBS Crossfire Receivers (915MHZ) (last tested v6.16) and TBS Tracer Receivers (2.4GHz) (last tested v6.17) and both appear to work! Flight was teseted in the Liftoff simulator.
I no longer have TBS Crossfire nor TBS Tracer TX modules or Receivers so future tests will have to be conducted by others.
Tested with arduino-1.8.19.
Go to Boards manager and install 'Arduino Mbed OS RP2040 Boards' package. I'm using version 2.6.1 currently.
Update the arduino ide preferences to point to the Sketchbook folder contained by this repo. Libraries and examples are already included.
Compile and upload.
On first upload to the pico, you will need to hold in the bootsel buttion before plugging it into the computer. This should only have to be done once and subsequent uppdates can be done automatically by the ide.
Once uploaded, the device should be recgonzed by your computer as a HID Joystick.
This was a quick map and is not fully featured.
On link up/down the onboard Pi Pico LED will light indicating connection
NOTE Channel 5, 6, 7, and 8 are mapped both to analog axis as well as joystick buttons.
| Channel | Logical Mapping | Joystick Mapping |
|---|---|---|
| 1 | A | X |
| 2 | E | Y |
| 3 | T | Rx |
| 4 | R | Ry |
| 5 | Channel 5 (Full) AND AUX1 (1510-2011) | Z AND Button 0 |
| 6 | Channel 6 (Full) AND AUX2 (1510-2011) | Rz AND Button 1 |
| 7 | Channel 7 (Full) AND AUX3 (1510-2011) | S0 AND Button 2 |
| 8 | Channel 8 (Full) AND AUX4 (1510-2001) | S1 AND Button 3 |
| 9 | AUX5 (1510-2011) | Button 4 |
| 10 | AUX6 (1510-2011) | Button 5 |
| 11 | AUX7 (1510-2011) | Button 6 |
| 12 | AUX8 (1510-2011) | Button 7 |
| 13 | Not Used | Not Used |
| 14 | Not Used | Not Used |
| 15 | LQ - Not Used | Not Used |
| 16 | RSSI - Not Used | Not Used |
Note additional button mappings can be created in caliration.h
| Part | Link | Approx Cost |
|---|---|---|
| Pi Pico | https://www.pishop.us/product/raspberry-pi-pico/ | $4 (Approx $6 with shipping) |
| Tiny 2040 (alt part) | https://www.pishop.us/product/tiny-2040/ | $10 (Approx $12 with shipping) |
| ELRS RX (any will do) | https://www.racedayquads.com/products/happymodel-2-4ghz-ep1-rx-express-lrs-receiver?_pos=1&_sid=c7214d987&_ss=r | $13.50 |
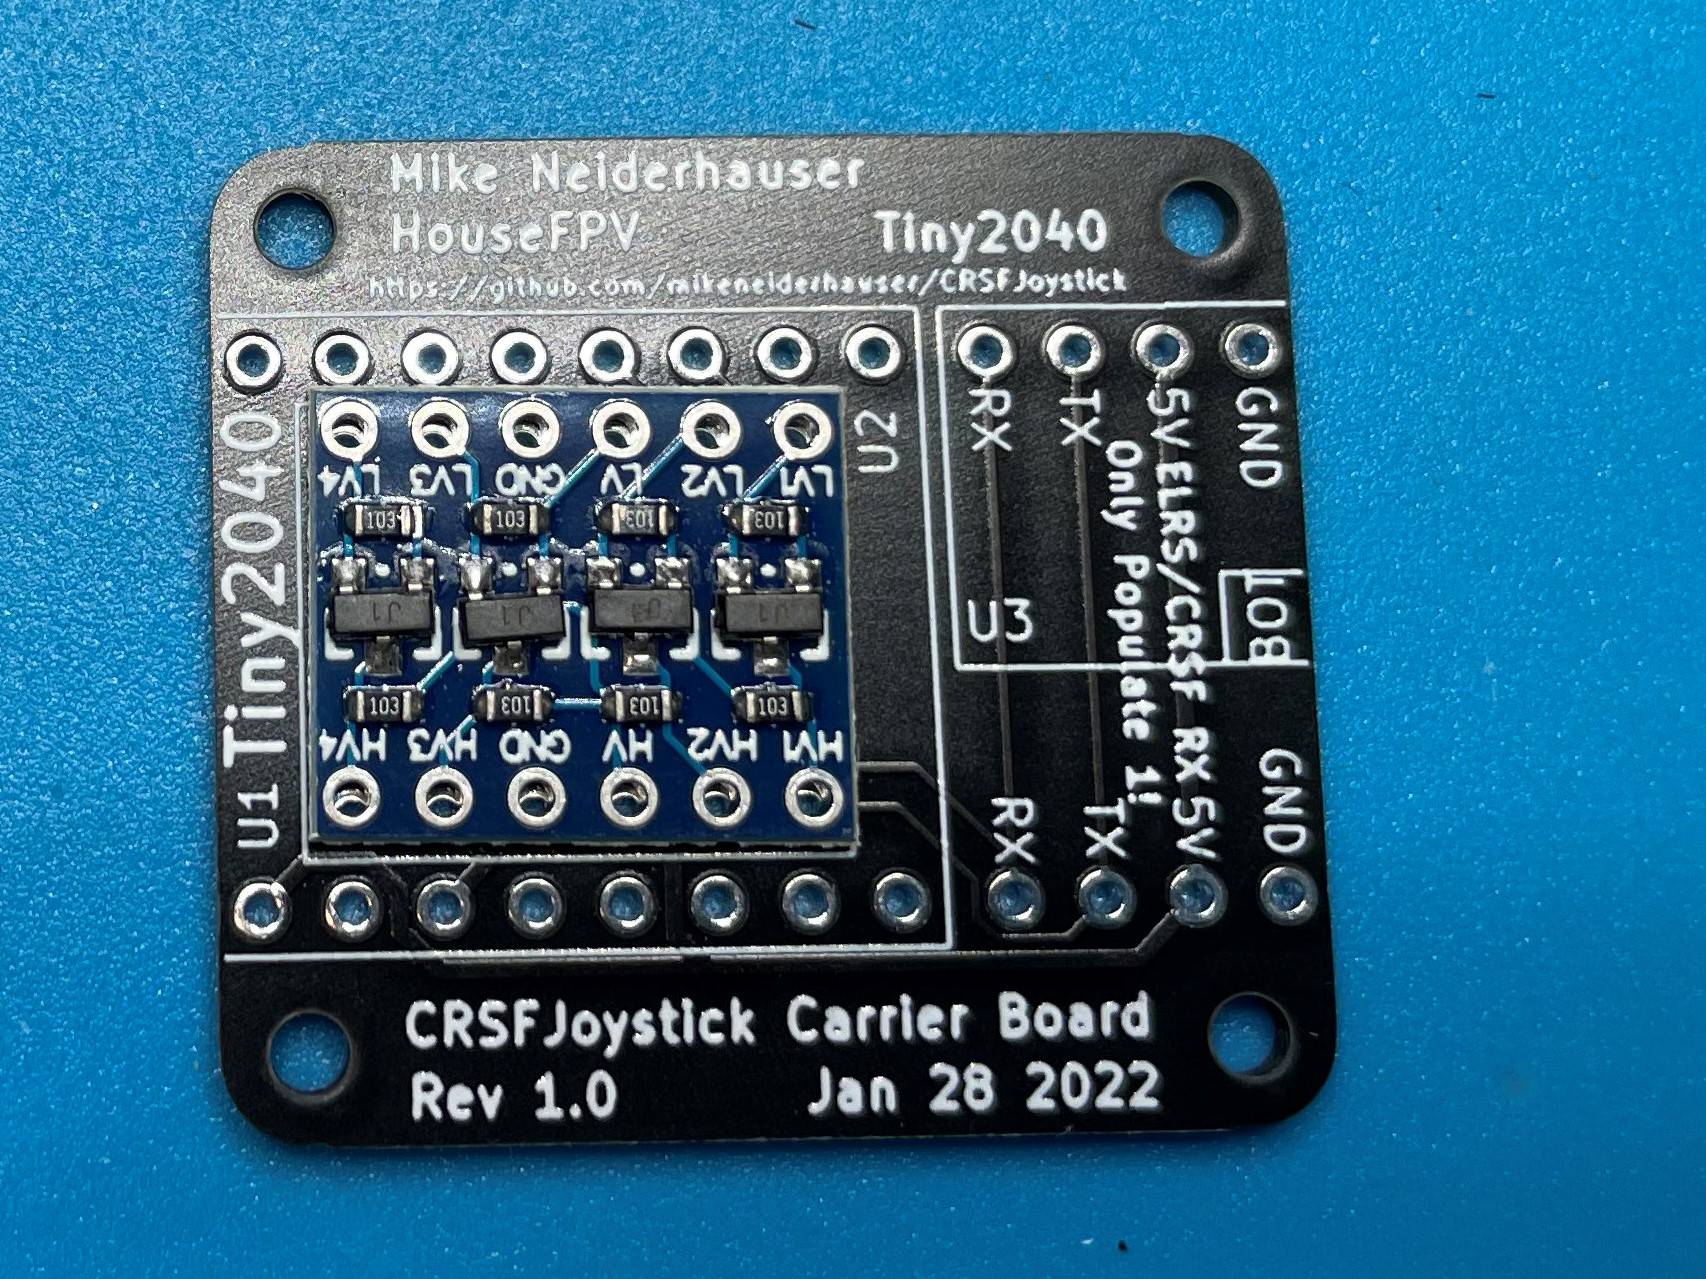
| Level Shifter (Used for prototype boards) | https://www.amazon.com/dp/B07F7W91LC?psc=1&ref=ppx_yo2_dt_b_product_details | 10 for $7.50 ($0.75 ea) |
Approx part cost for pico hardware (large footprint, cheaper) - $20-$25
- Pi Pico - $4.00
- ELRS RX - $13.50
- Level Shifter - $0.75
- Carrier Board - $1.00 (approx)
- Shipping / Tax from vendors - varies
Approx part cost for tiny2040 hardware (much smaller footprint) - $25-$30
- Tiny2040 - $10.00
- ELRS RX - $13.50
- Level Shifter - $0.75
- Carrier Board - $1.00 (approx)
- Shipping / Tax from vendors - varies
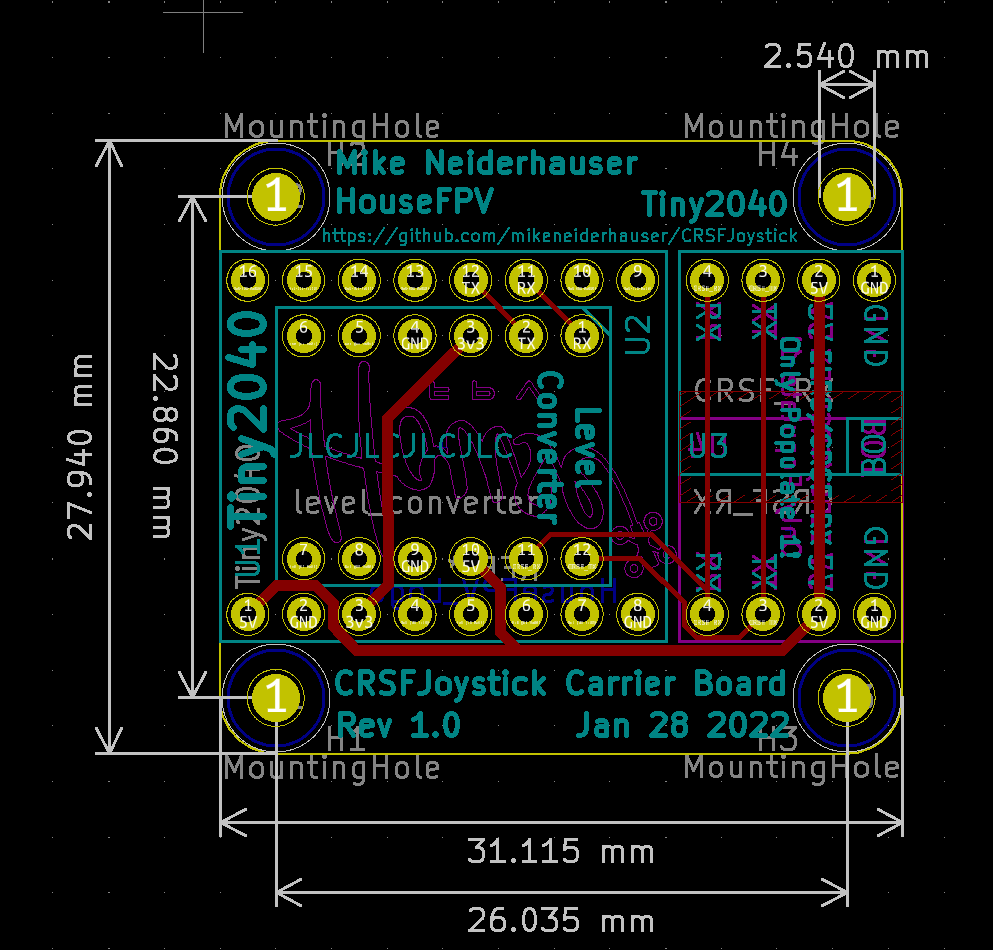
Hardware build files are located in hardware/kicad/CRSFJoystick/output/Rev1.0
I used JLCPCB with Black Soldermask and a board thickness of 1.6mm.
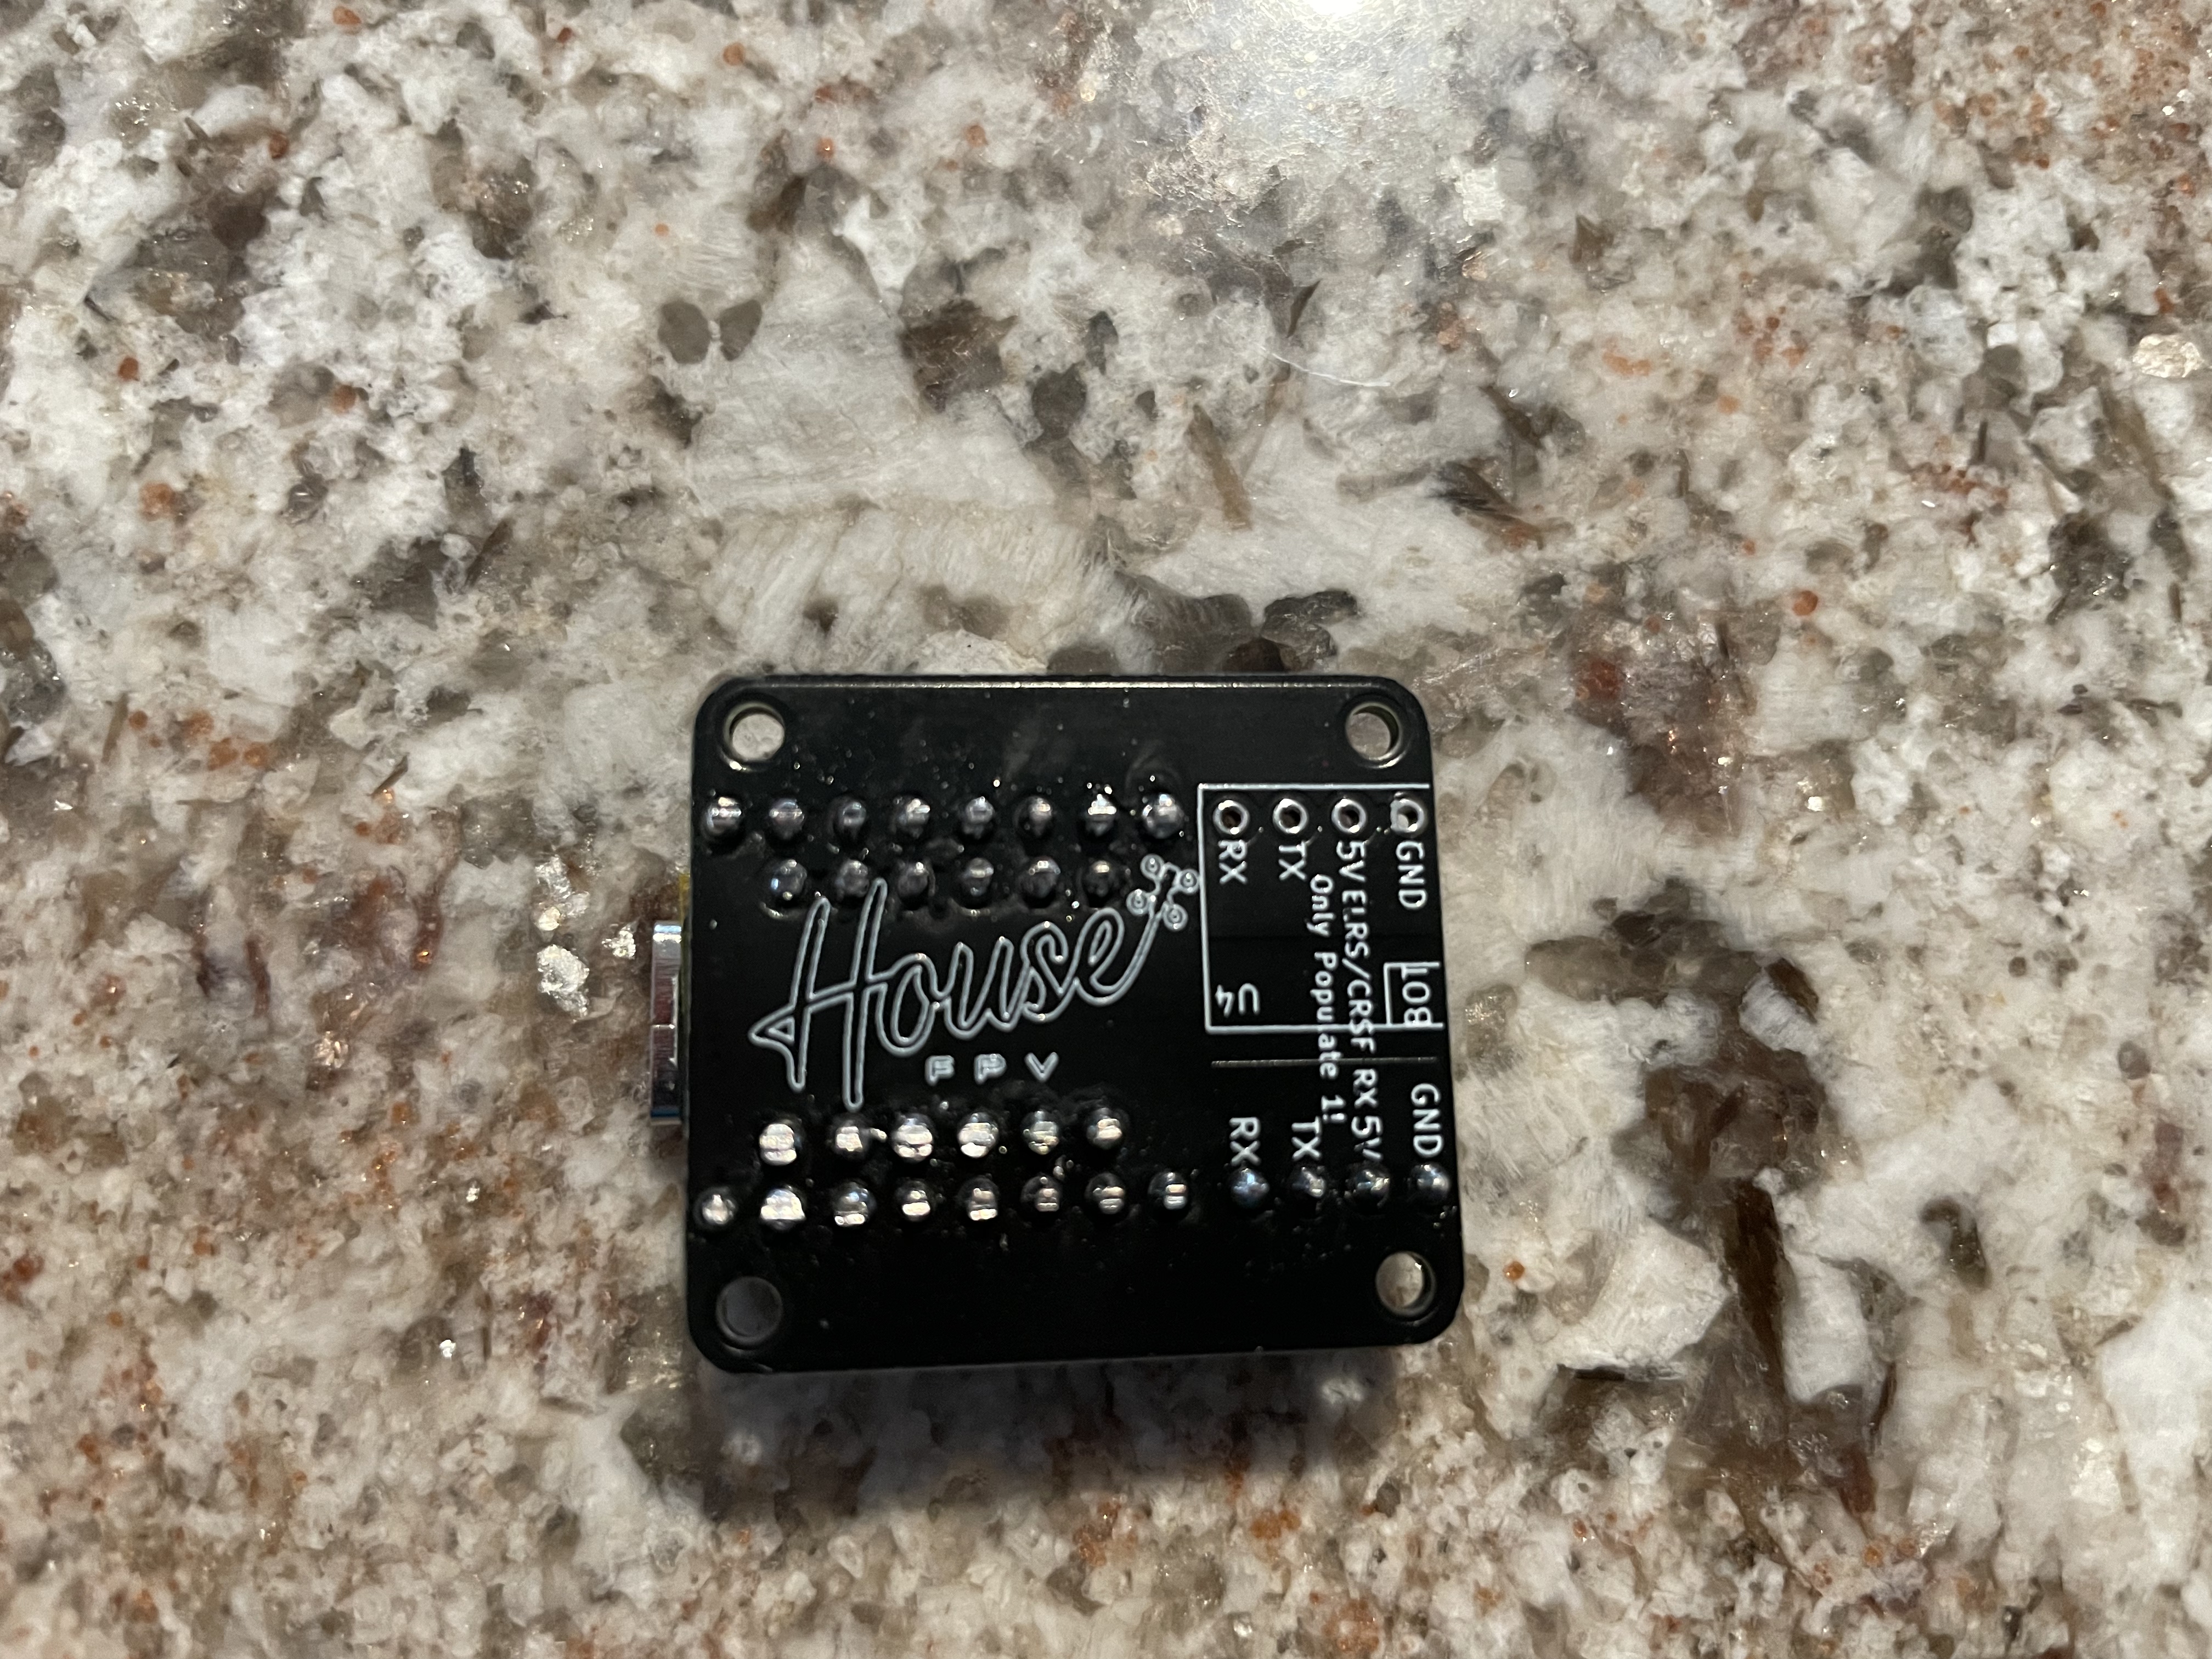
Note the different orientation of the ELRS RX's. The orientation can be flipped. I installed each RX to ensure the boot pad is exposed should the RX need recovered.
Board files now in the hardware folder. Not built or tested but should work.
First batch on order!
- Print the top and bottom enclosure
- Print 2 of the spacers for the Pi2040, Print 4 of the spacers for the Pi Pico version
- Follow the directions in this video https://youtu.be/Zuhfbobgm5A
- Convert from Arduino IDE to platform.io
- Add failsafe nopulses / hold
- Add cases for SEEED XAIO RP2040 Board
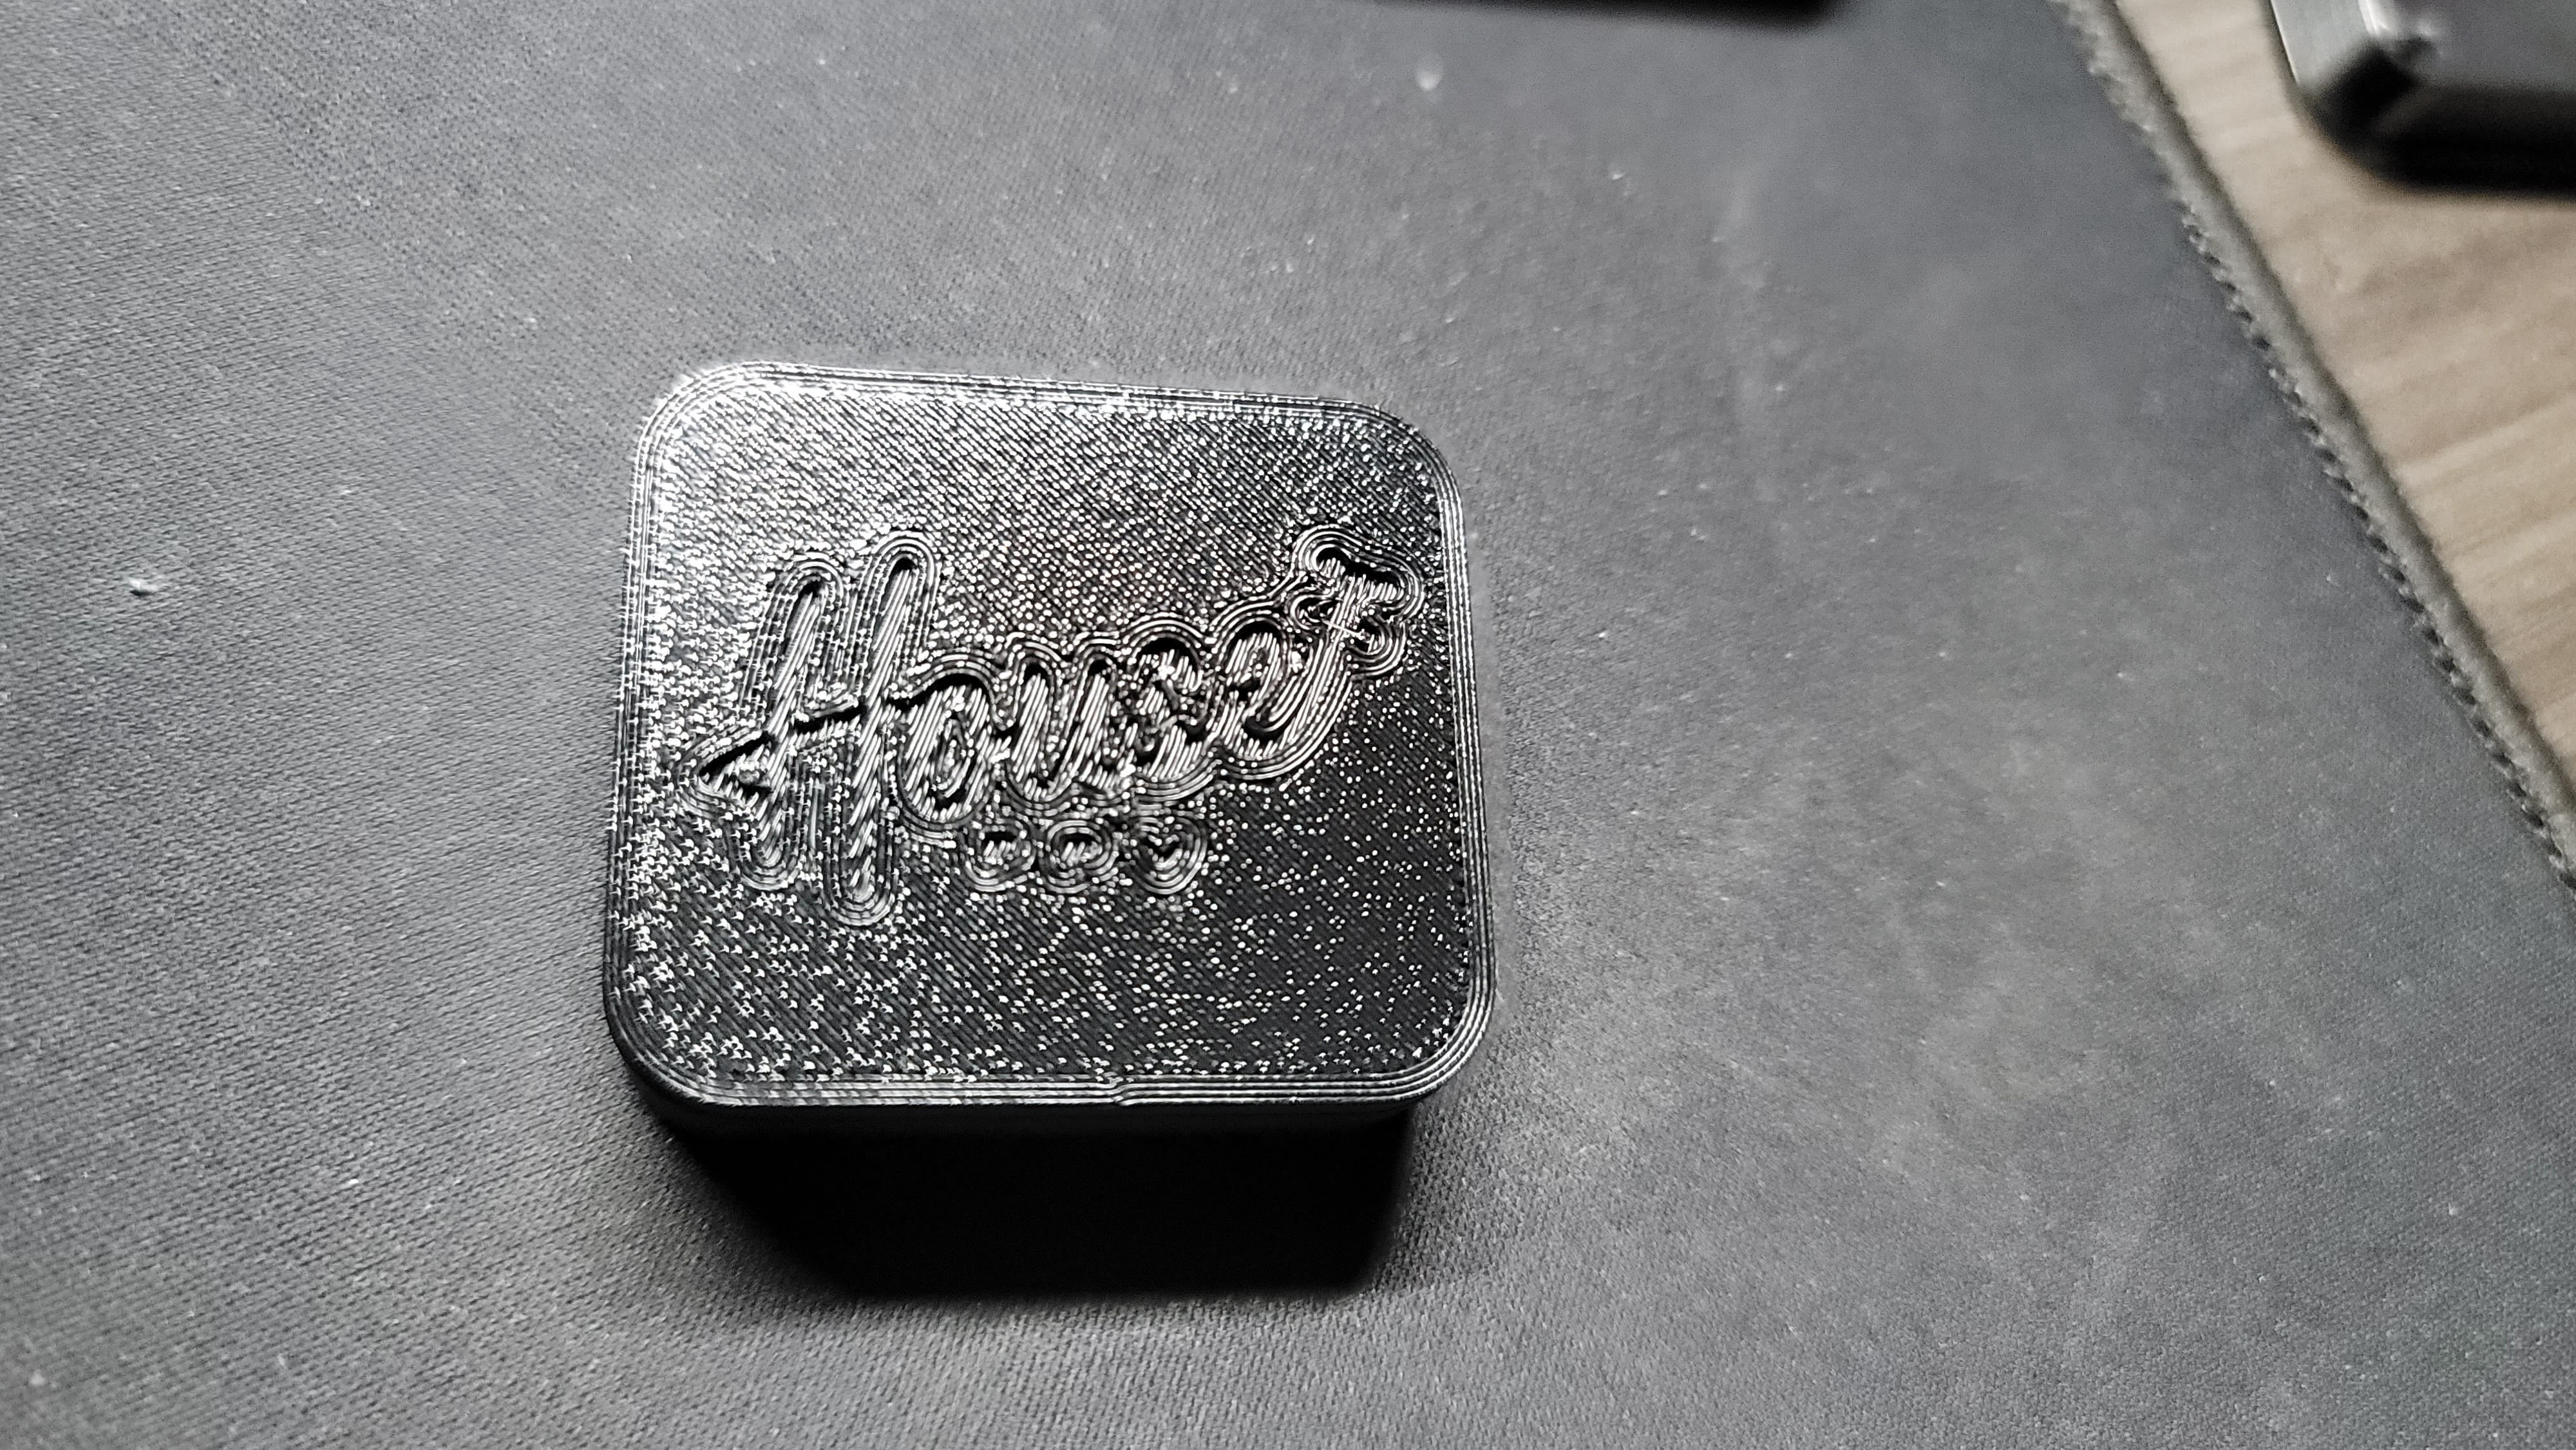
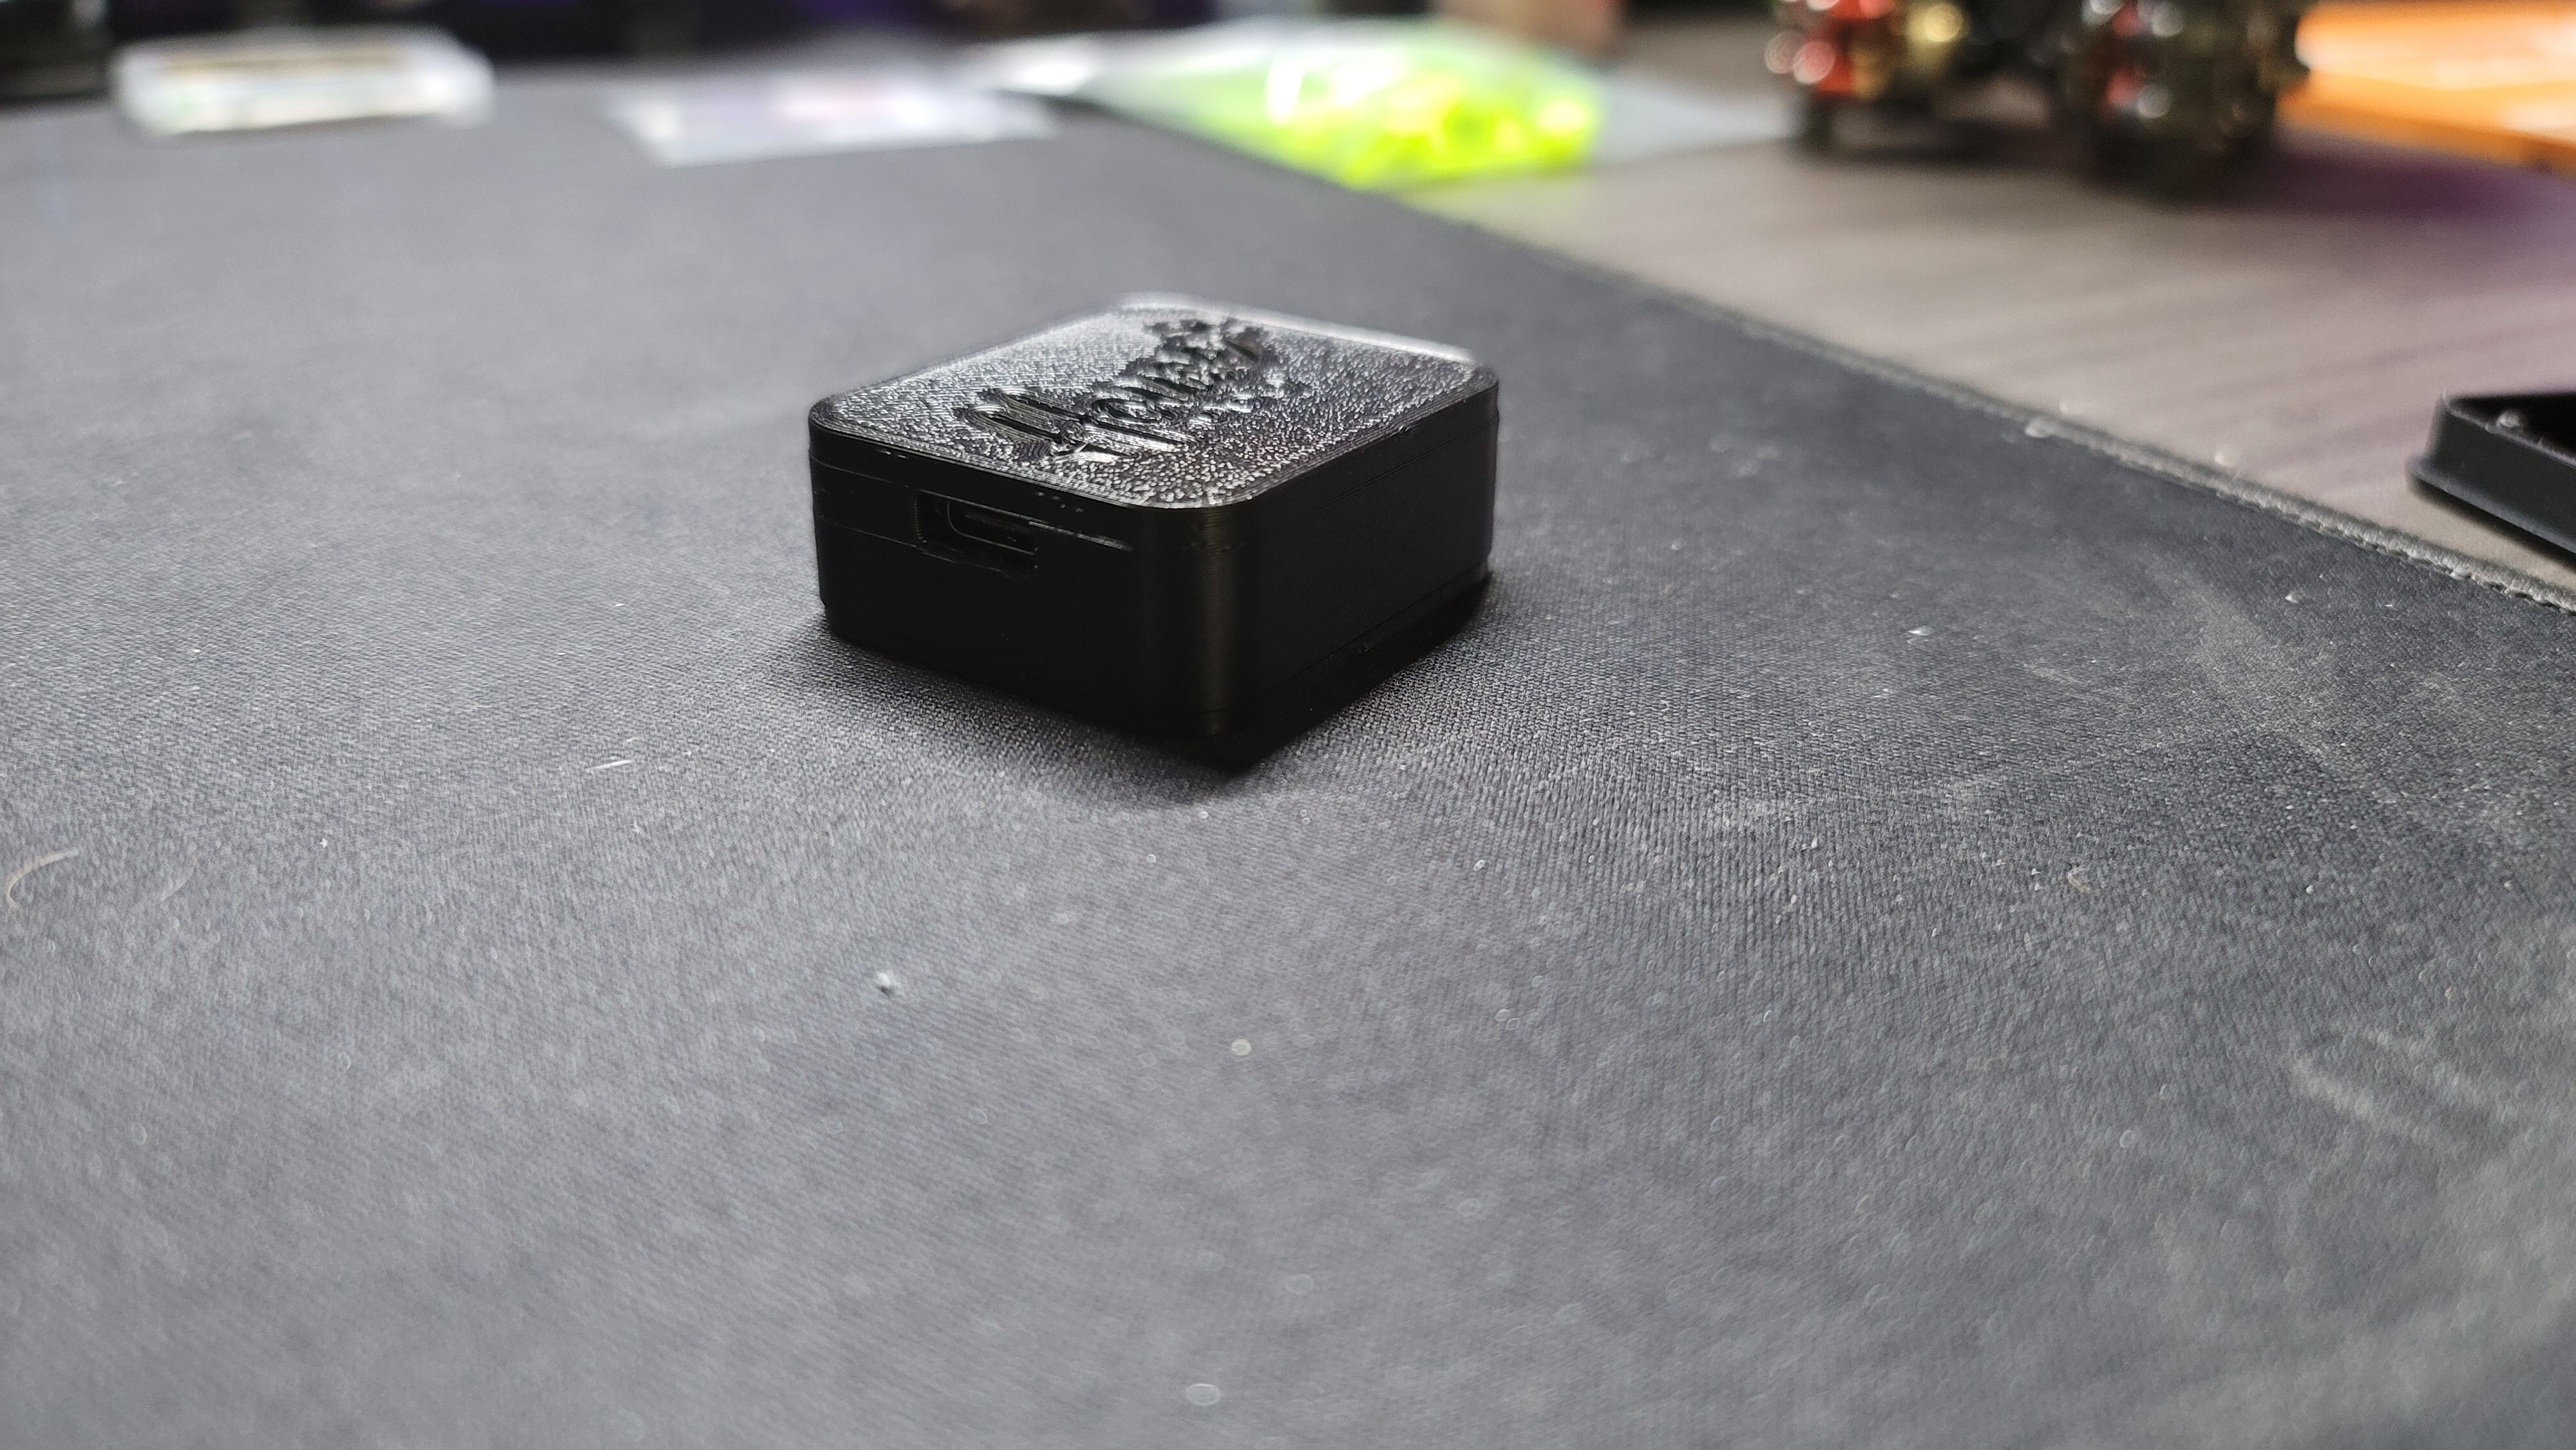
- Add cases for Waveshare RP2040-Zero Board
- FPVExchange Links for BYORx versions
