Docker EE 2.0 (beta) is the first Containers-as-a-Service platform to offer production-level support for the integrated management and security of both Linux and Windows Server Containers. It is also the first platform to support both Docker Swarm and Kubernetes orchestration.
In this lab we'll use a Docker EE cluster comprised of Windows and Linux nodes. We'll deploy both a Java web app on Linux and a multi-service application that includes both Windows and Linux components using Docker Swarm. Then we'll take a look at securing and scaling the application. Finally, we will then deploy the app using Kubernetes.
Difficulty: Intermediate (assumes basic familiarity with Docker) If you're looking for a basic introduction to Docker, check out https://training.play-with-docker.com
Time: Approximately 75 minutes
Introduction:
Tasks: TODO: Renumber after workshop content complete

TODO: update images, has to wait for example workspace to finalize
This workshop is only available to people in a pre-arranged workshop. That may happen through a Docker Meetup, a conference workshop that is being led by someone who has made these arrangements, or special arrangements between Docker and your company. The workshop leader will provide you with the URL to a workshop environment that includes Docker Enterprise Edition. The environment will be based on Play with Docker.
If none of these apply to you, contact your local Docker Meetup Chapter and ask if there are any scheduled workshops. In the meantime, you may be interested in the labs available through the Play with Docker Classroom.
There are three main components to the Play With Docker (PWD) interface.
Play with Docker provides access to the 3 Docker EE hosts in your Cluster. These machines are:
- A Linux-based Docker EE 18.01 Manager node
- Two Linux-based Docker EE 18.01 Worker nodes
- A Windows Server 2016-based Docker EE 17.06 Worker Node
Important Note: beta Please note, as of now this is a beta Docker EE 2.0 environment. Docker EE 2.0 shows off the new Kubernetes functionality which is described below.
By clicking a name on the left, the console window will be connected to that node.
Additionally, the PWD screen provides you with a one-click access to the Universal Control Plane (UCP)
web-based management interface as well as the Docker Trusted Registry (DTR) web-based management interface. Clicking on either the UCP or DTR button will bring up the respective server web interface in a new tab.
Throughout the lab you will be asked to provide either hostnames or login credentials that are unique to your environment. These are displayed for you at the bottom of the screen.
-
When you encounter a phrase in between
<and>you are meant to substitute in a different value.For instance if you see
<dtr domain>you would actually type something likeip172-18-0-7-b70lttfic4qg008cvm90.direct.ee-workshop.play-with-docker.com -
When you see the Linux penguin all the following instructions should be completed in your Linux console

-
When you see the Windows flag all the subsequent instructions should be completed in your Windows console

Docker EE provides an integrated, tested and certified platform for apps running on enterprise Linux or Windows operating systems and Cloud providers. Docker EE is tightly integrated to the the underlying infrastructure to provide a native, easy to install experience and an optimized Docker environment. Docker Certified Infrastructure, Containers and Plugins are exclusively available for Docker EE with cooperative support from Docker and the Certified Technology Partner.
While it is easy to run an application in isolation on a single machine, orchestration allows you to coordinate multiple machines to manage an application, with features like replication, encryption, loadbalancing, service discovery and more. If you've read anything about Docker, you have probably heard of Kubernetes and Docker swarm mode. Docker EE allows you to use either Docker swarm mode or Kubernetes for orchestration.
Both Docker swarm mode and Kubernetes are declarative: you declare your cluster's desired state, and applications you want to run and where, networks, and resources they can use. Docker EE simplifies this by taking common concepts and moving them to the a shared resource.
A swarm is a group of machines that are running Docker and joined into a cluster. After that has happened, you continue to run the Docker commands you’re used to, but now they are executed on a cluster by a swarm manager. The machines in a swarm can be physical or virtual. After joining a swarm, they are referred to as nodes.
Swarm mode uses managers and workers to run your applications. Managers run the swarm cluster, making sure nodes can communicate with each other, allocate applications to different nodes, and handle a variety of other tasks in the cluster. Workers are there to provide extra capacity to your applications. In this workshop, you have one manager and three workers.
Kubernetes is available in Docker EE 2.0 (currently in beta) and included in this workshop. Kubernetes deployments tend to be more complex than Docker Swarm, and there are many component types. UCP simplifies a lot of that, relying on Docker Swarm to handle shared resources. We'll concentrate on Pods and Load Balancers in this workshop, but there's plenty more supported by UCP 2.0.
The Play with Docker (PWD) environment is almost completely set up, but before we can begin the labs, we need to do two more steps. First we'll add a Windows node to the cluster. We've left the node unjoined so you can see how easy it is to do. Then we'll create two repositories in Docker Trusted Registry. (The Linux worker nodes are already added to the cluster)
-
Navigate in your web browser to the URL the workshop organizer provided to you.
-
Fill out the form, and click
submit. You will then be redirected to the PWD environment. -
Click
AccessIt may take a few minutes to provision out your PWD environment. After this step completes, you'll be ready to move on to task 1.2: Install a Windows worker node
Let's start by adding our 3rd node to the cluster, a Windows Server 2016 worker node. This is done using Docker Swarm.
-
From the main PWD screen click the
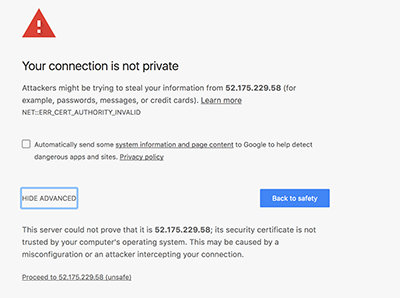
UCPbutton on the left side of the screenNote: Because this is a lab-based install of Docker EE we are using the default self-signed certs. Because of this your browser may display a security warning. It is safe to click through this warning.
In a production environment you would use certs from a trusted certificate authority and would not see this screen.
-
When prompted enter your username and password (these can be found below the console window in the main PWD screen). The UCP web interface should load up in your web browser.
Note: Once the main UCP screen loads you'll notice there is a red warning bar displayed at the top of the UCP screen, this is an artifact of running in a lab environment. A UCP server configured for a production environment would not display this warning

-
From the main dashboard screen, click
Add a Nodeon the bottom left of the screen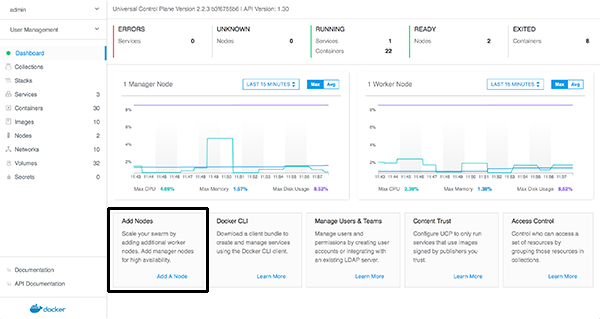
-
Select node type "Windows", check the box, that you followed the instructions and copy the text from the dark box shown on the
Add Nodescreen. Don't select a custom listen or advertise address.Note There is an icon in the upper right corner of the box that you can click to copy the text to your clipboard

Note: You may notice that there is a UI component to select
LinuxorWindowson theAdd Nodescreen. In a production environment where you are starting from scratch there are [a few prerequisite steps] to adding a Windows node. However, we've already done these steps in the PWD environment. So for this lab, just leave the selection onLinuxand move on to step 2


-
Switch back to the PWD interface, and click the name of your Windows node. This will connect the web-based console to your Windows Server 2016 Docker EE host.
-
Paste the text from Step 4 at the command prompt in the Windows console. (depending on your browser, this can be tricky: try the "paste" command from the edit menu instead of right clicking or using keyboard shortcuts)
You should see the message
This node joined a swarm as a worker.indicating you've successfully joined the node to the cluster. -
Switch back to the UCP server in your web browser and click the
xin the upper right corner to close theAdd Nodewindow -
You will be taken back to the UCP Dashboard. In the left menu bar, click Shared Resources, and select Nodes.

You should be taken to the Nodes screen and will see 4 worker nodes listed at the bottom of your screen.
Initially the new worker node will be shown with status `down`. After a minute or two, refresh your web browser to ensure that your Windows worker node has come up as `healthy`

> \: Update with new nodes page screenshot
Congratulations on adding a Windows node to your UCP cluster. Now you are ready to use the worker in either Swarm or Kubernetes. Next up we'll create a couple of repositories in Docker Trusted registry.
Docker Trusted Registry is a special server designed to store and manage your Docker images. In this lab we're going to create a couple of different Docker images, and push them to DTR. But before we can do that, we need to setup repositories in which those images will reside. Often that would be enough.
However, before we create the repositories, we do want to restrict access to them. Since we have two distinct app components, a Java web app, and a .NET API, we want to restrict access to them to the team that develops them, as well as the administrators. To do that, we need to create two users and then two organizations.
-
In the PWD web interface click the
DTRbutton on the left side of the screen.Note: As with UCP before, DTR is also using self-signed certs. It's safe to click through any browser warning you might encounter.
-
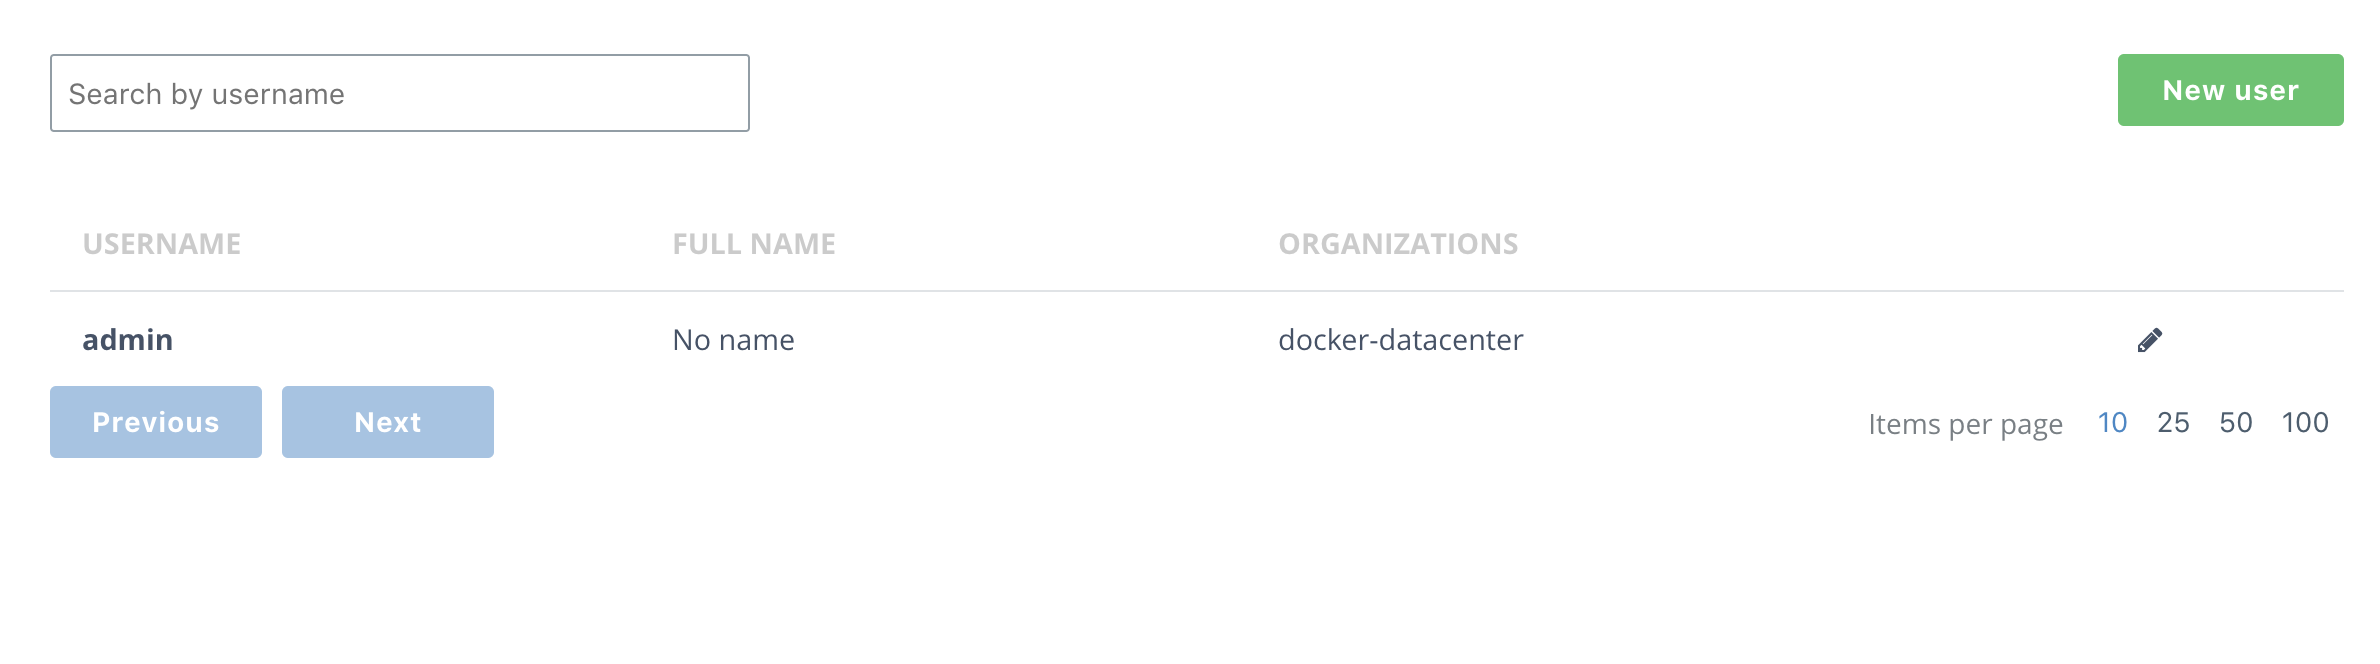
From the main DTR page, click users and then the New User button.
-
Create a new user,
java_userand give it a password you'll remember. I useduser1234. Be sure to save the user. Then do the same for a
 dotnet_user. -
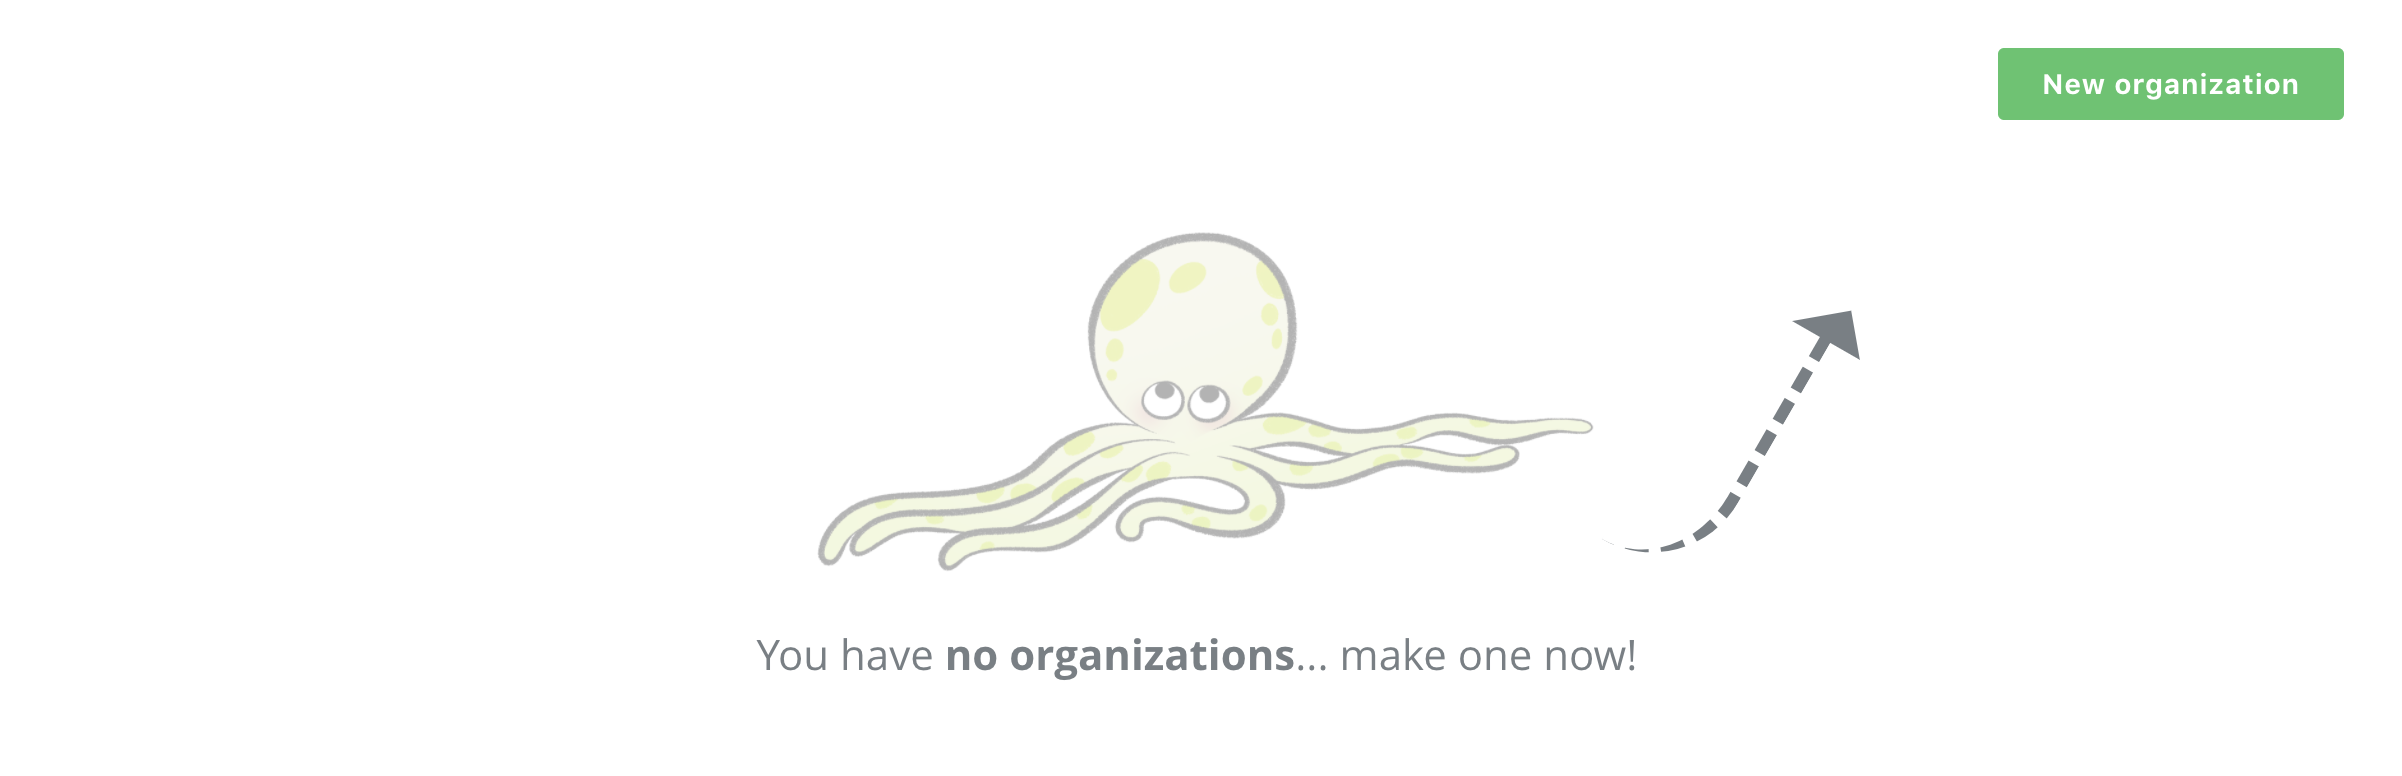
Select the Organization button.
-
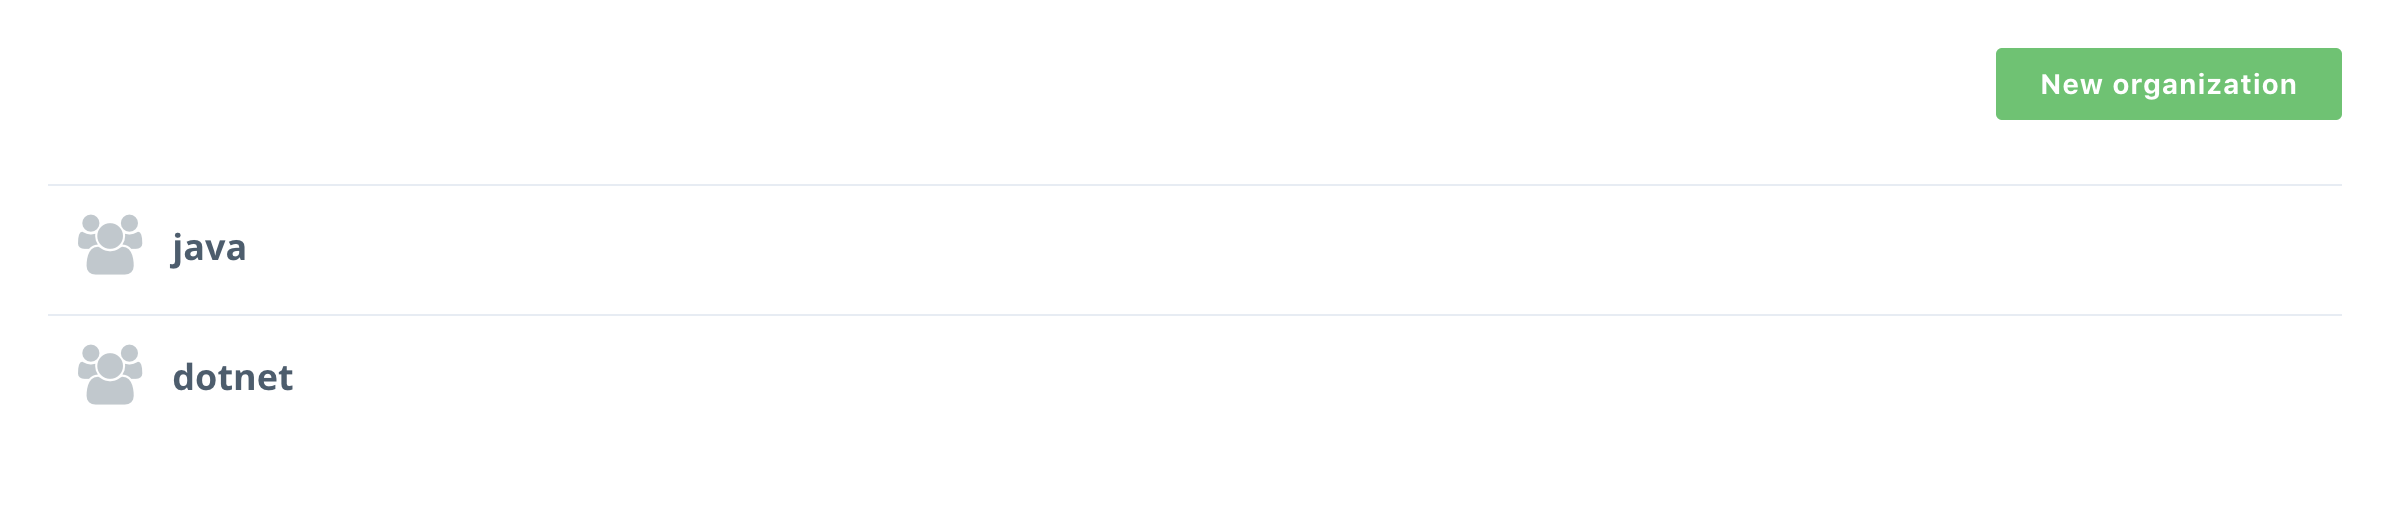
Press New organization button, name it java, and click save.
 Then do the same with dotnet and you'll have two organizations.
-
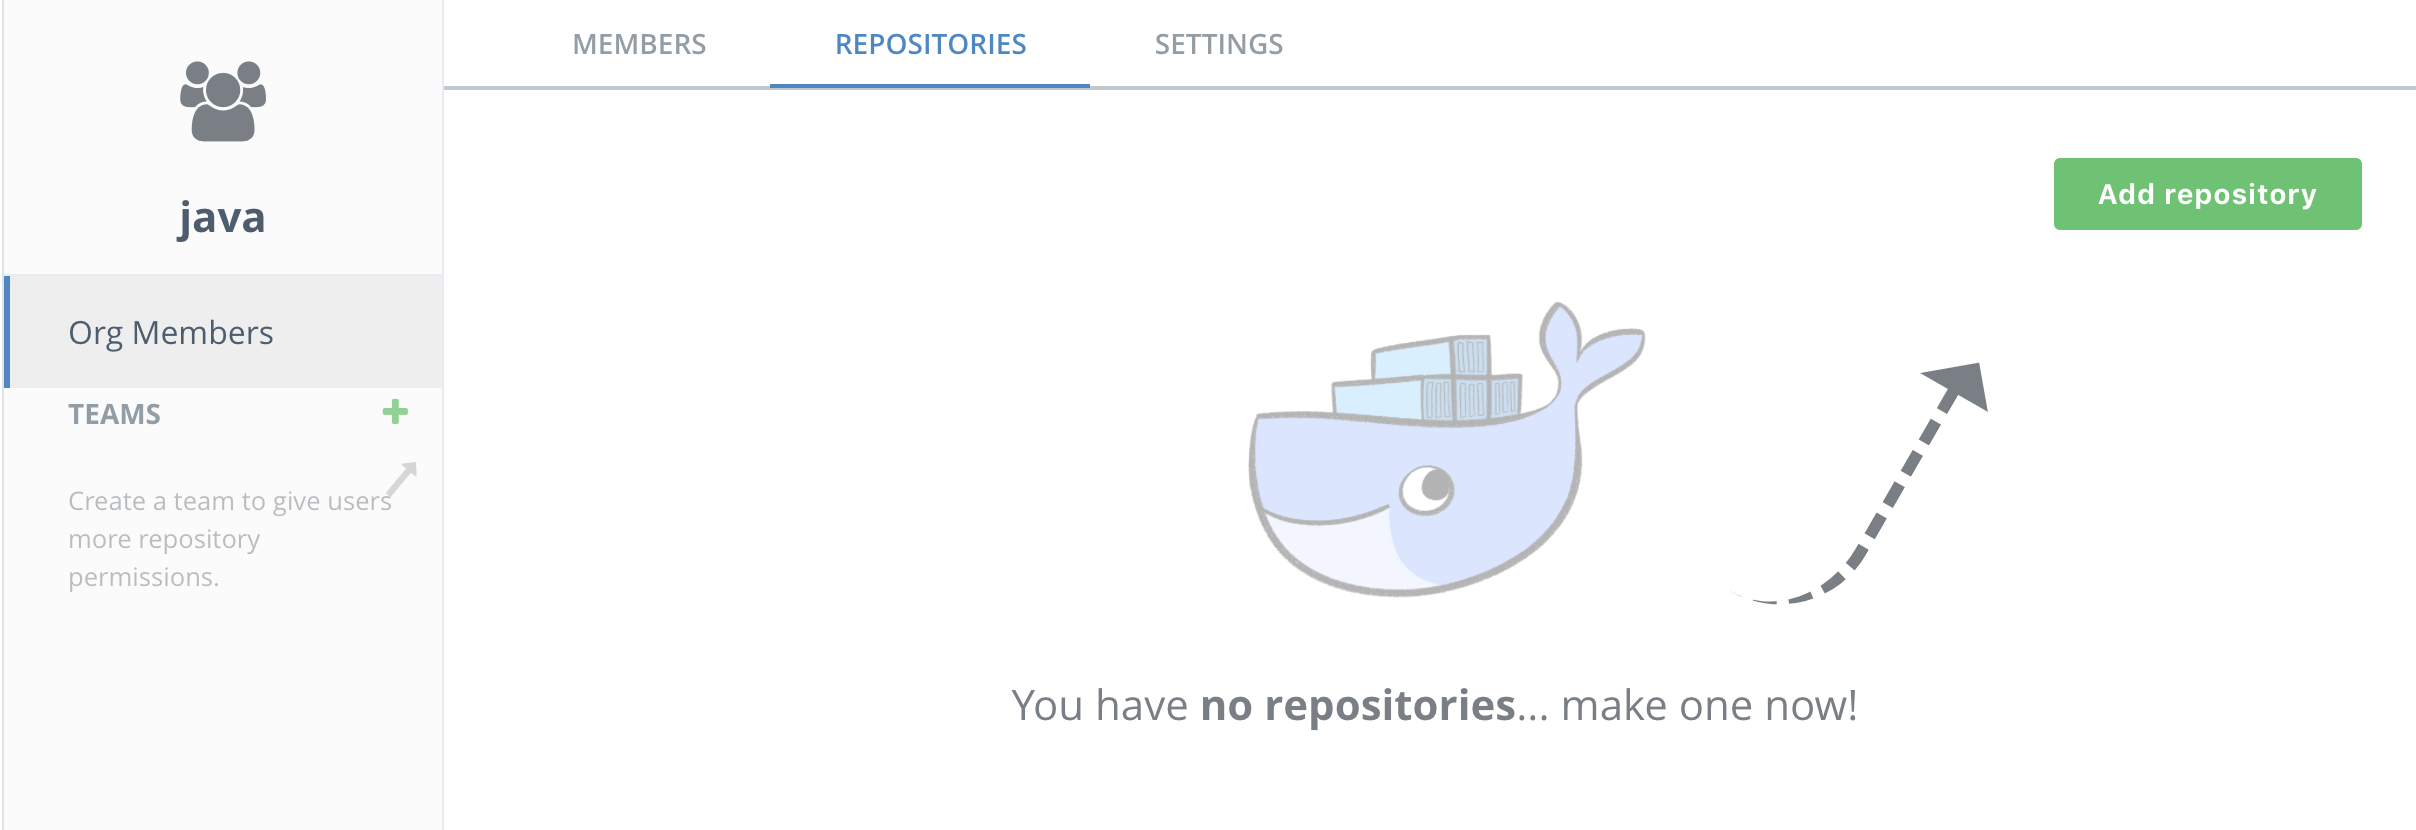
Now you get to add a repository! Still on the java organization, select repositories and then Add repository
-
Name the repository
java_web.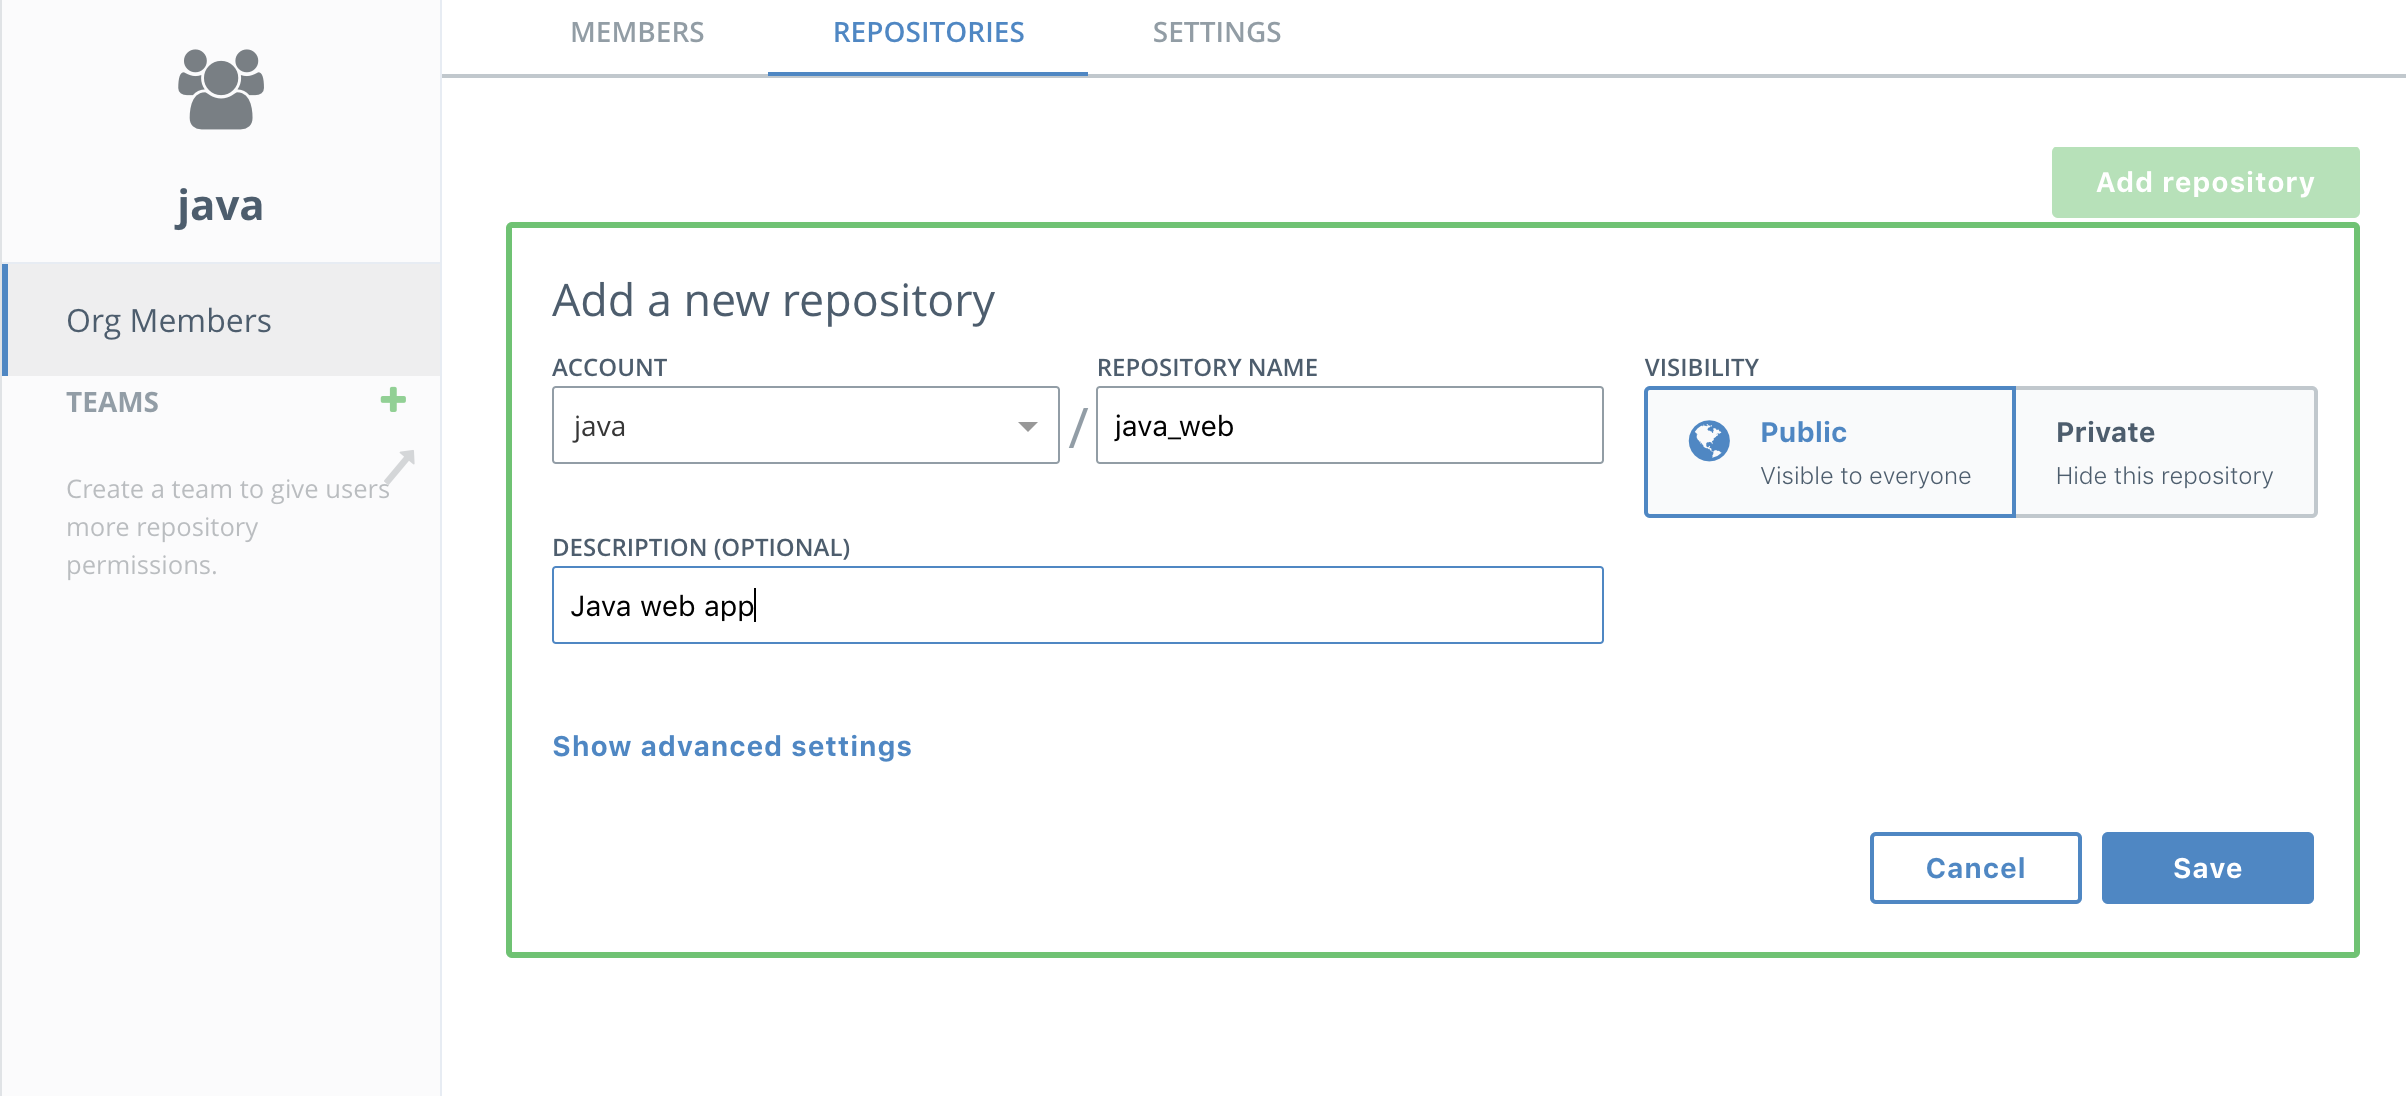


Note the repository is listed as "Public" but that means it is publicly viewable by users of DTR. It is not available to the general public.
-
Now it's time to create a team so you can restrict access to who administers the images. Select the
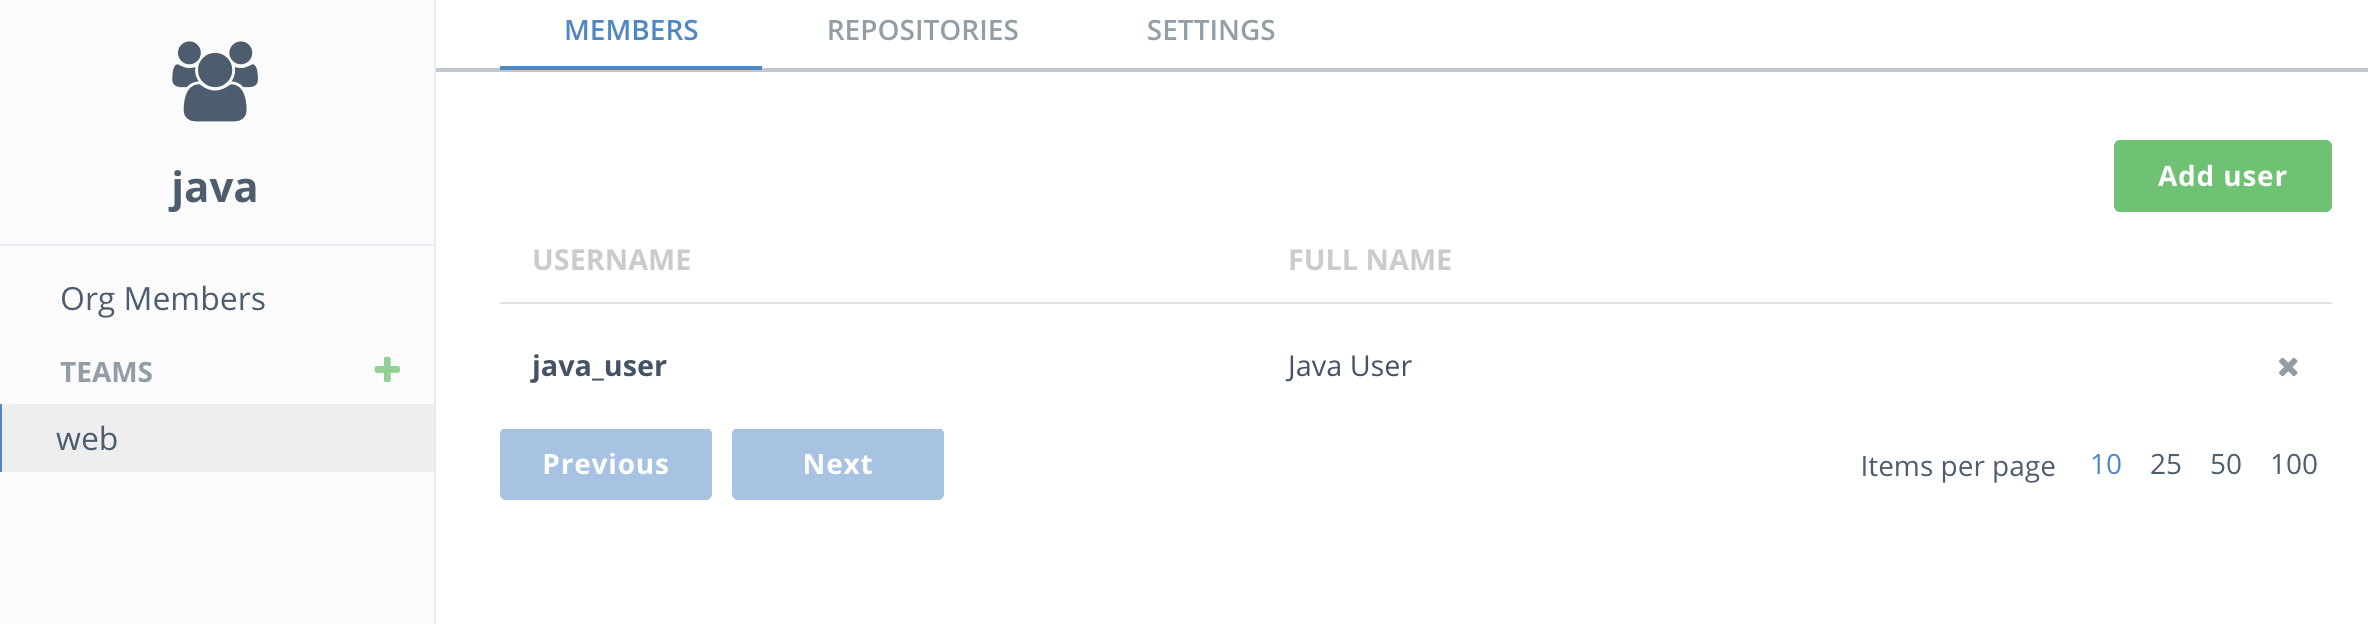
javaorganization and the members will show up. Press Add user and start typing in java. Select thejava_userwhen it comes up.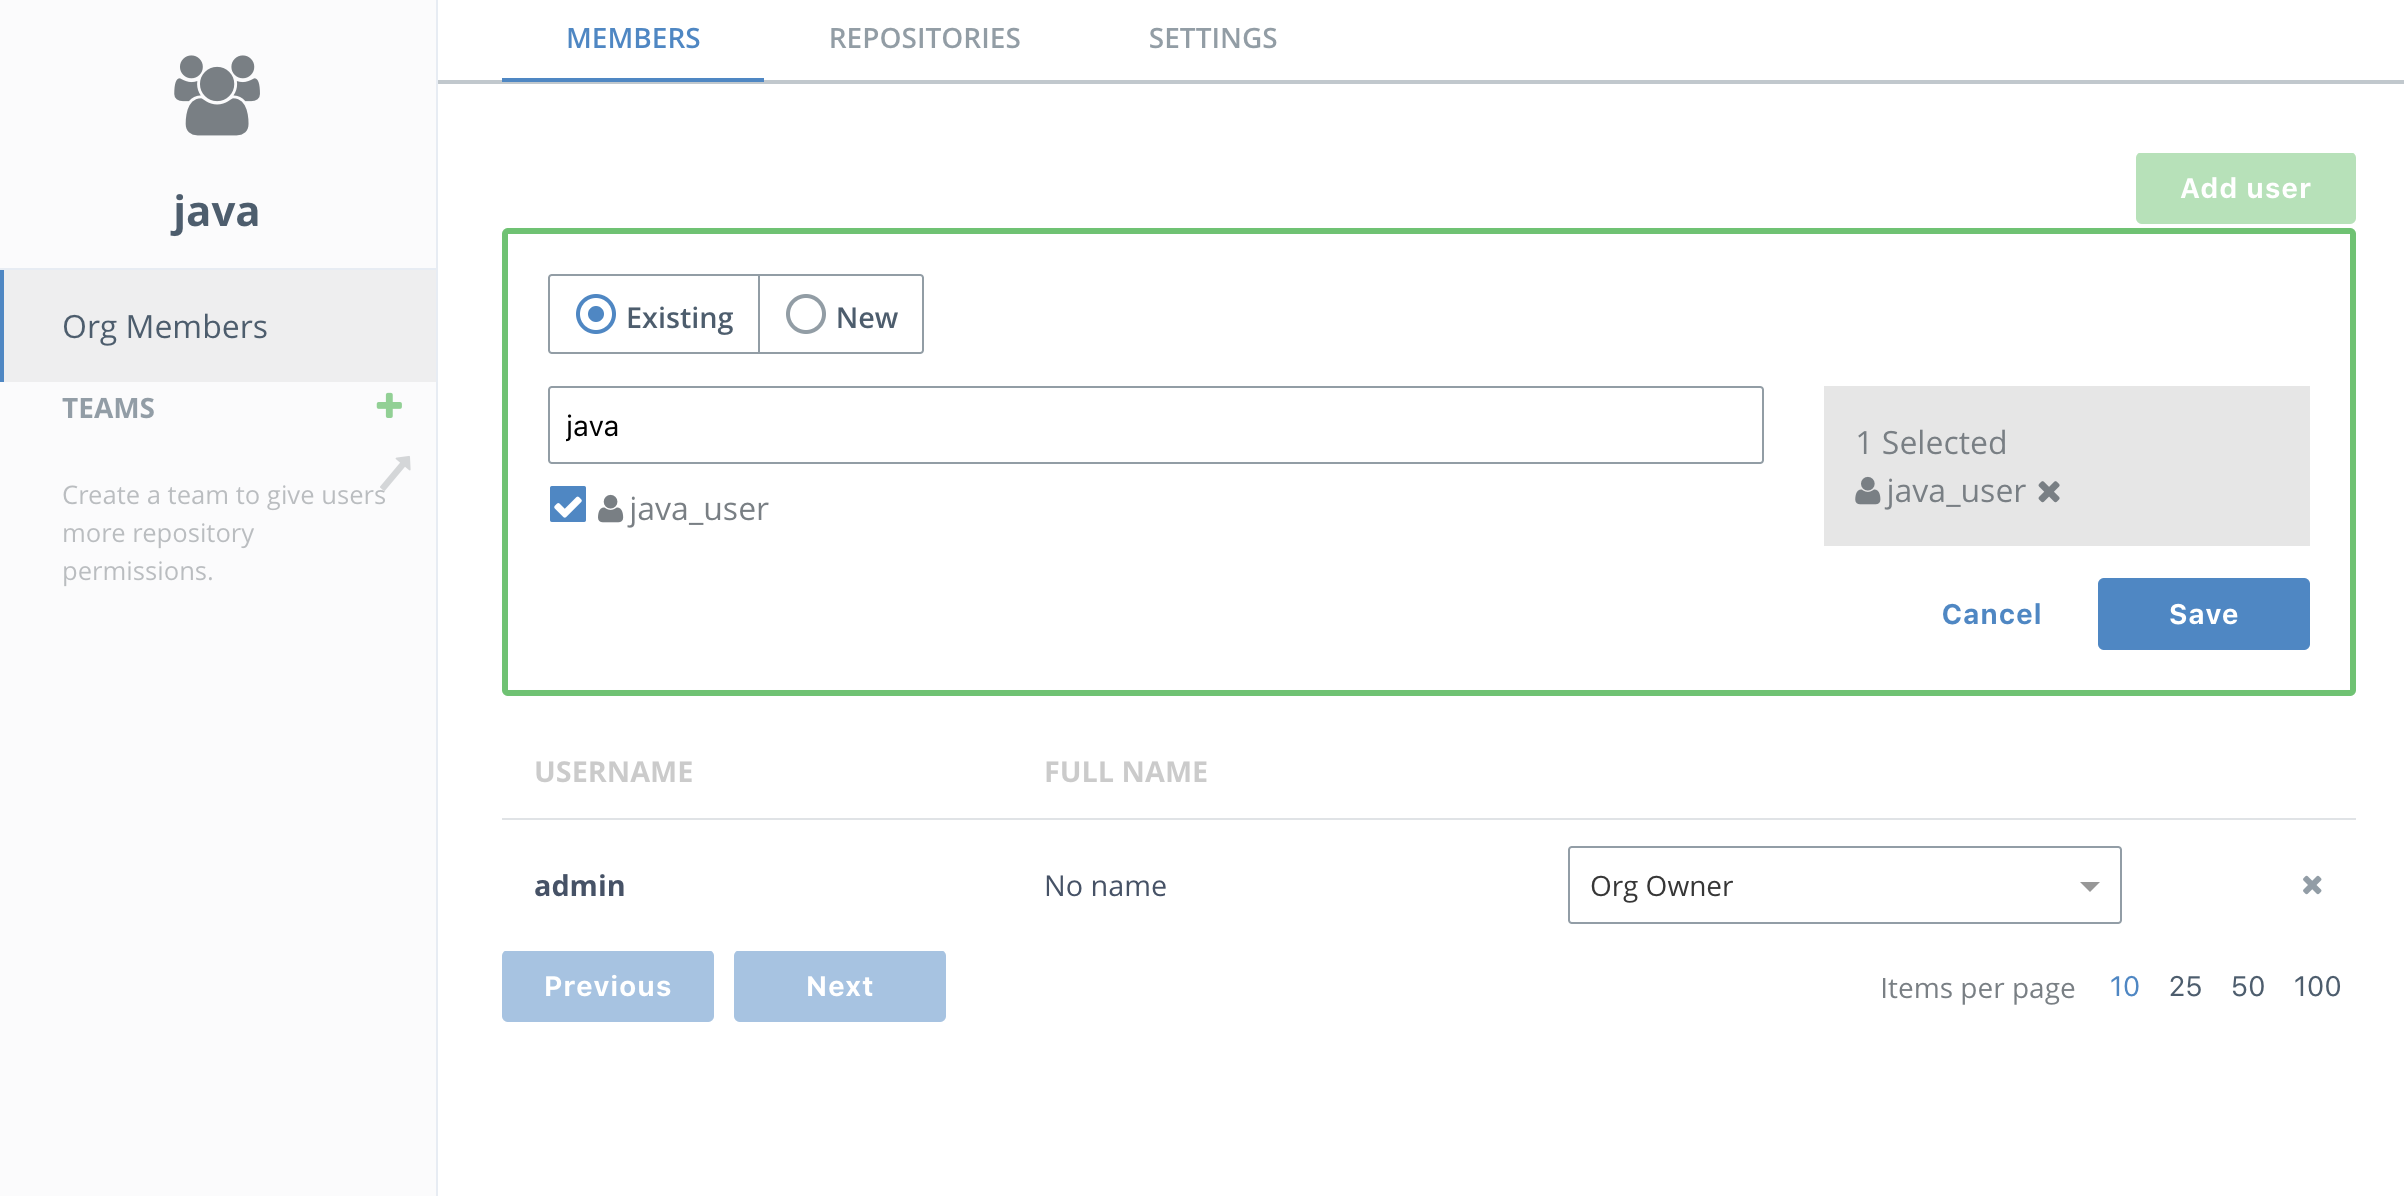
-
Next select the
javaorganization and press theTeambutton to create awebteam.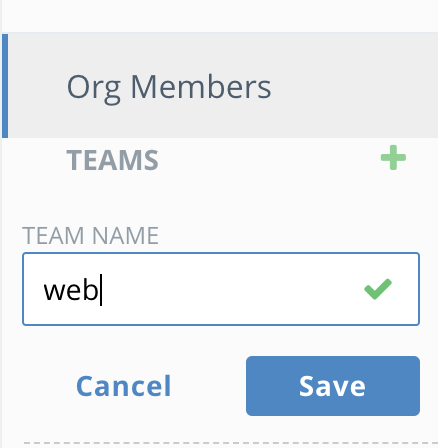
-
Add the
java_useruser to thewebteam and click save.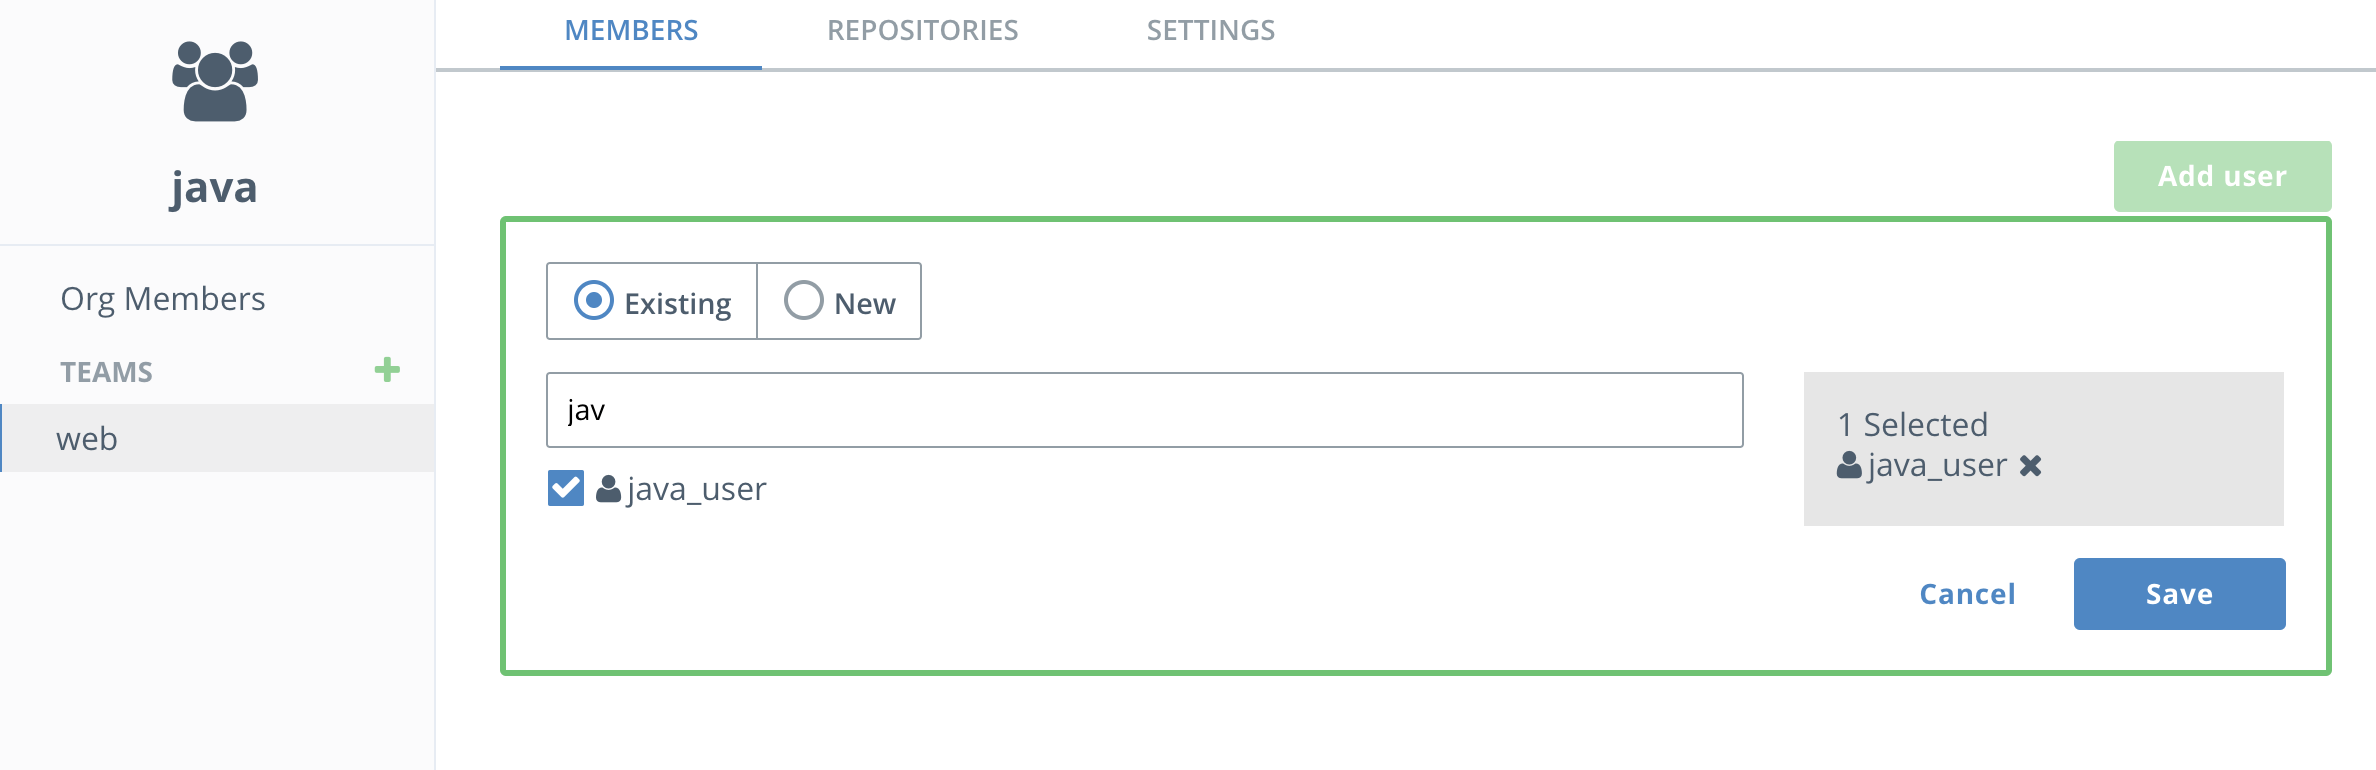
-
Next select the
webteam and select theRepositoriestab. SelectAdd Existing repositoryand choose thejava_webrepository. You'll see thejavaaccount is already selected. Then selectRead/Writepermissions so thewebteam has permissions to push images to this repository. Finally clicksave.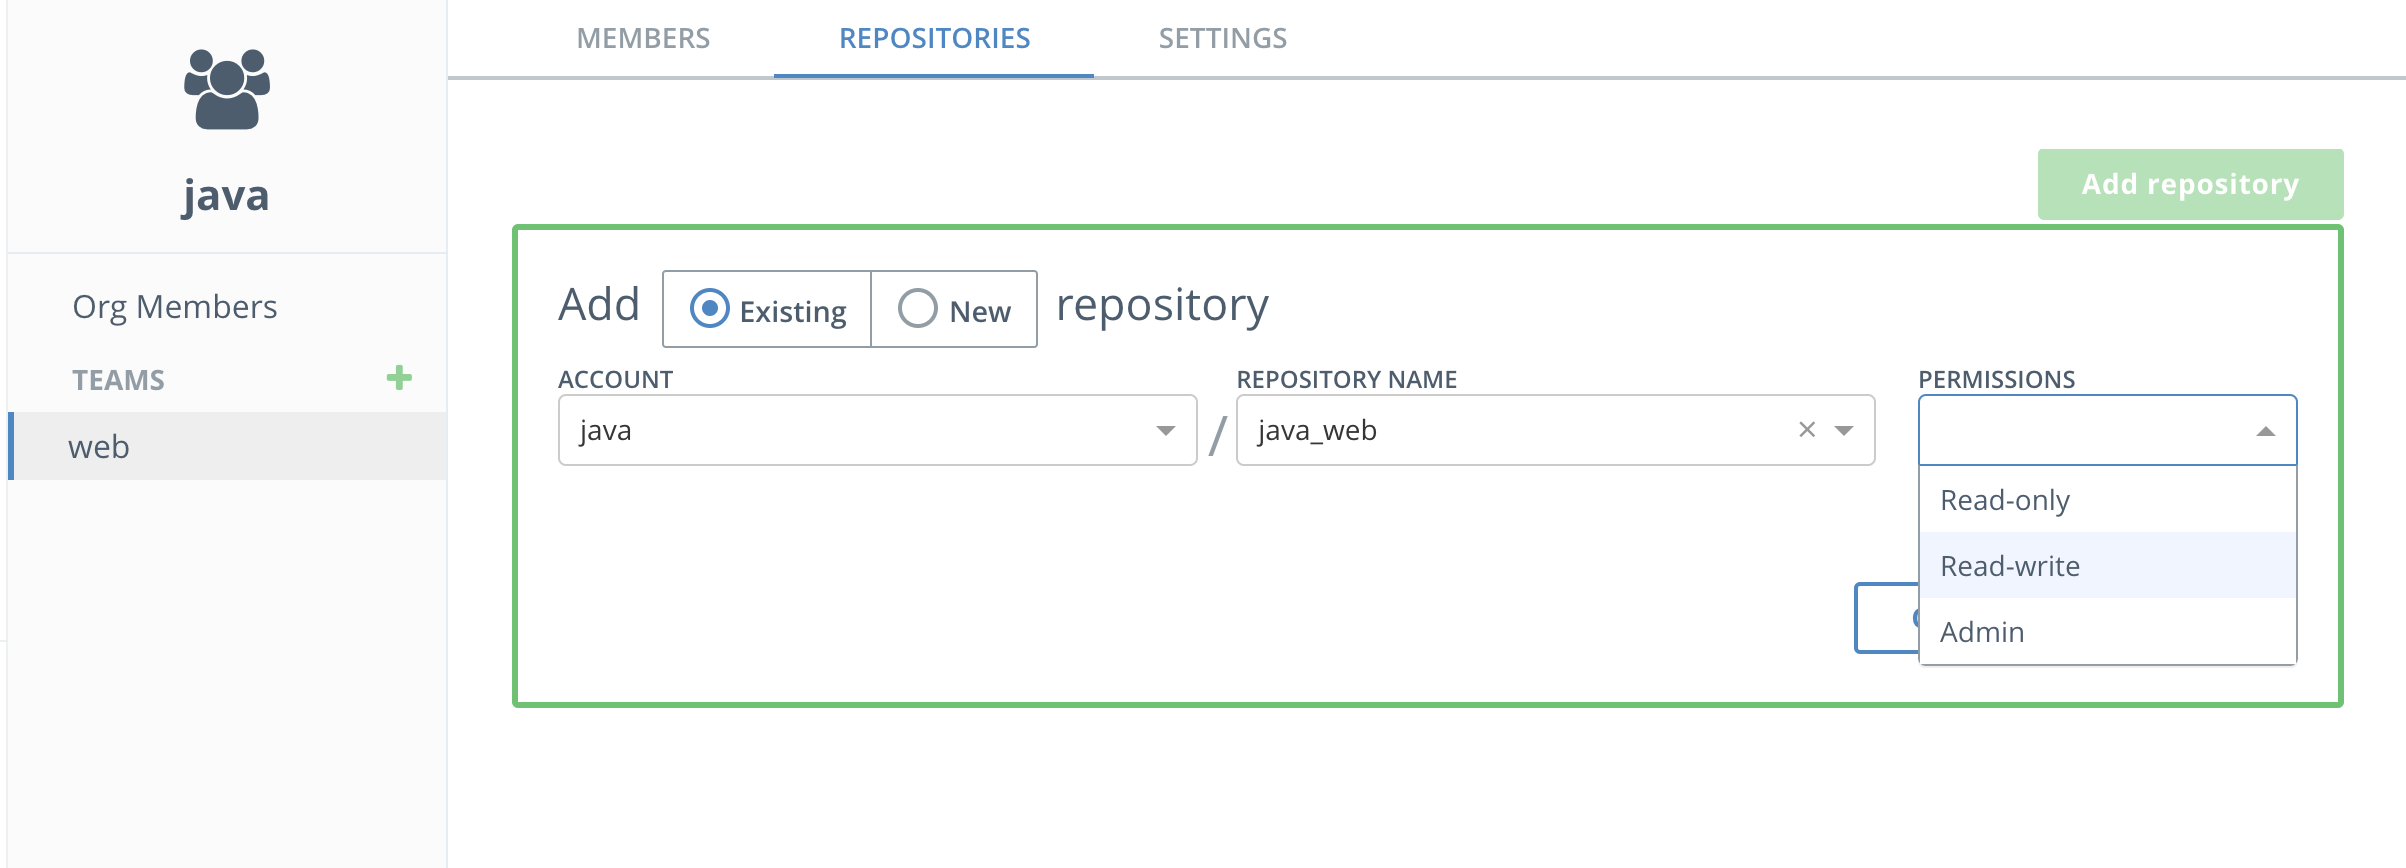
-
Now add a new repository owned by the web team and call it
database. -
Repeat 4-11 above to create a
dotnetorganization with thedotnet_userand a repository calleddotnet_api. You'll now see both repositories listed.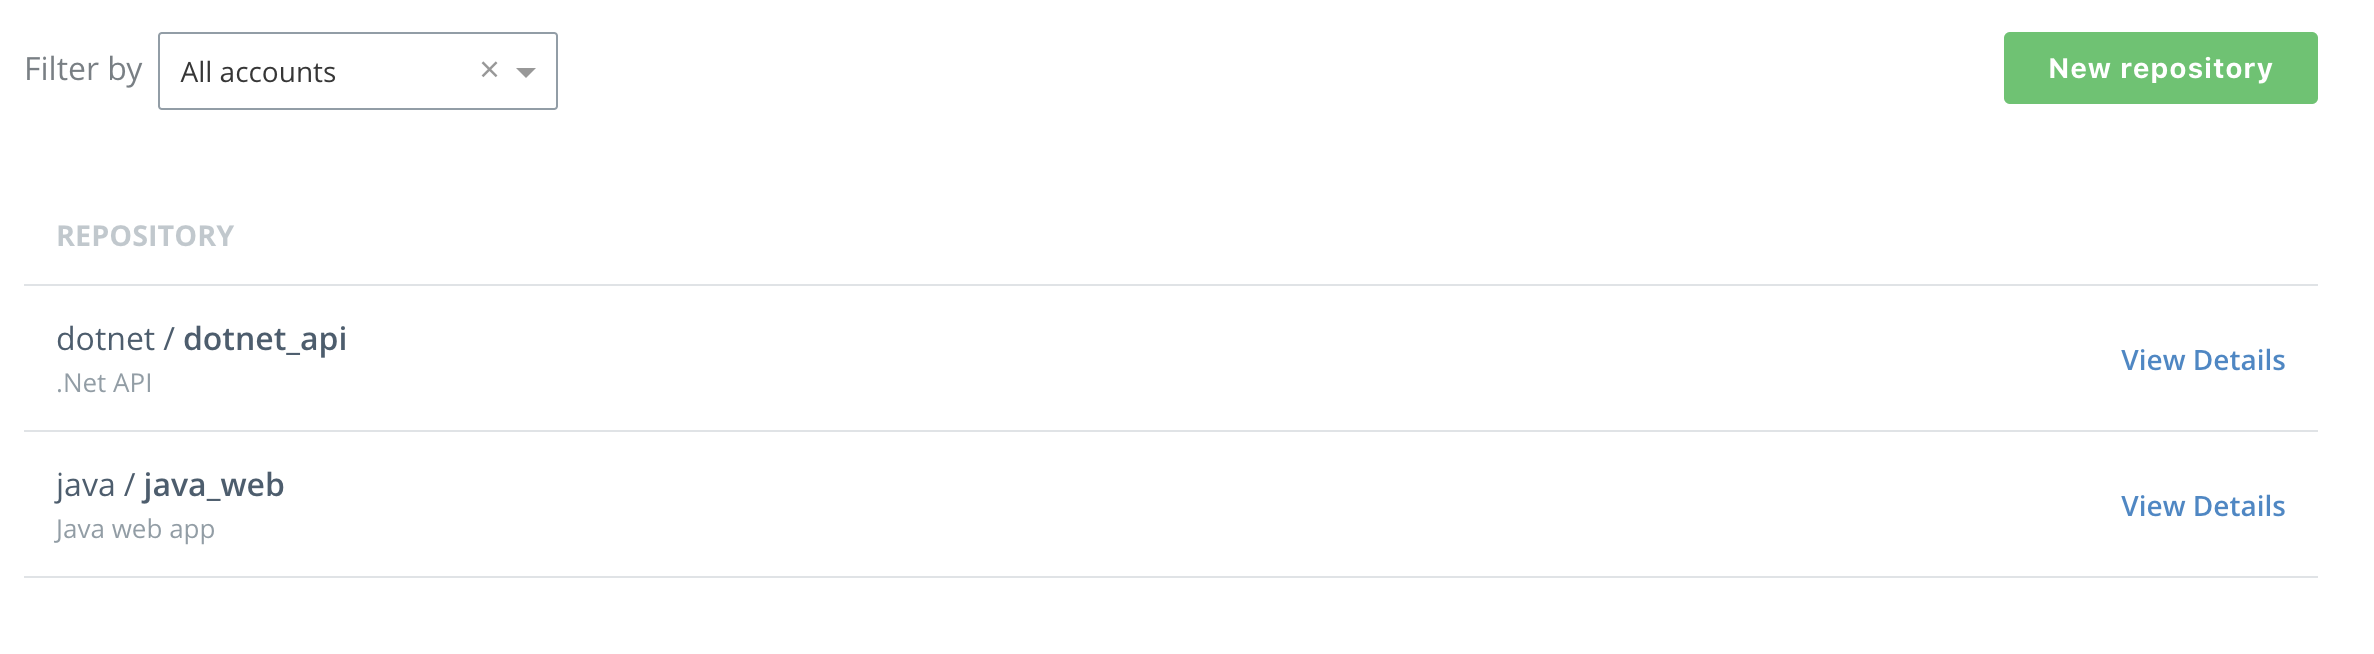


Congratulations, you have created two new repositories in two new organizations, each with one user.
Now that we've completely configured our cluster, let's deploy a couple of web apps. These are simple web pages that allow you to send a tweet. One is built on Linux using NGINX and the other is build on Windows Server 2016 using IIS.
Let's start with the Linux version.

-
From PWD click on the
worker1link on the left to connnect your web console to the UCP Linux worker node. -
Use git to clone the workshop repository.
$ git clone https://github.com/dockersamples/hybrid-app.gitYou should see something like this as the output:
Cloning into 'hybrid-app'...
remote: Counting objects: 389, done.
remote: Compressing objects: 100% (17/17), done.
remote: Total 389 (delta 4), reused 16 (delta 1), pack-reused 363
Receiving objects: 100% (389/389), 13.74 MiB | 3.16 MiB/s, done.
Resolving deltas: 100% (124/124), done.
Checking connectivity... done.
You now have the necessary demo code on your worker host.
-
Change into the
java-appdirectory.$ cd ./hybrid-app/java-app/ -
Set the DTR_HOST environment variable. This will be useful throughout the workshop.
$ export DTR_HOST=<dtr hostname>
$ echo $DTR_HOST
-
Use
docker buildto build your Linux tweet web app Docker image.$ docker build -t $DTR_HOST/java/java_web .Note: Be sure to substitute your DTR Hostname and your User Name - both these are listed at the top of your PWD page.
The
-ttags the image with a name. In our case, the name indicates which DTR server and under which organization's respository the image will live.Note: Feel free to examine the Dockerfile in this directory if you'd like to see how the image is being built.
There will be quite a bit of output. The Dockerfile describes a two-stage build. In the first stage, a Maven base image is used to build the Java app. But to run the app you don't need Maven or any of the JDK stuff that comes with it. So the second stage takes the output of the first stage and puts it in a much smaller Tomcat image.
-
Log into your DTR server from the command line
first use the dotnet_user, which isn't part of the java organization
$ docker login $DTR_HOST Username: <your username> Password: <your password> Login Succeeded
Use docker push to upload your image up to Docker Trusted Registry.
```
$ docker push $DTR_HOST/java/java_web
```
> TODO: add output of failure to push


The access control that you established in the [Task 1.3](#task1.3) prevented you from pushing to this repository.
-
Now try logging in using
java-user, and then usedocker pushto upload your image up to Docker Trusted Registry.$ docker push $DTR_HOST/java/java_webThe output should be similar to the following:
The push refers to a repository [<dtr hostname>/java/java_web]
feecabd76a78: Pushed
3c749ee6d1f5: Pushed
af5bd3938f60: Pushed
29f11c413898: Pushed
eb78099fbf7f: Pushed
latest: digest: sha256:9a376fd268d24007dd35bedc709b688f373f4e07af8b44dba5f1f009a7d70067 size: 1363
Success! Because you are using a user name that belongs to the right team in the right organization, you can push your image to DTR.
-
In your web browser head back to your DTR server and click
View Detailsnext to yourjava_webrepo to see the details of the repo.Note: If you've closed the tab with your DTR server, just click the
DTRbutton from the PWD page. -
Click on
Imagesfrom the horizontal menu. Notice that your newly pushed image is now on your DTR.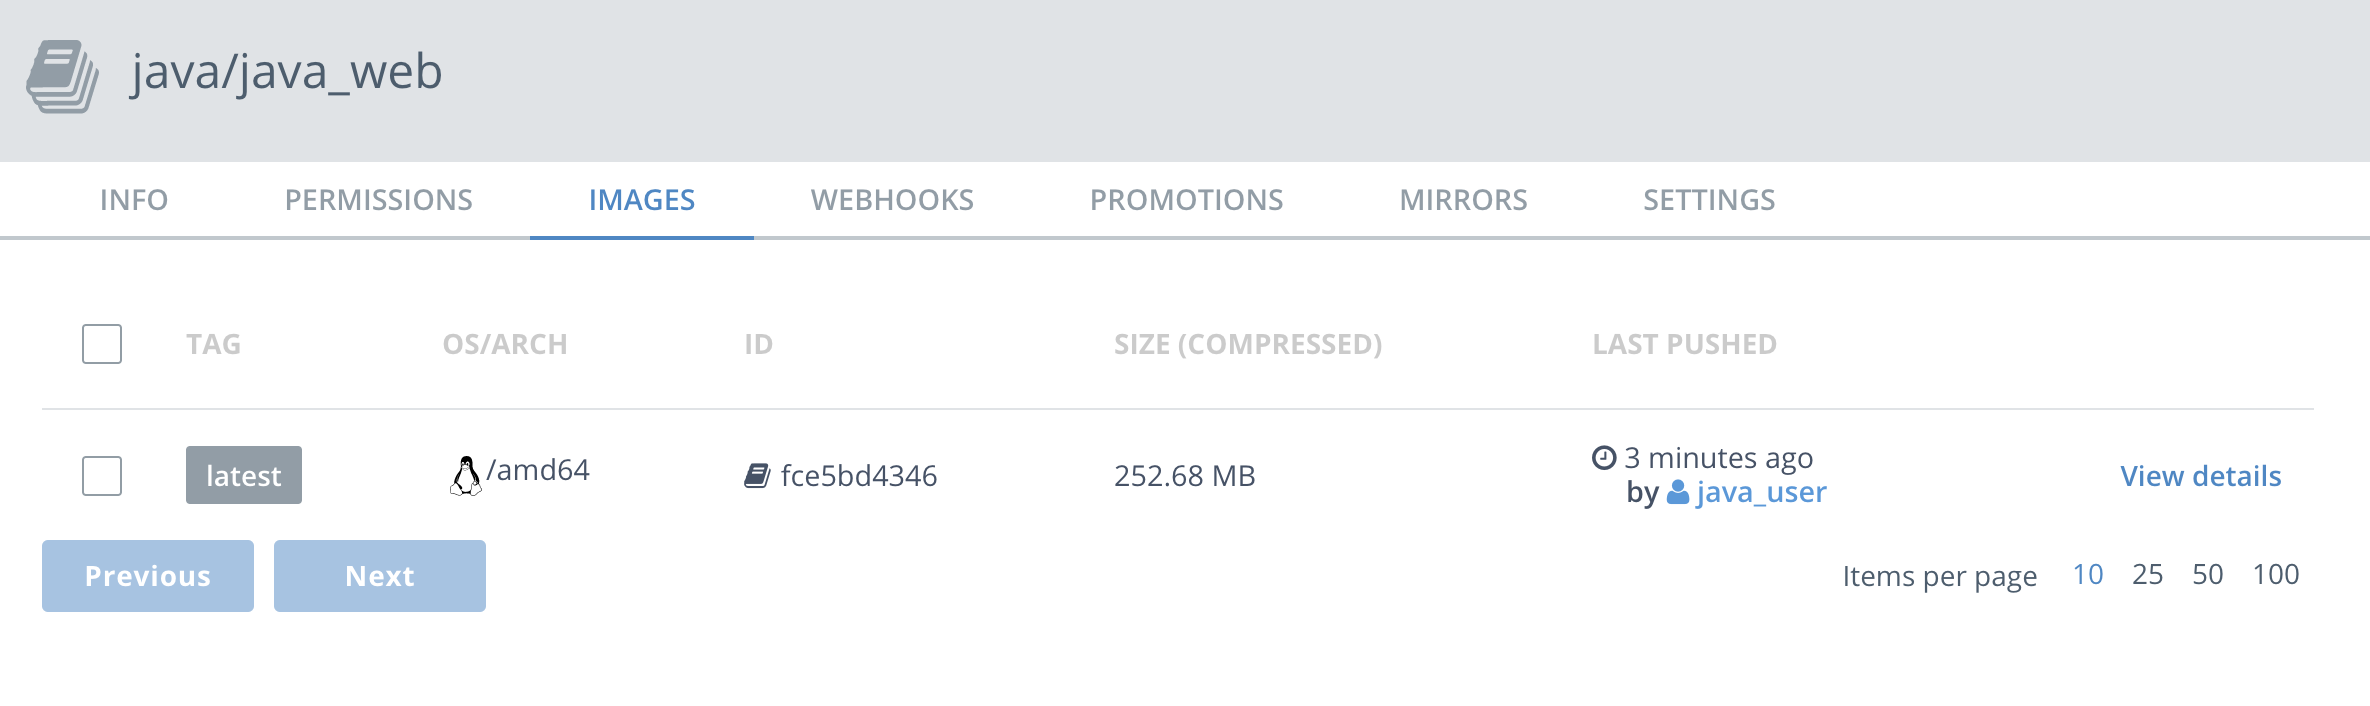
-
Repeat 1,2 and 4 but build a
java/databasein thedatabase/directory and push it to DTR. This is a simple MySQL database with a basic username/password and an initial table configuration.

The next step is to run the app in Swarm. As a reminder, the application has two components, the web front-end and the database. In order to connect to the database, the application needs a password. If you were just running this in development you could easily pass the password around as a text file or an environment variable. But in production you would never do that. So instead, we're going to create an encrypted secret. That way access can be strictly controlled.
-
Go back to the first Play with Docker tab. Click on the UCP button. You'll have the same warnings regarding
httpsthat you have before. Click through those and log in. You'll see the Universal Control Panel dashboard. -
There's a lot here about managing the cluster. You can take a moment to explore around. When you're ready, click on
Swarmand selectSecrets.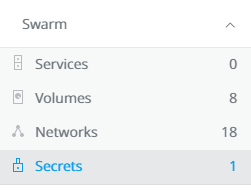
-
You'll see a
Create Secretscreen. TypeMYSQL_PASSWORDinNameandpasswordinContent. Then clickCreatein the lower left. Obviously you wouldn't use this password in a real production environment. You'll see the content box allows for quite a bit of content, you can actually create structred content here that will be encrypted with the secret. -
Next we're going to create two networks. First click on
NetworksunderSwarmin the left panel, and selectCreate Networkin the upper right. You'll see aCreate Networkscreen. Name your first networkback-tier. Leave everything else the default.
-
Repeat step 4 but with a new network
front-tier. -
Now we're going to use the fast way to create your application:
Stacks. In the left panel, clickShared Resources,Stacksand thenCreate Stackin the upper right corner. -
Name your stack
java_weband selectSwarm Servicesfor yourMode. Below you'll see we've included a.ymlfile. Before you paste that in to theCompose.ymledit box, note that you'll need to make a quick change. Each of the images is defined as<your-dtr-instance>/java/<something>. You'll need to change the<your-dtr-instance>to the DTR Hostname found on the Play with Docker landing page for your session. It will look something like this:ip172-18-0-21-baeqqie02b4g00c9skk0.direct.ee-beta2.play-with-docker.comYou can do that right in the edit box inUCPbut wanted to make sure you saw that first.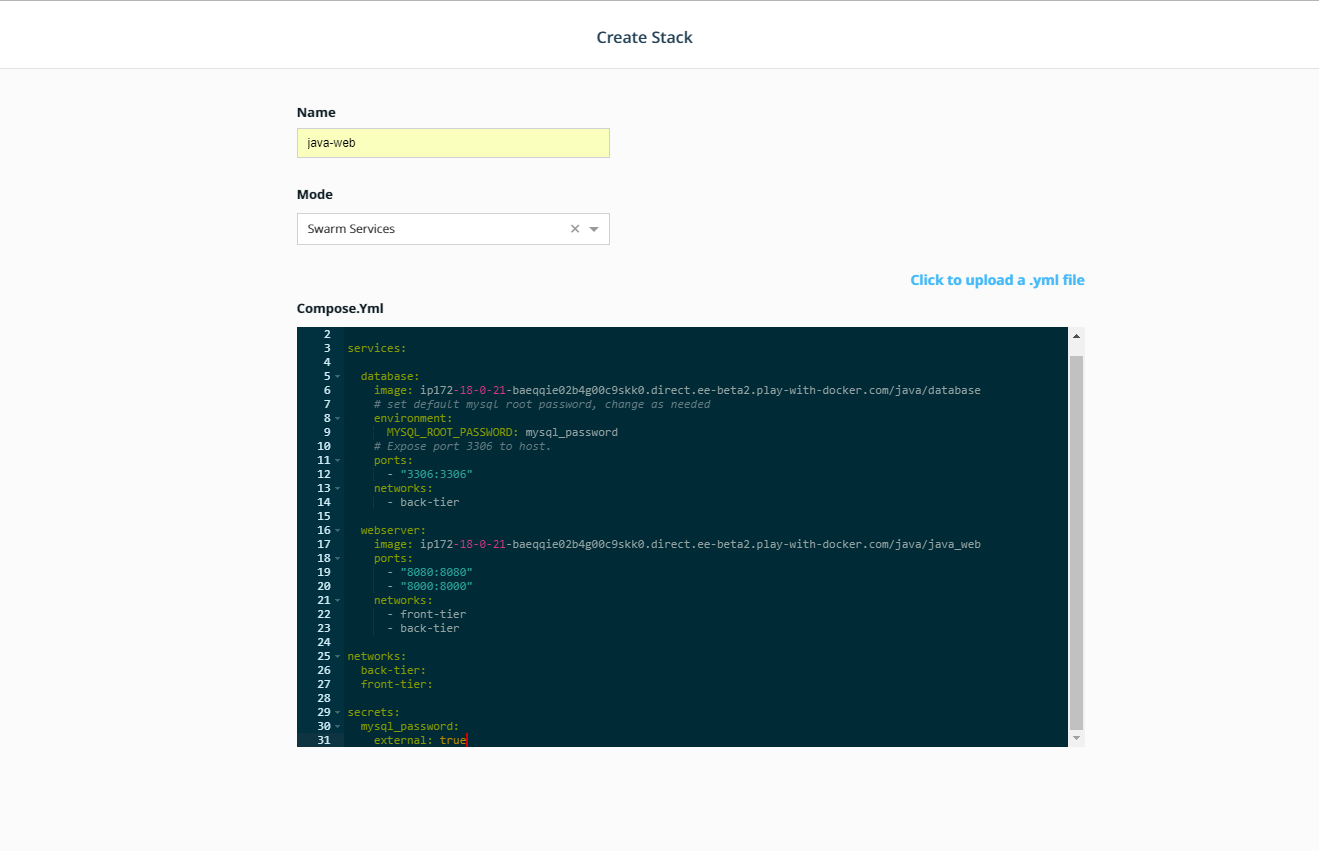


Here's the Compose file. Once you've copy and pasted it in, and made the changes, click Create in the lower right corner.
version: "3.3"

services:

  database:
    image: <your-dtr-instance>/java/database
    # set default mysql root password, change as needed
    environment:
      MYSQL_ROOT_PASSWORD: mysql_password
    # Expose port 3306 to host.
    ports:
      - "3306:3306"
    networks:
      - back-tier

  webserver:
    image: <your-dtr-instance>/java/java_web
    ports:
      - "8080:8080"
      - "8000:8000"
    networks:
      - front-tier
      - back-tier

networks:
  back-tier:
  front-tier:

secrets:
  mysql_password:
    external: true
Then click Done in the lower right.
- Click on
Stacksagain, and select thejava_webstack. Click onInspect Resourcesand then selectServices. Selectjava_web_webserver. In the right panel, you'll seePublished Endpoints. Select the one with:8080at the end. You'll see aApache Tomcat/7.0.84landing page. Add/java_webto the end of the URL and you'll see you're app.

Now that we've moved the app and updated it, we're going to add in a user sign-in API. For fun, and to show off the cross-platform capabilities of Docker EE, we are going to do it in a Windows container.
Because this is a Windows container, we have to build it on a Windows host. Switch back to the main Play with Docker page, select the name of the Windows worker. Then clone the repository again onto this host:
```
PS C:\git clone https://github.com/dockersamples/hybrid-app.git
```
-
CD into the
c:\hybrid-app\netfx-apidirectory.Note you'll see a
dotnet-apidirectory as well. Don't use that directory. That's a .NET Core api that runs on Linux. We'll use that later in the Kubernetes section.PS C:\> cd c:\hybrid-app\netfx-api\ -
Use
docker buildto build your Windows image.$ docker build -t <dtr hostname>/dotnet/dotnet_api .Note: Feel free to examine the Dockerfile in this directory if you'd like to see how the image is being built.
Your output should be similar to what is shown below
TODO: update with output from Windows
```
PS C:\hybrid-app\netfx-api> docker build -t <dtr hostname>/dotnet/dotnet_api .

Sending build context to Docker daemon  415.7kB
Step 1/8 : FROM microsoft/iis:windowsservercore-10.0.14393.1715
 ---> 590c0c2590e4

<output snipped>

Removing intermediate container ab4dfee81c7e
Successfully built d74eead7f408
Successfully tagged <dtr hostname>/dotnet/dotnet_api:latest
```
> **Note**: It will take a few minutes for your image to build.
-
Log into Docker Trusted Registry
PS C:\> docker login <dtr hostname> Username: dotnet_user Password: user1234 Login Succeeded -
Push your new image up to Docker Trusted Registry.
PS C:\Users\docker> docker push <dtr hostname>/dotnet/dotnet_api The push refers to a repository [<dtr hostname>/dotnet/dotnet_api] 5d08bc106d91: Pushed 74b0331584ac: Pushed e95704c2f7ac: Pushed 669bd07a2ae7: Pushed d9e5b60d8a47: Pushed 8981bfcdaa9c: Pushed 25bdce4d7407: Pushed df83d4285da0: Pushed 853ea7cd76fb: Pushed 55cc5c7b4783: Skipped foreign layer f358be10862c: Skipped foreign layer latest: digest: sha256:e28b556b138e3d407d75122611710d5f53f3df2d2ad4a134dcf7782eb381fa3f size: 2825 -
You may check your repositories in the DTR web interface to see the newly pushed image.
-
First we need to update the Java web app so it'll take advantage of the .NET API. Switch back to
worker1and change directories to thejava-app-v2directory. Repeat steps 1,2, and 4 from Task 2.2 but add a tag:2to your build and pushes:$ docker build -t <dtr hostname>/java/java_web:2 . $ docker push <dtr hostname>/java/java_web:2
This will push a different version of the app, version 2, to the same java_web repository.
- Next repeat the steps 6-8 from Task 2.3, but use this
Composefile instead:
TODO write this compose file
TODO evaluate if we need this section or if it makes it too long
Now that we've deployed our application, let's take a look at some common tasks that admins need to do to keep their apps running and up-to-date. We'll start by upgrading the web front end, next we'll scale that service to meet demand, and then finally we'll see how to deal with the failure of a node in our UCP cluster.
TODO: Is 5.1 still relevant or should app be upgraded in Task 2? If still relevant, update to new app. TODO: Update the 5.2-> to use new app
TODO: Write this section
TODO: Rewrite section with new app The new site design appears to have dramatically increased the popularity of your website. In order to deal with increased demand, you're going to need to scale up the number of containers in the
atsea_appserverservice.
-
Move to UCP in your web browser
-
From the left hand menu click
Services -
Click the
atsea_appserverservice -
From the
Configuredrop down on the right chooseScheduling -
Change
Scalefrom1to4 -
Click
Update -
The indicator changes to yellow to indicate the service is still running, but undergoing an update. You also notice it reads
1/4- this tells you that you have one healthy container out of the four you require. Regardless, your website is still available at this point.After a minute or so you'll see the indicator turn green, and you will see the status go to
4/4 -
Click the
atsea_appserverfrom the list -
From the right hand side click
ContainersunderInspect Resourceand you will see the four containers have started and are healthy.Also notice under
Nodethat some containers are running onworker1and some are running onmanager1 -
Go to your website in your brower and refresh the page, you will notice in the upper right the IP and Host change. This output is the IP and container ID of the actual container that served up the web page.
Note: If you are not running in an incognito window you may need to force your browser to ignore the cache in order to see the values change. Consult the help section of your browser to learn how to do this.
Everything seems to be humming along nicely until one of your nodes in the cluster fails. In the next section we'll show how Docker EE deals with these sort of failuers.
TODO: Rewrite section with new app
Docker EE will always try and reconcile your services to their desired state. For instance, in the case of our web frontend, we have specified we want four containers running. If for some reason the number ever drops below four, Docker EE will attempt to get the service back to four containers.
In this section we're going to simulate a node failure and see how Docker EE handles the situation. We're not actually going to crash a node. What we're going to do is put our worker node in Drain mode - which is essentially maintenance mode. We are telling Docker EE to shut all the containers that are running on that node down, and not schedule any additional work on to that node.
-
Move to UCP in your web browser
-
If the filter bar is active (the blue bar at the top of the screen) - click the
xin the upper right corner to clear the filter. -
From the left menu click
Nodes -
Click on
worker1 -
From the
Configuredropdown on the right side selectDetails -
Under
AvailabilityclickDrain -
Click
SaveThis will immediately put the
worker1node into Drain mode, and stop all running containers on that node. -
Go to the AtSea website and refresh to verify it's still running.
Even though one node failed, the built in Docker EE load balancer will direct traffic to the containers running on our healthy
manager1node -
Move back to UCP
-
Click the
xin the upper right corner to close theEdit NodescreenNotice that
worker1still has a green indicator, this is because technically the node is still running and healthy. However, on the right hand side you'll see theAvailabilitylisted asDRAIN -
Click on
Servicesfrom the left hand menu -
Click on the
atsea_appserver -
From the
Inspect Resourcedrop down on the right selectContainersNotice that the two containers that were running on
worker1have been stopped, and they have been restarted onmanager1
Now that we have built, deployed and scaled a multi OS application to Docker EE using Swarm mode for orchestration, let's learn how to use Docker EE with Kubernetes.
Docker EE lets you choose the orchestrator to use to deploy and manage your application, between Swarm and Kubernetes. In the previous tasks we have used Swarm for orchestration. In this section we will deploy the application to Kubernetes and see how Docker EE exposes Kubernetes concepts.
For now Kubernetes does not support Windows workloads in production, so we will start by porting the .NET part of our application to a Linux container using .NET Core.
-
CD into the
hybrid-app\dotnet-apidirectory.$ cd hybrid-app/dotnet-api/ -
Use
docker buildto build your Linux image.$ docker build -t $DTR_HOST/dotnet/dotnet_api .Note: Feel free to examine the Dockerfile in this directory if you'd like to see how the image is being built.
Your output should be similar to what is shown below
Sending build context to Docker daemon   29.7kB
Step 1/10 : FROM microsoft/aspnetcore-build:2.0.3-2.1.2 AS builder
2.0.3-2.1.2: Pulling from microsoft/aspnetcore-build
723254a2c089: Pull complete

	<output snipped>

Removing intermediate container 508751aacb5c
Step 7/10 : FROM microsoft/aspnetcore:2.0.3-stretch
2.0.3-stretch: Pulling from microsoft/aspnetcore

Successfully built fcbc49ef89bf
Successfully tagged ip172-18-0-8-baju0rgm5emg0096odmg.direct.ee-beta2.play-with-docker.com/dotnet/dotnet_api:latest
> **Note**: It will take a few minutes for your image to build.
-
Log into Docker Trusted Registry
$ docker login $DTR_HOST Username: dotnet_user Password: user1234 Login Succeeded -
Push your new image up to Docker Trusted Registry.
$ docker push $DTR_HOST/dotnet/dotnet_api The push refers to a repository [<dtr hostname>/dotnet/dotnet_api] 5d08bc106d91: Pushed 74b0331584ac: Pushed e95704c2f7ac: Pushed 669bd07a2ae7: Pushed d9e5b60d8a47: Pushed 8981bfcdaa9c: Pushed 25bdce4d7407: Pushed df83d4285da0: Pushed 853ea7cd76fb: Pushed 55cc5c7b4783: Skipped foreign layer f358be10862c: Skipped foreign layer latest: digest: sha256:e28b556b138e3d407d75122611710d5f53f3df2d2ad4a134dcf7782eb381fa3f size: 2825 -
You may check your repositories in the DTR web interface to see the newly pushed image.
Docker EE lets you deploy native Kubernetes applications using Kubernetes deployment descriptors, by pasting the yaml files in the UI, or using the kubectl CLI tool.
However many developers use docker-compose to build and test their application, and having to create Kubernetes deployment descriptors as well as maintaining them in sync with the Docker Compose file is tedious and error prone.
In order to make life easier for developers and operations, Docker EE lets you deploy an application defined with a Docker Compose file as a Kubernetes workloads. Internally Docker EE uses the official Kubernetes extension mecanism by defining a Custom Resource Definition (CRD) defining a stack object. When you post a Docker Compose stack definition to Kubernetes in Docker EE, the CRD controller takes the stack definition and translates it to Kubernetes native resources like pods, controllers and services.
We'll use a Docker Compose file to instantiate our application, and it's the same file as before, except that we will switch the .NET Docker Windows image with the .NET Core Docker Linux image we just built.
Let's look at the Docker Compose file in app/docker-stack.yml.
Change the images for the dotnet-api and java-app services for the ones we just built. <dtr hostname>/java/java_web:2 and <dtr hostname>/dotnet/dotnet_api dockersamples.
version: '3.3'

services:
  database:
    deploy:
      placement:
        constraints:
        - node.platform.os == linux
    environment:
      MYSQL_ROOT_PASSWORD: DockerCon!!!
    image: dockersamples/hybrid-app-db
    networks:
      back-tier: null
    ports:
    - mode: ingress
      published: 3306
      target: 3306
  dotnet-api:
    deploy:
      placement:
        constraints:
        - node.platform.os == linux
    image: dockersamples/hybrid-app-api:dotnet
    networks:
      back-tier: null
    ports:
    - mode: ingress
      published: 57989
      target: 80
  java-app:
    deploy:
      placement:
        constraints:
        - node.platform.os == linux
    image: dockersamples/hybrid-app-web
    networks:
      back-tier: null
      front-tier: null
    ports:
    - mode: ingress
      published: 8000
      target: 8000
    - mode: ingress
      published: 8080
      target: 8080

networks:
  back-tier: {}
  front-tier: {}
Login to UCP, go to Shared resources, Stacks.

Click create Stack. Fill name: hybrid-app, mode: Kubernetes Workloads, namespace: default.

You should see the stack being created.

Click on it to se the details.

Go to Kubernetes / Pod. See the pods being deployed.

Go to Kubernetes / Controllers. See the deplyments and ReplicaSets.

Go to Kubernetes / Load Balancers. See the Kubernetes services that have been created.

Click on java-app-published to the the details of the public load balancer created for the Java application.

There will be a link for the public url where the service on port 8080 is exposed. Click on that link, add /java_web/ at the end of the url. You should be led to the running application.

In this lab we've looked how Docker EE can help you manage both Linux and Windows workloads whether they be traditional apps you've modernized or newer cloud-native apps, leveraging Swarm or Kubernetes for orchestration. We also looked at how to deal with upgrades, scaling, and system failures.
You can find more information on Docker EE at http://www.docker.com as well as continue exploring using our hosted trial at https://dockertrial.com