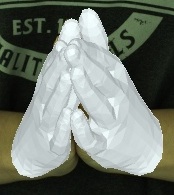
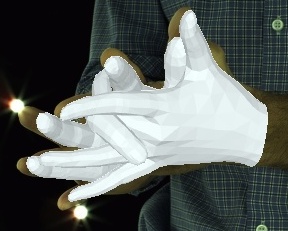
InterHand2.6M: A Dataset and Baseline for 3D Interacting Hand Pose Estimation from a Single RGB Image
Our new Re:InterHand dataset has been released, which has much more diverse image appearances with more stable 3D GT. Check it out at here!
- This repo is official PyTorch implementation of InterHand2.6M: A Dataset and Baseline for 3D Interacting Hand Pose Estimation from a Single RGB Image (ECCV 2020).
- Our InterHand2.6M dataset is the first large-scale real-captured dataset with accurate GT 3D interacting hand poses.
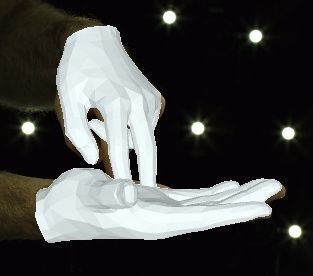
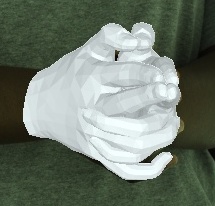
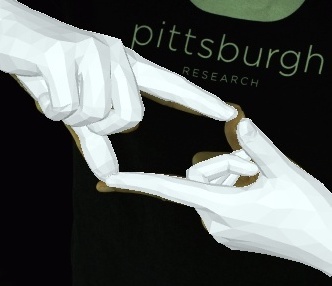
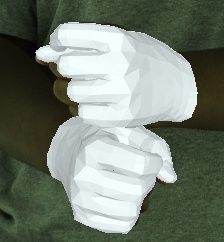
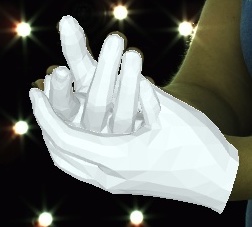
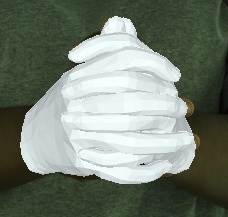
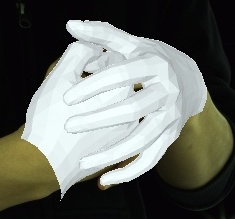
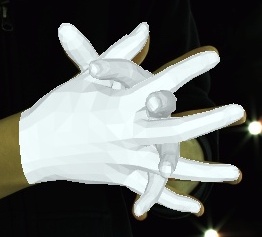
- Videos of 3D joint coordinates (from joint_3d.json. only two hands) from the 30 fps split: link.
- Videos of MANO fittings (only two hands) from the 30 fps split: link.
Above demo videos have low-quality frames because of the compression for the README upload.
- 2021.06.10. Boxs in RootNet results are updated to be correct.
- 2021.03.22. Finally, InterHand2.6M v1.0, which includes all images of 5 fps and 30 fps version, is released! 🎉 This is the dataset used in InterHand2.6M paper.
- 2020.11.26. Demo code for a random image is added! Checkout below instructions.
- 2020.11.26. Fitted MANO parameters are updated to the better ones (fitting error is about 5 mm). Also, reduced to much smaller file size by providing parameters fitted to the world coordinates (independent on the camera view).
- 2020.10.7. Fitted MANO parameters are available! They are obtained by NeuralAnnot.
- For the InterHand2.6M dataset download and instructions, go to [HOMEPAGE].
- Belows are instructions for our baseline model, InterNet, for 3D interacting hand pose estimation from a single RGB image.
- Download pre-trained InterNet from here
- Put the model at
demofolder - Go to
demofolder and editbboxin here - run
python demo.py --gpu 0 --test_epoch 20 - You can see
result_2D.jpgand 3D viewer.
- Install SMPLX
cd tool/MANO_render- Set
smplx_pathinrender.py - Run
python render.py
- Install SMPLX
cd tool/MANO_world_to_camera/- Set
smplx_pathinconvert.py - Run
python convert.py
cd tool/camera_visualize- Run
python camera_visualize.py
- As there are many cameras, you'd better set
subsetandsplitin line 9 and 10, respectively, by yourself.
The ${ROOT} is described as below.
${ROOT}
|-- data
|-- common
|-- main
|-- output
datacontains data loading codes and soft links to images and annotations directories.commoncontains kernel codes for 3D interacting hand pose estimation.maincontains high-level codes for training or testing the network.outputcontains log, trained models, visualized outputs, and test result.
You need to follow directory structure of the data as below.
${ROOT}
|-- data
|   |-- STB
|   |   |-- data
|   |   |-- rootnet_output
|   |   |   |-- rootnet_stb_output.json
|   |-- RHD
|   |   |-- data
|   |   |-- rootnet_output
|   |   |   |-- rootnet_rhd_output.json
|   |-- InterHand2.6M
|   |   |-- annotations
|   |   |   |-- train
|   |   |   |-- test
|   |   |   |-- val
|   |   |-- images
|   |   |   |-- train
|   |   |   |-- test
|   |   |   |-- val
|   |   |-- rootnet_output
|   |   |   |-- rootnet_interhand2.6m_output_test.json
|   |   |   |-- rootnet_interhand2.6m_output_test_30fps.json
|   |   |   |-- rootnet_interhand2.6m_output_val.json
|   |   |   |-- rootnet_interhand2.6m_output_val_30fps.json
- Download InterHand2.6M data [HOMEPAGE]
- Download STB parsed data [images] [annotations]
- Download RHD parsed data [images] [annotations]
- All annotation files follow MS COCO format.
- If you want to add your own dataset, you have to convert it to MS COCO format.
You need to follow the directory structure of the output folder as below.
${ROOT}
|-- output
|   |-- log
|   |-- model_dump
|   |-- result
|   |-- vis
logfolder contains training log file.model_dumpfolder contains saved checkpoints for each epoch.resultfolder contains final estimation files generated in the testing stage.visfolder contains visualized results.
- In the
main/config.py, you can change settings of the model including dataset to use and which root joint translation vector to use (from gt or from RootNet).
In the main folder, run
python train.py --gpu 0-3to train the network on the GPU 0,1,2,3. --gpu 0,1,2,3 can be used instead of --gpu 0-3. If you want to continue experiment, run use --continue.
Place trained model at the output/model_dump/.
In the main folder, run
python test.py --gpu 0-3 --test_epoch 20 --test_set $DB_SPLITto test the network on the GPU 0,1,2,3 with snapshot_20.pth.tar. --gpu 0,1,2,3 can be used instead of --gpu 0-3.
$DB_SPLIT is one of [val,test].
val: The validation set.Valin the paper.test: The test set.Testin the paper.
Here I provide the performance and pre-trained snapshots of InterNet, and output of the RootNet as well.
@InProceedings{Moon_2020_ECCV_InterHand2.6M,
author = {Moon, Gyeongsik and Yu, Shoou-I and Wen, He and Shiratori, Takaaki and Lee, Kyoung Mu},
title = {InterHand2.6M: A Dataset and Baseline for 3D Interacting Hand Pose Estimation from a Single RGB Image},
booktitle = {European Conference on Computer Vision (ECCV)},
year = {2020}
}
InterHand2.6M is CC-BY-NC 4.0 licensed, as found in the LICENSE file.


