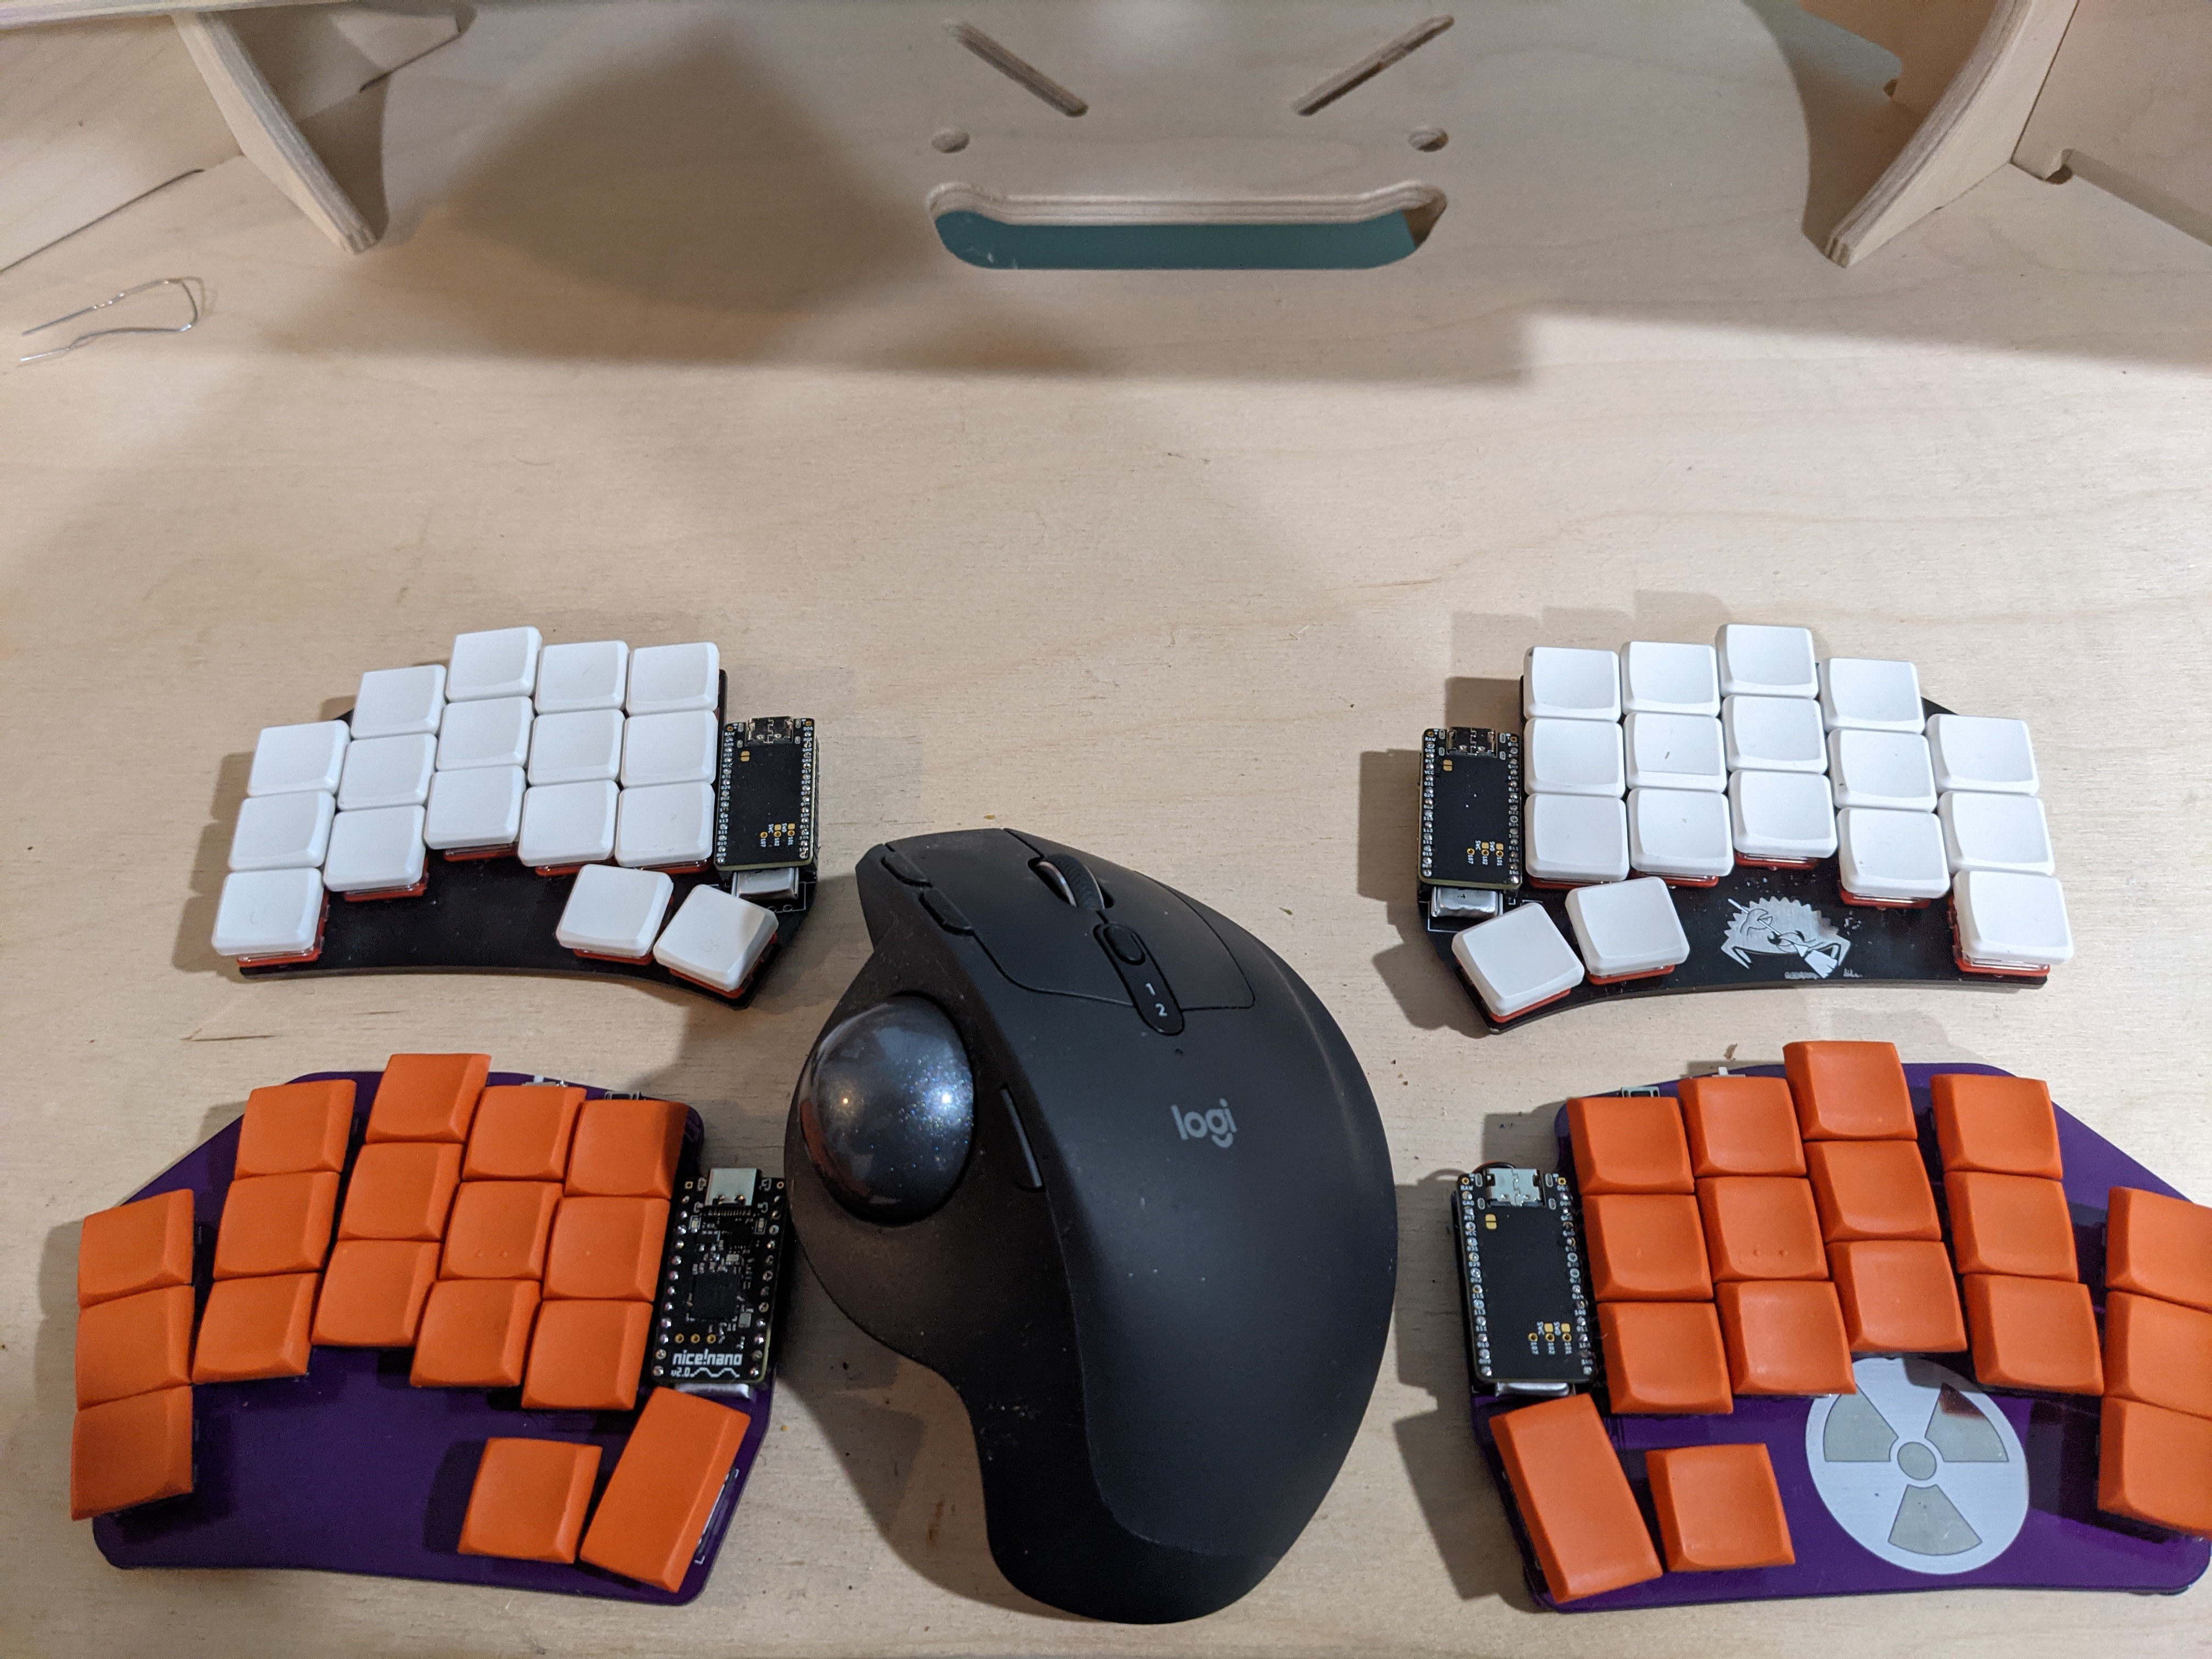
To treat wrist and elbow RSI issues caused by too much time programming, I'm using ergonomic mechanical keyboards with the following properties:
- Split: two halves, allowing shoulder width spacing to prevent hunching
- Low profile: lower keys and base, teaching hand hovering to prevent bending my wrists.
- Thumb cluster: transfer common keys to your stronger thumbs
- Small: less keys avoid reaching, especially with your weaker pinky fingers. See this detailed description of the Absolem keyboard for a nice description of the benefits of avoiding excessive finger travel.
- Ortholinear and staggered: fits better with natural curve of your hand. Stagger helps spread out your hand, giving many of the benefits of tenting your keyboard in a more transportable setup.
- Programmable: you have full control to layout your keyboard in layers with comfortable locations based on usage, avoiding scrunching and uncomfortable positions for common actions.
Practically, there are many different keyboard choices you can assemble with these and overlapping properties thanks to the great open communities like ErgoMechKeyboards reddit and Low Profile Keyboards discord. I started off with a commercially available ErgoDox EZ, which is a great board for learning to use thumb clusters, creating keyboard layouts and getting used to ortholinear keys. As I began to head back to the office, I wanted to move onto a more portable keyboard.
I settled on 34 key boards with 5 columns of 3 keys plus 2 thumb keys on either side. These meet the above criteria and are also easier to assemble since commonly available microcontrollers can map directly to each key without needing harder to solder diodes or secondary chips. Using wireless microcontrollers, they are small and easy to carry between multiple work offices and home. I ended up building 3 different related boards with unique tweaks:
- Sweep -- 34 keys using principles from the Ferris but using a single controller and no diodes: low profile, with lower pinkies; has power switches
- Hypergolic -- 34 keys with aggressive stagger on pinkies; has power and reset switches
- A dux -- 34 keys with aggressive stagger, even lower pinky keys and wider thumbs; no power or reset switches.
The unique aspect of all these boards is that they require fewer parts, making them a nice entry point for a non-electronics skilled person like myself. This section has links to resources that were useful for me: US based and unskilled in keyboard building.
For the keyboard you need to obtain:
- Printed circuit board (PCB) -- the open source keyboard community makes the designs for their PCBs available so you can get them printed. For example, the Sweep github repo has Gerber zip files you can order from sellers like JLCPCB. PCB costs can vary greatly, so my recommendation is to ask first on a community forum like the Low Profile Keyboards discord. Because PCB orders come in multiples, for popular boards there are often people with extra PCBs nearby that will sell or trade with you.
- Controllers -- These boards are easier to build because they make use of a daughter board or controller to avoid needing to obtain and solder more components. The nice!nano is a great bluetooth wireless controller available in the US from Little Keyboards and MKUltra.
- Controller sockets and batteries -- Sockets attach the controller to the PCB, enabling removal of the controller and providing a place for the battery. Little Keyboards battery and socket combo is a great option to get all the parts in one place. MKUltra also sell the taller HiPro sockets, Batteries and Optional battery connectors. This build video from Nicell is a great way to learn how to socket.
- Switches -- These boards use Kailh Low Profile v1 Choc Switches, which come in many different options depending on preferences. I found using light linear switches a great option and like the Pro Reds from Little Keyboards or MKUltra and the lighter Purpz from Boardsource.
- Keycaps -- The primary option is the nice MBK low profile keycaps from MKUltra, LittleKeyboards or Boardsource. If your budget allows, Chicago Stenographer (CS) keycaps from Asymplex are amazingly nice and come in a number of beautiful colors.
- Reset and on/off switches
- Bumpers -- I used small rubber stick on bumpers on the bottom of the PCB for protection and to keep from sliding around. Another nice looking inexpensive bottom protection choice is using a mousepad for a base.
For soldering gear, Adafruit has some great recommendations. The tools I found indispensable were the soldering iron, solder sucker, diaganol cutters and wire strippers.
Switching to less keys require learning or designing a layout that lets you effectively take advantage of a programmable keyboard. Some good places to get inspiration from:
- Miryoku -- A widely used and well supported layout for minimal keyboards.
- A graphical comparison of several popular layouts
- Seniply -- nicely thought out layers for programmers with symbols and special keys
I used ZMK keyboard firmware which enables custom key layouts on wireless split keyboards. QMK firmware is the other popular choice for wired keyboards.
The main trick in moving to a smaller layout is figuring out your preferred place to put all the extra keys. There are different options, which you can mix and match between:
- Layers -- place extra keys on additional layers which you activate by pressing a key, analogous to how you use the shift key on standard keyboards
- Home row mods -- extra keys like shift, control and alt are on your base layer as dual function keys where tapping produces the letter and holding gets the special key.
- Sticky (or one shot) keys, also known as Callum mods -- extra keys like shift, control and alt go a secondary layer and are sticky, so you trigger them, release, then type the followup key, rather than holding them.
- Combos -- Press two or more adjacent keys to trigger a different key,
