How to Deploy Your First Jersey App on Aptible
For reference, we are going to replicate the Jersey setup guide using their Maven archetype for Heroku webapps.
This guide assumes you have Java, the Java compiler, Maven, and the Aptible CLI tool all set up and working.
$ java -version
java version "1.8.0_25"
Java(TM) SE Runtime Environment (build 1.8.0_25-b17)
Java HotSpot(TM) 64-Bit Server VM (build 25.25-b02, mixed mode)

$ javac -version
javac 1.8.0_25

$ mvn -version
Apache Maven 3.2.1 [etc etc]

$ aptible version
aptible-cli v0.5.1
If you don't have the Aptible CLI tool, install it easily with RubyGems:
gem install aptible-cli
For faster CLI performance, install the Aptible CLI Toolbelt. This pins versions of each depencency gem.
gem install aptible-toolbelt
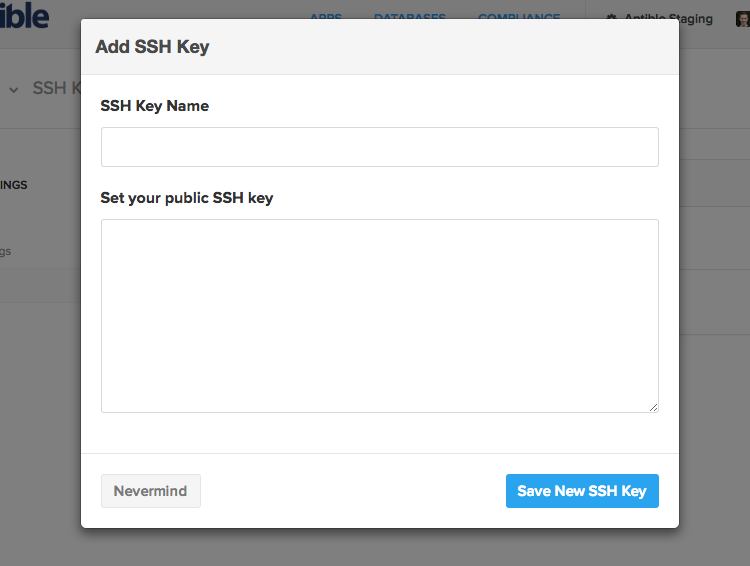
This guide assumes you have a Dev Account and have uploaded an SSH key.
Look for your Dev Account in the Apps section of the Aptible Dashboard:

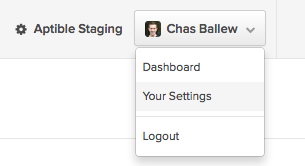
To upload an SSH key, find the account dropdown:

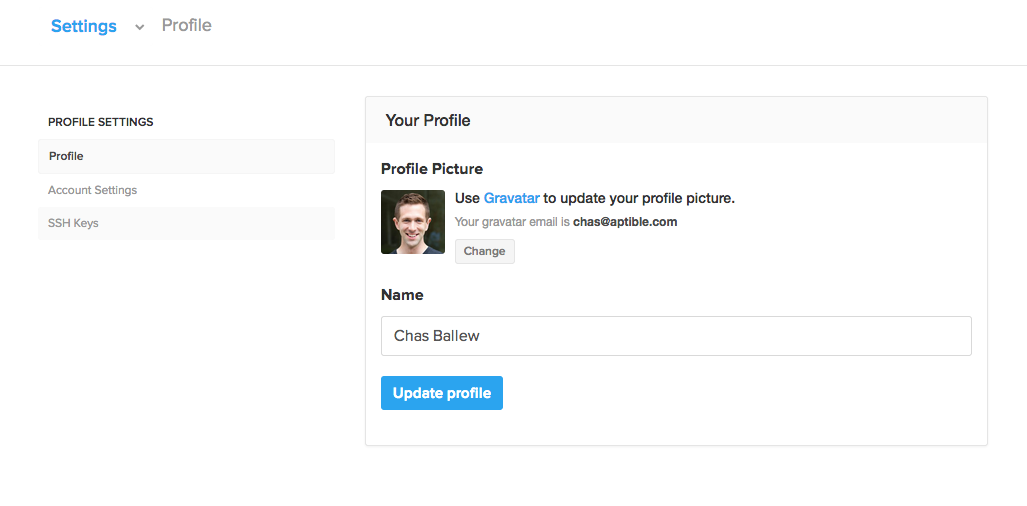
Go to your user settings page:

GitHub has a good set of instructions for generating SSH keys, if you need to.
The sample app in this repo was generated using:
mvn archetype:generate -DarchetypeArtifactId=jersey-heroku-webapp \
                       -DarchetypeGroupId=org.glassfish.jersey.archetypes \
                       -DinteractiveMode=false -DgroupId=com.example \
                       -DartifactId=example-aptible-jersey-app \
                       -Dpackage=com.example -DarchetypeVersion=2.14
We made a few small changes to make it say "Hello, Aptible!"
You can clone this repo and use it for your example, but we recommend you generate it from the Maven archetype.
Of course, you can always start with your own source, too.
In the root of your repo, add a Dockerfile. It must be named Dockerfile exactly - no extension, capital "D".
An example Dockerfile for building using tutum/buildstep is located in this repo.
In most real-world cases, you will want to construct a customer Dockerfile to control your build. Just ask us if you would like assistance in doing so.
Commit your code to version control. If you started with your own source code, remember to commit the Dockerfile!
git init .
git add Dockerfile Procfile pom.xml src/ system.properties
git commit -m "Initial commit"
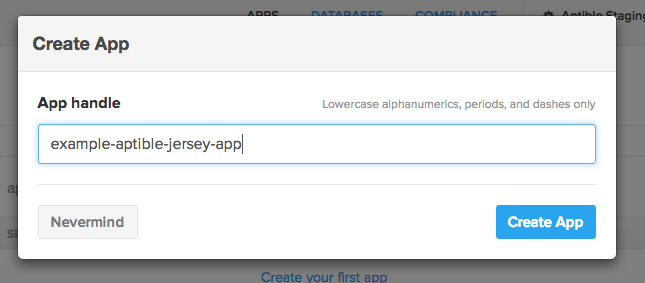
We will need to provision an app in Aptible, using either the CLI tool or the Aptible Dashboard.
From the command line:
aptible apps:create example-aptible-jersey-app
In the Dashboard, Apps view, click either of the app creation buttons in your account:

You will notice that your app has no services configured. We need to push some code to the app so Aptible can determine what services should be running and how many containers to allocate.
In your repo:
git remote add aptible git@beta.aptible.com:example-aptible-jersey-app.git
If you are using a different app handle:
git remote add aptible git@beta.aptible.com:<handle>.git
If necessary, login with the Aptible CLI tool:
aptible login
Now just push it up and enjoy the show:
git push aptible master
If it doesn't work at first, make sure you committed your Dockerfile. You will likely want to set up logs for your account in order to troubleshoot as you go.
Also note that sometimes VHOSTs take a few minutes to provision.
If you have any questions, contact us and we will be happy to answer them. Good luck, and have fun!
MIT License, see LICENSE for details.
Copyright (c) 2014 Aptible and contributors.

