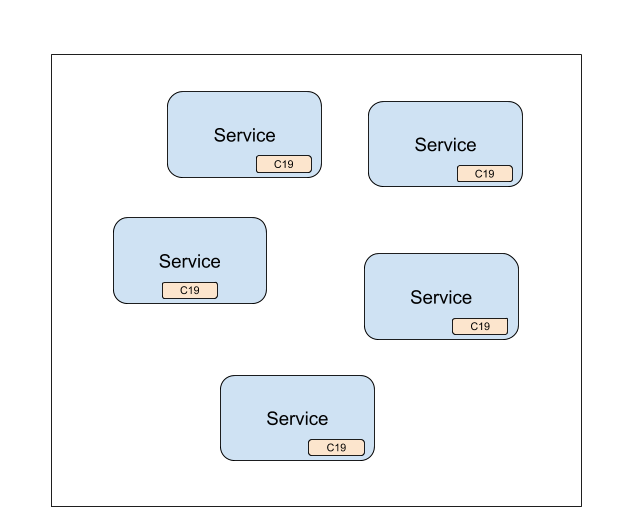
The C19 protocol is a variant of the Gossip protocol. It allows a group of services to agree on a service-wide state. It is a replicated cache and can be embedded right into your Kubernetes pods.
The C19 protocol can help you share a state between your Kubernetes pods and have that state available to your application locally, without worrying about fetching the data.
C19 attaches to your pods and decouples the process of fetching the data from using it. Using a label selector you can easily create a group of pods you wish to share a state.
C19 is a simple, powerful and extensible system and can reduce the complexities by taking care of fetching the data and making it available locally to your services. It can run within a Kubernetes cluster or without one.
The best and most extensive source of information is the User Guide. Please read it! It has anything from a step by step guide for running the C19 protocol to a drill down on architecture.
And we have a second book ready if you wish to contribute to the C19 project.
The following Kubernetes configuration files will deploy a cluster of Nginx pods with an attached c19 agent for each one. You can then explore the way data is shared across your pods and how it becomes available locally to the Nginx service. Nginx in this example simulates your application.
To attach a C19 agent to your Nginx deployment, you will need two files:
- A configmap that will hold your C19 configuration. You can read about the C19 configuration here.
- A Kubernetes deployment file.
apiVersion: v1
kind: ConfigMap
metadata:
  name: c19-getting-started-config
immutable: true
data:
  config.yaml: |
    version: 0.1
    spec:
      agent:
        kind: Default
        port: 3097
      state:
        kind: Default
        ttl: null
        purge_interval: 60000
      connection:
        kind: Default
        port: 4097
        push_interval: 1000
        pull_interval: 60000
        r0: 3
        timeout: 1000
        peer_provider:
          kind: K8s
          selector:
            c19: getting-started
          namespace: default
Save this as configmap.yaml file and apply it to the cluster like so:
kubectl apply -f configmap.yamlapiVersion: apps/v1
kind: Deployment
metadata:
name: nginx-deployment
labels:
app: nginx
spec:
replicas: 3
selector:
matchLabels:
app: nginx
template:
metadata:
labels:
app: nginx
c19: getting-started
spec:
containers:
- name: nginx
image: nginx:1.14.2
ports:
- containerPort: 80
- name: c19
image: c19p/c19:0.1.0
args: ["/usr/local/bin/c19", "--config", "/etc/c19/config.yaml"]
ports:
- name: agent
containerPort: 3097
protocol: TCP
- name: connection
containerPort: 4097
protocol: TCP
volumeMounts:
- name: c19
mountPath: /etc/c19
volumes:
- name: c19
configMap:
name: c19-getting-started-configSave this as deployment.yaml file and apply it to the cluster like so:
kubectl apply -f deployment.yamlThat's it! Your C19 powered Nginx is now deployed to Kubernetes and is ready to be used.
At this point the c19 agent is available locally to your Nginx application. Nginx can access the c19 agent using HTTP calls to get and set values to and from the state.
To explore how to do that, please refer to the Testing the Deployment section in the user guide.
For a step-by-step guide to what happened above, please refer to the Getting Started section.
While this README targets Kubernetes in its examples, a Kubernetes cluster is actually not a must. C19 can be deployed anywhere and is not tightly coupled to a Kubernetes cluster.
Please refer to the Non-Kubernetes Deployment section in the user guide to explore a non-Kubernetes deployment.
A common question is how data is shared across the c19 agents. What is the consistency of the system, performance, durability and how conflicts are resolved.
To answer those questions one must understand how a c19 agent works. It is composed of three layers: State, Agent and Connection.
- The
Agentlayer is responsible for communicating with your app. It exposes ways for your app to set and get values to and from the state. - The
Statelayer is responsible for holding and managing your data. - The
Connectionlayer is responsible for distributing your data across the c19 cluster.
If you look through the example configuration above, you can see that each layer has a kind configuration. This means that different
layer implementations can be used and configured and this affects the consistency, durability and performance of the system.
At the time of writing there are only the default implementations for each layer. The Default layers guarantee the following:
Consistency- The data spreads across the system in a Gossip like way. Some call is convergence consistency.Durability- The data is shared (duplicated) across the c19 agents so you have full redundancy.Performance- This one is hard to tell since it depends on how you configure yourConnectionlayer. Your configuration and size of data affects the rate in which the data is shared across the system. To get the most reliable metrics you will have to benchmark this yourself.Conflict Resolution- TheDefaultstate layer implementation resolves conflicts by considering the time (in milliseconds resolution) for when a key was created. If two c19 agents try to update a third one with different versions of a key, the one that is newer will be chosen.
You are encouraged to read more about the how the default layer implementations work in the Architecture section.
Appendix I lists the available layer implementations you can choose from. You are welcome to visit this page from time to time as we expect it to grow and offer different implementations to answer a wide range of use cases.
The Motivation and Use Cases section on the user guide will guide you through our reasoning and the different use cases we believe can be solved by the C19 protocol.
Every contribution matters! And we greatly appreciate any help in improving and extending the C19 protocol. Please refer to the Contributing file in this repository or the Contributing section on the Developer Guide.
BSD-3-Clause.
