To copy a uf2 file to the pico:
- insert the micro USB cable into the pico
- press and hold the
BOOTSELbutton - insert the USB cable into the computer
This will be recognised as a USB Mass Storage device.
- mount the pico
/dev/sdb1under/media/sdb1(or whichever device it was) - Copy the
uf2file onto the pico :sudo cp pimoroni-pico-v0.2.5-micropython-v1.16.uf2 /media/sdb1/
After the copy has completed, the pico will reboot and run the uf2, which in
this case is micropython. Once it has booted, it will be able to talk to the
computer via /dev/ttyACM0, which is what thonny uses.
Using thonny, make sure the /dev/ttyACM0 is recognised and it gives you the
following prompt:
MicroPython v1.16 on 2021-08-19; Raspberry Pi Pico with RP2040
Type "help()" for more information.
>>>
At this point, just try doing a simple command such as:
>>> print("Hello, World!")
Hello, World!
Finally, try this to blink the LED:
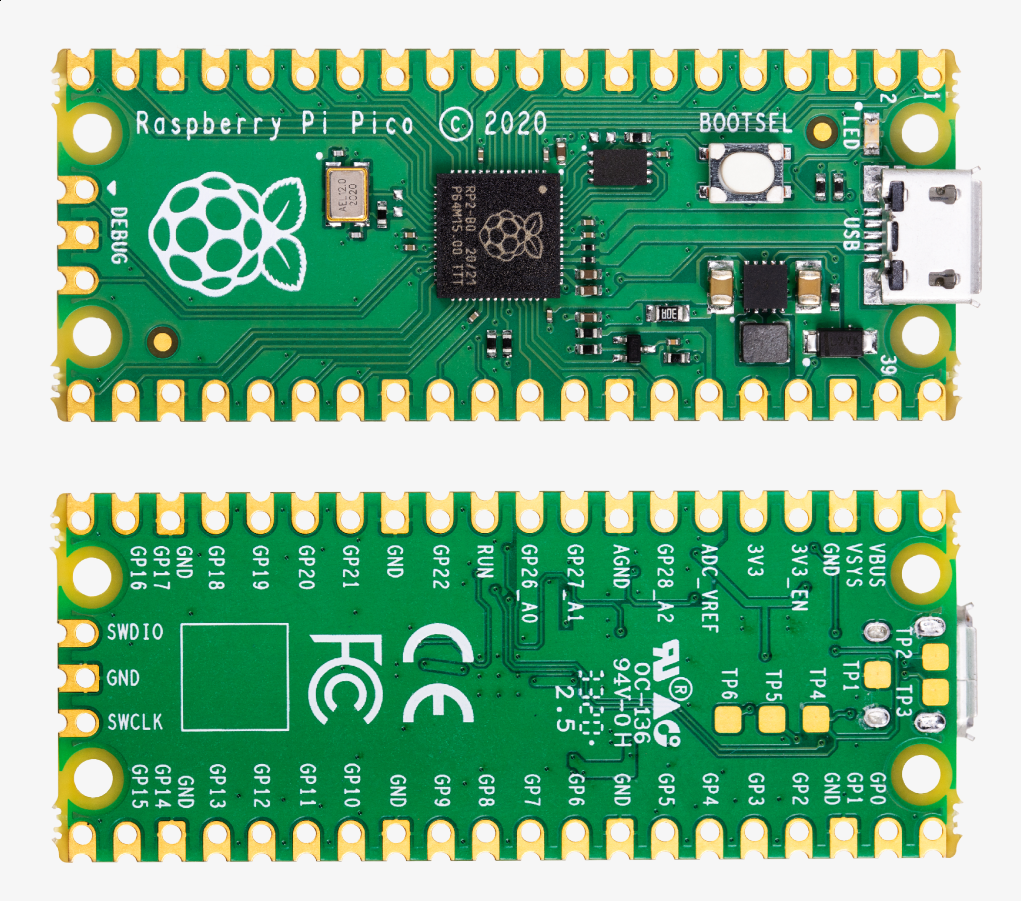
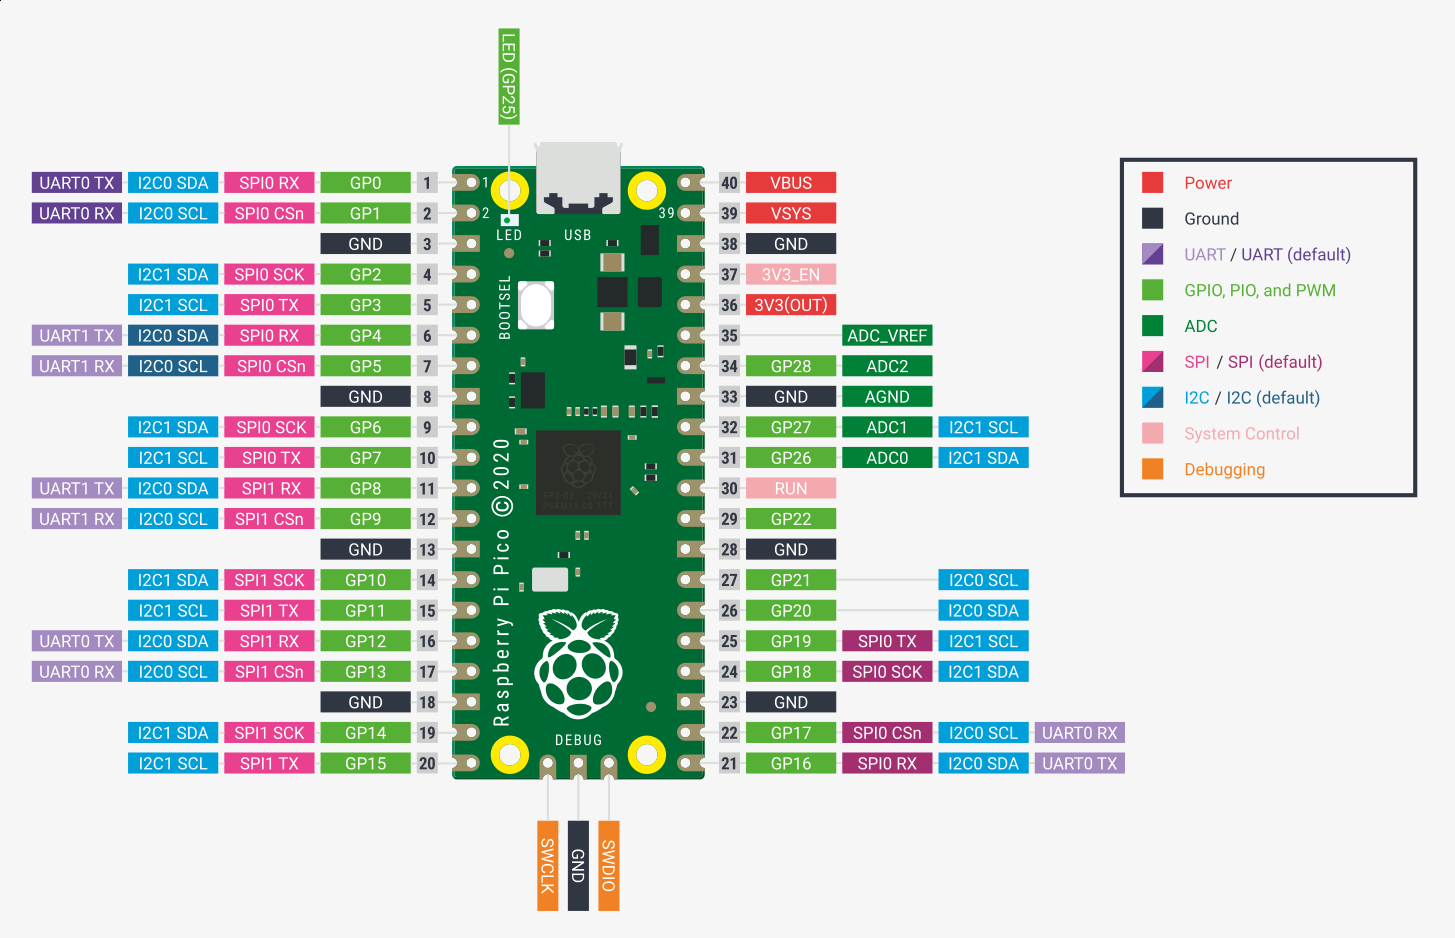
>>> from machine import Pin
>>> led = Pin(25, Pin.OUT)
>>> led.value(1)
>>> led.value(0)
>>> led.toggle()
>>> led.toggle()
>>> led.toggle()
>>> led.toggle()
Write your program into the main area in Thonny. Make sure you press
Stop/Restart Backend button (or press C-F2) in the editor.
Then click the Run Current Script button, or press F5.
To try this out, open a program from our examples such as
src/001-blink/double-blink.py, make sure the Pico is stopped (C-F2) and
then upload (F5). You Pico should now be double-blinking.
Apache 2.0.
Why? Because it is a Coherent Open Source License license.
(Ends)