This is a sketch plugin designed to make it easy to use JavaScript (e.g. D3) to add interactivity to SVGs created with sketch.
Go to the release page and download the latest ZIP file. Unzip it and double click the .sketchplugin file to add it to sketch.
This plugin does two main things:
- It uses your Sketch layer names to add class names to exported SVG
- CSS conventions are used to determine class names. For example, if you have a layer named like
.blue.rectangle, the resulting SVG markup will containclass="blue rectangle". - Anything in the layername that isn't prefixed with a period will be used as the ID (as is standard Sketch behaviour). So, for example a layer named
my-id.classnamewill result in markup likeid="my-id" class="classname"
- CSS conventions are used to determine class names. For example, if you have a layer named like
- It removes the hard coded
widthandheightvalues from the SVG markup, and usesviewBoxinstead, so that everything is responsive.
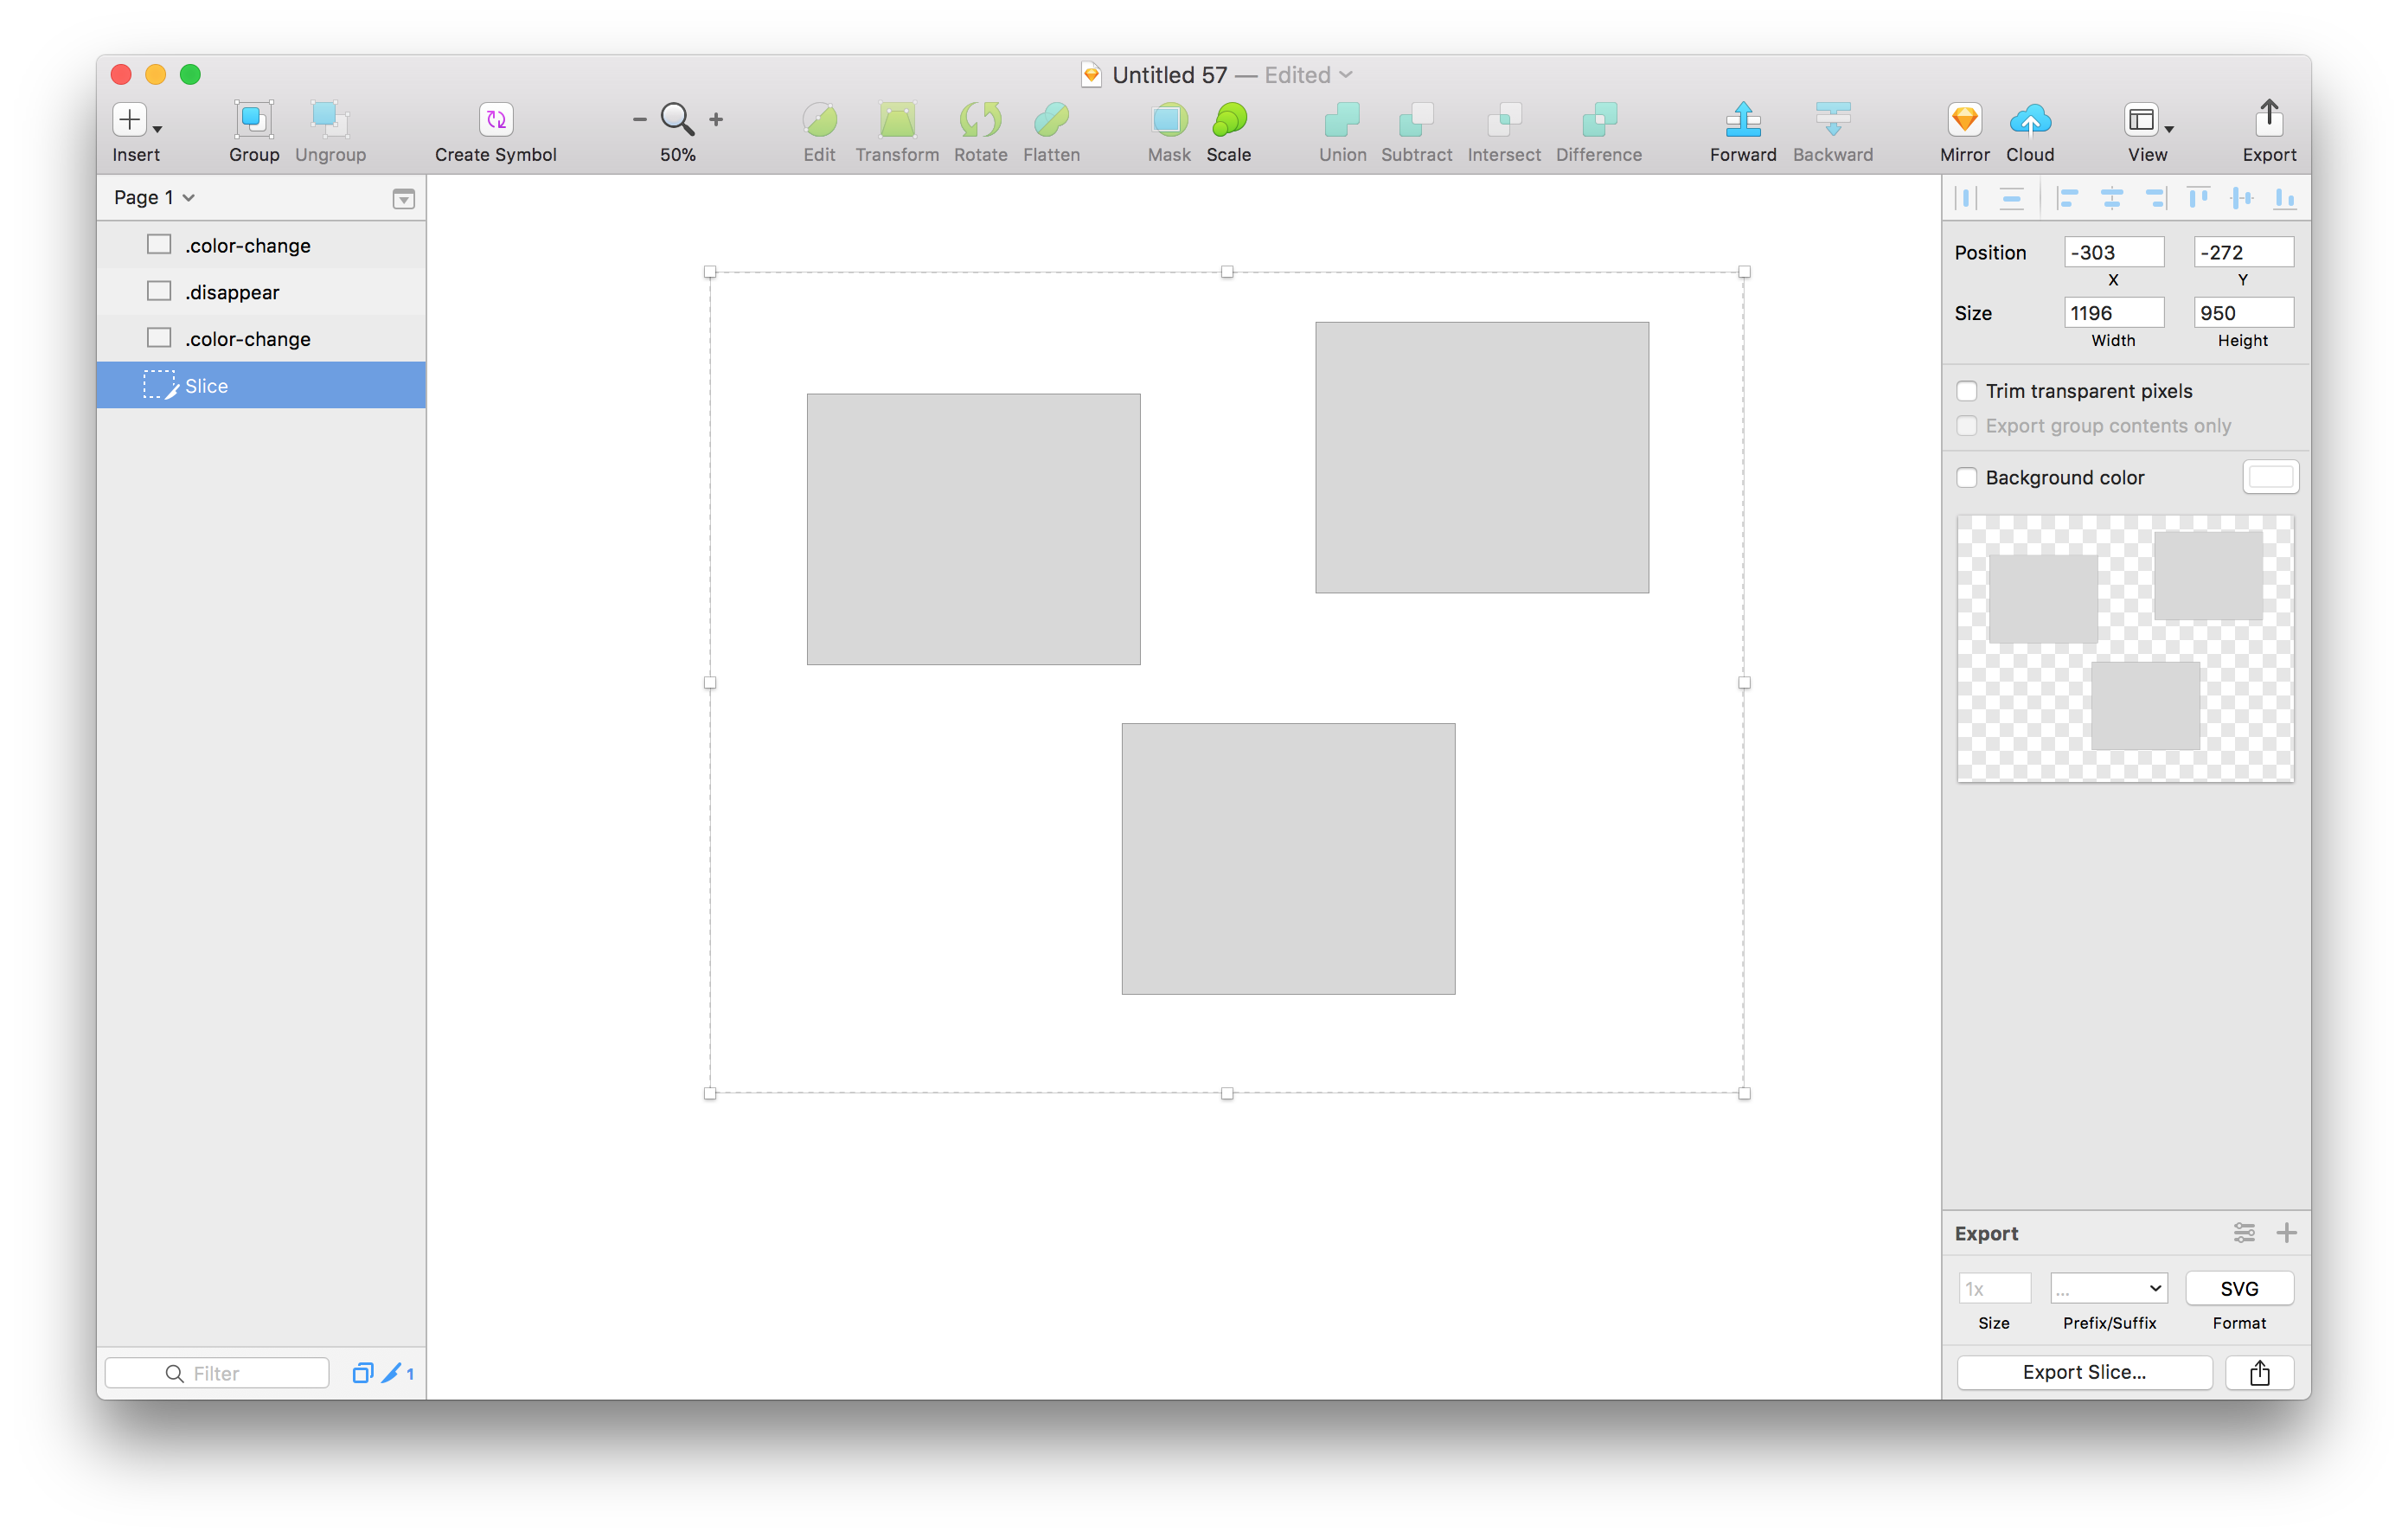
For example, here is a simple Sketch that shows three rectanges, two with the class color-change and one
with the class disappear:
When exported to SVG, this becomes
<?xml version="1.0" encoding="UTF-8"?>
<svg  viewBox="0 0 1338 1142" version="1.1" xmlns="http://www.w3.org/2000/svg" xmlns:xlink="http://www.w3.org/1999/xlink">
    <!-- Generator: Sketch 48.2 (47327) - http://www.bohemiancoding.com/sketch -->
    <title>Slice</title>
    <desc>Created with Sketch.</desc>
    <defs>
        <rect id="path-1" x="136" y="244" width="386" height="314"></rect>
        <rect id="path-2" x="769" y="123" width="386" height="314"></rect>
        <rect id="path-3" x="798" y="653" width="386" height="314"></rect>
        <rect id="path-4" x="226" y="746" width="386" height="314"></rect>
    </defs>
    <g id="Page-1" stroke="none" stroke-width="1" fill="none" fill-rule="evenodd">
        <g class="color-change" id="">
            <use fill="#D8D8D8" fill-rule="evenodd" xlink:href="#path-1"></use>
            <rect stroke="#979797" stroke-width="1" x="136.5" y="244.5" width="385" height="313"></rect>
        </g>
        <g class="disappear" id="">
            <use fill="#D8D8D8" fill-rule="evenodd" xlink:href="#path-2"></use>
            <rect stroke="#979797" stroke-width="1" x="769.5" y="123.5" width="385" height="313"></rect>
        </g>
        <g class="color-change" id="">
            <use fill="#D8D8D8" fill-rule="evenodd" xlink:href="#path-3"></use>
            <rect stroke="#979797" stroke-width="1" x="798.5" y="653.5" width="385" height="313"></rect>
        </g>
        <g class="spin" id="">
            <use fill="#D8D8D8" fill-rule="evenodd" xlink:href="#path-4"></use>
            <rect stroke="#979797" stroke-width="1" x="226.5" y="746.5" width="385" height="313"></rect>
        </g>
    </g>
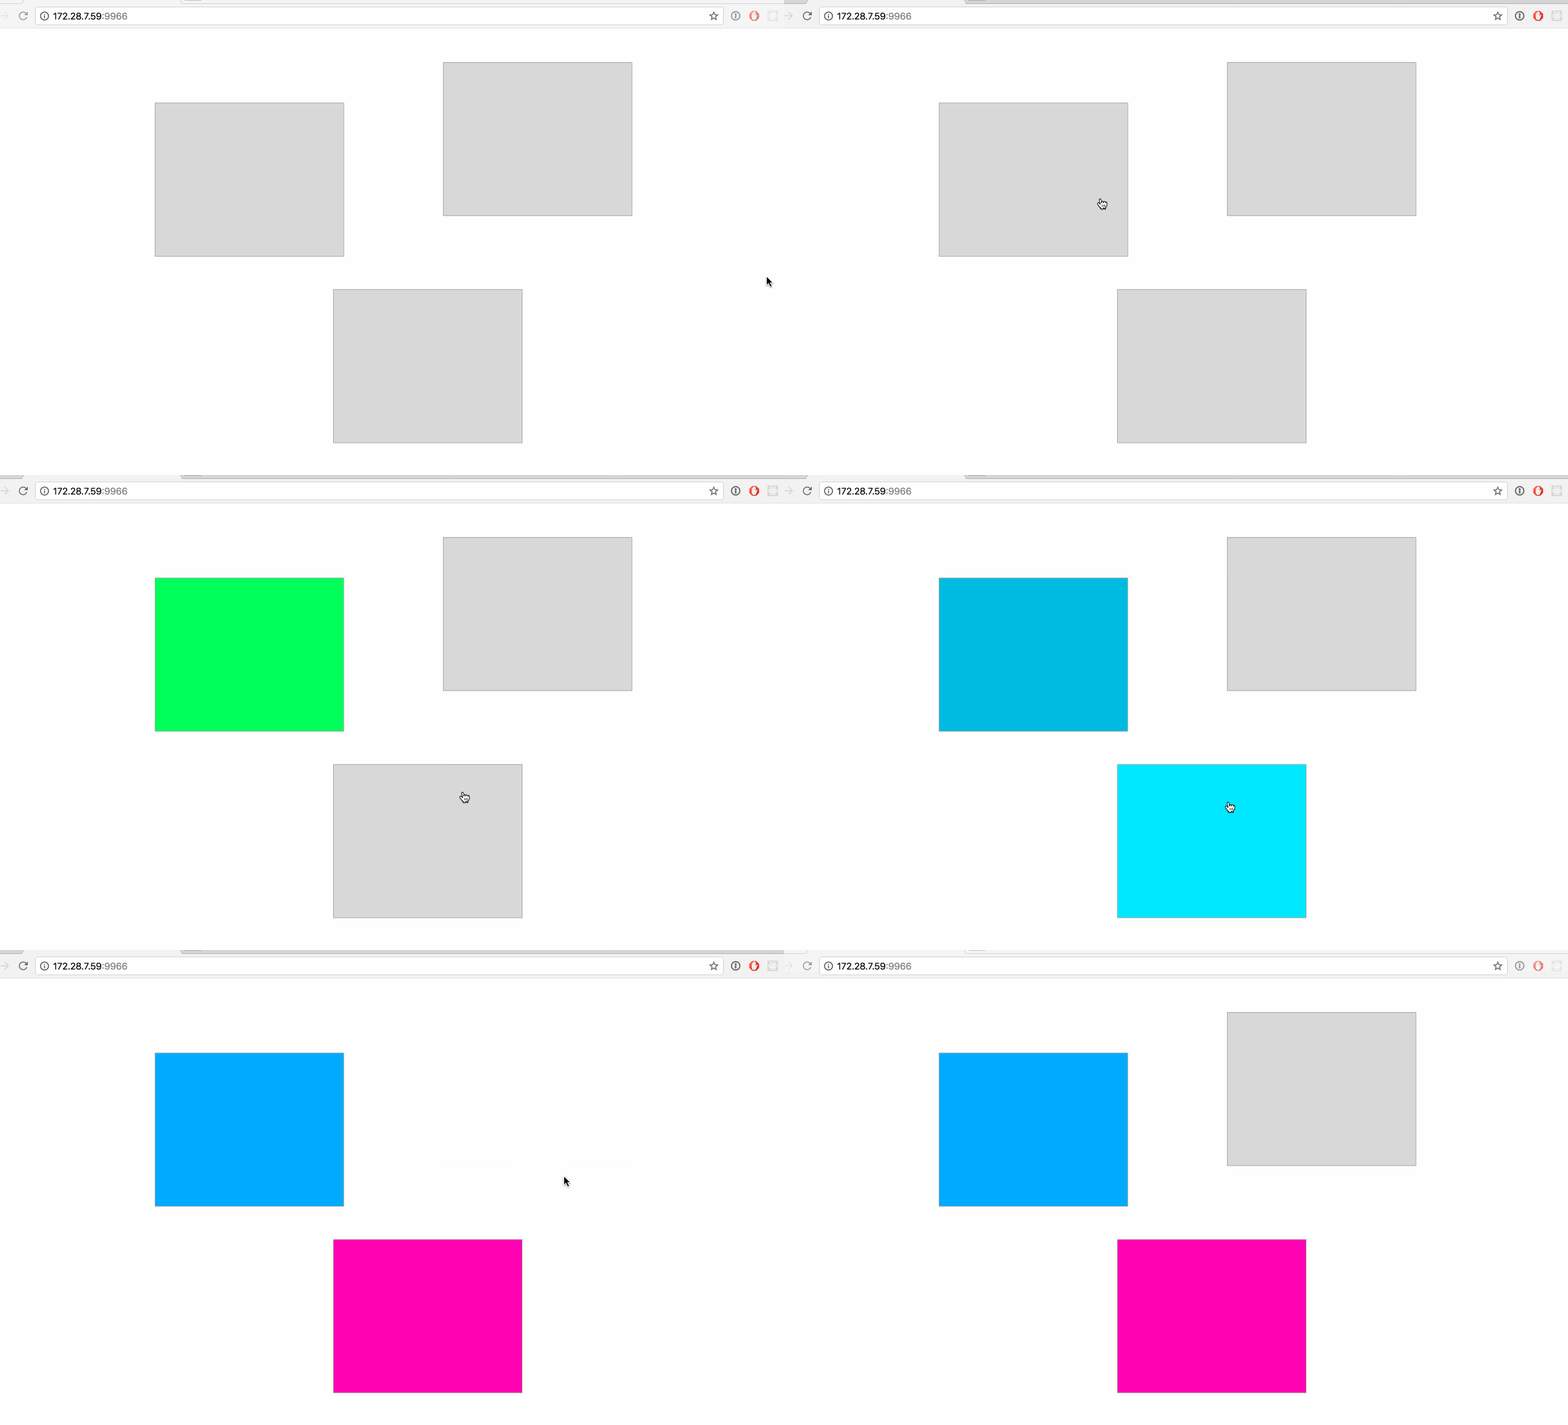
</svg>We can use D3 to select portions of the exported SVG and dynamically add interactions. For example, this
code changes the color of the rectangles with the color-change class, and fades out the rectangle with
the disappear class when a user clicks them.
const d3 = require('d3');
const fs = require('fs');

const svgString = fs.readFileSync(__dirname + '/example.svg', 'utf8');
const svg = d3.select('body').html(svgString).select('svg');

svg.selectAll('.color-change')
  .on('click', function() {
    // random fill
    d3.select(this).transition().attr('fill', "hsl(" + Math.random() * 360 + ",100%,50%)")
  })

svg.selectAll('.disappear')
  .on('click', function() {
    // fade out
    d3.select(this).transition().attr('opacity', 0)
    setTimeout(() => {
      d3.select(this).transition().attr('opacity', 1)
    }, 500);
  })
This results in the following behaviour
This plugin was created using skpm. For a detailed explanation on how things work, checkout the skpm Readme.
Install the dependencies
npm installOnce the installation is done, you can run some commands inside the project folder:
npm run buildTo watch for changes:
npm run watchAdditionally, if you wish to run the plugin every time it is built:
npm run startYou may need to update your Sketch defaults to always reload plugins:
defaults write com.bohemiancoding.sketch3 AlwaysReloadScript -bool YESTo customize Babel, you have two options:
-
You may create a
.babelrcfile in your project's root directory. Any settings you define here will overwrite matching config-keys within skpm preset. For example, if you pass a "presets" object, it will replace & reset all Babel presets that skpm defaults to. -
If you'd like to modify or add to the existing Babel config, you must use a
webpack.skpm.config.jsfile. Visit the Webpack section for more info.
To customize webpack create webpack.skpm.config.js file which exports function that will change webpack's config.
/**
 * Function that mutates original webpack config.
 * Supports asynchronous changes when promise is returned.
 *
 * @param {object} config - original webpack config.
 * @param {boolean} isPluginCommand - wether the config is for a plugin command or a resource
 **/
module.exports = function (config, isPluginCommand) {
  /** you can change config here **/
}To view the output of your console.log, you have a few different options:
- Use the
sketch-dev-tools - Open
Console.appand look for the sketch logs - Look at the
~/Library/Logs/com.bohemiancoding.sketch3/Plugin Output.logfile
Skpm provides a convenient way to do the latter:
skpm logThe -f option causes skpm log to not stop when the end of logs is reached, but rather to wait for additional data to be appended to the input

