


- vue + UMeditor(ueditor迷你版本)
IE >= 10 (插入地图、公式的功能也可以在IE9中使用)
Chrome
Firebox
- jQuery
- umeditor
- MathQuill
- baiduMap
npm install raw-loader --save-dev
npm install '@blog1997/vue-umeditor' --save
import editor from '@blog1997/vue-umeditor'
import Vue from 'vue'
Vue.use(editor)<script type="text/javascript" src="https://cdn.jsdelivr.net/npm/@blog1997/vue-umeditor@latest/dist/main.bundle.js">
</script>
<script type="text/javascript"
src="https://cdn.jsdelivr.net/npm/@blog1997/vue-umeditor@latest/dist/vendors~main.bundle.js"></script>
<script>
Vue.use(VueUmeditor)
</script><div id="editor">
<umeditor v-model="content" @receiveUM="receiveUM"/>
</div>new Vue({
el: '#editor',
data() {
return {
editor: '',
content: '<p>everything you like</p>'
}
},
methods: {
receiveUM (editor) {
this.editor = editor
}
}
}) /**
* @param FormData files
* upfile[] => FileList
*/
const images = this.editor.getFileFormData()
const formData = new FormData
images.forEach(element => {
formData.append('images[]', element)
});
// 根据返回的数据,替换本地的图片
axios.post('upload', images)
.then((response) => {
// response.data : array
this.editor.replaceImageUrl(response.data)
}).catch(e => {
// do something
})- 数据的双向绑定
- 对数学公式的支持
- 全新的UI
- 可以插入地图(一般用不到)
- 自动导入各种依赖文件
1、 这个包使用的是ES6语法,需要在使用的时候配置一下babel-loader。
例如:
在vue项目中,需要对transpileDependencies属性进行配置
在nuxt项目中,对transpile属性进行配置
2、 内置了一个模拟组件用于测试
import umeditor from '@blog1997/vue-umeditor/test'3、 关于SSR,因为在服务器端不执行mounted钩子函数,而组建实例话UmEditor是在mounted钩子函数中执行的,可以在只服务端注册组件,让其只渲染相关的模板,然后在客户端生成富文本
// server side code
import umeditor from '@blog1997/vue-umeditor/component'
vue.component('umeditor', umeditor)
然后在客户端入口导入相关的文件
import '@blog1997/vue-umeditor'4、 如何初始化数学公式和地图
举个例子,富文本提取的公式内容是这样的, \sqrt[]{}, 需要使用mathquill将其转成我们要呈现的样子。需要使用组件的 initFormula方法
import { initFormula, initMap } from '@blog1997/vue-umeditor'
initFormula() // 初始化数学公式
initMap()     // 初始化地图
5、在使用地图功能之前,需要申请一个百度地图的ak,然后传入baiduMapAk props。
<umeditor baiduMapAk="your application key" />6、语言的选择
<umeditor lang="en|zh-cn" />7、二次开发
在实例话编辑器之前,通过before-init钩子,做一些提前准备工作。可以参考源码,做一些你需要的扩展
[Save] 按钮
<umeditor @before-init="beforeInit"></umeditor> beforeInit() {
UM.registerUI("save", function (name) {
//该方法里的this指向编辑器实例
var me = this,
//实例化一个UMEDITOR提供的按钮对象
$button = $.eduibutton({
//按钮icon的名字, 在这里会生成一个“edui-icon-save”的className的icon box,
//用户可以重写该className的background样式来更改icon的图标
//覆盖示例见btn.css
icon: "icofont-architecture-alt",
title: me.options.lang === "zh-cn" ? "保存" : "save",
click: function () {
//在这里处理按钮的点击事件
//点击之后执行save命令
me.execCommand(name);
},
});
//在这里处理保存按钮的状态反射
me.addListener("selectionchange", function () {
//检查当前的编辑器状态是否可以使用save命令
var state = this.queryCommandState(name);
//如果状态表示是不可用的( queryCommandState()的返回值为-1 ), 则要禁用该按钮
$button
.edui()
.disabled(state == -1)
.active(state == 1);
});
//返回该按钮对象后, 该按钮将会被附加到工具栏上
return $button;
});
console.log(UM.Editor.prototype)
// 默认载入自定义的 菜单
UMEDITOR_CONFIG.toolbar.push("save");
},8、关于图片的上传
因为采用了本地预览图片的策略,所以在提交文本之前,需要先将图片上传到服务器上。编辑器实例的getFileFormData方法会返回一个FileList数组(其元素是File 实例),之后,你可以通过FormData将其上传到服务器上。然后使用replaceImageUrl方法,将服务端返回的路径替换掉本地预览的路径。
// 上传图片
uploadImage() {
const images = this.editor.getFileFormData();
const formData = new FormData
images.forEach(element => {
formData.append('upfile[]', element)
});
axios.post("https://www.blog1997.com/api/admin/upload/image/article", formData)
.then((response) => {
this.editor.replaceImageUrl(response.data.data)
});
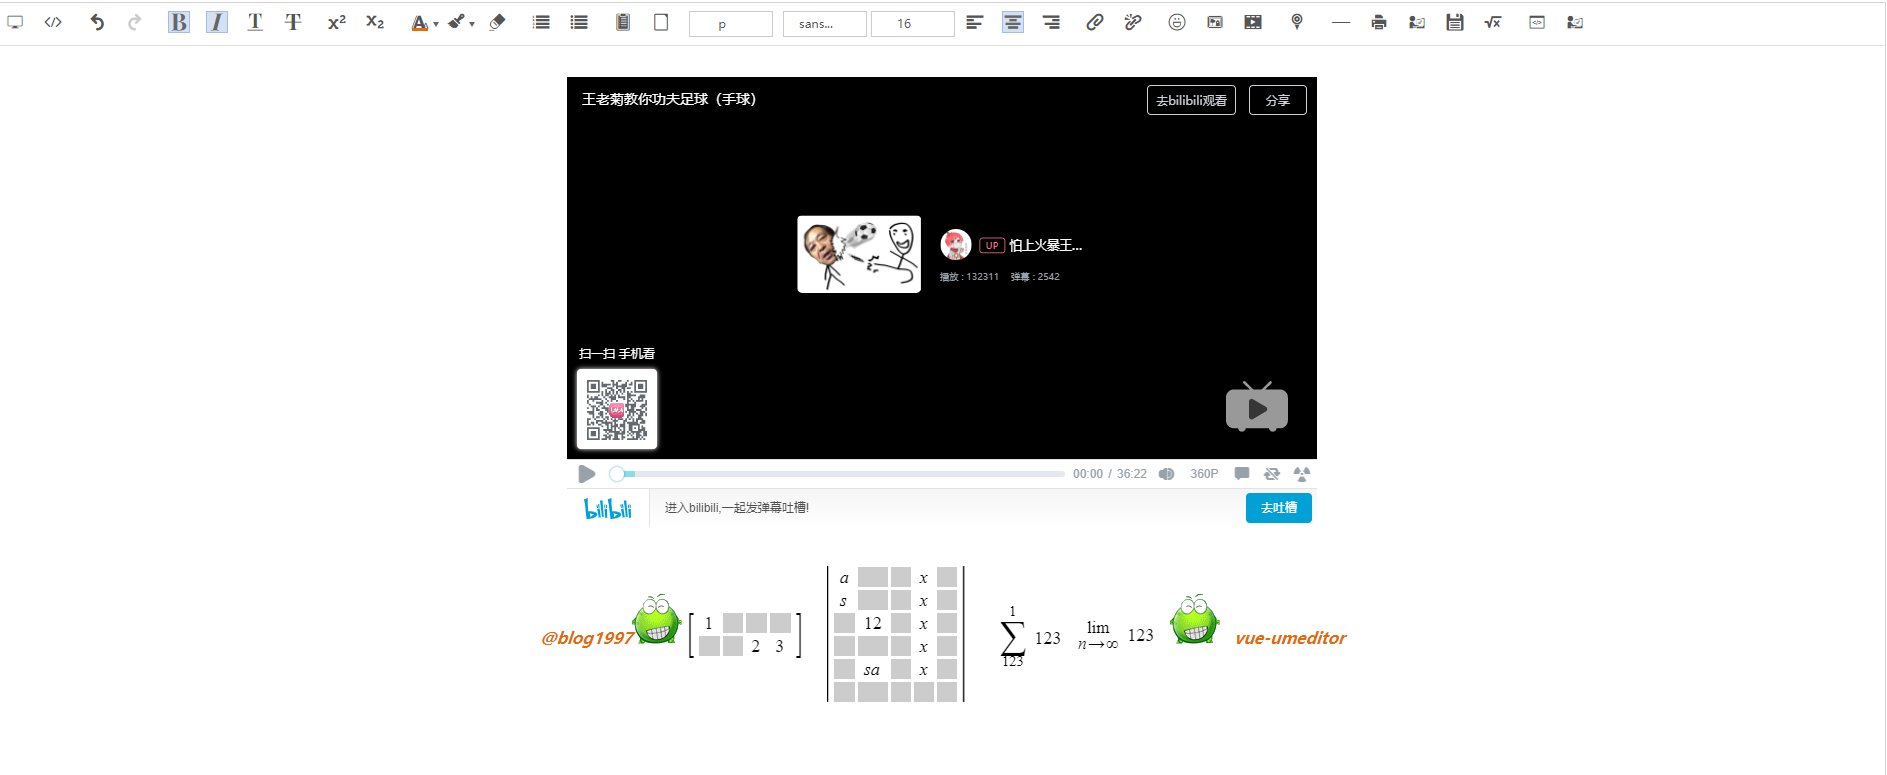
}9、无痕模式下的视频可能无法播放
10、因为百度地图自身的原因,使用https协议的地址,不能正常显示动态地图。