Collection of software components for development of open source cinema camera using raspberry pi hardware and software.
The purpose of this repository is to host pre-built images that include all necessary software and drivers to facilitate quick-and-easy development of cinepi software components.
Based on the latest Debian release for Raspberry Pi ( Bookworm ). Head to the releases page to download the latest pre-zipped .img file and flash to your micro-sd card to get started!
CinePI cameras are based around Raspberry Pi hardware / software.
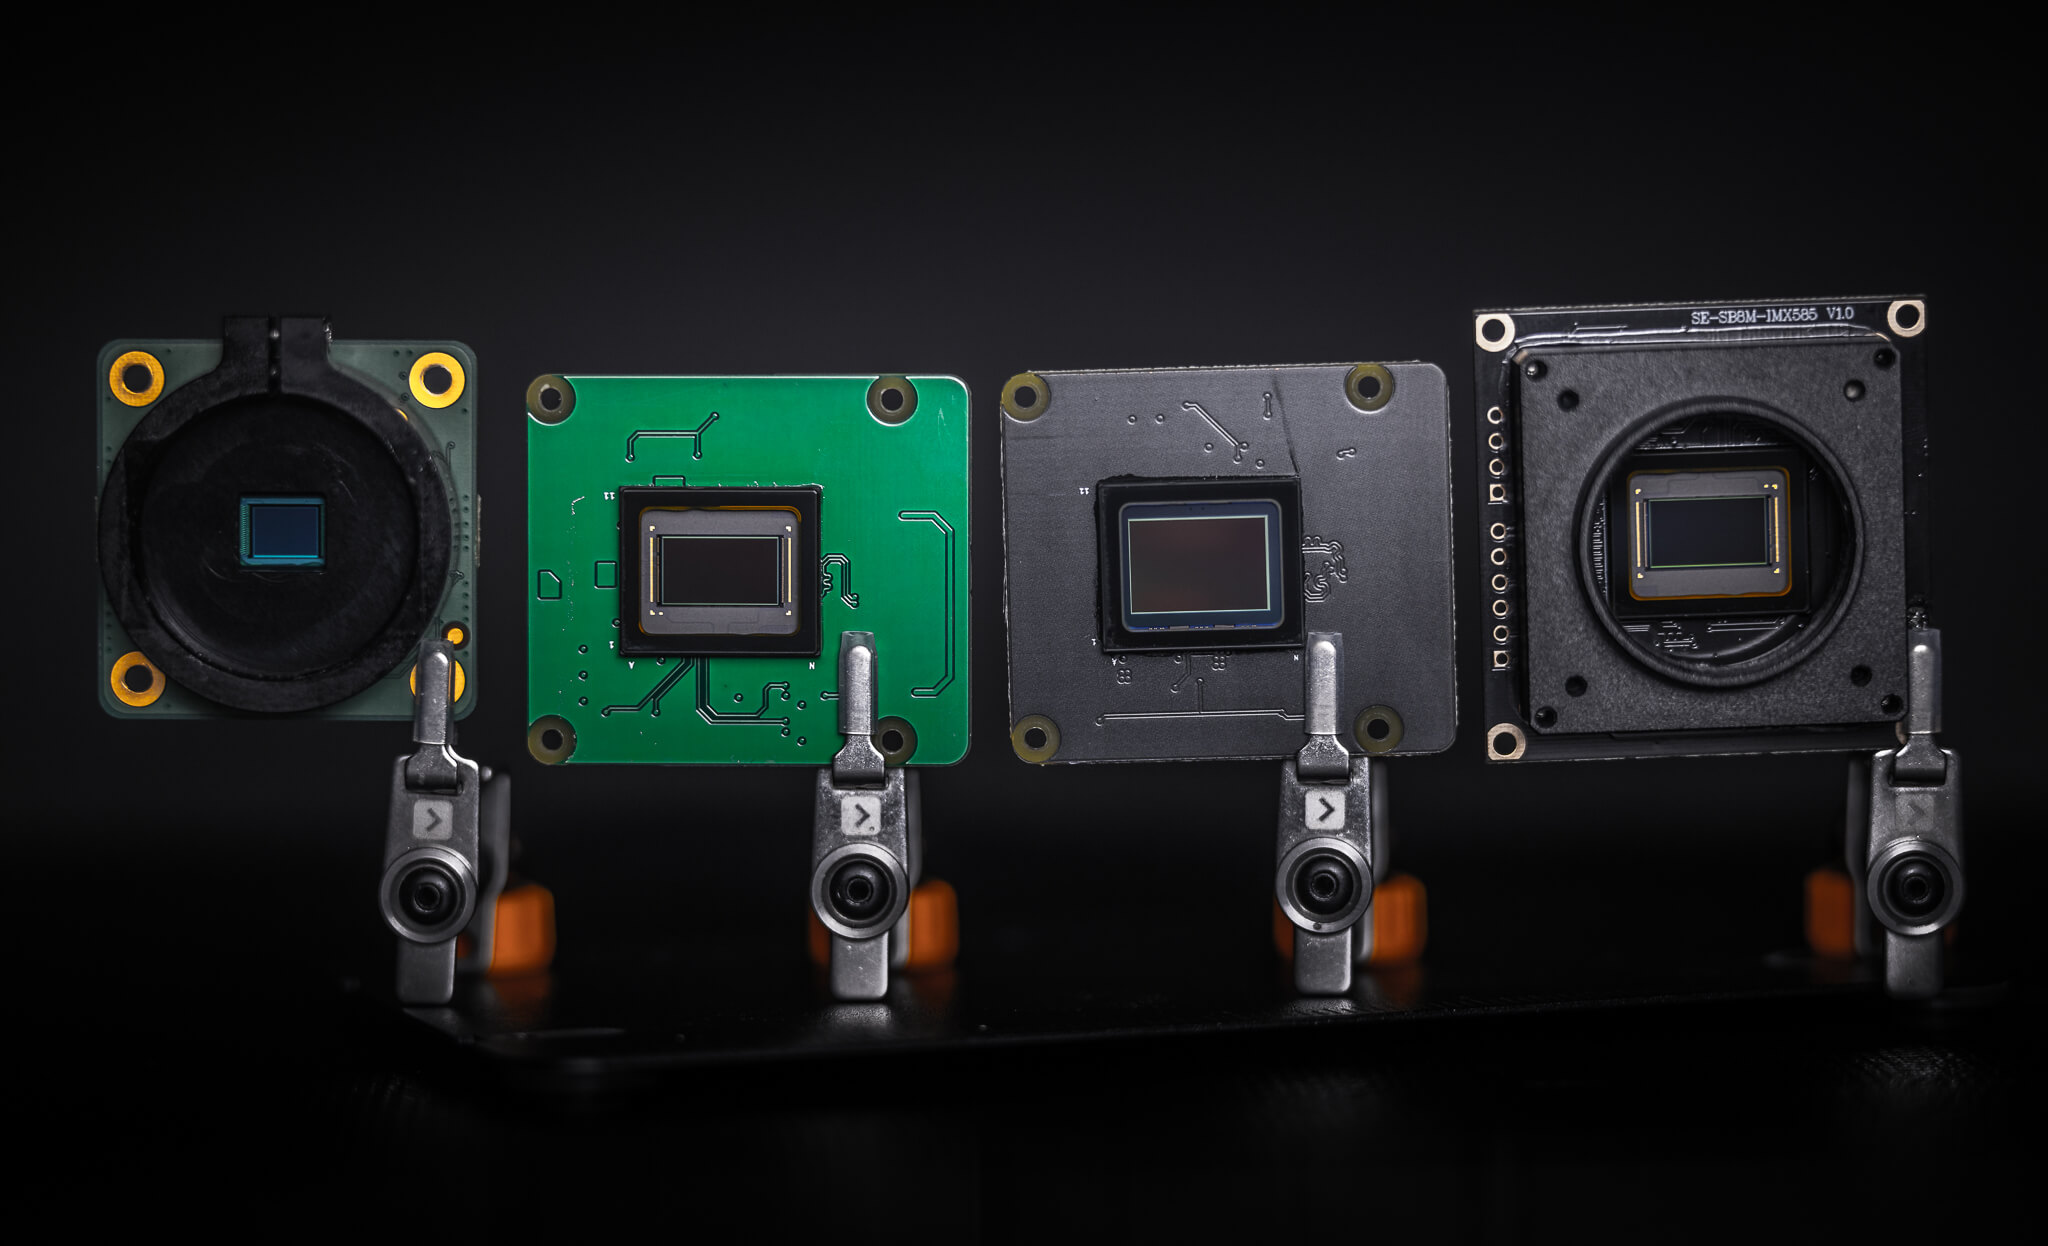
1st party camera modules from Raspberry Pi are supported out of the box, 3rd party sensor modules designs from Will Whang and Soho-enterprise are also supported.
Raspberry Pi 4B / Compute Module 4(Unsupported)- Raspberry Pi 5 ( 4/8 GB )
 HQ Camera Module, StarlightEye, OneInchEye, SE-SB8M-IMX585
- Raspberry Pi HQ Camera ( IMX477 )
- Raspberry Pi Camera Module 3 ( IMX708 )
- OneInchEye ( IMX283 )
- StarlightEye ( IMX585 )
- Install the latest image from releases ,
unzipor use software like Belena Etcher to flash the .zip directly to a micro-sd card.
-
⚠️ SSH Access⚠️
hostname:
cinepi.localuser:pipassword:1Example for accessing via a terminal:
ssh pi@cinepi.local
- Depending on which camera module you have decided to use, you will need to modify the
config.txtfound in the boot partition. Enable the correct sensor overlay by uncommenting the appropriate lines for your given sensor module. By default the image comes withcamera_auto_detectenabled, so 1st party camera modules from Raspberry Pi should automatically be detected. Connect camera modules to camera port 1.
# Automatically load overlays for detected cameras
camera_auto_detect=1

# OneInchEye Module ( default camera port 1 )
#camera_auto_detect=0
#dtoverlay=imx283

# StarlightEye Module ( default camera port 1 )
#camera_auto_detect=0
#dtoverlay=imx585
-
Insert the micro-sd card into the Raspberry Pi and power on. Connect the Pi to a display via HDMI ( During first boot you may experience a sudden reboot, this is normal as the Pi expands the filesystem. )
-
Upon successful installation, you will presented with the familiar desktop environment for Raspberry Pi.
Testing can be done after installation by running 2 scripts found within the home directory.
-
run-raw.sh: this script is responsible for starting thecinepi-rawinstance that starts and controls the camera. -
run-gui.sh: this script is responsible for starting thecinepi-guiinstance that displays the live camera preview, overlays and controls.
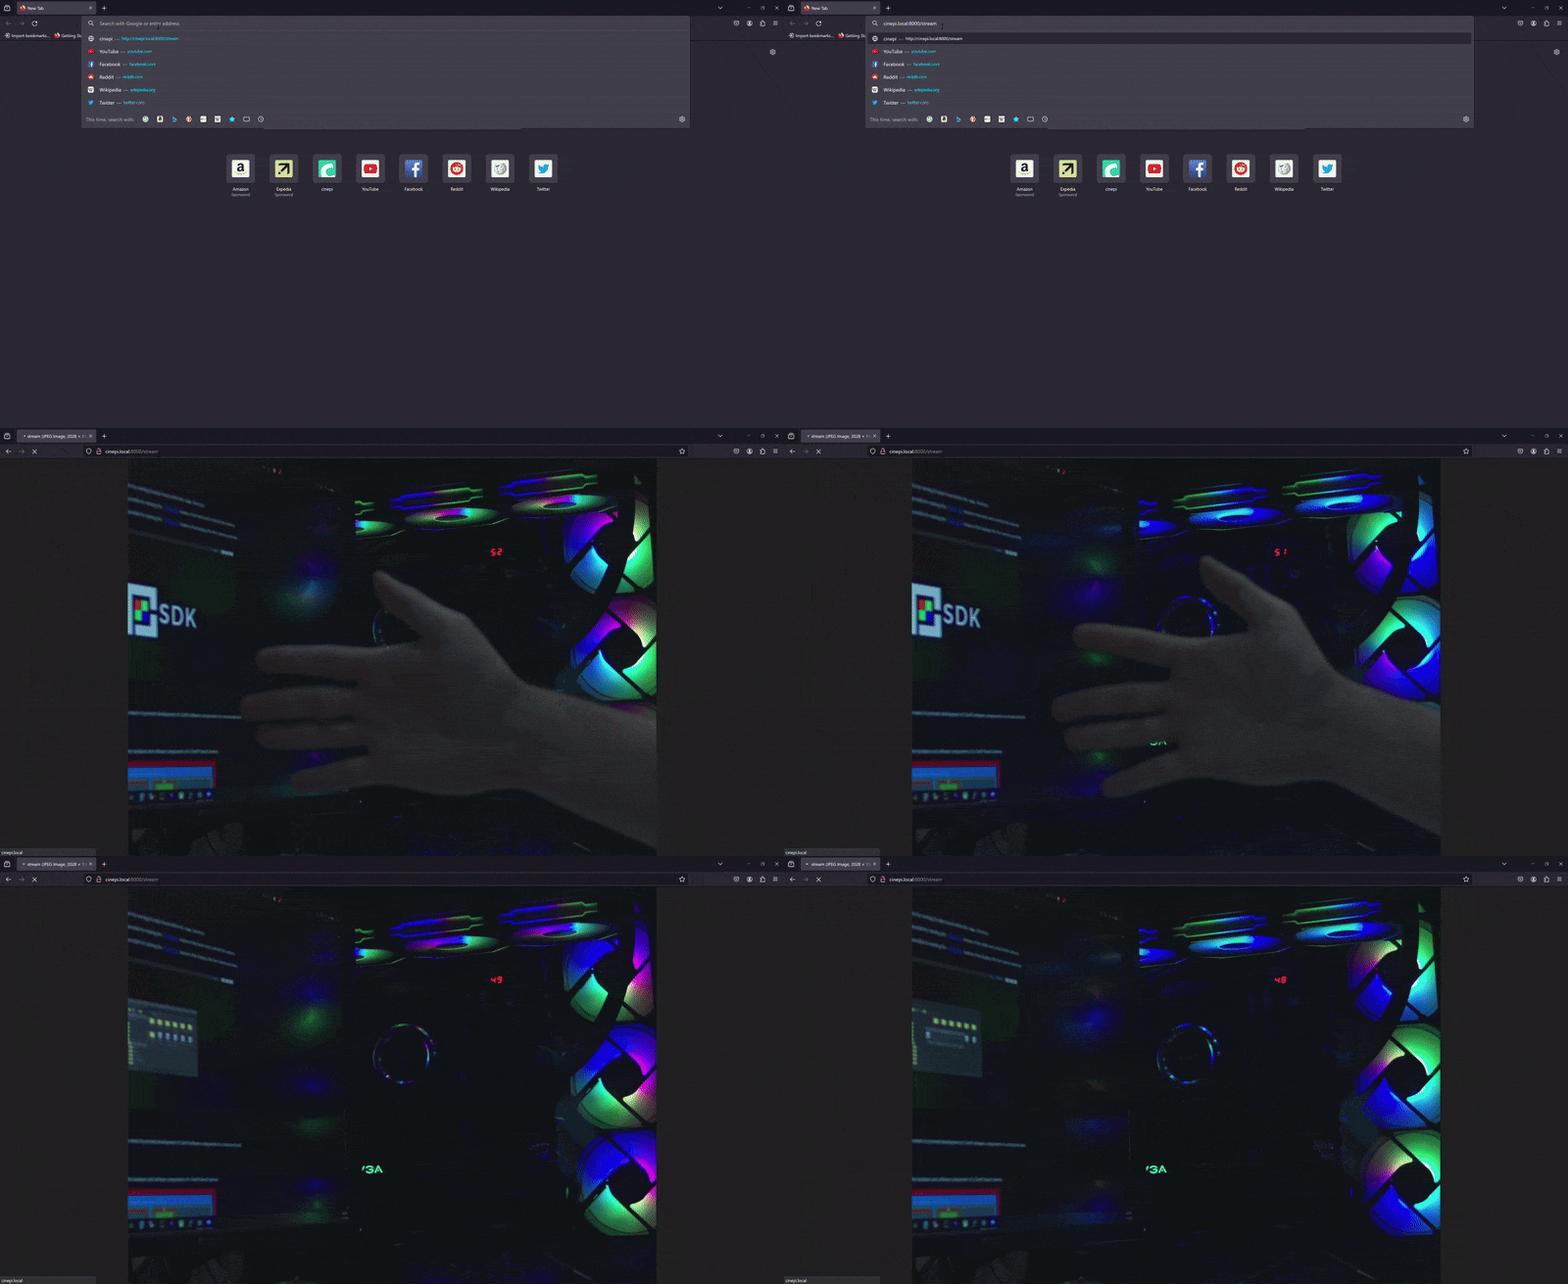
In addition when running the run-raw.sh script, you can also preview a live MJPEG stream via a browser on port 8000 on the route /stream. For example on another computer sharing the same network as the pi; go to: cinepi.local:8000/stream
This SDK has been provided as a means to promote development of CinePI software components in a structured and collaborative environment.
Below is high level overview of the hardware and software components of a CinePI based camera.
For detailed breakdowns of the individual software components such as cinepi-raw or cinepi-gui, please visit their respective repositories for more details.


