A cross-platform OpenCV project where bluetooth speaker volumes are adjusted based on the distance of a person to a QR tag on the speaker.
- Single Bluetooth speaker
- Interfaces with Python code on Mac
- Only controls volume via distance
- Interface with Amazon Alexa for multiple speaker control
- Build IOS and Android apps that have OpenCV on them, use them as camera to track distance
- Integrate with Raspberry Pi
- Have Pi control servos and turn servos towards the person each is tracking
The Mac version can run off the pure core algorithm Python script and requires the following external dependencies:
- Python3.6 or greater
- opencv2
- pyzbar
- imutils <- included with the brew opencv package
- osascript
These can be installed as follows with pip and homebrew:
brew install opencv@2
brew install zbar
pip install osascript
pip install pyzbarThe core algorithm consists of a Python script that uses the openCV and zBar libraries to detect, locate, and read a QR code and then find the distance between this and a detected moving object. Motion detection is done by subtracting two subsequent frames and then applying filters to get the longest changing contour lines. The average cumulative midpoint of all of the boxes around the contours are used as the center point of the moving object. At this point, a 2 dimensional distance can be obtained between the QR code and detected object. However, since these exist in a 3 dimensional plane, the Z-distance to both objects are also obtained. This is done by using knowledge of the focal length and sensor height of the camera and then getting a ratio of the actual size (or estimated actual size) of the QR code and human compared to their perceived size in the picture. With all 3 dimensions now obtained, a 3 dimensional distance between the two objects can be calculated and the nearest QR code is given a red dot in its center, as shown below.
The iOS Port of Follow Me Music was developed with a server-client model in mind, rather than the application running locally on the device as in the Android version.The server application is a modified version of the Mac OS X Python application; this version also runs a web server over the running computer's network. An iOS device running Follow Me Music can send images at a rate of 4fps to the server using normal HTTP POST requests. The server processes these images and adjusts the volume on the connected speakers accordingly.
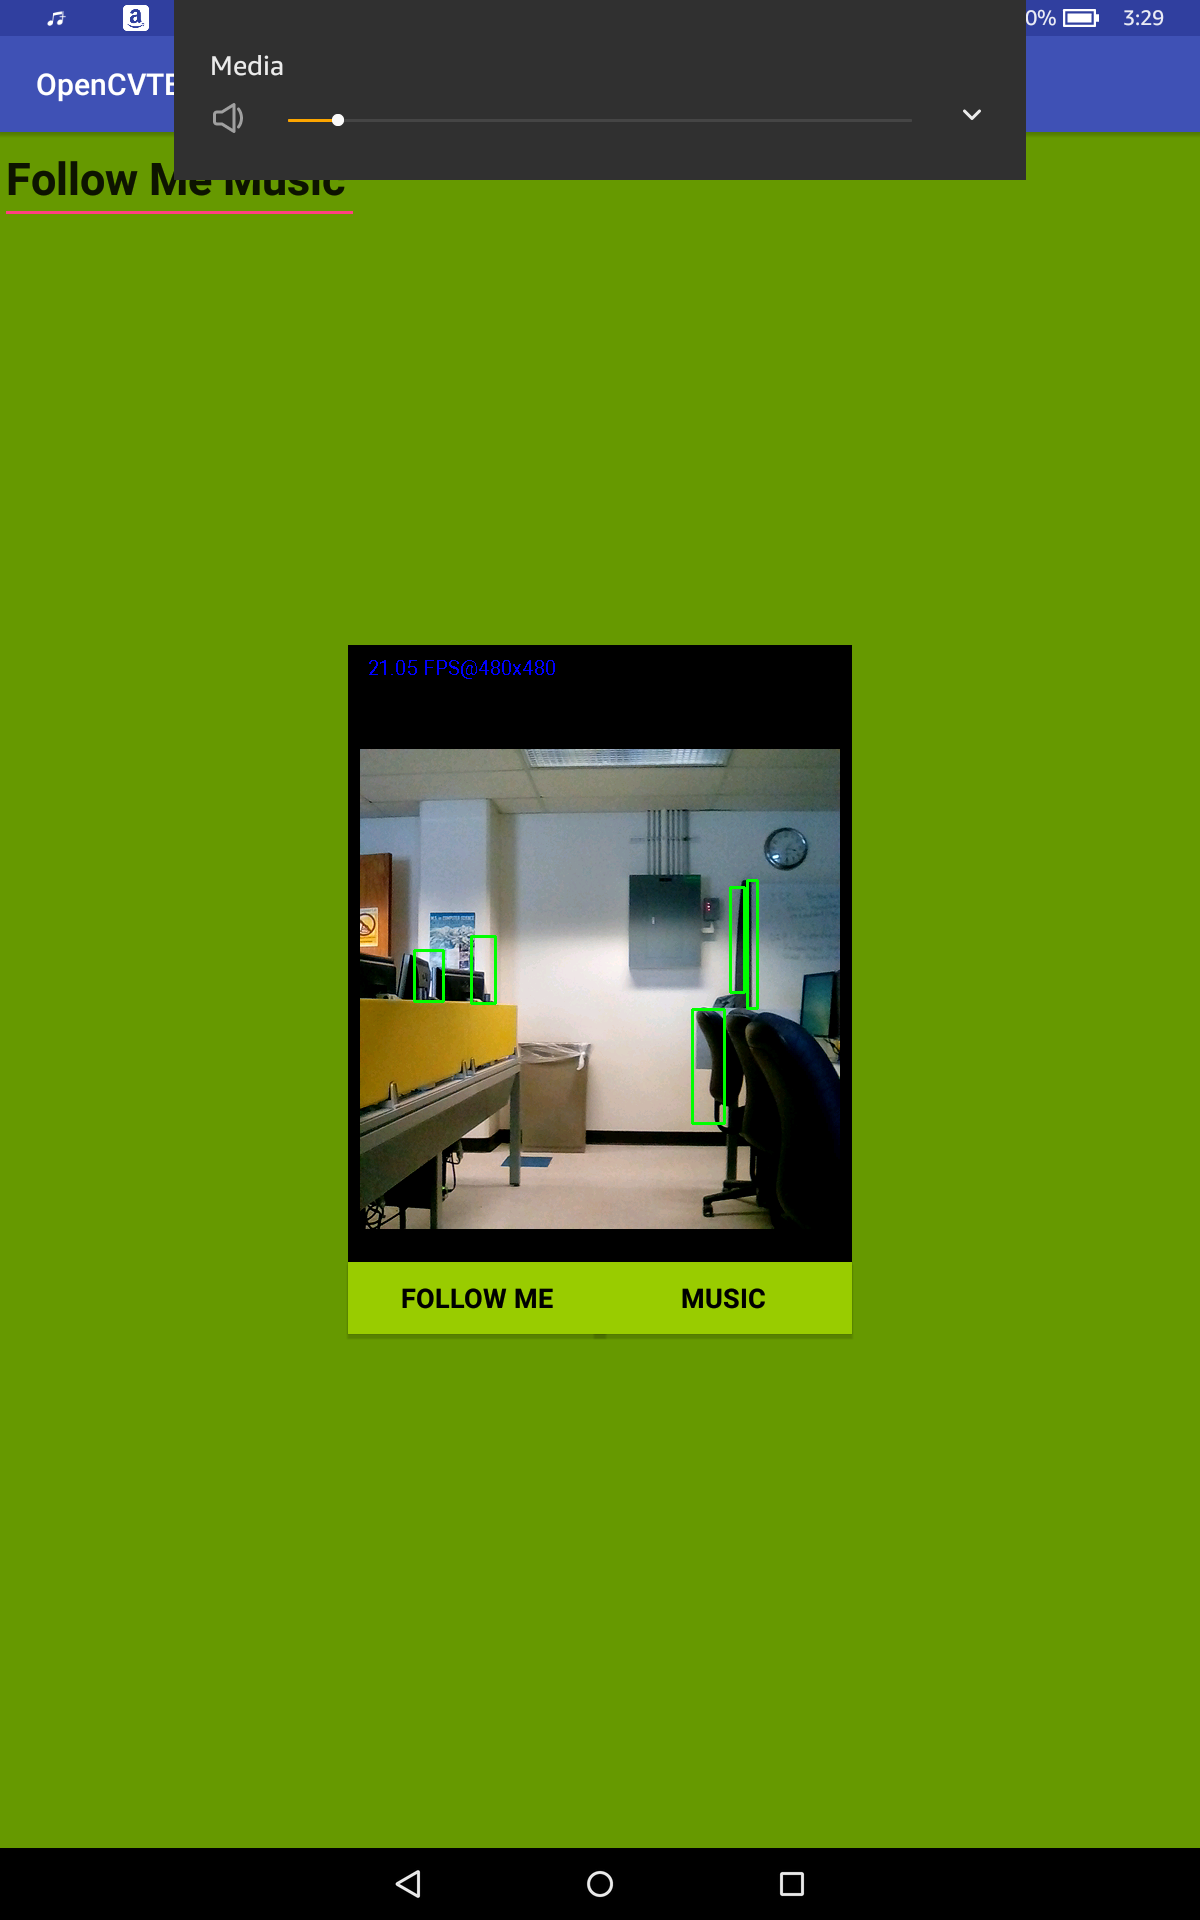
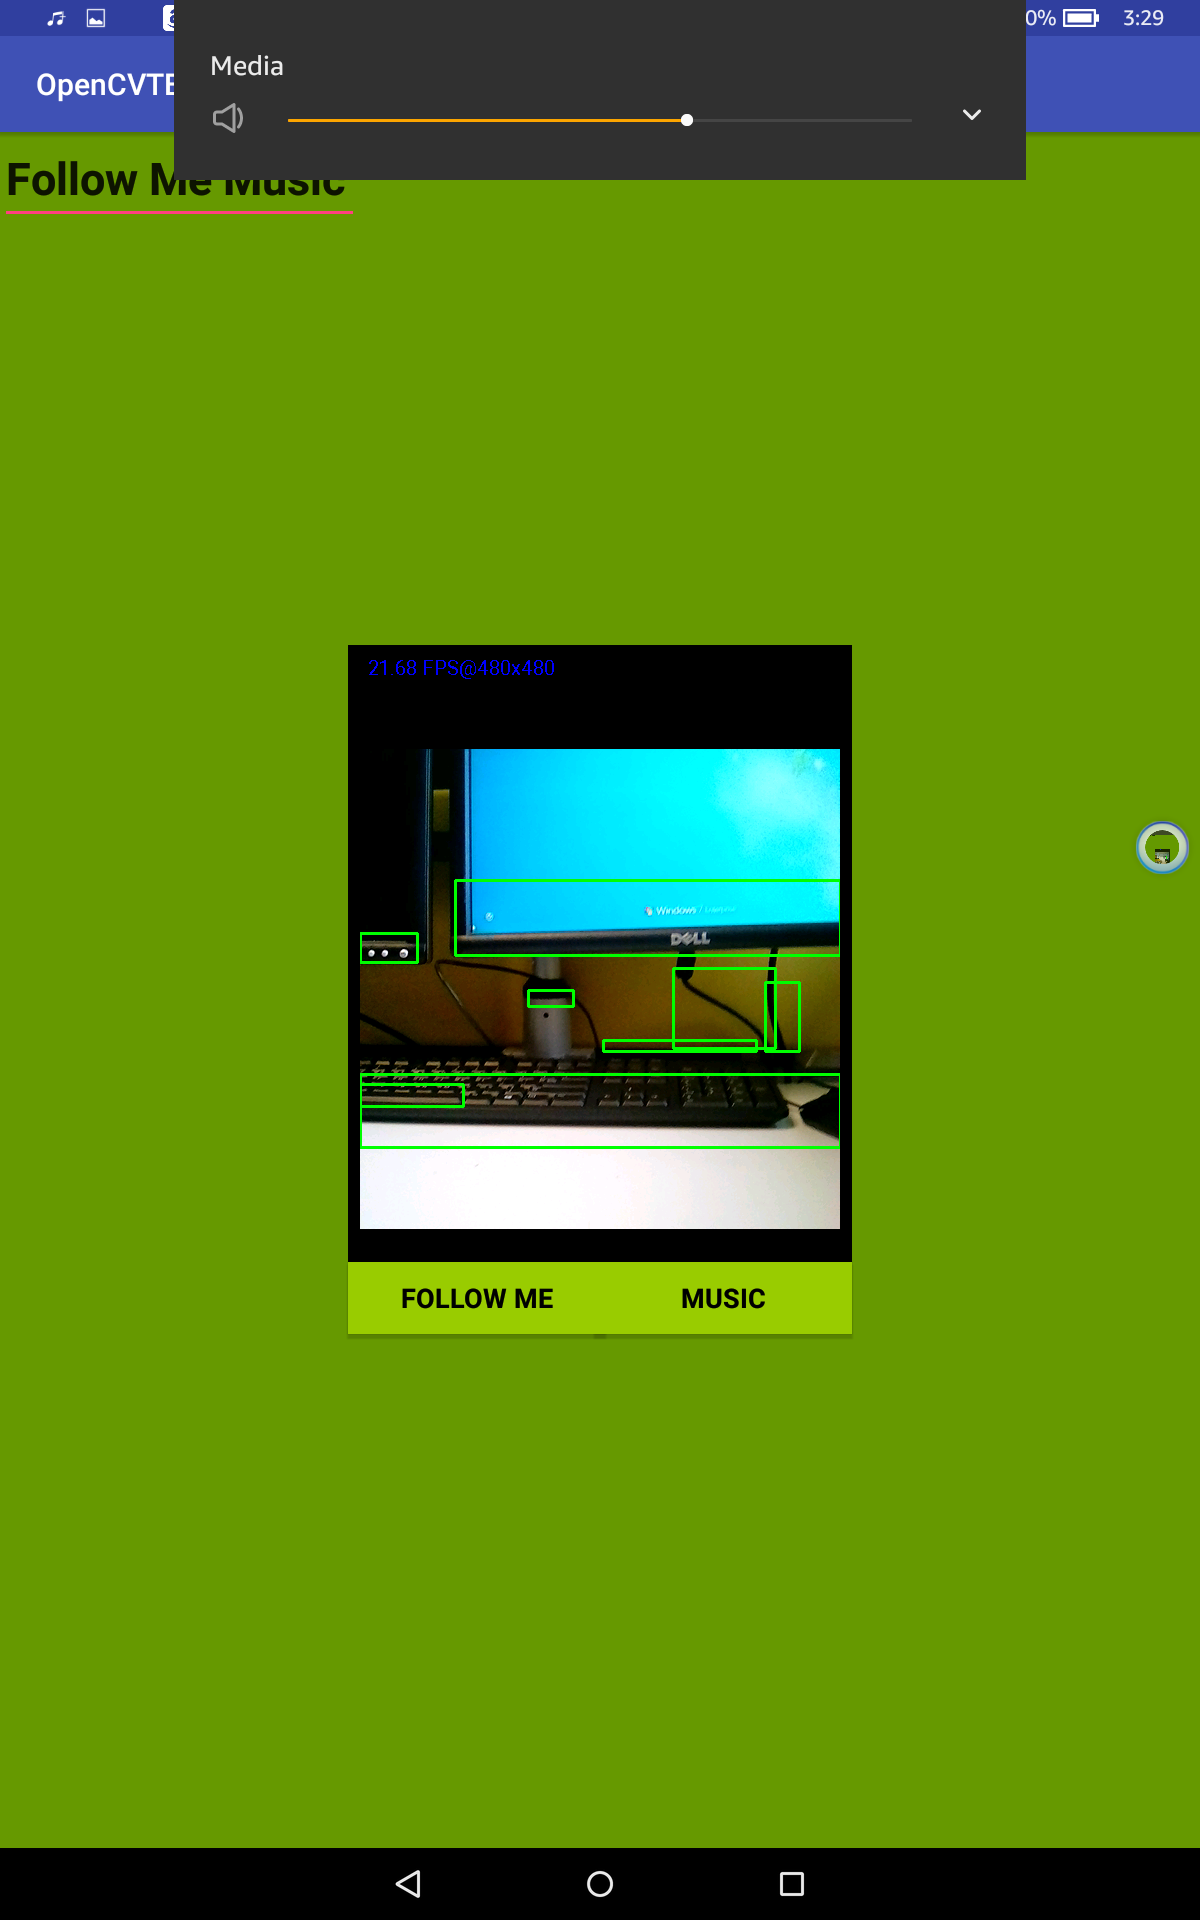
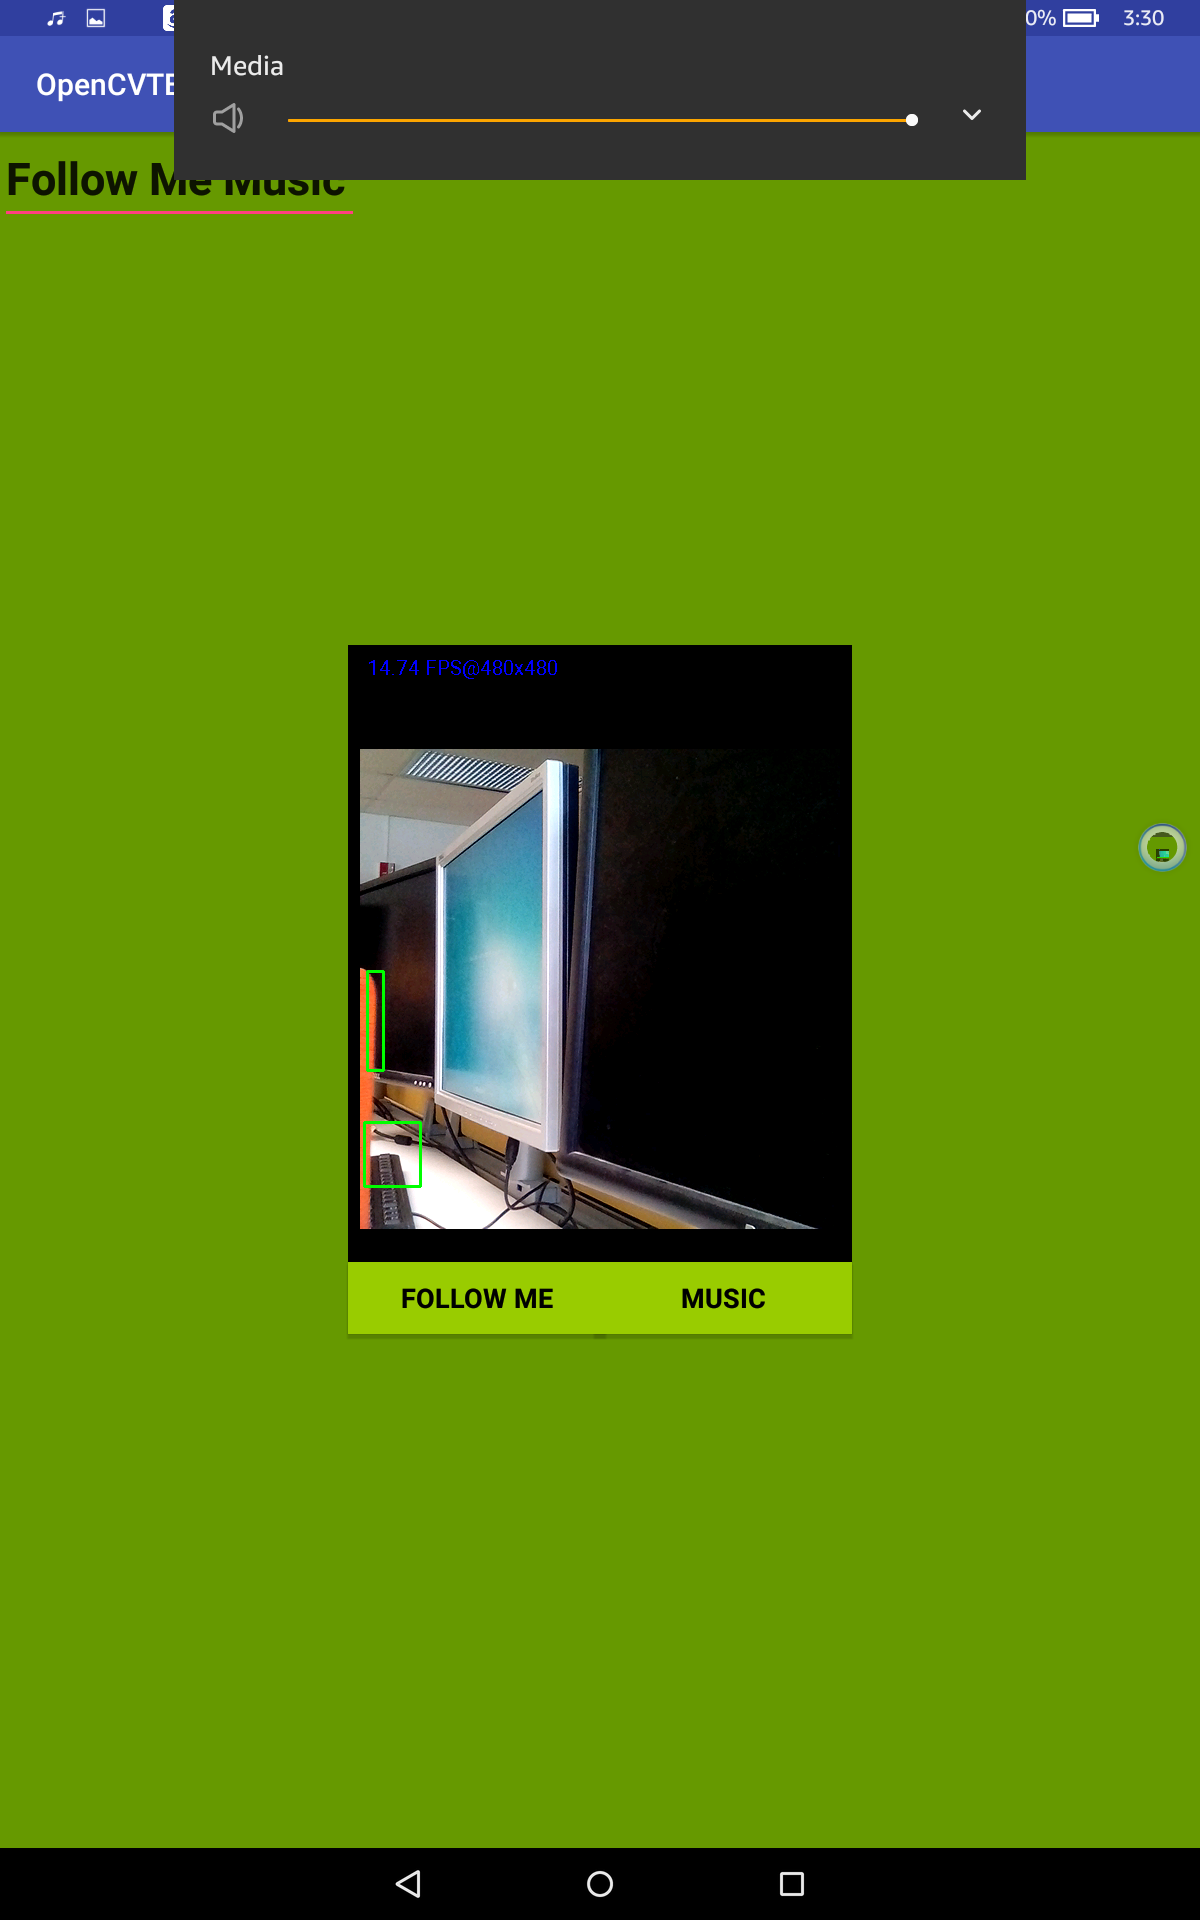
The Android app inherits many features from the core algorithm aside from using a QR code as a relative base to judge distance. Instead the Android app using the distance from the actual device running the app to judge distance and ultimately volume. Implementation wise, the Android app is completely self contained, meaning everything involving image differentials, volume adjustments, and other calculations are performed on the actual device itself. This is very taxing on both the processor and RAM capacity since performing operations and storing images quickly can consume large amounts of RAM. To put this into perspective, we were experiencing 2GB of RAM consumption every 15 seconds with a 800x800 live camera display. Reducing the dimensions has greatly decreased the amount of RAM consumed, but the image is smaller as a result. Things to work on in the future would involve implementing RAII like features on some camera objects we are using and devising some sort of method to allow the app to interface seamlessly with other apps that play music, select bluetooth devices, etc.
After spending a lot of time translating the Python code for the core algorithm over to Java, we realized that this was a very time consuming process and made it so that we had to change essentially the same code in multiple areas if we wanted to change the core algorithm. The solution we came up for this was to send about 4 images a second to a local server and have this server process the data with the python code. This made it so instead of writing a long and complicated mobile app, we just had to come up with a way to send images to the server and then set the volume to whatever we got as a response. We thought of various methods on how we wanted to send the image including using FTP or a Dropbox API, however, we ended up deciding to just use a simple POST request. This POST request, sent from a phone, contains the raw bytes of the photo. On the server end, this photo is received in a Flask app POST request handler function and saved to an image on the disk that we use as a sort of intermediate pipe. This image is then read into the a modified version of the core algorithm, which returns a volume level that could just be set on the device. However, we tested this method with IOS and realized that Apple prevents apps from setting the volume themselves. In order to solve this problem, we decided to just change the volume on the server and then connect a speaker via bluetooth and place it near the QR tag. Although this is a very roundabout method, it makes for small mobile app development and centralizes the core algorithm to only needing to be changed in one location for all devices using this method.
- Apps for IOS and Android will be developed using Flutter, a Dart based mobile development API
Check out Flutter's homepage for more information
- OpenCV has native support for Objective-C, which can be used as an alternative development approach to IOS apps
Reference OpenCV video processing with Objective-C for documentation
- You will need to do the following:
-
Install Flutter:
-
Download Android Studio:
2.1 You may be prompted to install NTK and CMAKE after you create your first project
-
Android device emulation can be performed within Android Studio, so you do not need a physical device to test basic app features. However, keep in mind that we will be using a series of image bounding boxes to measure distances, which may require a physical device to use the camera. I haven't looked into this yet. The other method would be to have a sequence of images preloaded onto the emulator that OpenCV could process.
Check out the Create and Manage Virtual Devices documentation for more device emulation details
-
OpenCV integration with Flutter Custom Platform
-
OpenCV for IOS


