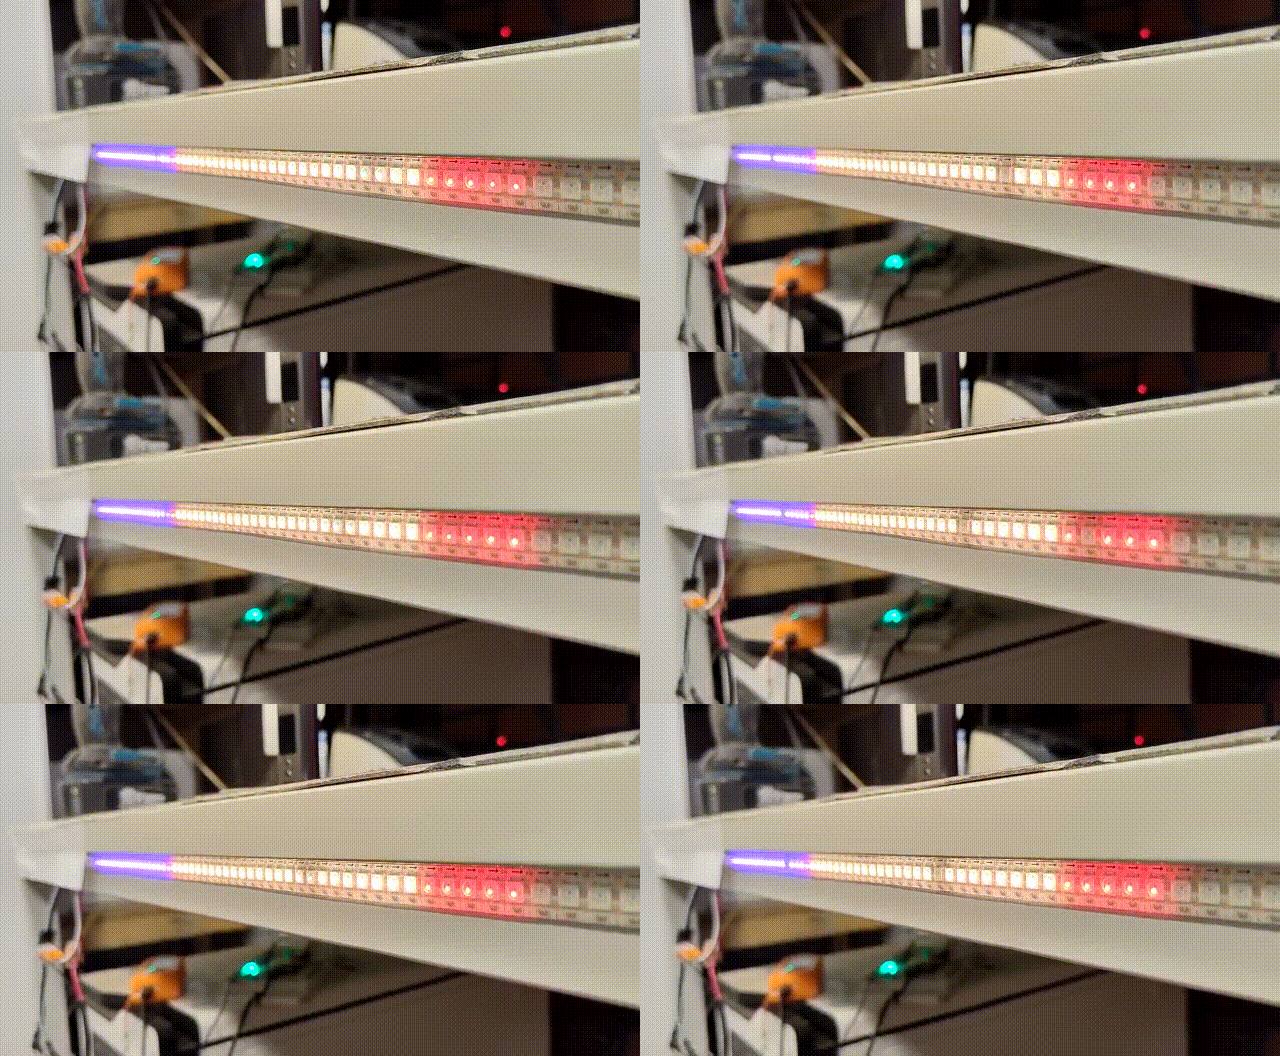
tcp2leds
Control your WS2812 led strips through network
see homeassistant_energy.py and README section HomeAssistant examples
How it works
- connect your WS2812 led strip to your rapsberry pi (act as server), see wiring
- run
python3 tcp2leds.pyon your rapsberry pi as userroot(sudo python3 tcp2leds.py) - run your python script (or one from the examples) on the raspberry pi or other other network connected device (act as client)
- enjoy
Wiring the server
with external power supply
- i.e. 40W 5V 8A power suppy MeanWell, LPV-60-24
- connect
+(red) and-(black) from your external power supply with the shorter two wires+(red) and-(white) of your led strip - connect the longer
-(white) of your led strip with the GND of your raspberry pi - connect the
data(green) wire of your led strip with the PWN pin of your raspberry pi - don't connect
+with the raspberry pi! Only two wires go from the raspberry pi to the led strip! - power up external power supply
- power up raspberry pi with USB-C
without external power suppy (power supply via raspberry pi)
- connect the longer
+,-anddatawires of your led strip with your raspberry pi - power up raspberry pi with USB-C
Install server libraries
sudo apt-get update
sudo apt-get install gcc make build-essential python-dev git scons swig
sudo nano /etc/modprobe.d/raspi-blacklist.conf
Add line:
blacklist snd_bcm2835
sudo nano /boot/config.txt
Add comment/remove:
#dtparam=audio=on
Reboot:
sudo reboot
Install rpi_ws281x
cd ~/src/
git clone https://github.com/jgarff/rpi_ws281x
cd rpi_ws281x/
sudo scons
Protocol
Each char represents a color of a led:
i.e. if you want to control the first 10 leds of your light strip, send
'rrrgggyyyi'
 rrr = led 1-3 red
    ggg = led 4-6 green
       yyy = led = 7-9 yellow
          i = led 10 iris
Possible color values:
-dont set value, skips this led (keeps previous set value)0offyyellowaamberrredbbluerredggreenobrownppurpleiirisporange
Feel free to contribute more color values.
HomeAssistant examples
#!/usr/bin/python
# -*- coding: utf-8 -*-
import tcp2leds
import time
from tcp2leds.homeassistant import HomeAssistantPowerSection, \
    HomeAssistantPowerSOCSection
ltt = '<HomeAssistant Long-Time Token>'
hass_url = 'http://192.168.178.203:8123'
watt_per_led = 100
p = tcp2leds.LEDProgram('192.168.178.100', used_leds=140)
s1 = HomeAssistantPowerSection(
    'grid',
    hass_url,
    ltt,
    'sensor.powerfox_aktuell',
    value_per_led=watt_per_led,
    stage_colors=['b', 'y', 'r'],
    )
s2 = HomeAssistantPowerSOCSection(
    'battery',
    hass_url,
    ltt,
    'sensor.albXXXXXXXX_instantaneous_battery_i_o',
    value_per_led=watt_per_led,
    stage_colors=['p', 'i', 'r'],
    soc_entity_id='sensor.albXXXXXXXX_instantaneous_battery_soc',
    )
s3 = HomeAssistantPowerSection(
    'helper_sum_pv',
    hass_url,
    ltt,
    'sensor.helper_pv_sum_yaml',
    value_per_led=watt_per_led,
    stage_colors=['y', 'n', 'r'],
    )
s4 = HomeAssistantPowerSection(
    'helper_verbrauch_haus',
    hass_url,
    ltt,
    'sensor.helper_verbrauch_haus_yaml',
    value_per_led=watt_per_led,
    stage_colors=['o', 'a', 'r'],
    )
p.add_section(s1)
p.add_section(s2)
p.add_section(s3)
p.add_section(s4)
p.push_loop(update_sec=0.05)
