Super fast image export for one or multiple screens in axure.
Note: This is not a perfect solution. Sometimes you may want to capture screens manually or by using the Screen Capture plugin in chrome. I've found these methods take a while when doing many screenshots and are hard to keep consistent.
- Single click screenshots from the local Axure Preview in Chrome
- Take screenshots with multiple viewport sizes at the same time
- Smart full-page screenshots that measure the page and then resizes the viewport based on the elements on the page
- Screenshots take in account any global variables to capture your unique states
- File naming based on page name in sitemap
- Set a custom wait time to allow for any page load animations
- Axure RP 9
- Axure RP 8 (Should work, haven't tested in a while)
- Chrome
- macOS
This folder contains both a chrome extension and node/express project. The chrome extension will add an overlay in the top right corner of Axshare Previews and link you to the node services pages to create the screenshot(s).
This was built to work with Axure RP8. I haven't tested it on Axure 9 yet.
You'll need Node.js and Node Package Manager (NPM) installed to run this service. NPM will install all the needed dependencies, including Chromium. This was built with node v10.16.0 and NPM v6.9.0.
This will require using Terminal commands.
This will guide you through installing Node.js, Node Package Manager (NPM), and the chrome extension.
- Click Clone Or Download, and select Download ZIP file and unzip where you want the project to live. (you can try to download from this link: https://github.com/claytongray/axure-screenshoot/archive/master.zip)
- Download and install node.js from their website: https://nodejs.org/en/download/.
- NPM comes with Node.js so you're ready to go with both of those. To check if it worked, open terminal and type
node -v. That should return your Node.js version.npm -vshould return the npm version.
- Open terminal.
- Open the screenshoot-service directory. So if the project folder is located on my deskop it would type:
Or, you can drag and drop the folder right into terminal. Type
cd /Users/clayton/Desktop/axure-screenshoot/screenshoot-servicecdinto the terminal (with the space) and then drag the folder into the terminal window to get the folder's path. Remember to drag the "service" folder, not the top-level project folder or chrome extension folder. - Now enter
npm install
in the screenshoot-service directory to automatically install all the dependencies needed for this project via npm.
REMEMBER: You want to be inside the screenshoot-service folder before starting npm -install. If you are not, you will get an error asking why there is no package file.
- Create folders for your screenshots in the
screenshoot-service/public/folder like so:
screenshoot-service/public/screenshots/mobile/
screenshoot-service/public/screenshots/desktop/
screenshoot-service/public/screenshots/desktop_big/
Side note: I couldn't figure out how to configure my gitignore to keep the folders but ignore everything in them. I found some solutions just didn't experiment with them. So this is why you have to create the directories yourself.
- Run the node service by entering
node app.js
in the screenshoot-service directory to start the service. If it succeeded, you should see the output:
Server running on port 3000
- Go to chrome://extensions/
- In the top right, turn on "Developer mode" by clicking the toggle switch.
- Then click Load Unpacked and select the Chrome Extension folder (
screenshoot-chromext) from the project folder.
The extension is now installed in chrome and you should see the Axport icon on the top right of the Axure Prototype player.

Taking screenshots is easy as clicking the screensize you want.
Open a Axure preview on your local as you normally would. (Clicking "Preview" in Axure for example). Click the Axport icon to generate the screenshot.
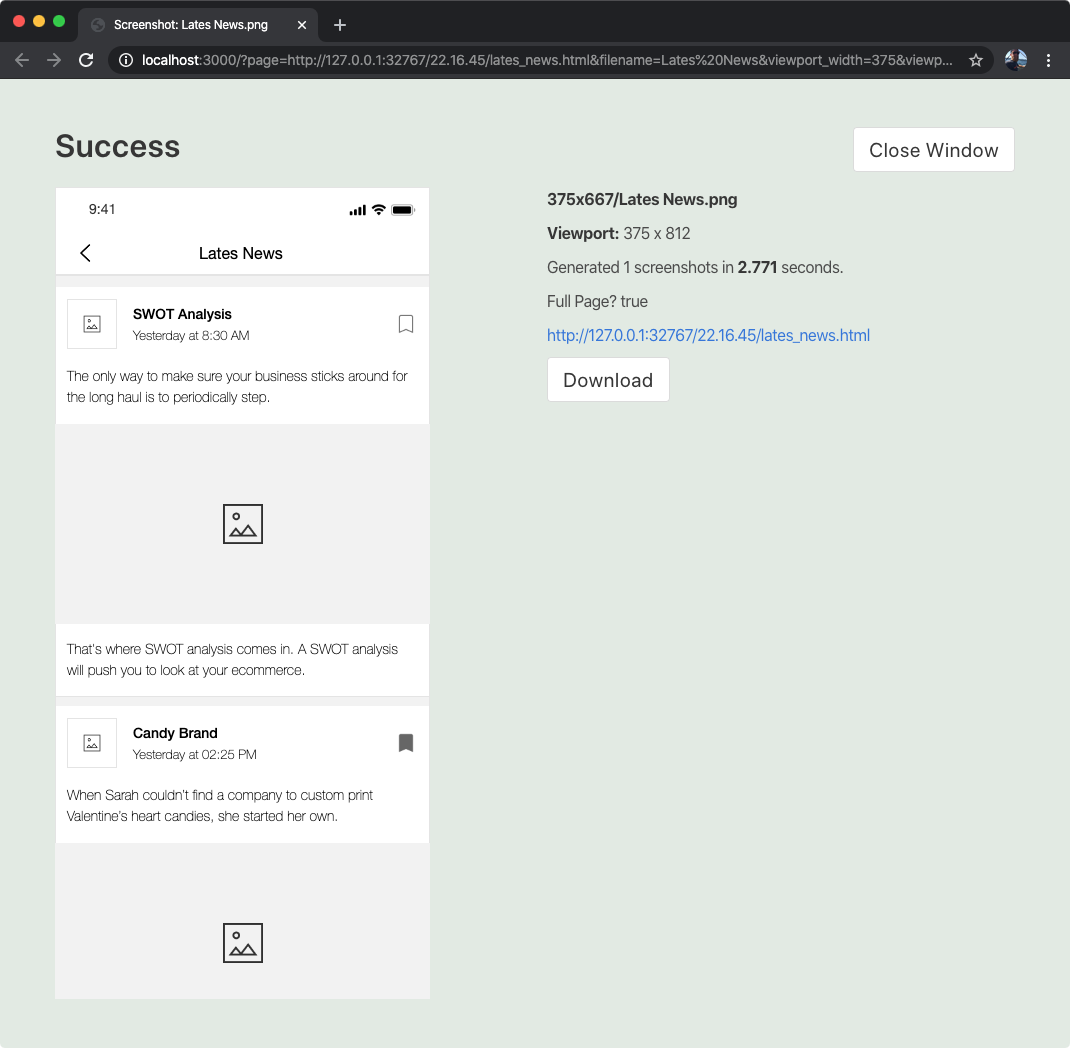
 Here is the screenshot ready to go. Clicking the image or the download button will download the image.
Screenshots are also automatically saved in
 /screenshoot-service/public/screenshots/.
Each adaptive view is stored in their own folder.
File names are generated based off of the "Page name" in Axure.
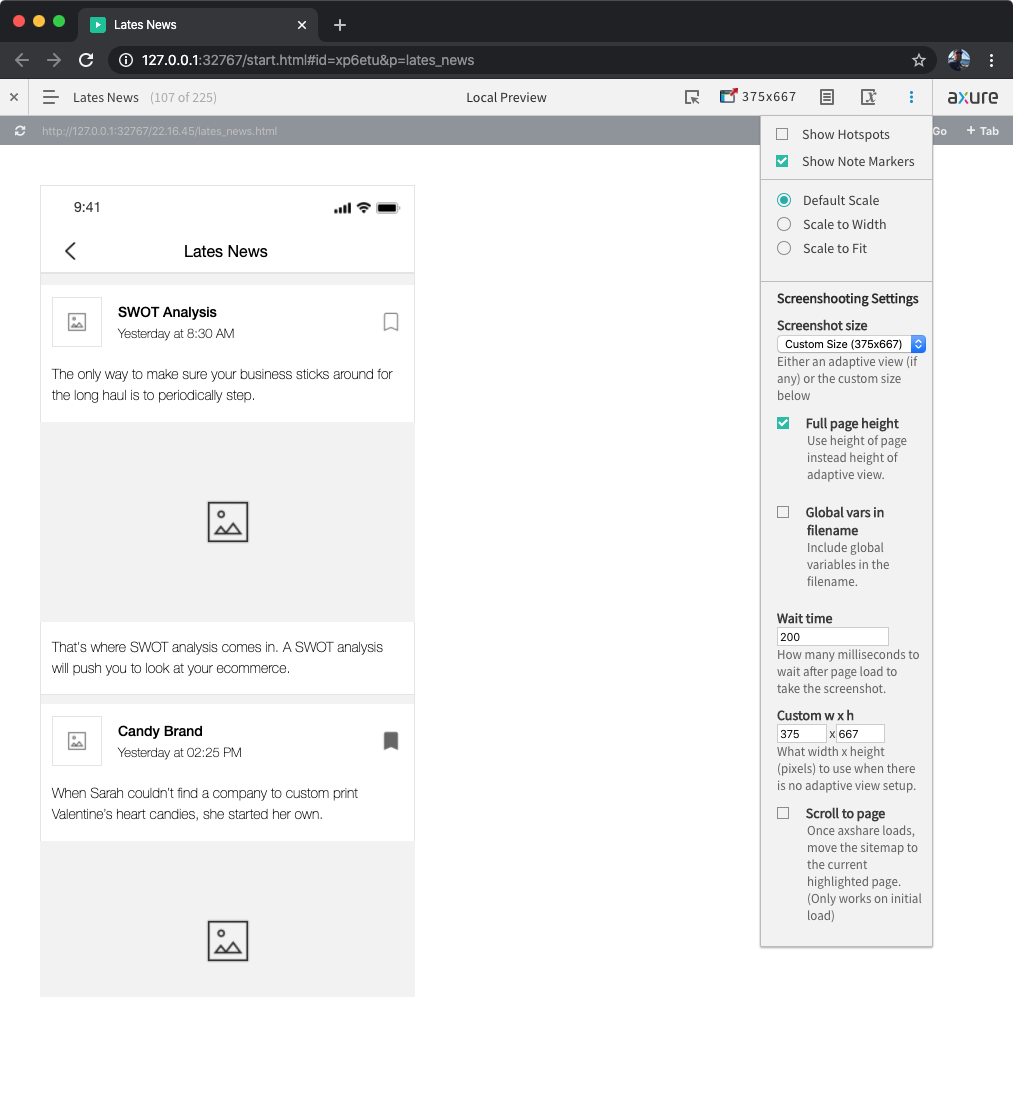
Use the ••• menu to adjust the size and settings of your screenshots.
You'll see your browser load another localhost page. That kicks off the node process to start taking screen shots. Once you're done with the screenshots you can happily close that window. Sometimes I'll keep that window open as I'm working on quick changes to get options of the same screen quickly.
The node.js screenshot service probably isn't running. Make sure your terminal is open and the node service is running. Run the node service by entering
node app.js
in the screenshoot-service directory to start the service.
After clicking a viewport size, my browser tries for a while and I see a nice error screen that says ERR CONN REFUSED
Axure isn't running.
After clicking a viewport size, my browser tries for a while and I see a nice error screen that says ERR TIMEOUT30000
Axure took too long. Hit refresh on that page.
- Read global variables from the frame on start.html and bring those to the ghost page.
- Allow hiding of the panel
- Jump to the current page on the left panel
- Account for missing left nav item (in the case of a new page)
- [-] Add support for multiple screenshots with checkboxes (BETA)
- Make the adaptive buttons based on the adaptive views in the left panel.
- [] Make compatible with public axshare.
- Allow for password entry so the ghost chrome can access prototype
- Add button to allow for text editing of elements through content editable
[X] = Done

