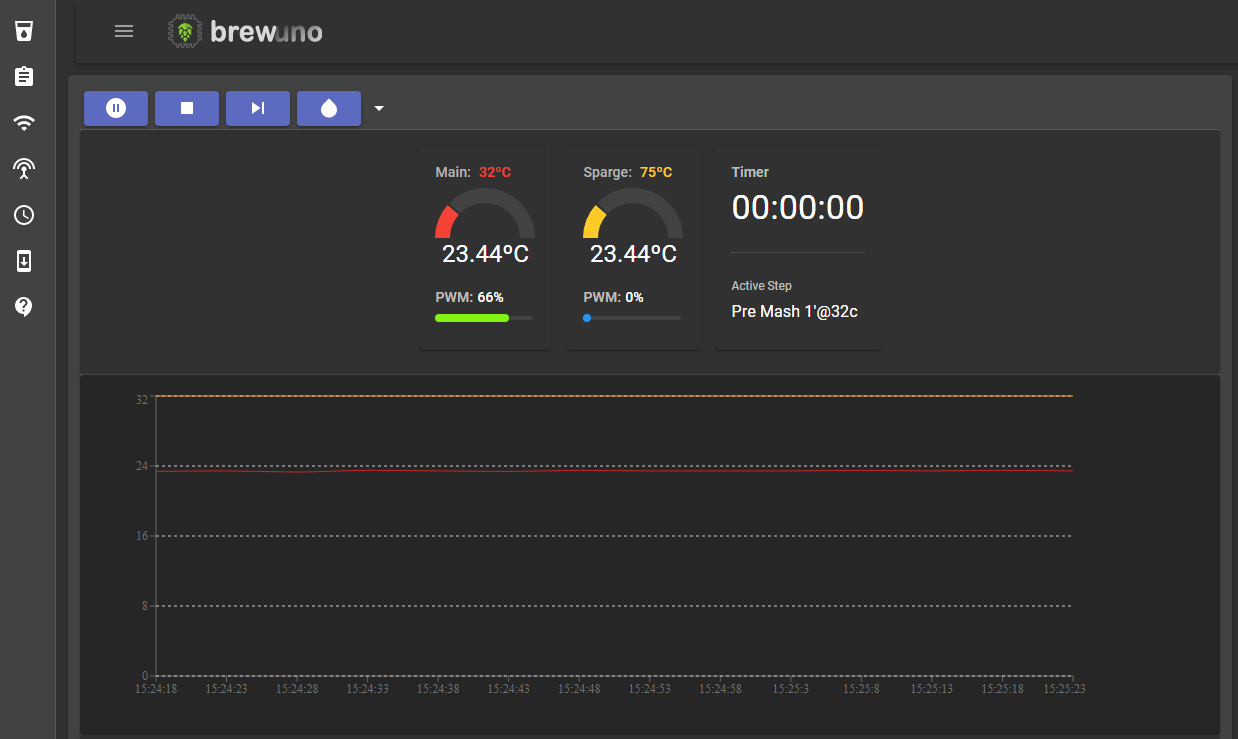
High precision and accuracy, open source, online, extensible and low cost homebrew automation on top of ESP8266 microchip.
- 100% mobile interface
- Brew with Start/Stop/Resume
- Responsive interface with stats
- PID control to heat mash SSR
- PID control to heat sparge SSR
- Mash configurations with different steps/temperature and recirculation
- Boil configurations with hops additions
- Configurable WiFi
- Configurable access point
- Synchronization with NTP
- The ability to perform OTA updates
- 20x4 LCD display
- Three vessel limited support
- Up to 5 ds18b20 sensors
This is the easiest way to mount your brewuno, you can improve it!
Installing with Flash Download Tools (video)
- Download bin files
- Download Flash Download Tools
- Setup like this: setup
- firmware.bin offset: 0x0
- spiffs.bin offset: 0x00300000
- Click START button
- Restart WEMOS
- Connect to BrewUNO wifi (SSID: BrewUNO, Password: brew-uno).
- Access AP mode ip: 192.168.4.1
- Scan and configure your wifi under WiFi menu
You will need the following before you can get started.
- VS Code
- PlatformIO - IDE for development with ESP8266 v2.2.2 platform installed
- NPM - For building the interface (if you want)
- Bash shell, or Git Bash if you are under windows
Pull the project and add it to PlatformIO as a project folder (File > Add Project Folder).
PlatformIO should download the ESP8266 platform and the project library dependencies automatically.
Once the platform and libraries are downloaded the back end should be compiling.
Edit /data/config/wifiSettings.json with yours wifi configurations.
Under PlatformIO menu: Upload File System image, and then, Upload and Monitor. You will see the ip address to access interface. AP mode ip: 192.168.4.1
The interface has been configured with create-react-app and react-app-rewired so the build can customized for the target device. The large artefacts are gzipped and source maps and service worker are excluded from the production build.
You will find the interface code in the ./interface directory. Change to this directory with your bash shell (or Git Bash) and use the standard commands you would with any react app built with create-react-app:
npm installnpm run buildNB: The build command will also delete the previously built interface (the ./data/www directory) and replace it with the freshly built one, ready for upload to the device.
npm startNB: To run the interface locally you will need to modify the endpoint root path and enable CORS.
The endpoint root path can be found in .env.development, defined as the environment variable 'REACT_APP_ENDPOINT_ROOT'. This needs to be the root URL of the device running the back end, for example:
REACT_APP_ENDPOINT_ROOT=http://192.168.0.6/rest/
CORS can be enabled on the back end by uncommenting the -D ENABLE_CORS build flag in platformio.ini and re-deploying.
Standard configuration settings, such as build flags, libraries and device configuration can be found in platformio.ini. See the PlatformIO docs for full details on what you can do with this.
By default, the target device is "esp12e". This is a common ESP8266 variant with 4mb of flash though any device with at least 2mb of flash should be fine. The settings configure the interface to upload via serial by default, you can change the upload mechanism to OTA by uncommenting the relevant lines.
As well as containing the interface, the SPIFFS image (in the ./data folder) contains a JSON settings file for each of the configurable features. The config files can be found in the ./data/config directory:
| File | Description |
|---|---|
| apSettings.json | Access point settings |
| ntpSettings.json | NTP synchronization settings |
| otaSettings.json | OTA Update configuration |
| wifiSettings.json | WiFi connection settings |
The default settings configure the device to bring up an access point on start up which can be used to configure the device:
- SSID: BrewUNO
- Password: brew-uno
- Eduardo 'Dumpa' Sanches
- Guilherme Wood
- Paiakan
- ESP8266 React - rjwats/esp8266-react


