Welcome to the LLM RAG workshop! In this workshop, you will be deploying a pre-built solution that leverages a range of AWS services to implement an end to end Document Retrieval Q&A Chatbot
Login to Event Engine (https://dashboard.eventengine.run)
- Enter Your hashkey for login

- Enter your email and get one time password for login
- Select AWS console for access console environments

- Select Open Console

- You should now see the console

- Search for the IAM service in the search bar at the top of the console and create an IAM user

- Provide a user name, ex:LLM_Deployment

- Attached Admin policy to this user and create user

- Select this user again and click on the security credentials tab

- Find the access key section and create an access key

- Select the
Command Line Interface (CLI)use case and check the confirmation box to create your access key
- Copy the Access key and Secret access key to local text file (Be careful! the secret key is shown only once!)

- Create a Cloud9 environment

-
Provide a name, select t3.small instance and create

-
After instance created, open the Cloud9 IDE

-
Use
aws configureand enter the Access key and Secret access key you just record before. leave the region by default
-
Select force update

-
Download workshop package to cloud9 instance
wget https://jameschiang1001.s3.amazonaws.com/smart_search-v2-k.zip

-
Unzip the download file
unzip smart_search-v2-k.zip
-
Use cdk to deploy the AWS Lambda, Amazon Kendra and Amazon SageMaker service
cd smart_search-v2/deployment/
pip install -r requirements.txt

-
Export the related environment variables
export AWS_ACCOUNT_ID={your account}
export AWS_REGION={your region}
Find our Account ID in the dropdown in the top right corner of the console:

Region:


-
Deploy the project using the Cloud Development Kit (CDK). This process will take around 30 mins
cdk bootstrap
cdk deploy --all --require-approval never


- Download the archive containing a list of AWS white papers
  cd ~/environment
  wget https://jameschiang1001.s3.amazonaws.com/AWS_Whitepapers.zip
unzip AWS_Whitepapers.zip-
Check the Amazon Kendra S3 data source, go to S3 console and look for a bucket name that looks like
smart-search-kendraxxxx
-
Go Back to your Cloud9 IDE, use the following command to upload the white papers to S3
aws s3 sync AWS_Whitepapers s3://{your-s3-bucket}/

-
Go back to the Kendra console and open your index

-
Select the S3 data source and click sync now

- Look for the
SmartSearchNotebookinSageMaker -> Notebook -> Notebook instances, click Open Jupyter
- Open LLM_Model/llm-english/code/inference.py and modify line 37 LLM_NAME value to TheBloke/vicuna-7B-1.1-HF (remember to save the file)

-
Back to LLM_Model/llm-english/ and open llm_english_sagemaker_byos.ipynb. Run the code sequentially.The second step may take more than 15 mins.

-
Change chiness question to english to make sure the model can run well

-
go to apigateway and click smart-search-qa-api

-
Select stage->prod, record the invoke URL

-
back to cloud9 console, select gradio-webpage.py under gradio-web. Change the url to your own url.

-
install gradio
pip install gradio

if you see following errors
 please reinstall fastapi
pip install fastapi

-
running gradio for web service
python gradio-webpage.py

-
please check the public url. if you can see following page. the deployment is success.

Enter following questions for testing
- What is aws sagemaker
 2. How to build a web site on aws
 3. what is aws security best practice

- Open a terminal in Jupyter

- Clone the workshop repository using the following terminal commands
cd SageMaker
git clone https://github.com/cliffordduke/llm-kendra-rag-workshop.git
- Navigate back to the Jupyter browser and into the cloned workshop folder, open the
kendra-langchain.ipynbnotebook. Make sure it us running theconda_python3kernel

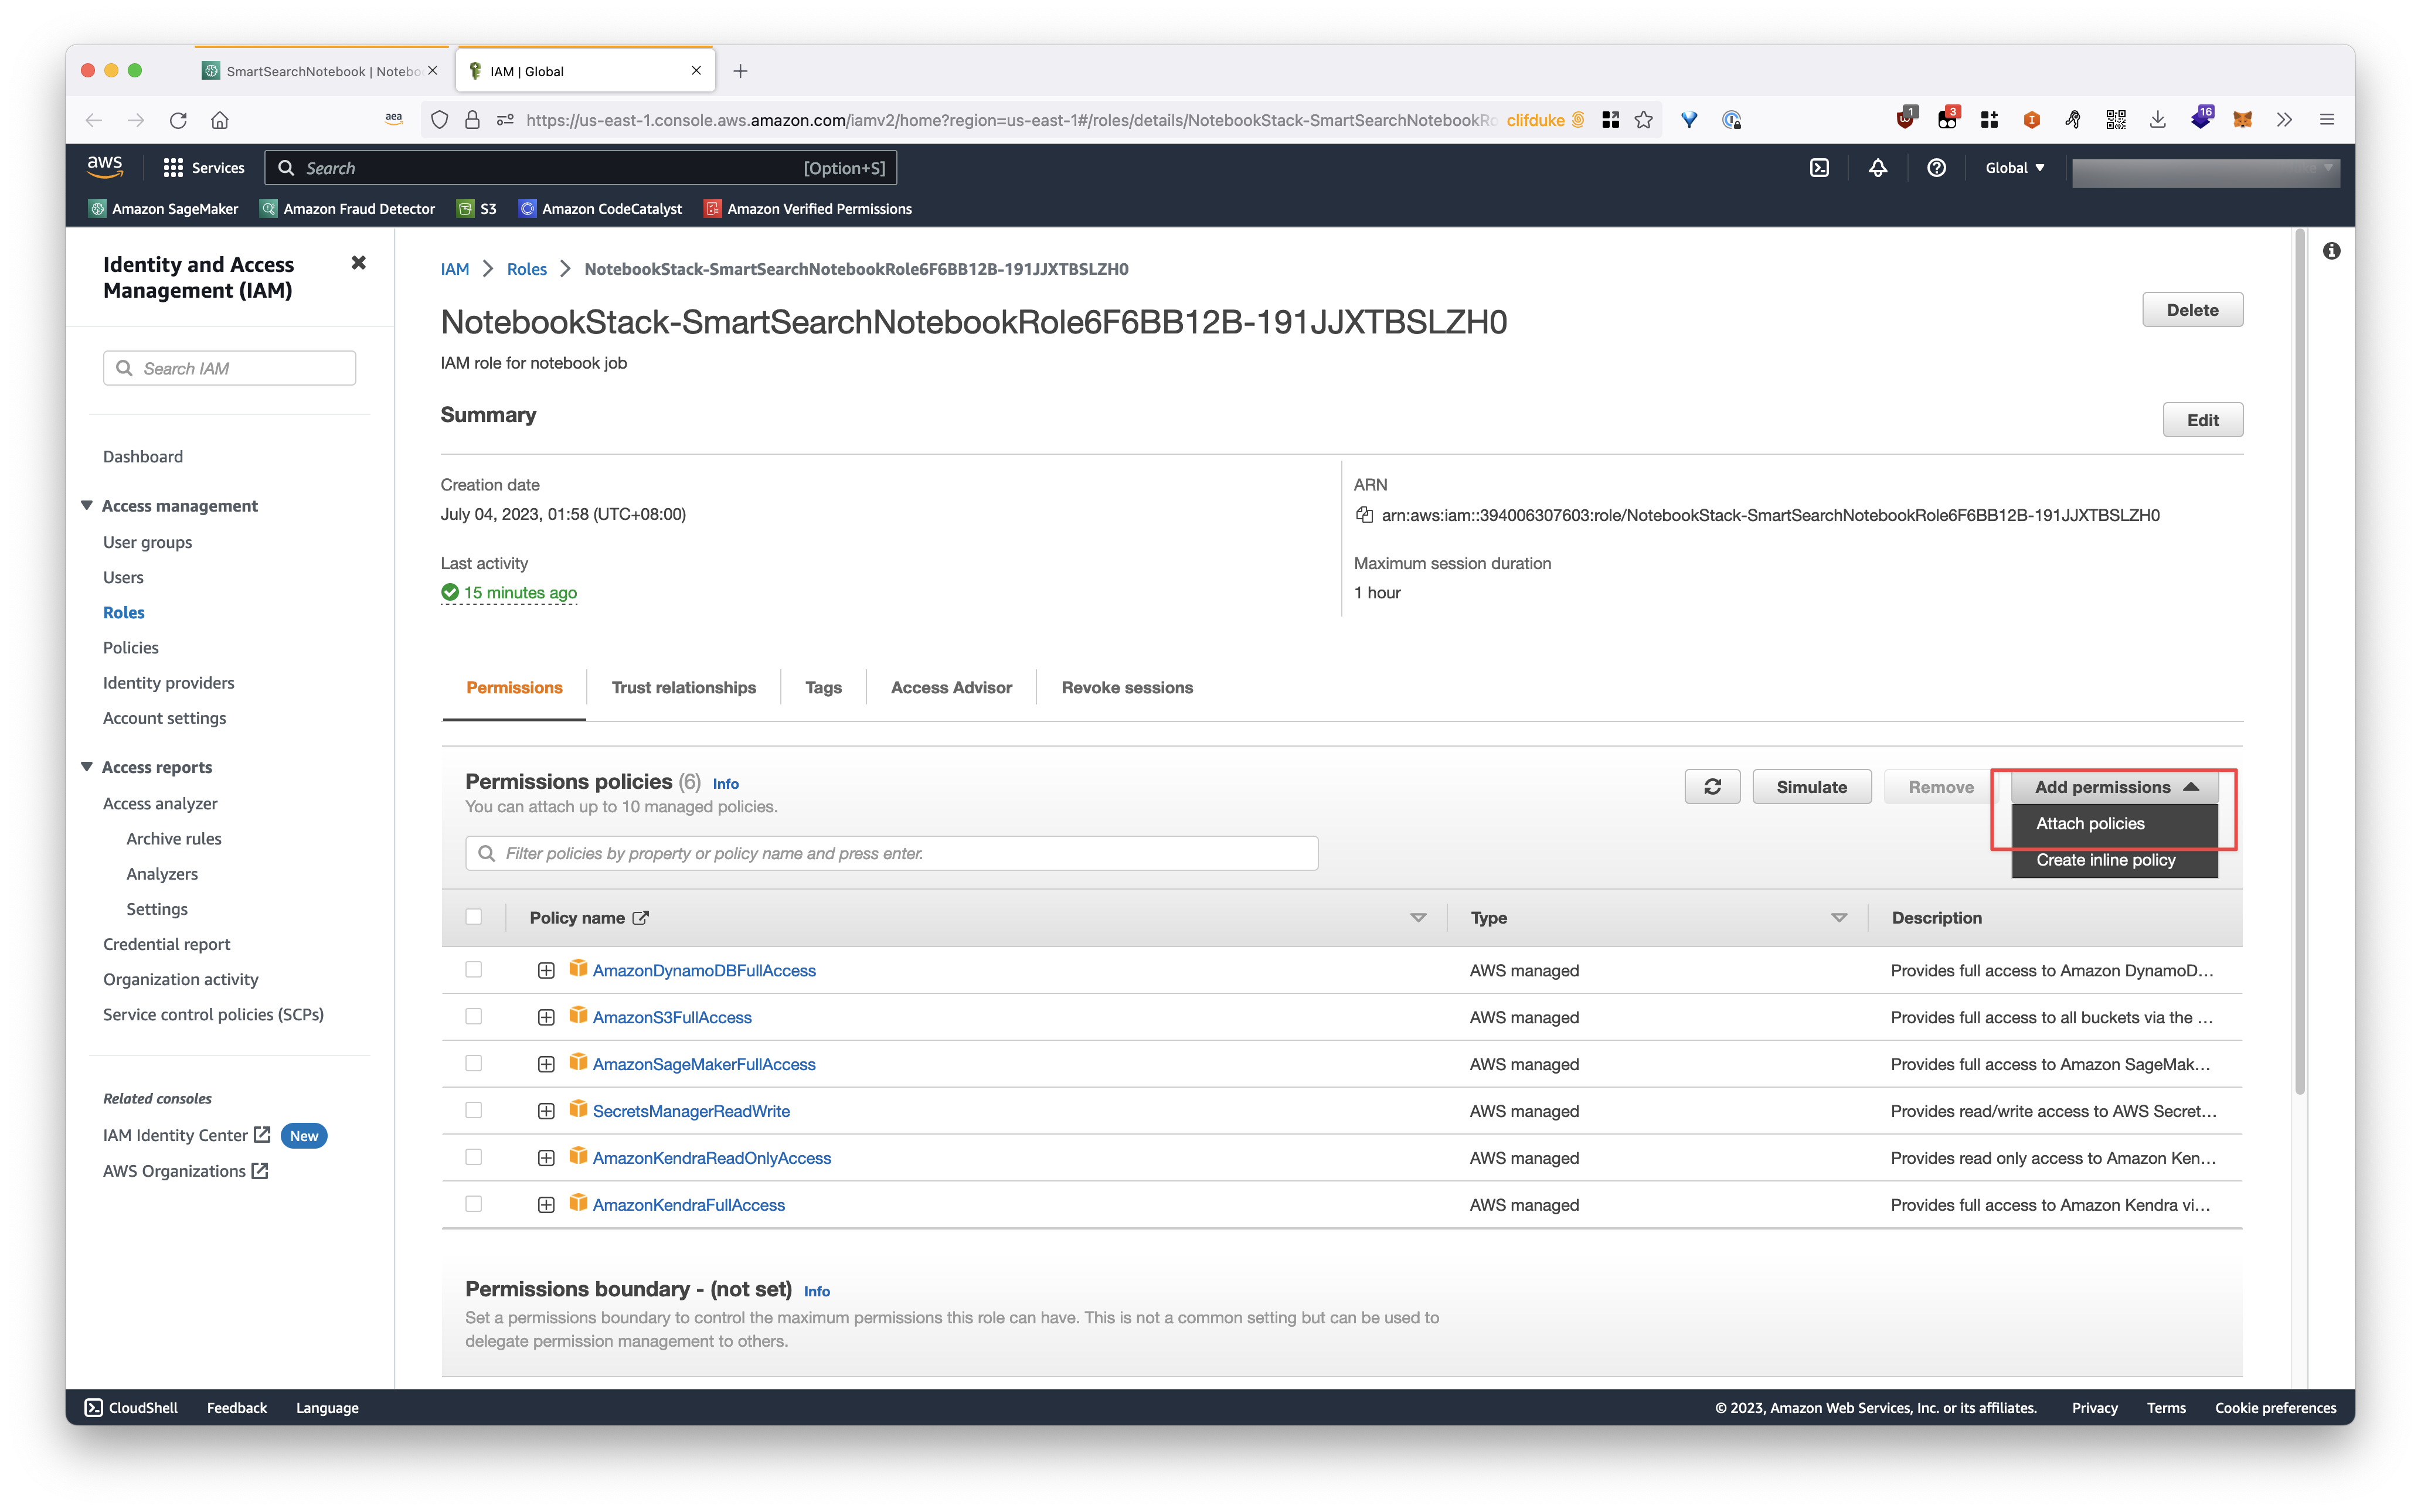
We will leverage the previous labs Kendra Index for demonstration purposes, in order for this notebook to work, please add AmazonKendraFullAccess policy to the IAM role
-
Navigate to your notebook instance
https://us-west-2.console.aws.amazon.com/sagemaker/home?region=us-west-2#/notebook-instances/and open the associated IAM Role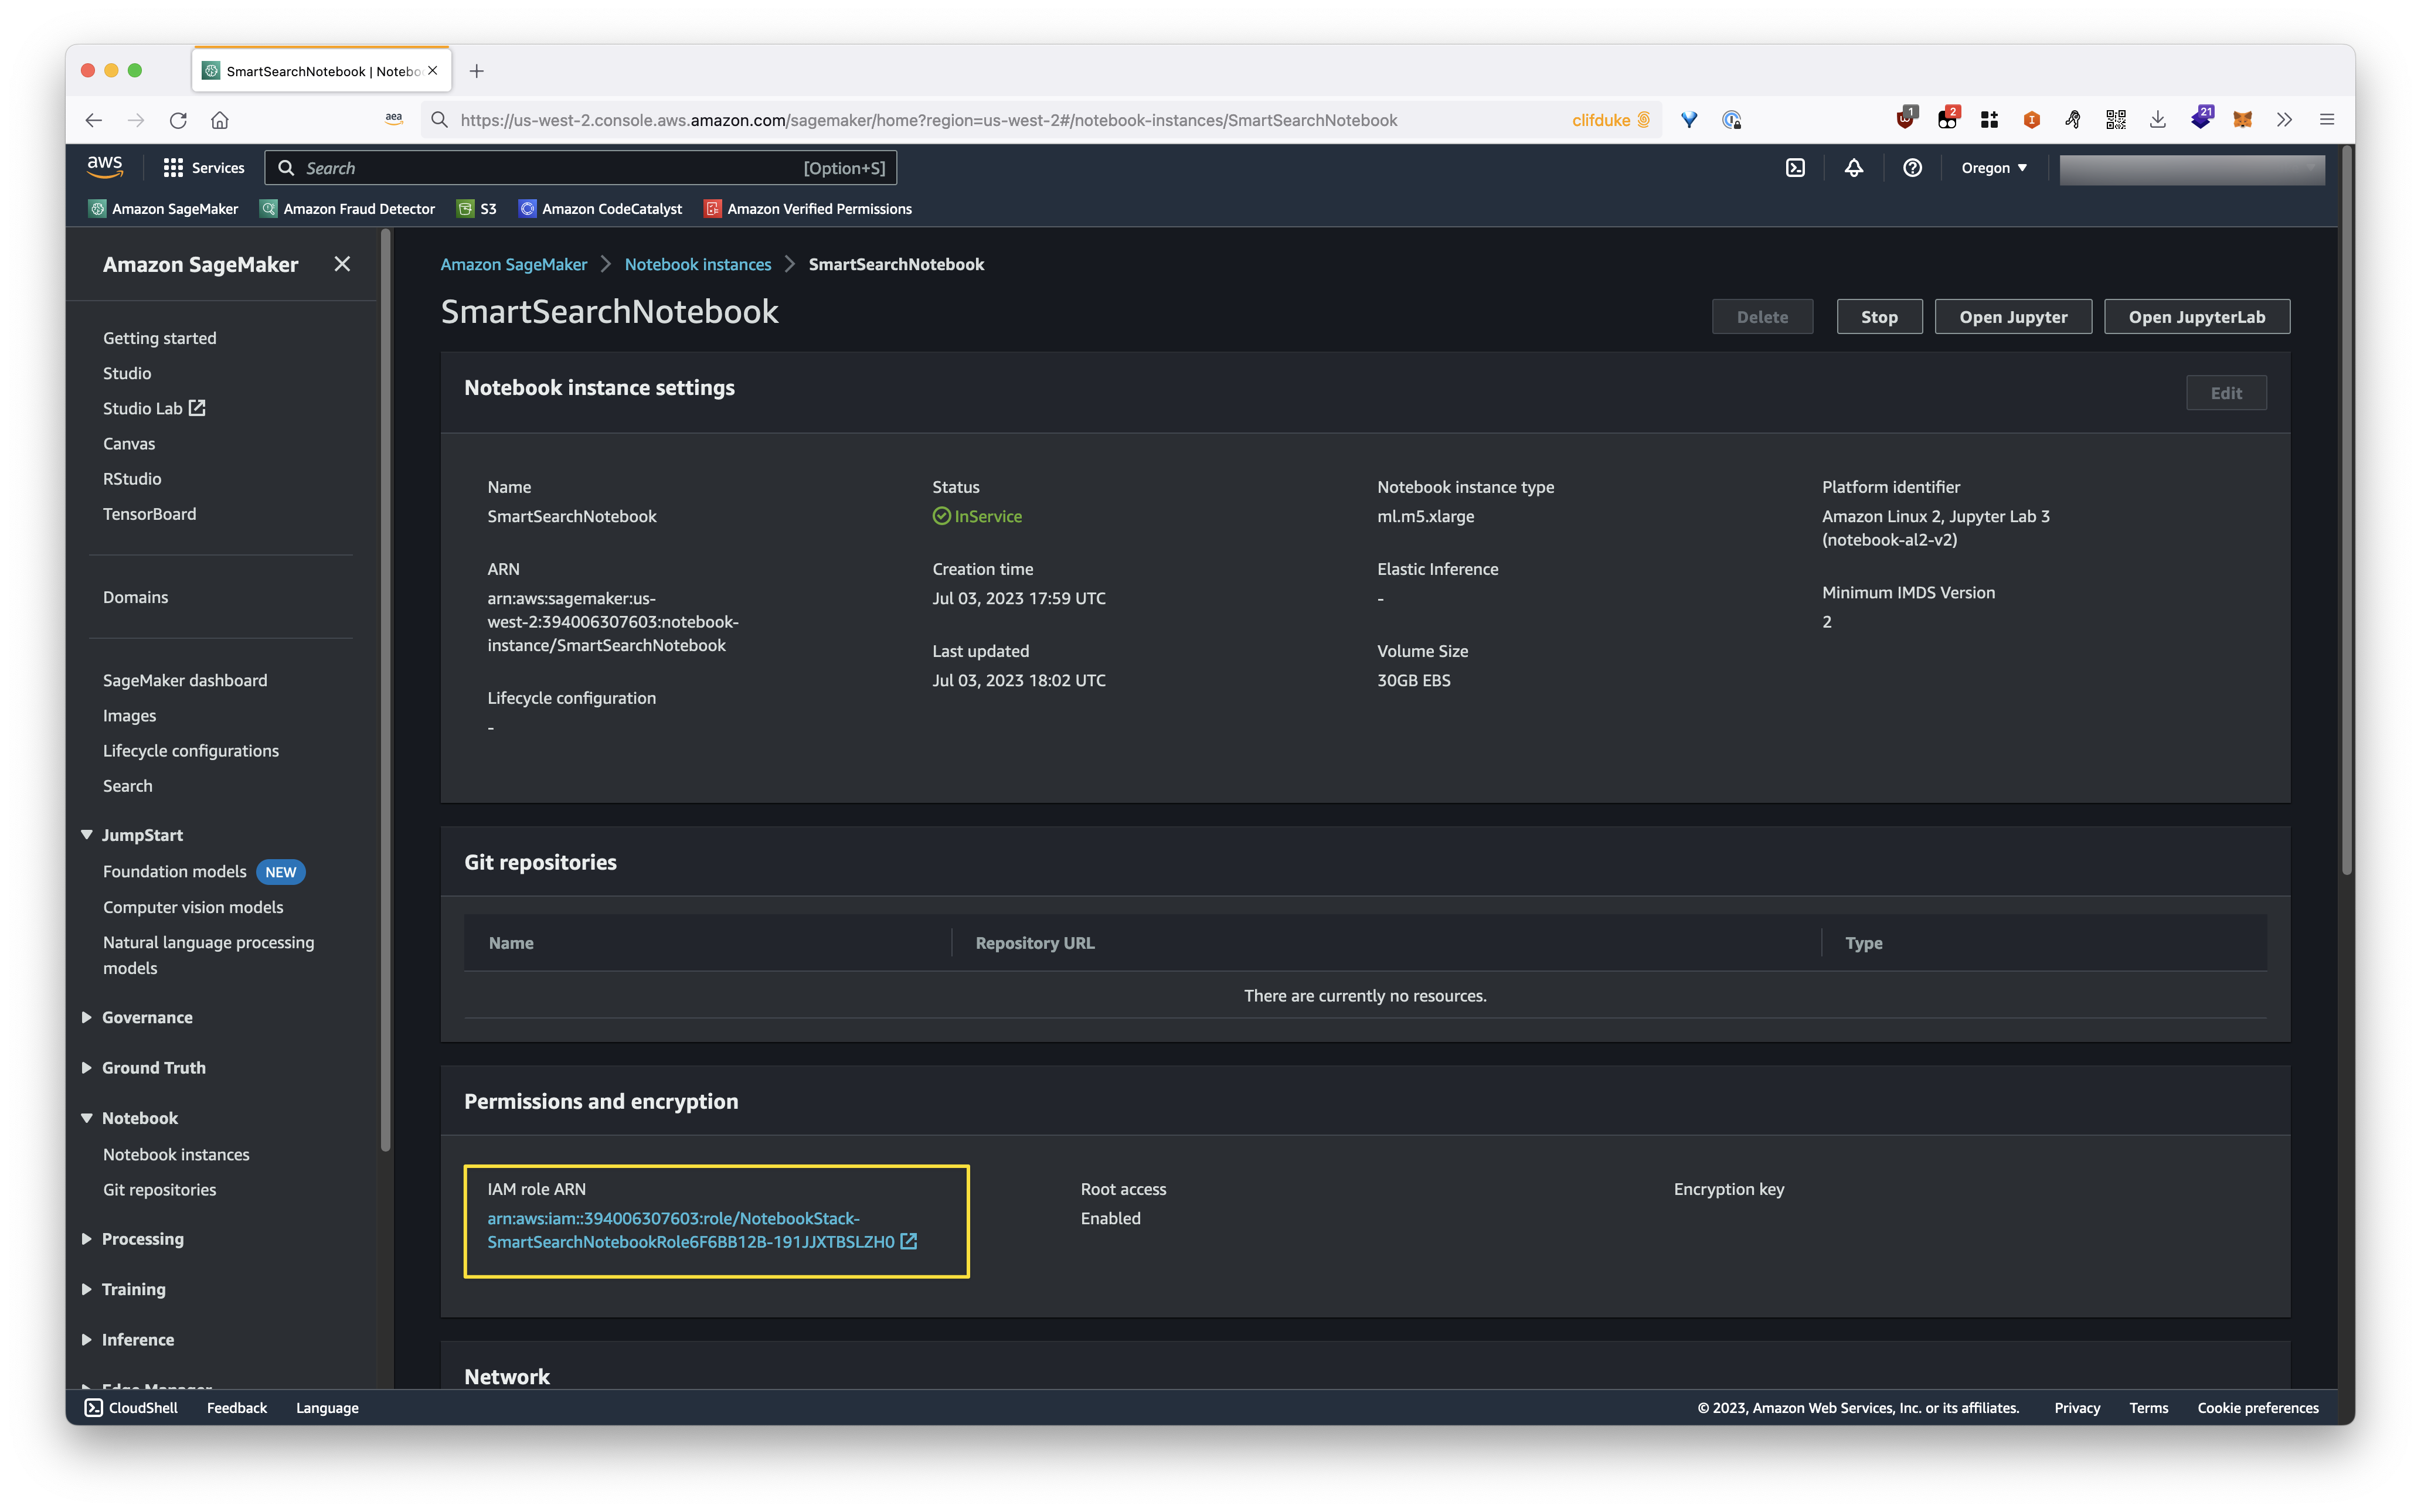
-
Attach the
AmazonKendraFullAccesspolicy to the role