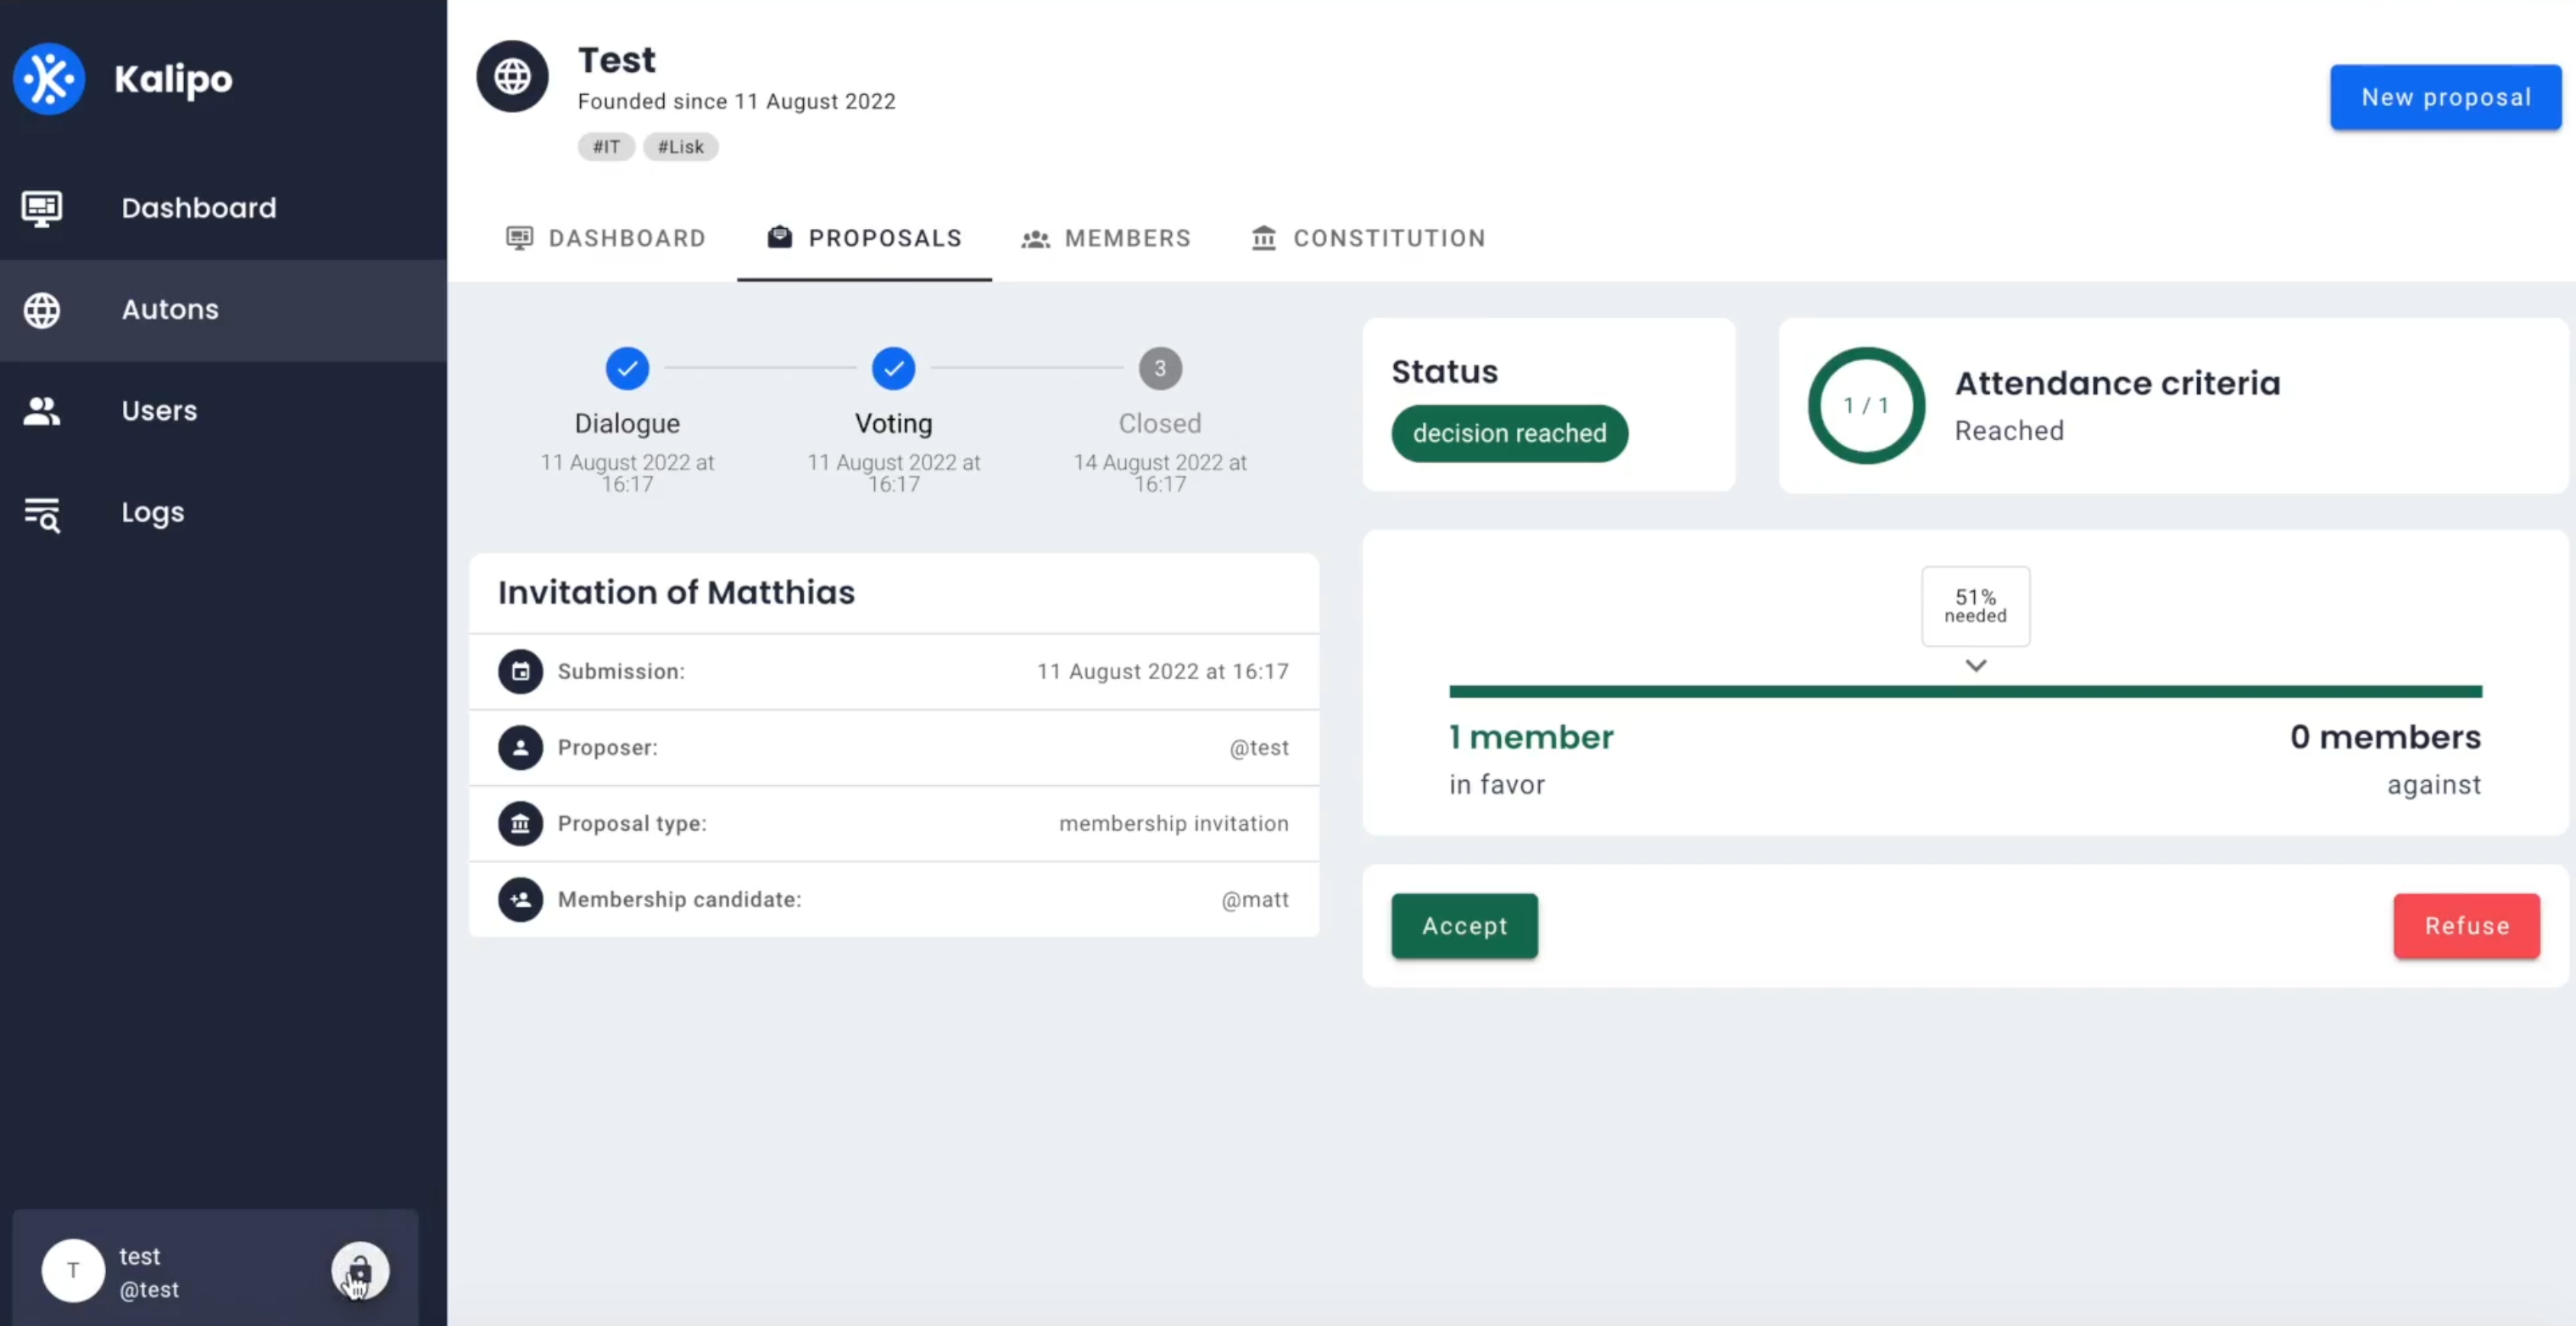
Decentralised web3 application that acts as a client for the kalipo-web3-ui blockchain platform
Kalipo’s central mission is to help communities create value for their own defined purpose.
We believe that DAOs are the key for vital communities and therefore key for vital societies and a vital earth.
Kalipo is built upon the elements of web3:
- self-sovereign identities,
- distributed ledgers
- and tokens.
Kalipo facilitates a new era of organizational transparency, member-management, digital independence and fair value distribution.
Are you inspired by our mission? Do you also believe that DAOs are the key for vital communities, vital societies and a vital earth? Contact and join us.
Become a member of the Kalipo community. As a contributor, a developer, a marketeer, a visionary, a subject matter expert, an ambassador, an investor, an affiliate, a proposer, a user or just as somebody who is curious (be in the know).
Both kalipo-core as kalipo-web3-ui utilizes
Kalipo-web3-ui specifically
This is an example of how you may give instructions on setting up your project locally. To get a local copy up and running follow these simple example steps.
This is an example of how to list things you need to use the software and how to install them.
- npm
npm install npm@latest -g
Below is an example of how you can instruct your audience on installing and setting up your app. This template doesn't rely on any external dependencies or services.
- Clone the repo
git clone https://github.com/Kalipo-BV/kalipo-web3-ui.git
- Install NPM packages
npm install
The following commands can be used to interact with the kalipo-web3-ui project
npm run dev
npm run build
npm run generate
You can create the following extra directories, some of which have special behaviors. Only pages is required; you can delete them if you don't want to use their functionality.
The assets directory contains your uncompiled assets such as Stylus or Sass files, images, or fonts.
More information about the usage of this directory in the documentation.
The components directory contains your Vue.js components. Components make up the different parts of your page and can be reused and imported into your pages, layouts and even other components.
More information about the usage of this directory in the documentation.
Layouts are a great help when you want to change the look and feel of your Nuxt app, whether you want to include a sidebar or have distinct layouts for mobile and desktop.
More information about the usage of this directory in the documentation.
This directory contains your application views and routes. Nuxt will read all the *.vue files inside this directory and setup Vue Router automatically.
More information about the usage of this directory in the documentation.
The plugins directory contains JavaScript plugins that you want to run before instantiating the root Vue.js Application. This is the place to add Vue plugins and to inject functions or constants. Every time you need to use Vue.use(), you should create a file in plugins/ and add its path to plugins in nuxt.config.js.
More information about the usage of this directory in the documentation.
This directory contains your static files. Each file inside this directory is mapped to /.
Example: /static/robots.txt is mapped as /robots.txt.
More information about the usage of this directory in the documentation.
This directory contains your Vuex store files. Creating a file in this directory automatically activates Vuex.
More information about the usage of this directory in the documentation.
- Minimum Viable Product
- Constitution management
- Constellation management
- Workflow management
- Treasury management
- 3th party integrations
See the open issues for a full list of proposed features (and known issues).
Contributions are what make the open source community such an amazing place to learn, inspire, and create. Any contributions you make are greatly appreciated.
If you have a suggestion that would make this better, please fork the repo and create a pull request. You can also simply open an issue with the tag "enhancement". Don't forget to give the project a star! Thanks again!
- Fork the Project
- Create your Feature Branch (
git checkout -b feature/AmazingFeature) - Commit your Changes (
git commit -m 'Add some AmazingFeature') - Push to the Branch (
git push origin feature/AmazingFeature) - Open a Pull Request
Distributed under the GNU GPL 3.0 License. See LICENSE.md for more information.
Kalipo B.V. - office@kalipo.io
Project Link: https://github.com/Kalipo-BV


