
Camera Kit is a cross platform API for low level camera access. It was originally based on Camera Kit Android for the Android version and styled its API similarly. However, as a result of problematic design choices and unclear direction the Android implementation was moved to Golden Eye. The iOS the implementation is based directly on the native OS API's and so is the JavaScript implementation.
Important not all API's are implemented in a cross platform way at this time as this cn1lib is highly experimental. Basic things might not work...
License
The code in this repository is under the MIT license which effectively allows you to do with it as you please. We'd still be happy to get good pull requests.
Basic Usage
CameraKit ck = CameraKit.create();
// will happen in unsupported platforms such as the simulator!
if(ck != null) {
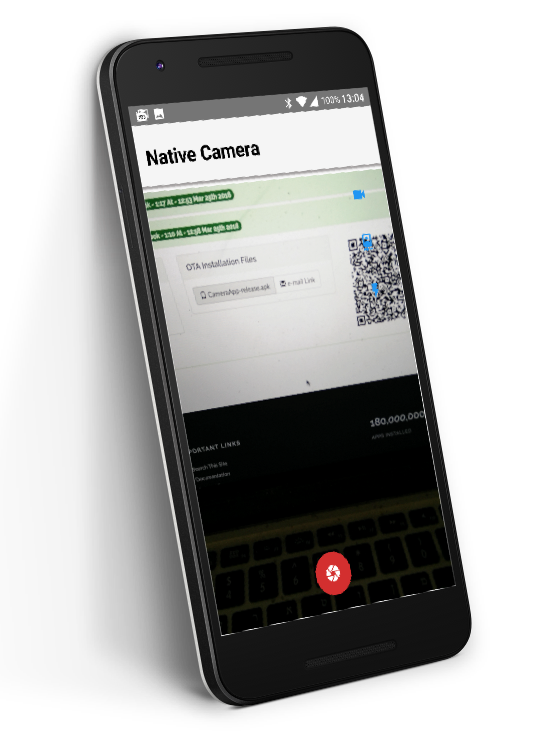
Form hi = new Form("Native Camera", new LayeredLayout());
hi.setScrollableY(false);
ck.addCameraListener(new CameraListener() {
@Override
public void onError(CameraEvent ev) {
// handle camera errors
}
@Override
public void onImage(CameraEvent ev) {
// Callback when a photo is captured
byte[] jpegData = ev.getJpeg();
}
@Override
public void onVideo(CameraEvent ev) {
// Callback when a photo is captured
String videoFile = ev.getFile();
}
});
hi.add(ck.getView());
Button video = new Button();
FontImage.setMaterialIcon(video, FontImage.MATERIAL_VIDEOCAM);
video.addActionListener(e -> {
Boolean b = (Boolean)video.getClientProperty("capturing");
if(b == null) {
video.putClientProperty("capturing", Boolean.TRUE);
ck.captureVideo();
FontImage.setMaterialIcon(video, FontImage.MATERIAL_VIDEOCAM_OFF);
} else {
video.putClientProperty("capturing", null);
ck.stopVideo();
FontImage.setMaterialIcon(video, FontImage.MATERIAL_VIDEOCAM);
}
});
FloatingActionButton fab = FloatingActionButton.createFAB(FontImage.MATERIAL_CAMERA);
fab.bindFabToContainer(hi, CENTER, BOTTOM);
fab.addActionListener(e -> ck.captureImage());
Button toggleCamera = new Button();
FontImage.setMaterialIcon(toggleCamera, FontImage.MATERIAL_CAMERA_FRONT);
Button toggleFlash = new Button();
FontImage.setMaterialIcon(toggleFlash, FontImage.MATERIAL_FLASH_ON);
toggleCamera.addActionListener(e -> ck.toggleFacing());
toggleFlash.addActionListener(e -> ck.toggleFlash());
Container buttons = BoxLayout.encloseY(video, toggleCamera, toggleFlash);
buttons.setScrollableY(true);
hi.add(BorderLayout.east(buttons));
hi.show();
}You can see the full demo project here.
Caveats
If used in the first form of the application it is recommended that you have a splash screen at least for the first time the application loads. This is essential for iOS where screenshots are generated for the splash screens.