本Starter集成OAS3(Open API Specification 3.0) 和Redoc ,为Spring Boot MVC应用提供开箱即用的文档集成。
如果本项目对你有帮助,欢迎给我加星关注~
gradlew :example-api:bootRun
文档地址:
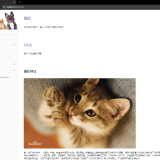
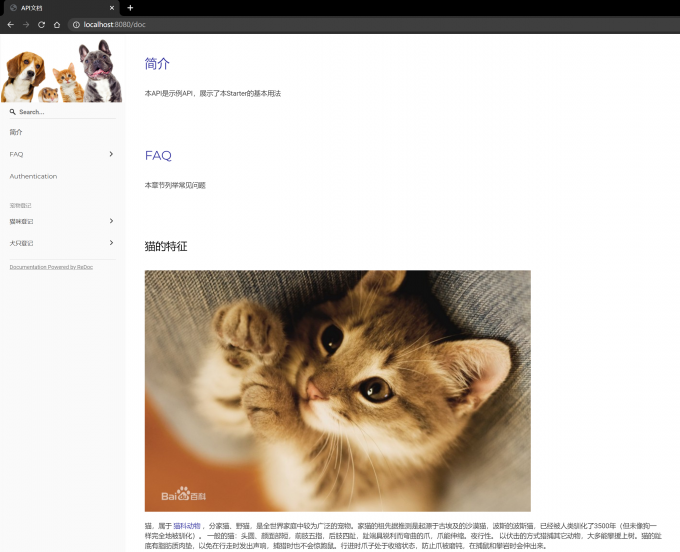
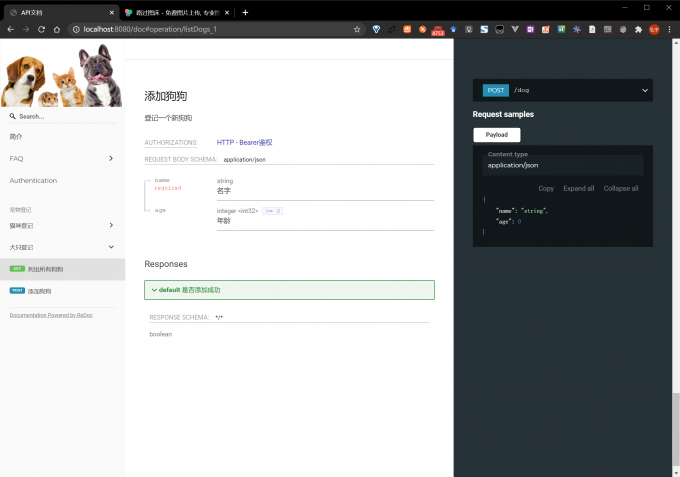
- Redoc: http://localhost:8080/doc
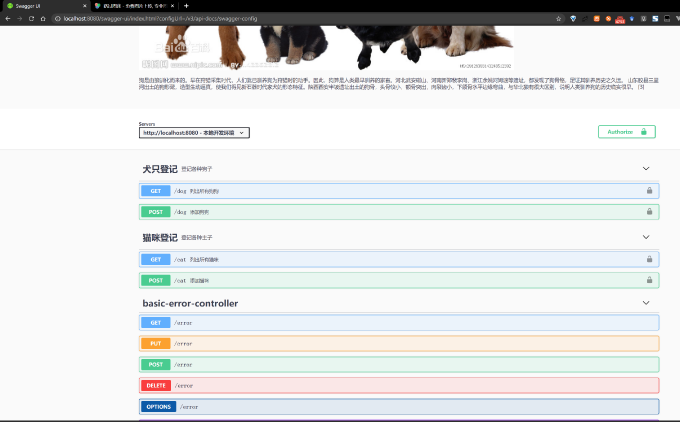
- Swagger-UI:http://localhost:8080/swagger-ui.html
引入依赖前,请将以下私服加入项目的仓库配置中:
https://hehongyu1995.github.io/maven-repo/maven-releases/
- Maven
<dependency>
   <groupId>cn.hongyu</groupId>
   <artifactId>oas3-redoc-spring-boot-starter</artifactId>
   <version>0.0.1</version>
</dependency>- Gradle
dependencies{
    implementation("cn.hongyu:oas3-redoc-spring-boot-starter:0.0.1")
}OAS3可用的全部注解,请参考官方文档:Quick Annotation Overview
使用OAS3注解标记Controller的方法和参数,以Kotlin代码为例:
@RestController
@RequestMapping("/cat")
@Tag(name = "猫咪登记", description = "登记各种主子")
@SecurityRequirement(name = SecuritySchemeConstants.BearerAuthentication)
class CatController {

    private val cats = mutableListOf<Cat>()

    @GetMapping
    @Operation(summary = "列出所有猫咪", description = "列出所有已登记的猫咪")
    fun listDogs(): List<Cat> = cats

    @PostMapping
    @Operation(summary = "添加猫咪",description = "登记一只猫咪")
    @ApiResponse(description = "是否登记成功")
    fun addDog(@RequestBody cat: Cat): Boolean{
        cats.add(cat)
        return true
    }
}
在Java中使用也是类似的。
对于请求类和返回类,使用@Schema注解进行标记:
@Schema(name = "猫")
data class Cat(
        @field:NotBlank
        @field:Schema(description = "名字")
        val name: String,

        @field:Min(0)
        @field:Schema(description = "年龄")
        val age: Int
)新建一个配置类OAS3Config.java:
@Configuration
class OAS3Config {
    @Bean
    fun customOpenApiCustomizer(): OpenApiCustomiser{
        return OpenApiCustomiser {
            // 添加Servers配置
            configureApiServers(it, "oas-document/servers.json")
            // 添加文档介绍
            configureApiDescription(it, "oas-document/api-description.md")
            // 对API进行分组
            configureTagGroups(it, listOf(
                    TagGroup("宠物登记", listOf("猫咪登记","犬只登记"))
            ))
        }
    }
}这里,我们通过实现OpenApiCustomiser类,对OAS3生成的OpenAPI对象进行额外的配置。
本Starter包中的OASDocumentUtil中提供了以下工具方法,方便使用者对OpenAPI进行修改:
| Method | Description |
|---|---|
| configureApiServers | 配置文档展示的服务器列表 |
| configureTagGroups | 配置文档的API分组,利用了ReDoc支持的x-tagGroups扩展 |
| configureApiDescription | 配置文档的描述,支持读取resources目录下的Markdown文件,并支持插入其他文档 |
对于Java代码,使用也是类似的,使用OASDocumentUtilKt.configureApiServers()等静态方法即可。
如果需要修改文档的Logo和标题等信息,在OAS3Config类上添加@OpenAPIDefinition注解即可:
@OpenAPIDefinition(
        info = Info(
                title = "示例API - 文档",
                version = "1.0.0",
                extensions = [
                    Extension(name = "logo", properties = [
                        ExtensionProperty(
                                name = "url", value = "https://s1.ax1x.com/2020/08/18/dMBXqI.jpg"
                        )
                    ])
                ]
        )
)OAS3的文档定义中,提供了description字段,可供我们在里面填写API和应用的介绍、API调用说明等。如果利用注解的话,我们将只能写入一些简单的介绍。因此,我在Starter中加入了一个可以在最终文档中插入自定义Markdown的解决方案:
在项目的src/main/resources目录下,放置自己的markdown,以example的目录结构为例:
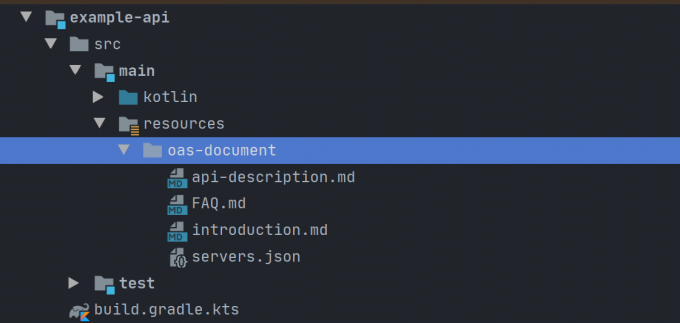
其中,api-description为主文件,内容为:
@oas-document/introduction.md@

@oas-document/FAQ.md@
对OpenAPI进行配置:
@Configuration
class OAS3Config {
    @Bean
    fun customOpenApiCustomizer(): OpenApiCustomiser{
        return OpenApiCustomiser {
            // 添加文档介绍,oas-document/api-description.md为主文件
            configureApiDescription(it, "oas-document/api-description.md")
        }
    }
}运行时,api-description的内容将作为API文档的description字段。并且,如果其中有以@{filePath}@格式定义的占位符,将被替换为src/main/resources下对应文件的内容。
启动应用,不出意外的话,控制台应该可以打印出以下日志:
            ---
            Swagger UI is enabled at endpoint `/swagger-ui.html`
            ReDoc is enabled at endpoint `/doc`
            ReDoc title: $title
            ---
看到这个日志,就说明Starter已经自动配置好了Swagger-UI和ReDoc文档。
打开浏览器,进入http://localhost:8080/doc 或 http://localhost:8080/swagger-ui.html 即可看到效果:
- ReDoc文档:
- Swagger-UI文档: