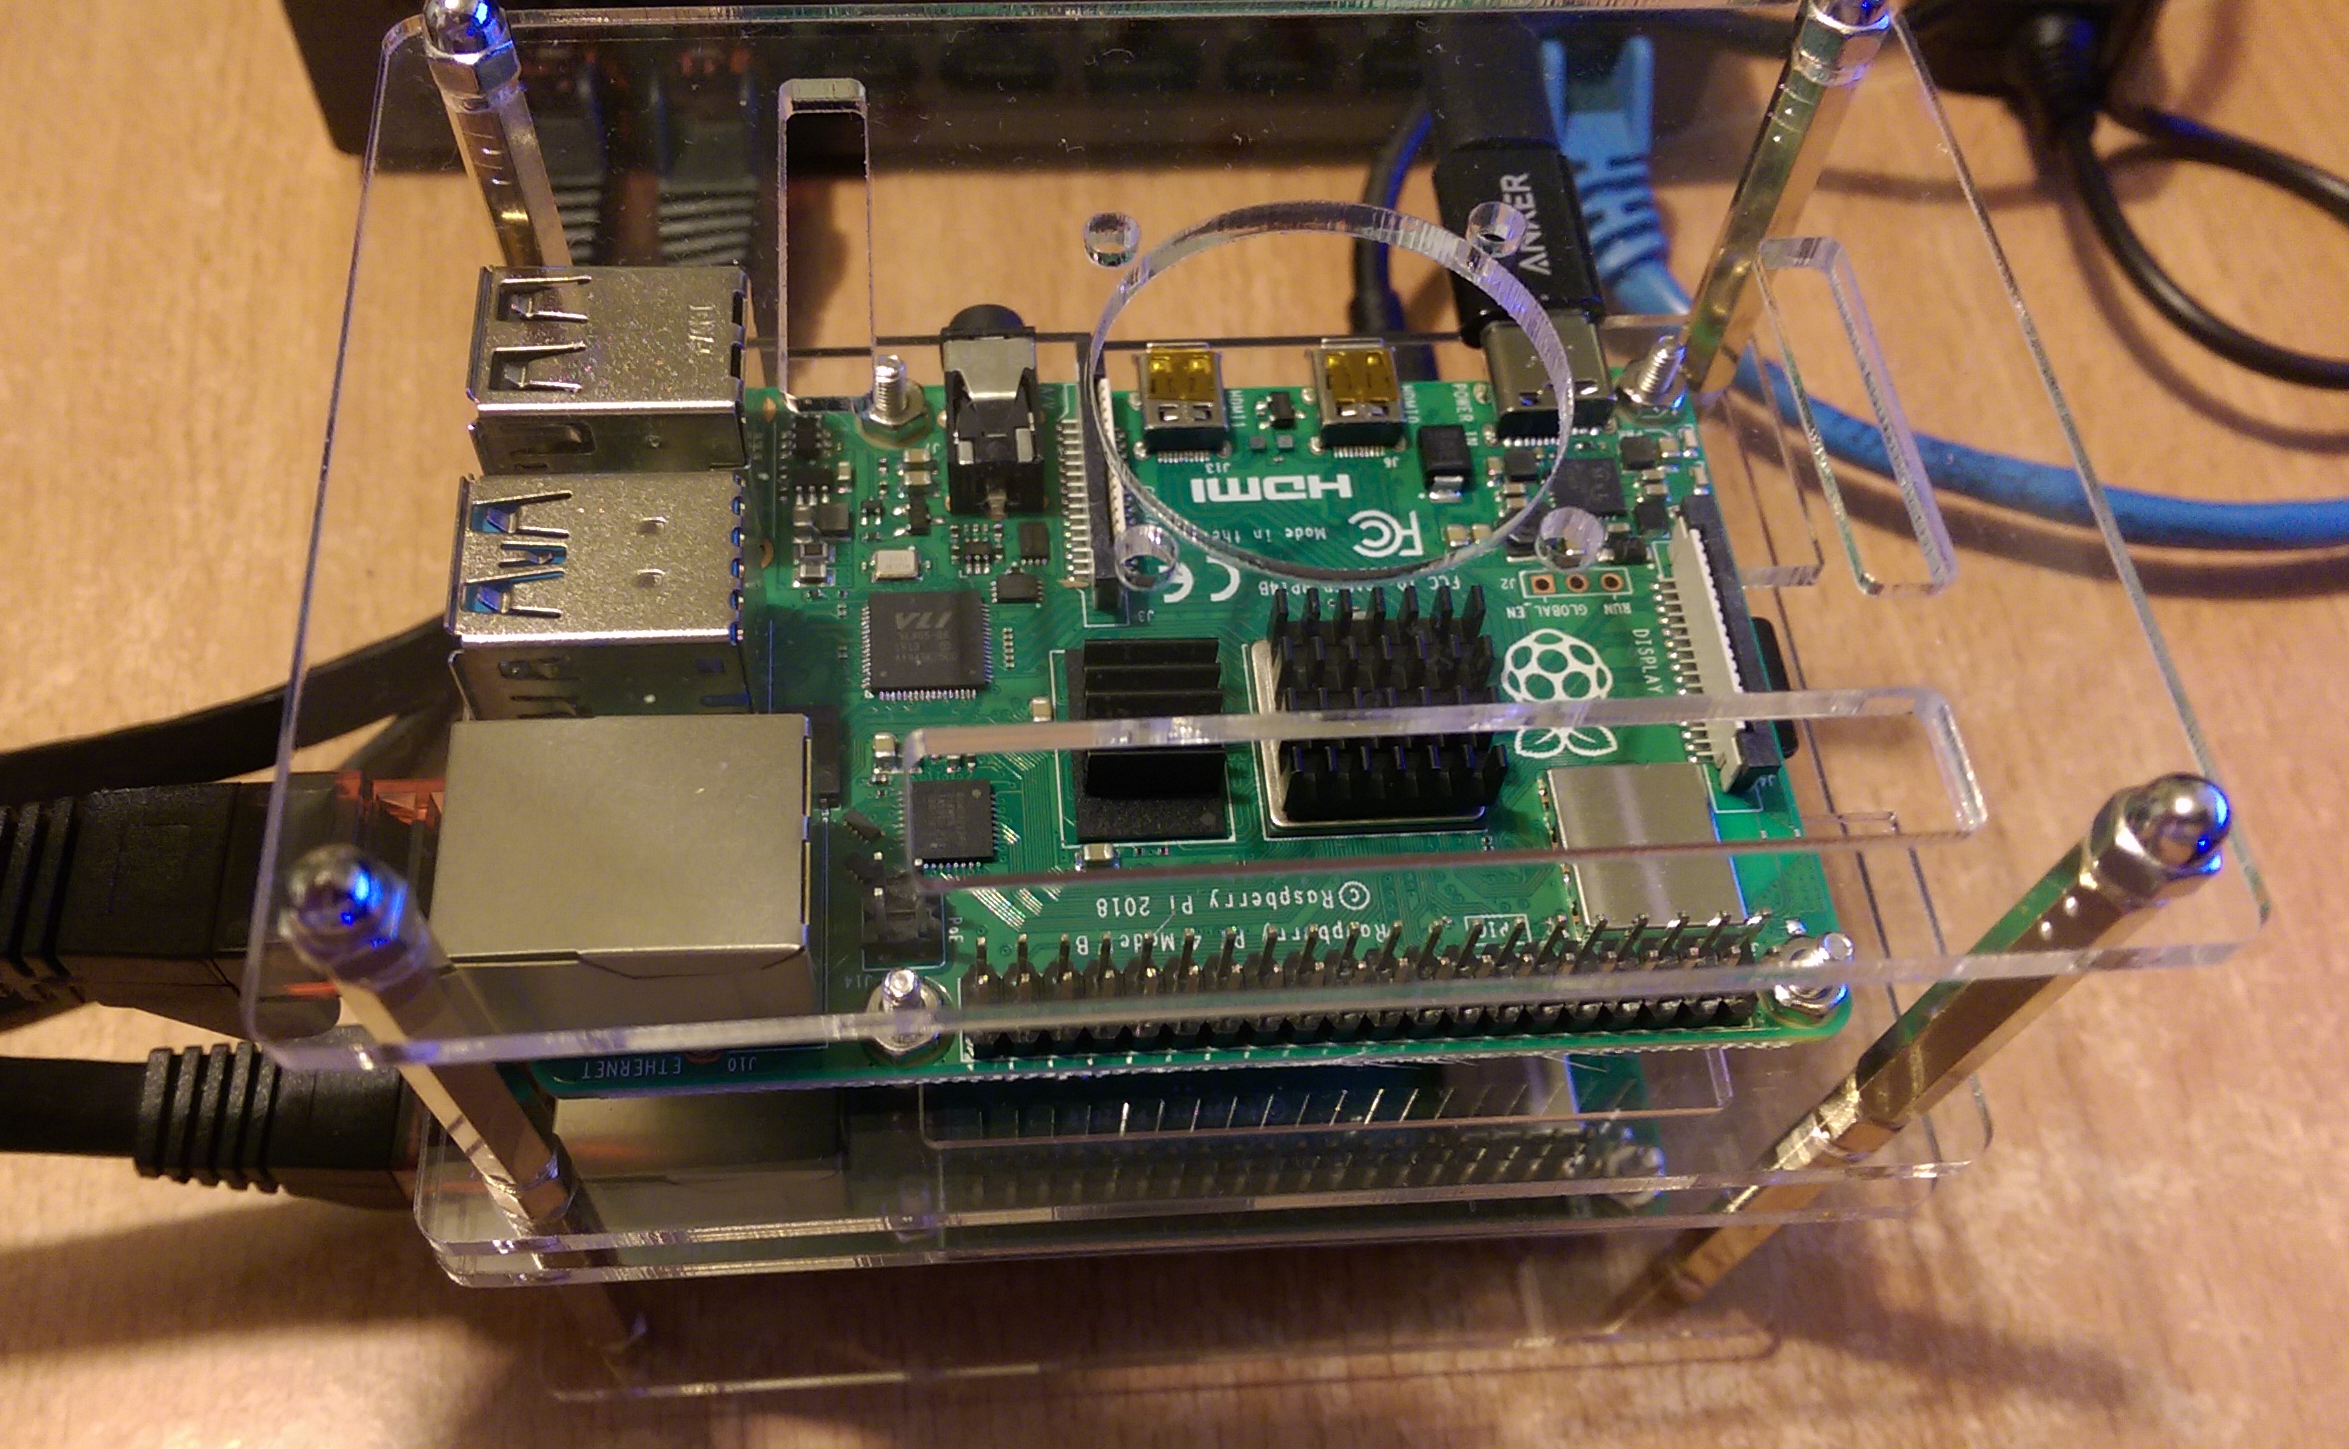
This guide covers the construction, installation and use of a Kubernetes Cluster hosted on a set of Raspberry Pi 4 computers.
Under construction ...
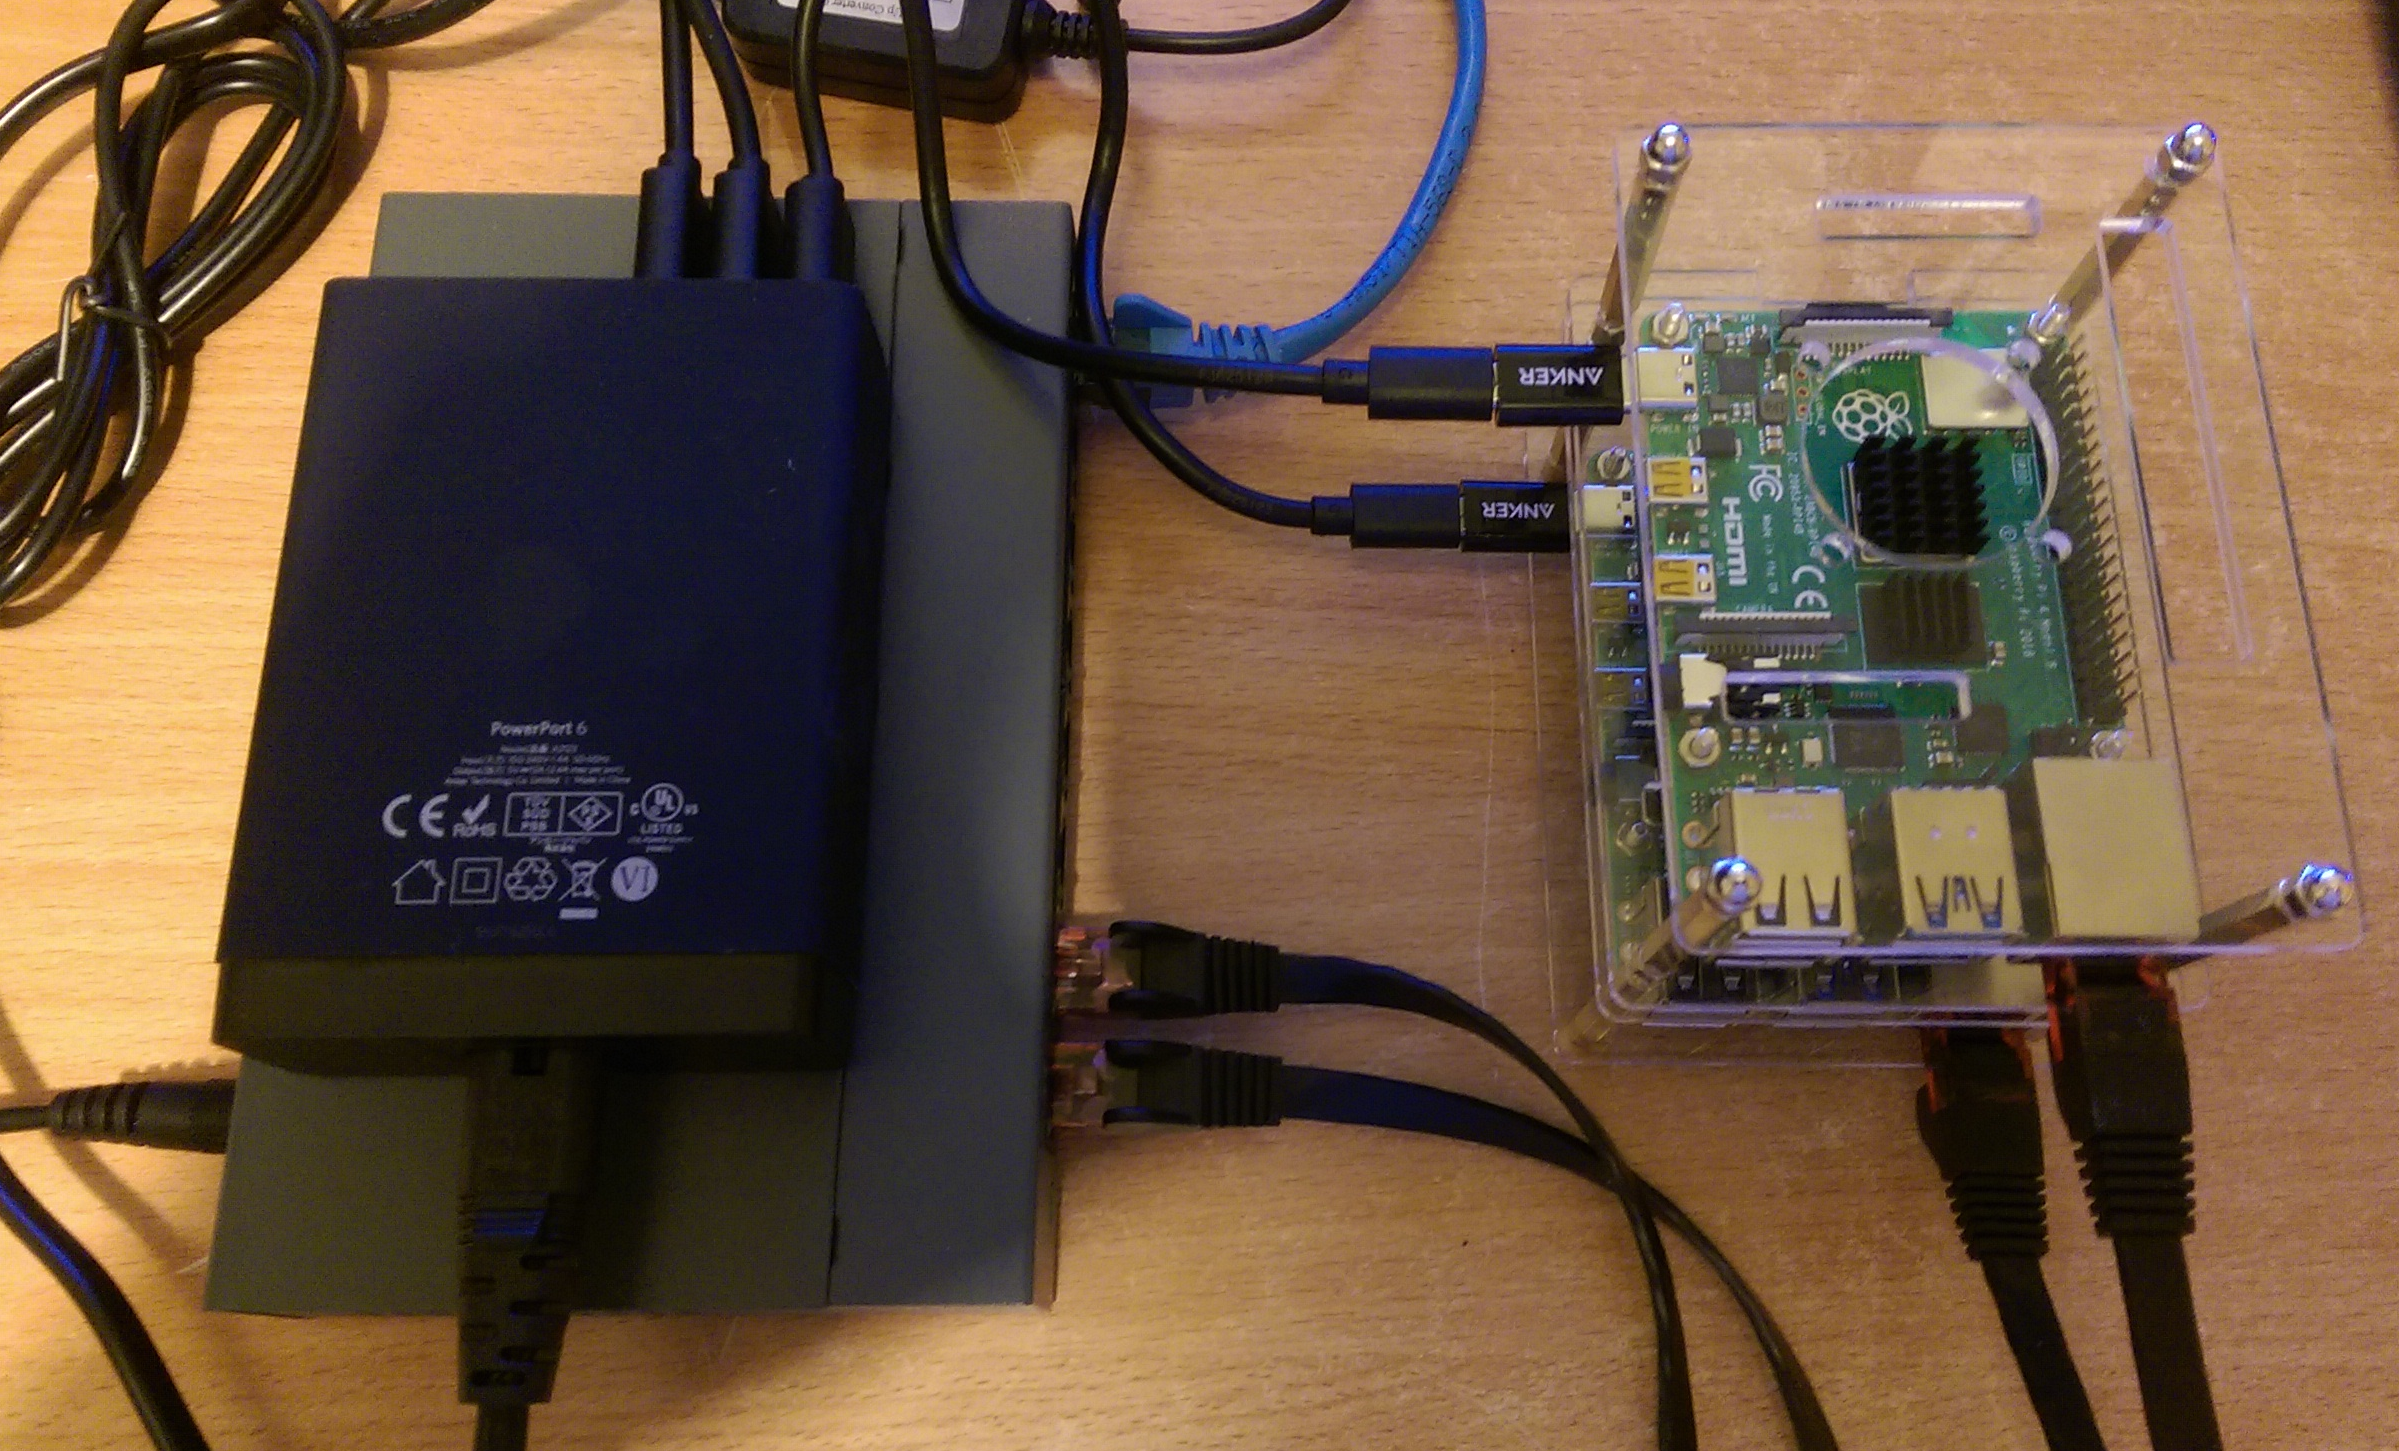
A minimum configuration to demonstrate the features of Kubernetes that I used is as follows:
| Item | Use | Example | Quantity | Notes |
|---|---|---|---|---|
| Controller | Raspberry Pi 4 Model B | Amazon Link | 1 | Any RPi with 4 cores and 1GB RAM+ |
| Workers | Raspberry Pi 4 Model B | Amazon Link | 3 | Use a model with 4GB RAM and Quad Core CPU |
| Power | Anker PowerPort 60 W 6-Port | Amazon Link | 1 | |
| USB Cables | Power to Pi's | Amazon Link | 1 Pack | Need 4 |
| USB C Adaptors | Power to Pi's | Amazon Link | 1 Packs | Need 4 |
| Switch | Network / 8 ports | Amazon Link | 1 | Only 5 ports needed. Note 1 |
| Ethernet Cables | Network | Amazon Link | 1 Pack | Need 4 |
| USB to 12 Converter | Switch Power | Amazon Link | 1 | Note 2 |
| Frame | Somewhere for your Pi's to live | Amazon Link | 2 | |
| Storage | O/S Storage | Amazon Link | 4 | Cheap and seem to work ok |
Note 1 Netgear also produce a 5 port switch that runs from 5V. (8 port needs 12V). I wanted to run a bigger cluster so went for 8 ports.
Note 2 The 5V to 12V cable is just to make things tidier. You can use the original 12V PSU for the switch. Be careful to check power requirements if not using the original PSU.
Software versions:
- O/S version:
Raspbian Buster Lite / Kernel 4:19 - Kubernetes version:
v1.15.0 - Docker version:
18.09.0
Network:
- Master node:
172.16.1.210 (Host name: kubectl4) - Worker node:
172.16.1.211..214 (Host names: worker41..44) - Ingress node:
172.16.1.211 - Gateway:
172.16.1.1 - DNS:
1.1.1.1, 8.8.8.8
- Install Raspbian Buster Lite Download onto an SD card and boot
- Update networking to set a static IP, Gateway and DNS addresses (IPV4 only for now) by editing this file
sudo nano /etc/dhcpcd.conf
- Disable the swap file
sudo dphys-swapfile swapoff
sudo dphys-swapfile uninstall
sudo systemctl disable dphys-swapfile
-
Run the config tool (
sudo raspi-config), set a new password, enablesshand set thehostname -
Reboot (Must do this now due to host name change)
-
Install Docker
sudo curl -sL get.docker.com |  sh
sudo usermod -aG docker pi
- Add Kubernetes repository
curl -s https://packages.cloud.google.com/apt/doc/apt-key.gpg | sudo apt-key add -
echo "deb http://apt.kubernetes.io/ kubernetes-xenial main" | sudo tee /etc/apt/sources.list.d/kubernetes.list
Note No specific Buster release is available at the time of writing. However, the Xenial version appears to work without issue.
- Edit boot configuration
sudo nano /boot/cmdline.txt
...and add the following options
ipv6.disable=1 cgroup_enable=cpuset cgroup_enable=memory cgroup_memory=1
- Update software
sudo apt update && sudo apt upgrade -y && sudo apt autoremove -y
- Configure network bridge (Not sure this is necessary on later kernels ....)
sudo sysctl net.bridge.bridge-nf-call-iptables=1
Check here for order: https://github.com/raynix/ansible-kubeadm/blob/master/roles/kubeadm/tasks/main.yaml
- Reboot
This gives a basic configuration ready to install Kubernetes on
sudo apt-get install -y kubeadm
This is now a complete base image which can be used for control and worker nodes. To save time, make an image copy to all of your SD cards. Don't forget to change IP addresses and host names !
A problem exists with Raspbian Buster and iptables, which is now based on nftables. Unfortunately Kubernetes doesn't get on with this change so we have to revert to iptables.
sudo update-alternatives --set iptables /usr/sbin/iptables-legacy
sudo update-alternatives --set ip6tables /usr/sbin/ip6tables-legacy
sudo update-alternatives --set ebtables /usr/sbin/ebtables-legacy
Select the machine you are going to use as the master node
- Load images
kubeadm config images pull
- Install (flannel)
sudo kubeadm init --pod-network-cidr=10.244.0.0/16
- Once complete, note the line starting
kubeadm join --token
You will need this later to join worker nodes to the cluster (Note 1)
- Make the install generally available
mkdir -p $HOME/.kube
sudo cp -i /etc/kubernetes/admin.conf $HOME/.kube/config
sudo chown $(id -u):$(id -g) $HOME/.kube/config
Note 1: You can always regenerate the token at a later date by using:
kubeadm token generate
kubeadm token create <token printed from previous command> --print-join-command --ttl=0
Most guides use Flannel as the networking layer.
kubectl apply -f https://raw.githubusercontent.com/coreos/flannel/master/Documentation/kube-flannel.yml
- Show system to confirm install
kubectl get pods --all-namespaces
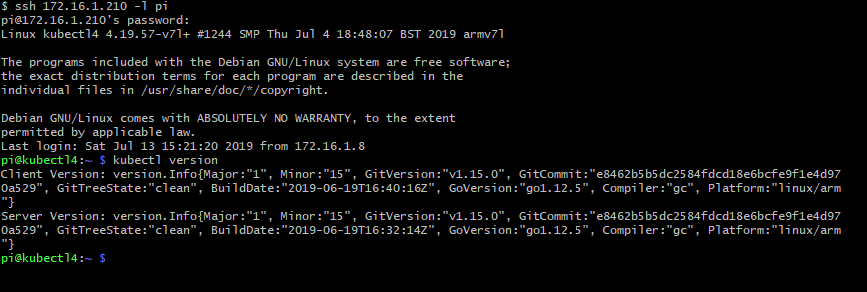
kubectl get nodes
To add a worker node to the cluster, execute a kubeadm join command using the values generated earlier.
- If the master node was at
172.16.1.210, the command would be in the form:
sudo kubeadm join 172.16.1.210:6443 --token <token here> --discovery-token-ca-cert-hash sha256:<hash value here>
- Add the other worker nodes
- On the master node, execute
kubectl get nodesto show the complete cluster
The cluster is now complete
As a demonstration, we will now deploy the Hypriot Busybox service (A Raspberry Pi compatible Docker Image with a minimal Busybox httpd web server )
- Deploy service on 2 containers
kubectl run hypriot --image=hypriot/rpi-busybox-httpd --replicas=2 --port=80
kubectl expose deployment hypriot --port 80
kubectl get endpoints hypriot
- Verify Deployment on Worker Nodes
curl <IP address of an endpoint (Not a worker node IP address)>

<html>
<head><title>Pi armed with Docker by Hypriot</title>
  <body style="width: 100%; background-color: black;">
    <div id="main" style="margin: 100px auto 0 auto; width: 800px;">
      <img src="pi_armed_with_docker.jpg" alt="pi armed with docker" style="width: 800px">
    </div>
  </body>
</html>
Now we have the service running we need to configure a single ingress point with a load balancer.
- Install load balancer
kubectl apply -f https://raw.githubusercontent.com/hypriot/rpi-traefik/master/traefik-k8s-example.yaml
kubectl label node <worker node to host load balancer> nginx-controller=traefik
- Create an ingress point
cat > hypriot-ingress.yaml <<EOF
apiVersion: extensions/v1beta1
kind: Ingress
metadata:
  name: hypriot
spec:
  rules:
  - http:
      paths:
      - path: /
        backend:
          serviceName: hypriot
          servicePort: 80
EOF

kubectl apply -f hypriot-ingress.yaml
Verify all nodes are connected and running
Verify correct operation by pointing a browser at the ingress node:
...and this probably won't work. Recent changes in Kubernetes have introduced Role Based Access Control (RBAC)
For running test configurations, using RBAC can be painful. A (not recommended for production) way around this is:
kubectl create clusterrolebinding varMyClusterRoleBinding --clusterrole=cluster-admin --serviceaccount=kube-system:default
A reboot of the cluster will probably be needed after this.
Note: From a cold start, the cluster takes approximnately 5 minutes before the ingress responds with the Hypriot web page


