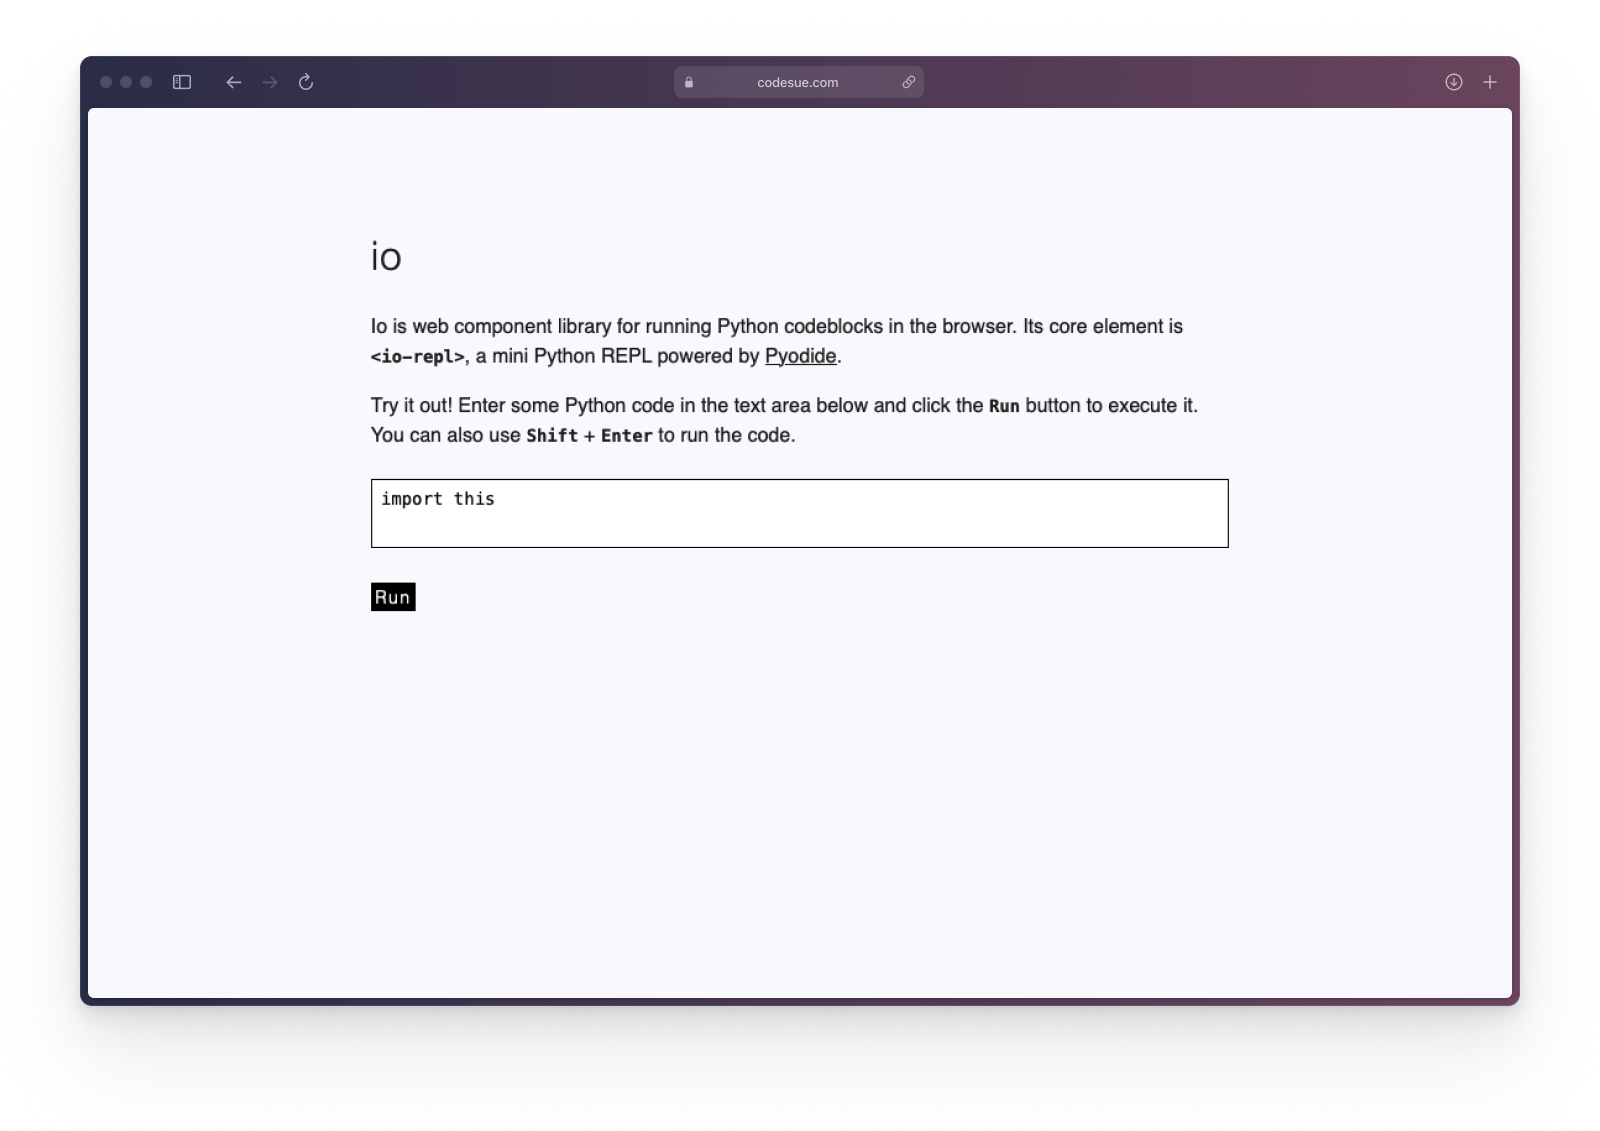
Io is web component library for running Python codeblocks in the browser. Its
core element is <io-repl>, a mini Python REPL powered by Pyodide.
Io is a lightweight and highly experimental library. It's just for fun and shouldn't be used for anything serious. If you're looking for a similar library to use in your projects, consider using PyScript instead.
Add the <io-repl> script to the head of your HTML document:
<script type='module' src='https://www.unpkg.com/io-repl/io-repl.js'></script>Add the following rule to your stylesheet to prevent the component from being displayed until its ready:
io-repl:not(:defined) {
  opacity: 0;
  transition: opacity 0.3s ease-in-out;
}
Use <io-repl> in your HTML document:
<io-repl>import this</io-repl><script type='module' src='https://www.unpkg.com/io-repl/io-repl.js'></script>npm i io-repl-
Clone this repository
git clone https://github.com/codesue/io.git
-
Navigate to the project's directory
cd io -
Install dependencies
npm i
import 'io-repl';Adding an empty REPL:
<io-repl></io-repl>Adding default code to the REPL:
<io-repl>print('Hello, world!')</io-repl>Adding default code that relies on indentation to the REPL:
<io-repl>
  def greet():
    print('Hello, there!')

  greet()
<io-repl>You can customize the REPL using the following attributes:
button-label(string): The text to display as the run button's label.disable-button(boolean): Whether to disable and hide the run button.disable-input(boolean): Whether to disable editing input code.execute(boolean): Whether to execute the code when the component is rendered.pyodide-src(string): The path to a pyodide module to import. If not provided, defaults to https://cdn.jsdelivr.net/pyodide/v0.23.4/full/pyodide.js.src(string): The path to a file containing Python code. Its text will be set as the code input of the REPL, taking precedent over any text inside the<io-repl></io-repl>tags.
Here's an example of how to do this:
<io-repl execute disable-input button-label='Play' pyodide-src='https://path/to/pyodide.js'>
<io-repl>Add the following rules to your stylesheet:
io-repl:not(:defined) {
  opacity: 0;
  transition: opacity 0.3s ease-in-out;
}You can change the style of the <io-repl> element directly:
io-repl {
  background: #c9cdee;
  padding: 1em;
  border-radius: 0.25em;
}
You can change the style of its nested elements using css variables defined in the
elements <style> tag:
io-repl {
  --input-border-radius: 0.25em;;
  --button-border-radius: 0.25em;;
  --button-font-family: monospace;
  --button-padding: 0.25em 0.5em;
  --button-margin: 0;
}
Alternatively, you can use the elements' part attribute:
io-repl::part(button) {
  border-radius: 0.25em;
}
Parts include label, button, input, input-container, and output.
To run a local development server that serves the basic demo located in
index.html, run:
npm startThe website will be available at http://localhost:8000/.
To execute a single test, run:
npm run testTo run the tests in interactive watch mode, run:
npm run test:watchTo scan the project for linting and formatting errors, run
npm run lintTo automatically fix linting and formatting errors, run
npm run formatCurrently, this project does not accept external contributions.
Copyright © 2023 Suzen Fylke. Distributed under the MIT License.
This project was scaffolded with open-wc's web component generator.
It forks PyScript's ltrim function to dedent code input, and parts of its design are heavily influenced by the design of PyScript's web components. PyScript is licensed under the Apache 2.0 License.


