This is a technology demonstration and not usable in production. The code is for education only to learn fundamental concepts about the RICOH THETA camera and 360 image processing.
Program running on the camera can access /sdcard/DCIM/100RICOH/ files directly.
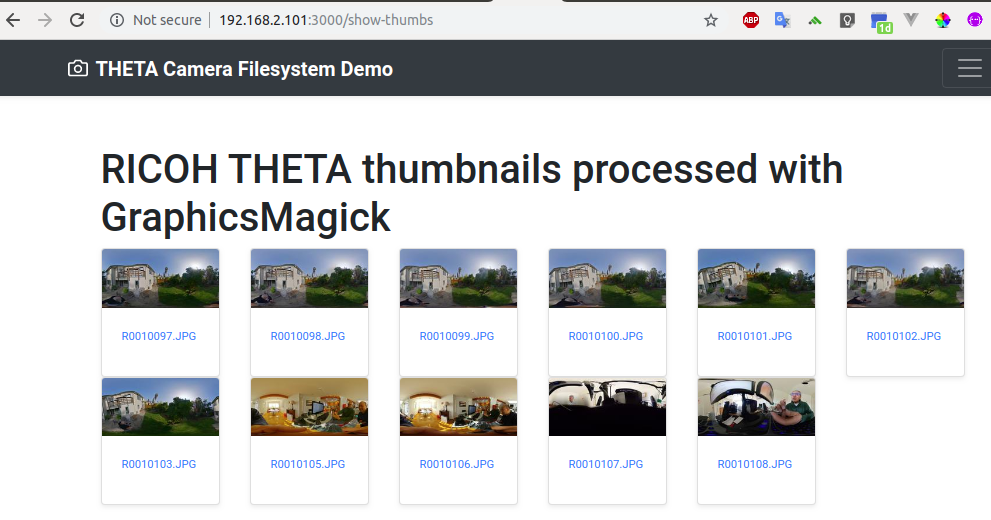 Thumbnails created by accessing camera filesystem and reducing from 8.8MB to 4kB.
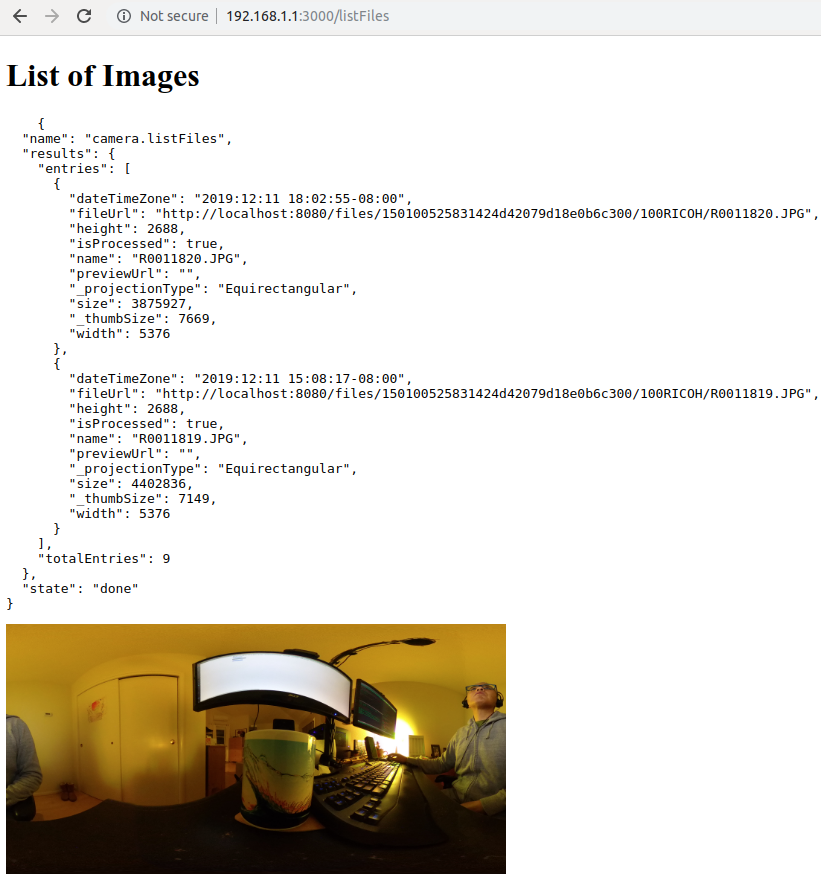
Node has can access the default internal web server of your THETA at localhost:8080 (only accessible from plug-in running inside the camera)
Run a node server inside of the RICOH THETA V and Z1
See these articles:
- Setup Termux on RICOH THETA
- Use Termux on RICOH THETA
- Creating a WebUI with Node Running Inside the Camera
Access CSS, JavaScript, and HTML snippets.
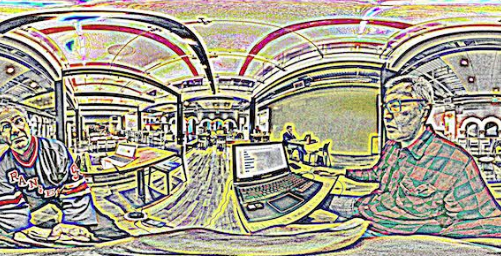
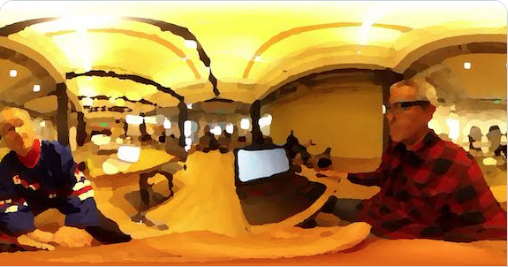
The graphics processing is handled with GraphicsMagick. See gm node module for more information.
| Image Use Case | File Size | Dimensions | Compression |
|---|---|---|---|
| Original file from Z1 | 8.8MB | 6720x3360px | Original JPG |
| Web gallery | 750kB | 6720x3360px | Lossy JPEG 30% quality |
| thumbnail | 4kB | 200x100px | JPEG |
Example:
Reduce quality to 30%.
	gm('/sdcard/DCIM/100RICOH/FILENAM.JPG')
	.quality(30)
Get Termux:Boot from F-Droid
Create a new file ~/.termux/boot/startup and add add these lines:
#!/data/data/com.termux/files/usr/bin/sh
/data/data/com.termux/files/usr/bin/node /data/data/com.termux/files/home/Development/theta-termux-node/index.js
Make sure you have the full path of node index.js. The node command and the index.js file name need to be on the same path.
Adjust the path to the location of your index.js file
sshd
alias l='ls -F'
alias la='ls -a'
alias ll='ls -l'
array=$(ip -4 a | grep inet | grep wlan0 | grep -oP '[0-9]+\.[0-9]+\.[0-9]+\.[0-9]+(?=\/)')
echo $array
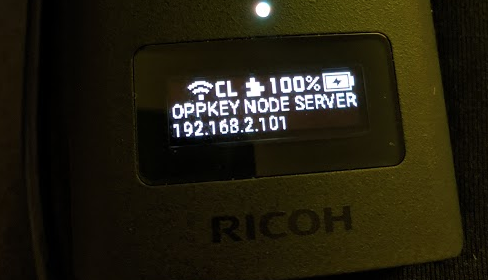
am broadcast -a com.theta360.plugin.ACTION_OLED_TEXT_SHOW -e text-middle 'Oppkey Node Server'
am broadcast -a com.theta360.plugin.ACTION_OLED_TEXT_SHOW -e text-bottom $array