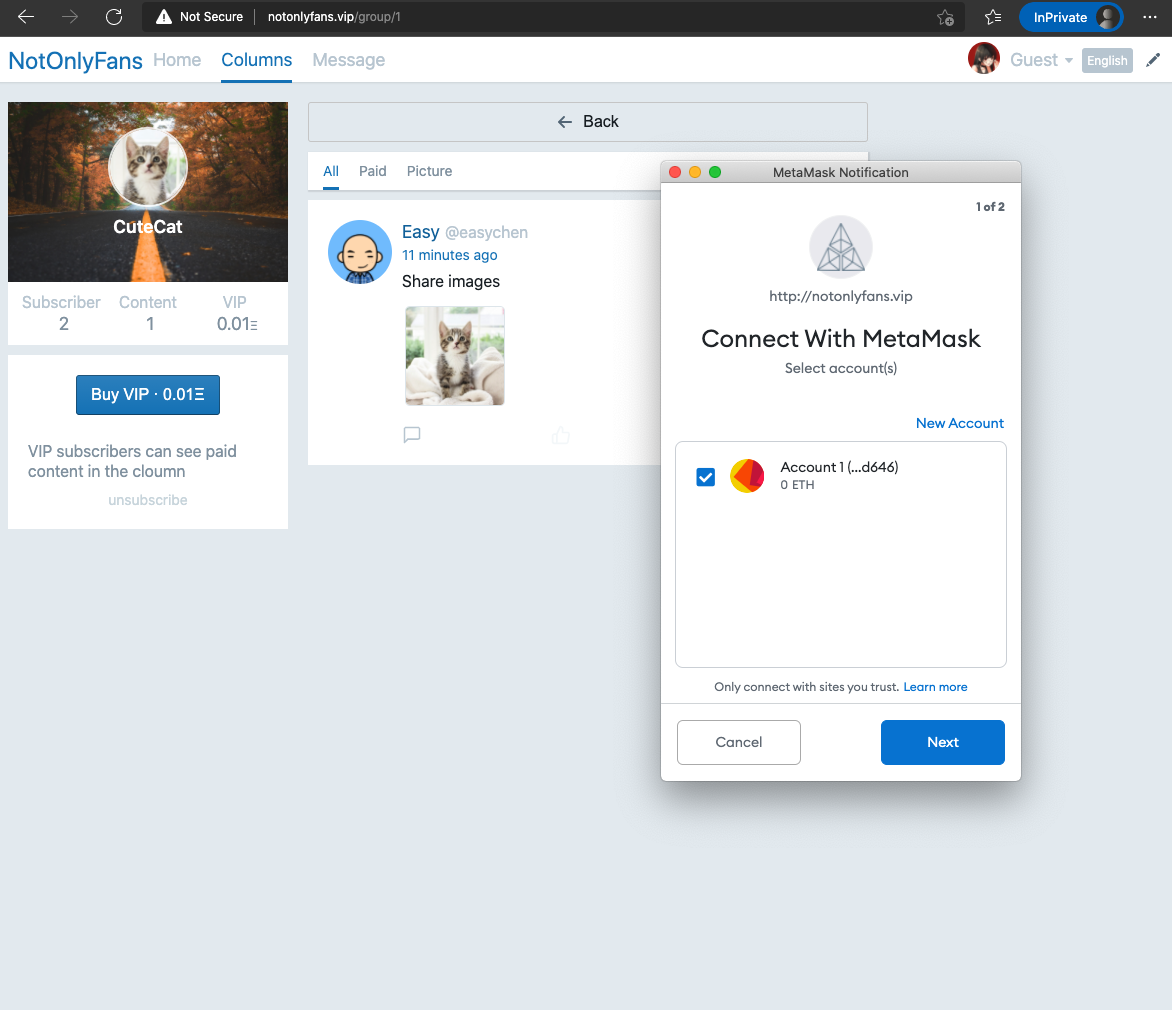
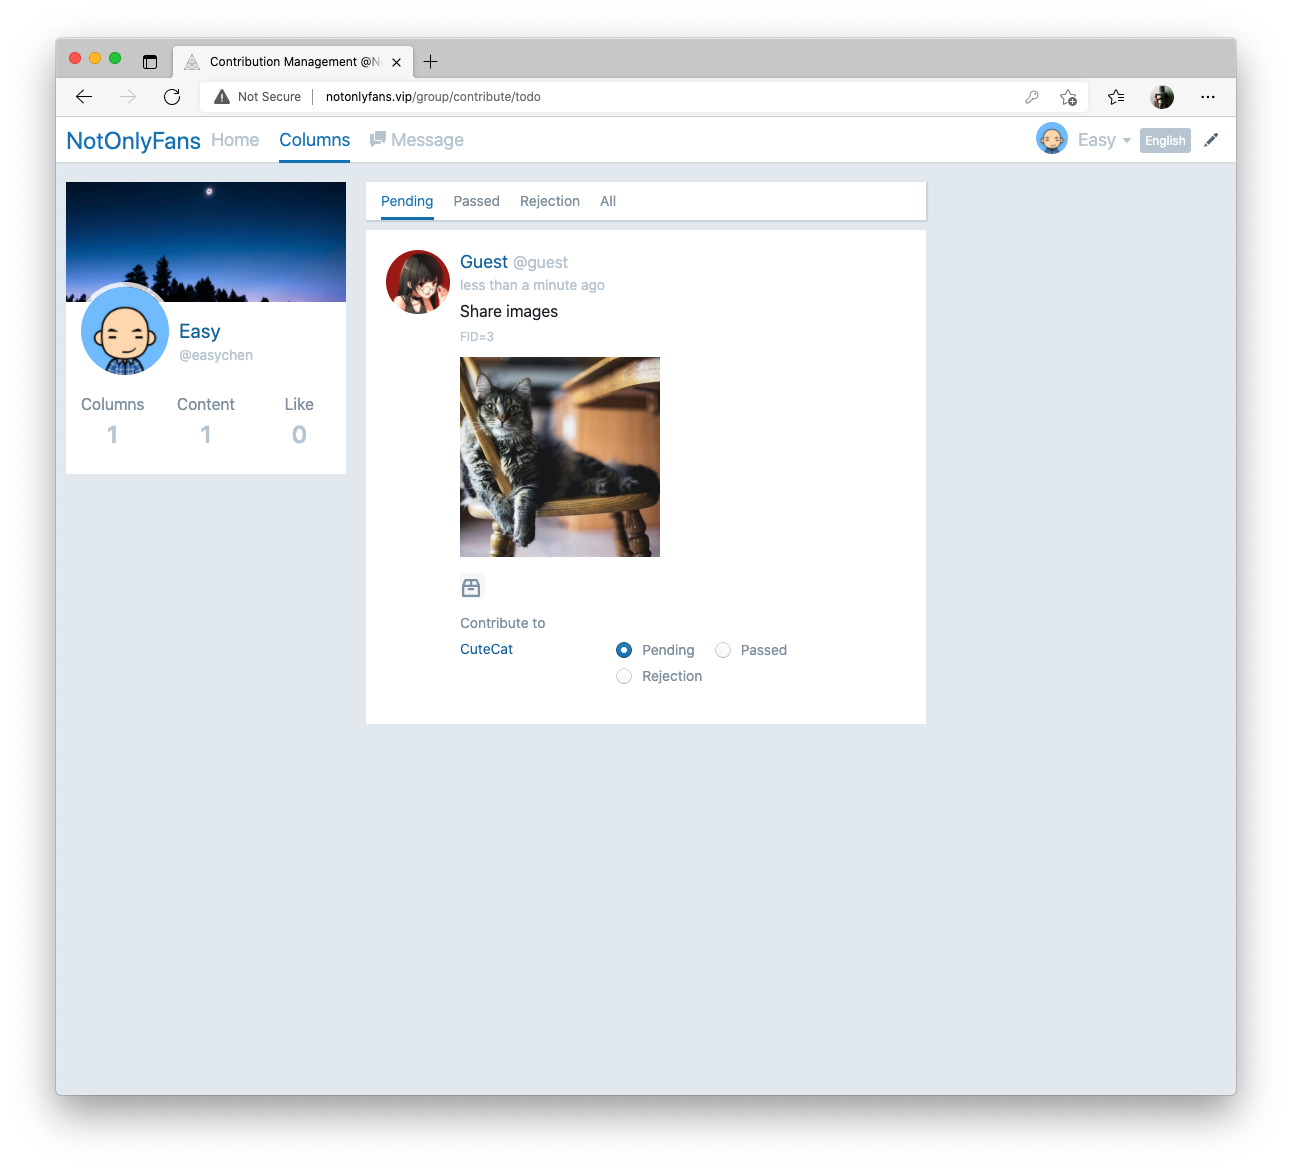
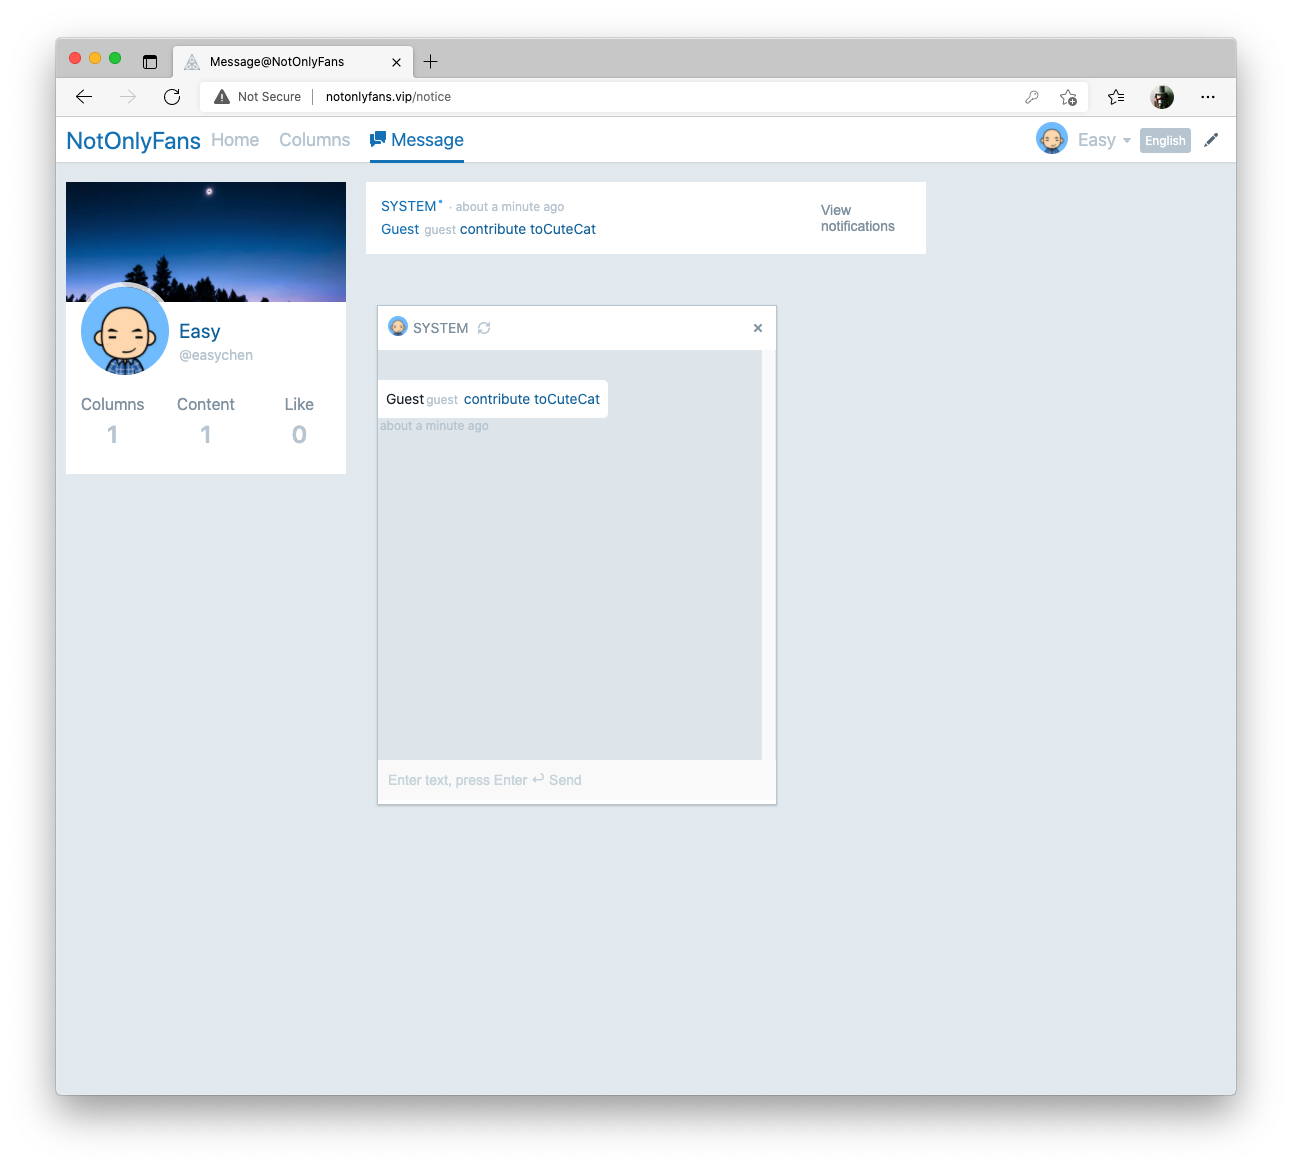
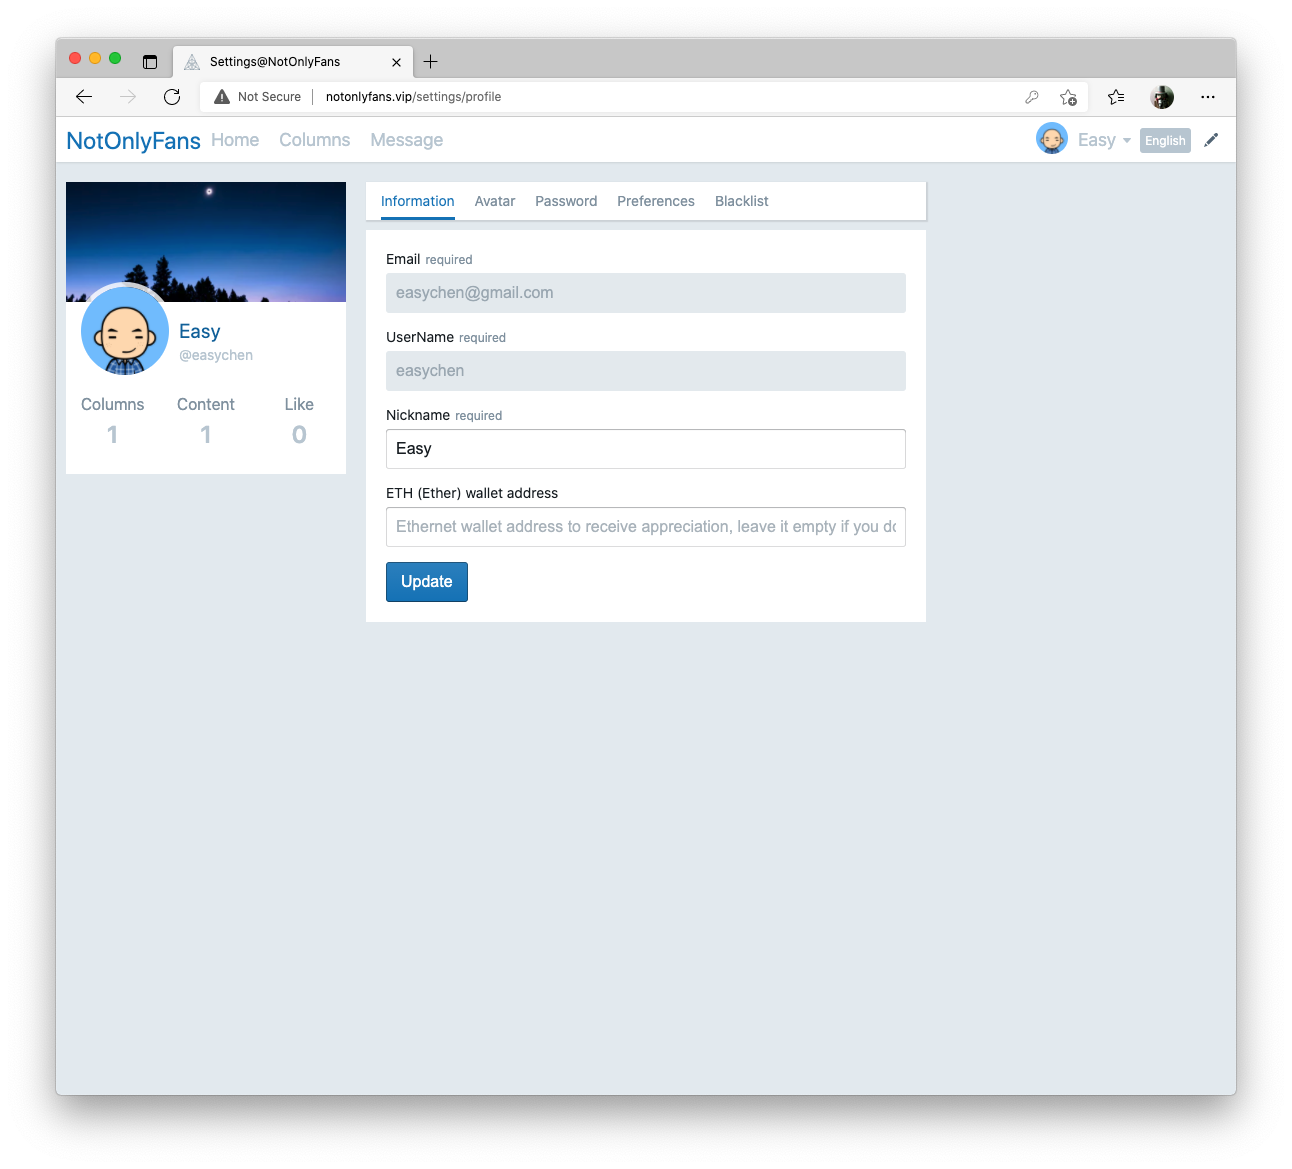
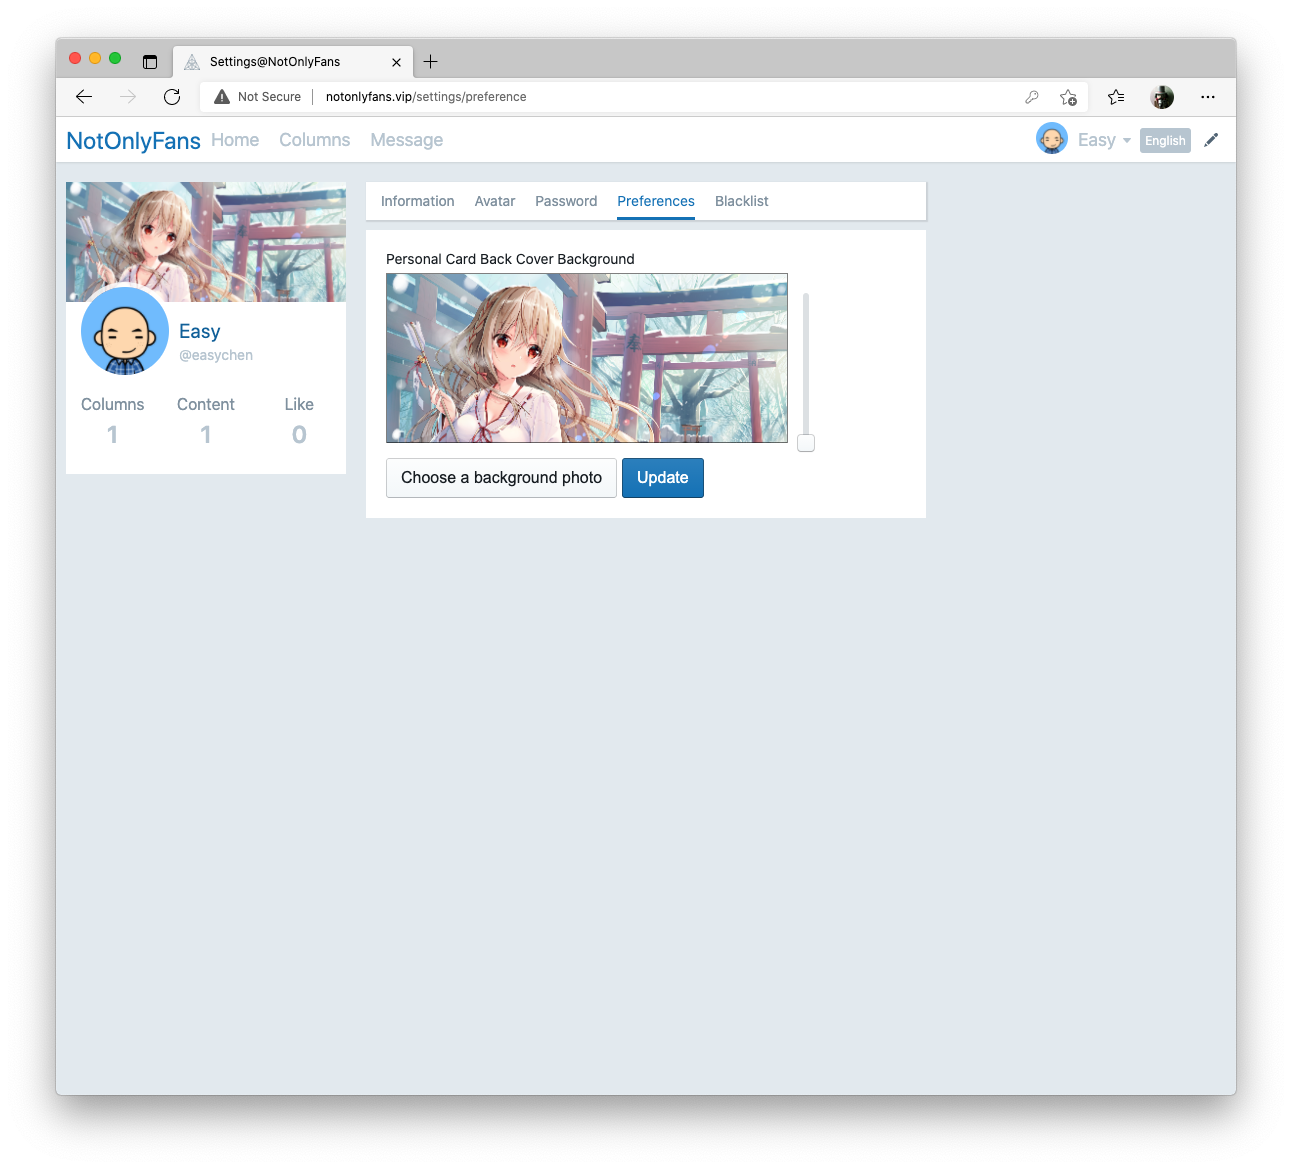
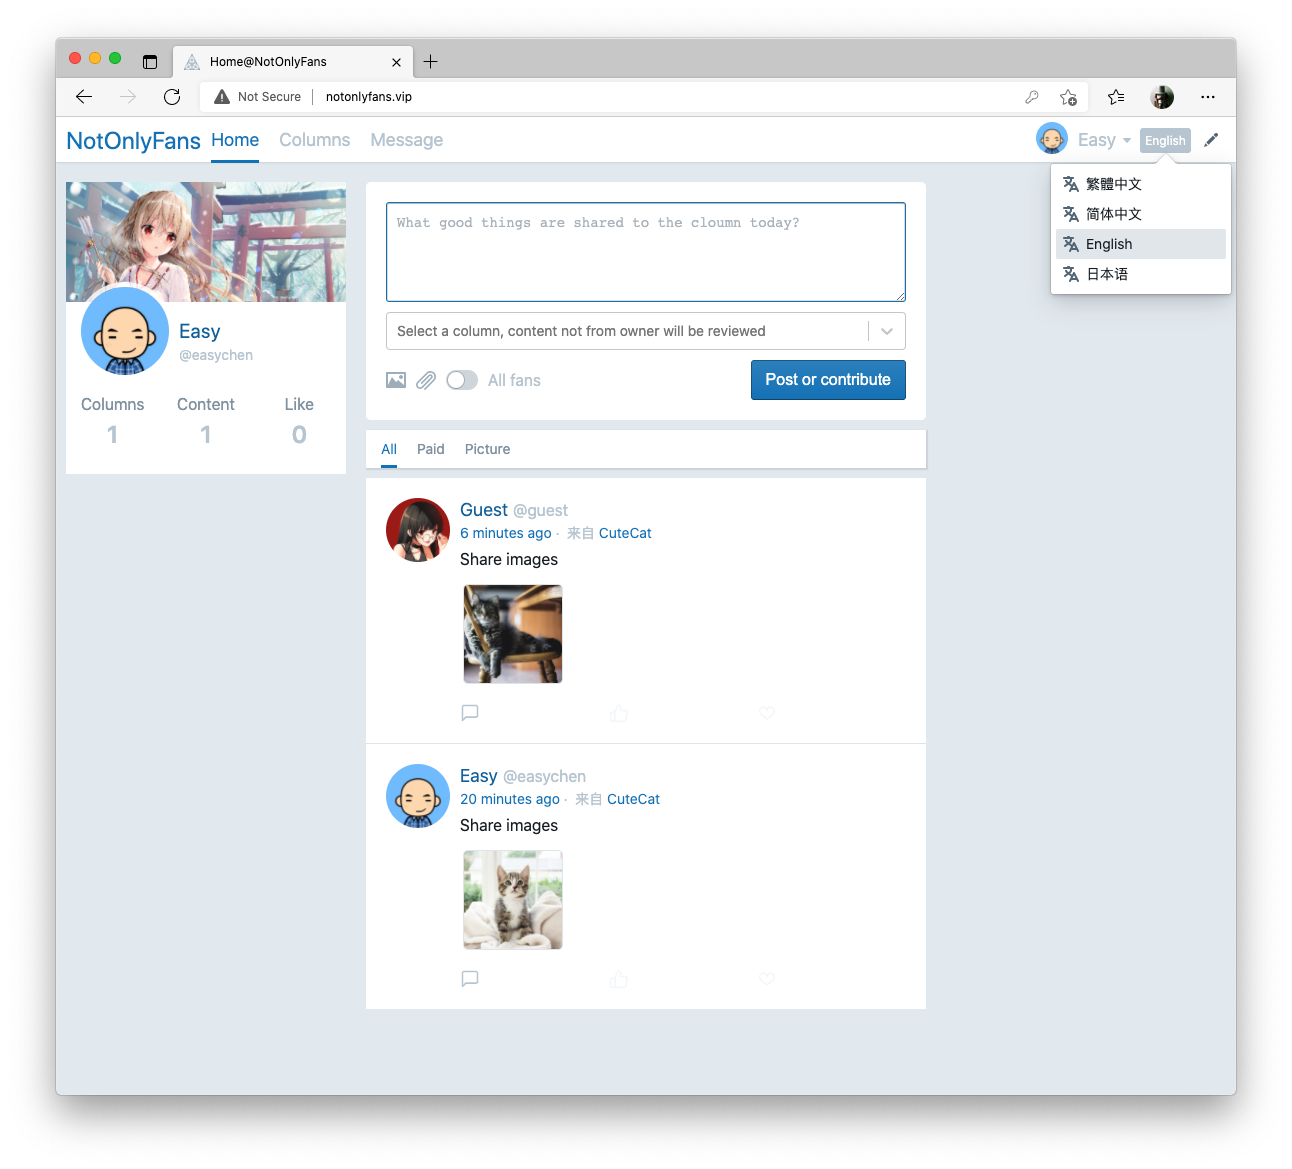
NotOnlyFans is an open source, self-hosted digital content subscription platform like onlyfans.com. The difference, however, is that it uses cryptocurrency (ETH) for payment, so the content will no longer be judged by the payment platform and credit card companies.
First we need to prepare a server with docker and docker-compose already installed, this server IP is noted as SIP.
git clone https://github.com/easychen/not-only-fans.git
cd not-only-fans
docker-compose up -d --buildStart by looking at the running Docker container.
docker psRecord the container ID of the image as not-only-fans_app (CID for short), and then go inside the container.
docker exec -it ${container_id} /bin/bashcd /app/client/ && yarn install && yarn buildcd /app/api/ && composer install && mkdir /app/api/storage && chmod -R 0777 /app/api/storageThis image uses different domains to point to different directories, you can point the following two domains to the server IP (i.e. SIP before) in localhost.
notonlyfans.vip→ SIP (front-end domain)api.notonlyfans.vip→ SIP (API domain name)
Access at this point is ready for testing.
- Modify
docker/app/vhost.confand replace the front-end domain and API domain with your own. - modify
www/client/.env.productionand replace the domain name inREACT_APP_API_BASEwith your API domain name - modify
www/api/config/app.phpand replace the front-end domain name in it with your front-end domain name
- Go to https://infura.io/ to open the service, click on the project name in Dashboard and copy the Key in
Settings. - Note that you can select the main or test network as needed.
- Update
www/api/config/app.phpwhereweb3_networkis located.
- modify
www/api/contract/group.jsandwww/api/contract/deploy.js - deploy via
deploy.js - Fill in the address of the deployed contract in
www/api/config/app.phpin the corresponding place
Translated with www.DeepL.com/Translator
