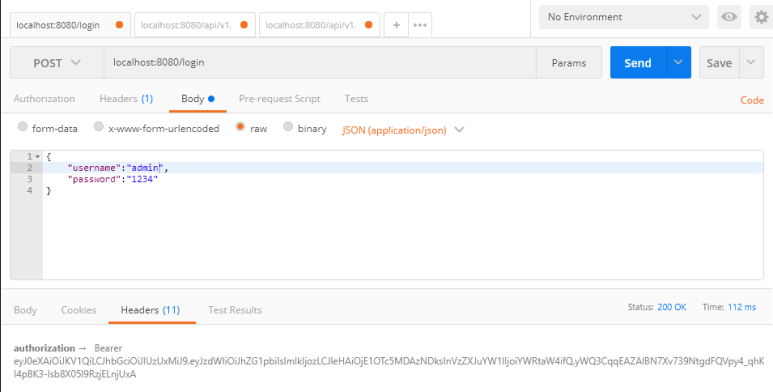
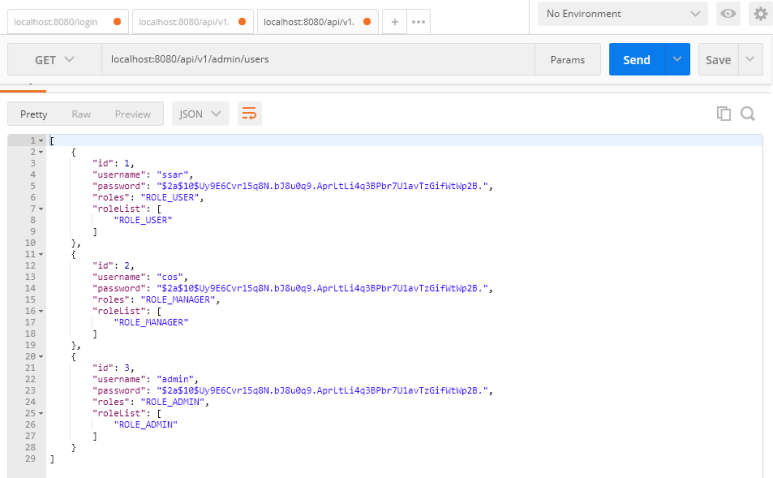
https://bezkoder.com/spring-boot-react-jwt-auth/
- attemptAuthentication() 함수를 오버라이딩 하고 아래와 같이 구현한다.
- request의 username과 password를 ObjectMapper로 받는다.
- 해당 username과 password로 UsernamePasswordAuthenticationToken을 생성한다.
- UsernamePasswordAuthenticationToken으로 Authentication 객체를 만든다.
- Authentication객체를 만들때 자동으로 UserDetailsService가 호출된다.
- 그렇기 때문에 UserDetailsService를 상속하여 직접 서비스를 구현한다.
- UserDetailsService를 통해서 리턴될 UserDetails을 커스텀해서 구현한다.
- authenticate() 함수가 호출 되면 인증 프로바이더가 유저 디테일 서비스의
- loadUserByUsername(토큰의 첫번째 파라메터) 를 호출하고
- UserDetails를 리턴받아서 토큰의 두번째 파라메터(credential)과
- UserDetails(DB값)의 getPassword()함수로 비교해서 동일하면
- Authentication 객체를 만들어서 필터체인으로 리턴해준다.
- Tip: 인증 프로바이더의 디폴트 서비스는 UserDetailsService 타입
- Tip: 인증 프로바이더의 디폴트 암호화 방식은 BCryptPasswordEncoder
- 결론은 인증 프로바이더에게 알려줄 필요가 없음.
    @Override
    protected void configure(AuthenticationManagerBuilder auth) {
        auth.authenticationProvider(authenticationProvider());
    }

    @Bean
    DaoAuthenticationProvider authenticationProvider(){
        DaoAuthenticationProvider daoAuthenticationProvider = new DaoAuthenticationProvider();
        daoAuthenticationProvider.setPasswordEncoder(passwordEncoder());
        daoAuthenticationProvider.setUserDetailsService(userPrincipalDetailsService);

        return daoAuthenticationProvider;
}-
Tip : JWT를 사용하면 UserDetailsService를 호출하지 않기 때문에 @AuthenticationPrincipal 사용 불가능.왜냐하면 @AuthenticationPrincipal은 UserDetailsService에서 리턴될 때 만들어지기 때문이다.
-
Tip : 토큰 검증 (이게 인증이기 때문에 AuthenticationManager도 필요 없음)
-
Tip : 스프링 시큐리티가 수행해주는 권한 처리를 위해 아래와 같이 토큰을 만들어서 Authentication 객체를 강제로 만들고 그걸 세션에 저장!
    PrincipalDetails principalDetails = new PrincipalDetails(user);
    Authentication authentication =
            new UsernamePasswordAuthenticationToken(
                    principalDetails, //나중에 컨트롤러에서 DI해서 쓸 때 사용하기 편함.
                    null, // 패스워드는 모르니까 null 처리, 어차피 지금 인증하는게 아니니까!!
                    principalDetails.getAuthorities());

    // 강제로 시큐리티의 세션에 접근하여 값 저장
    SecurityContextHolder.getContext().setAuthentication(authentication);
