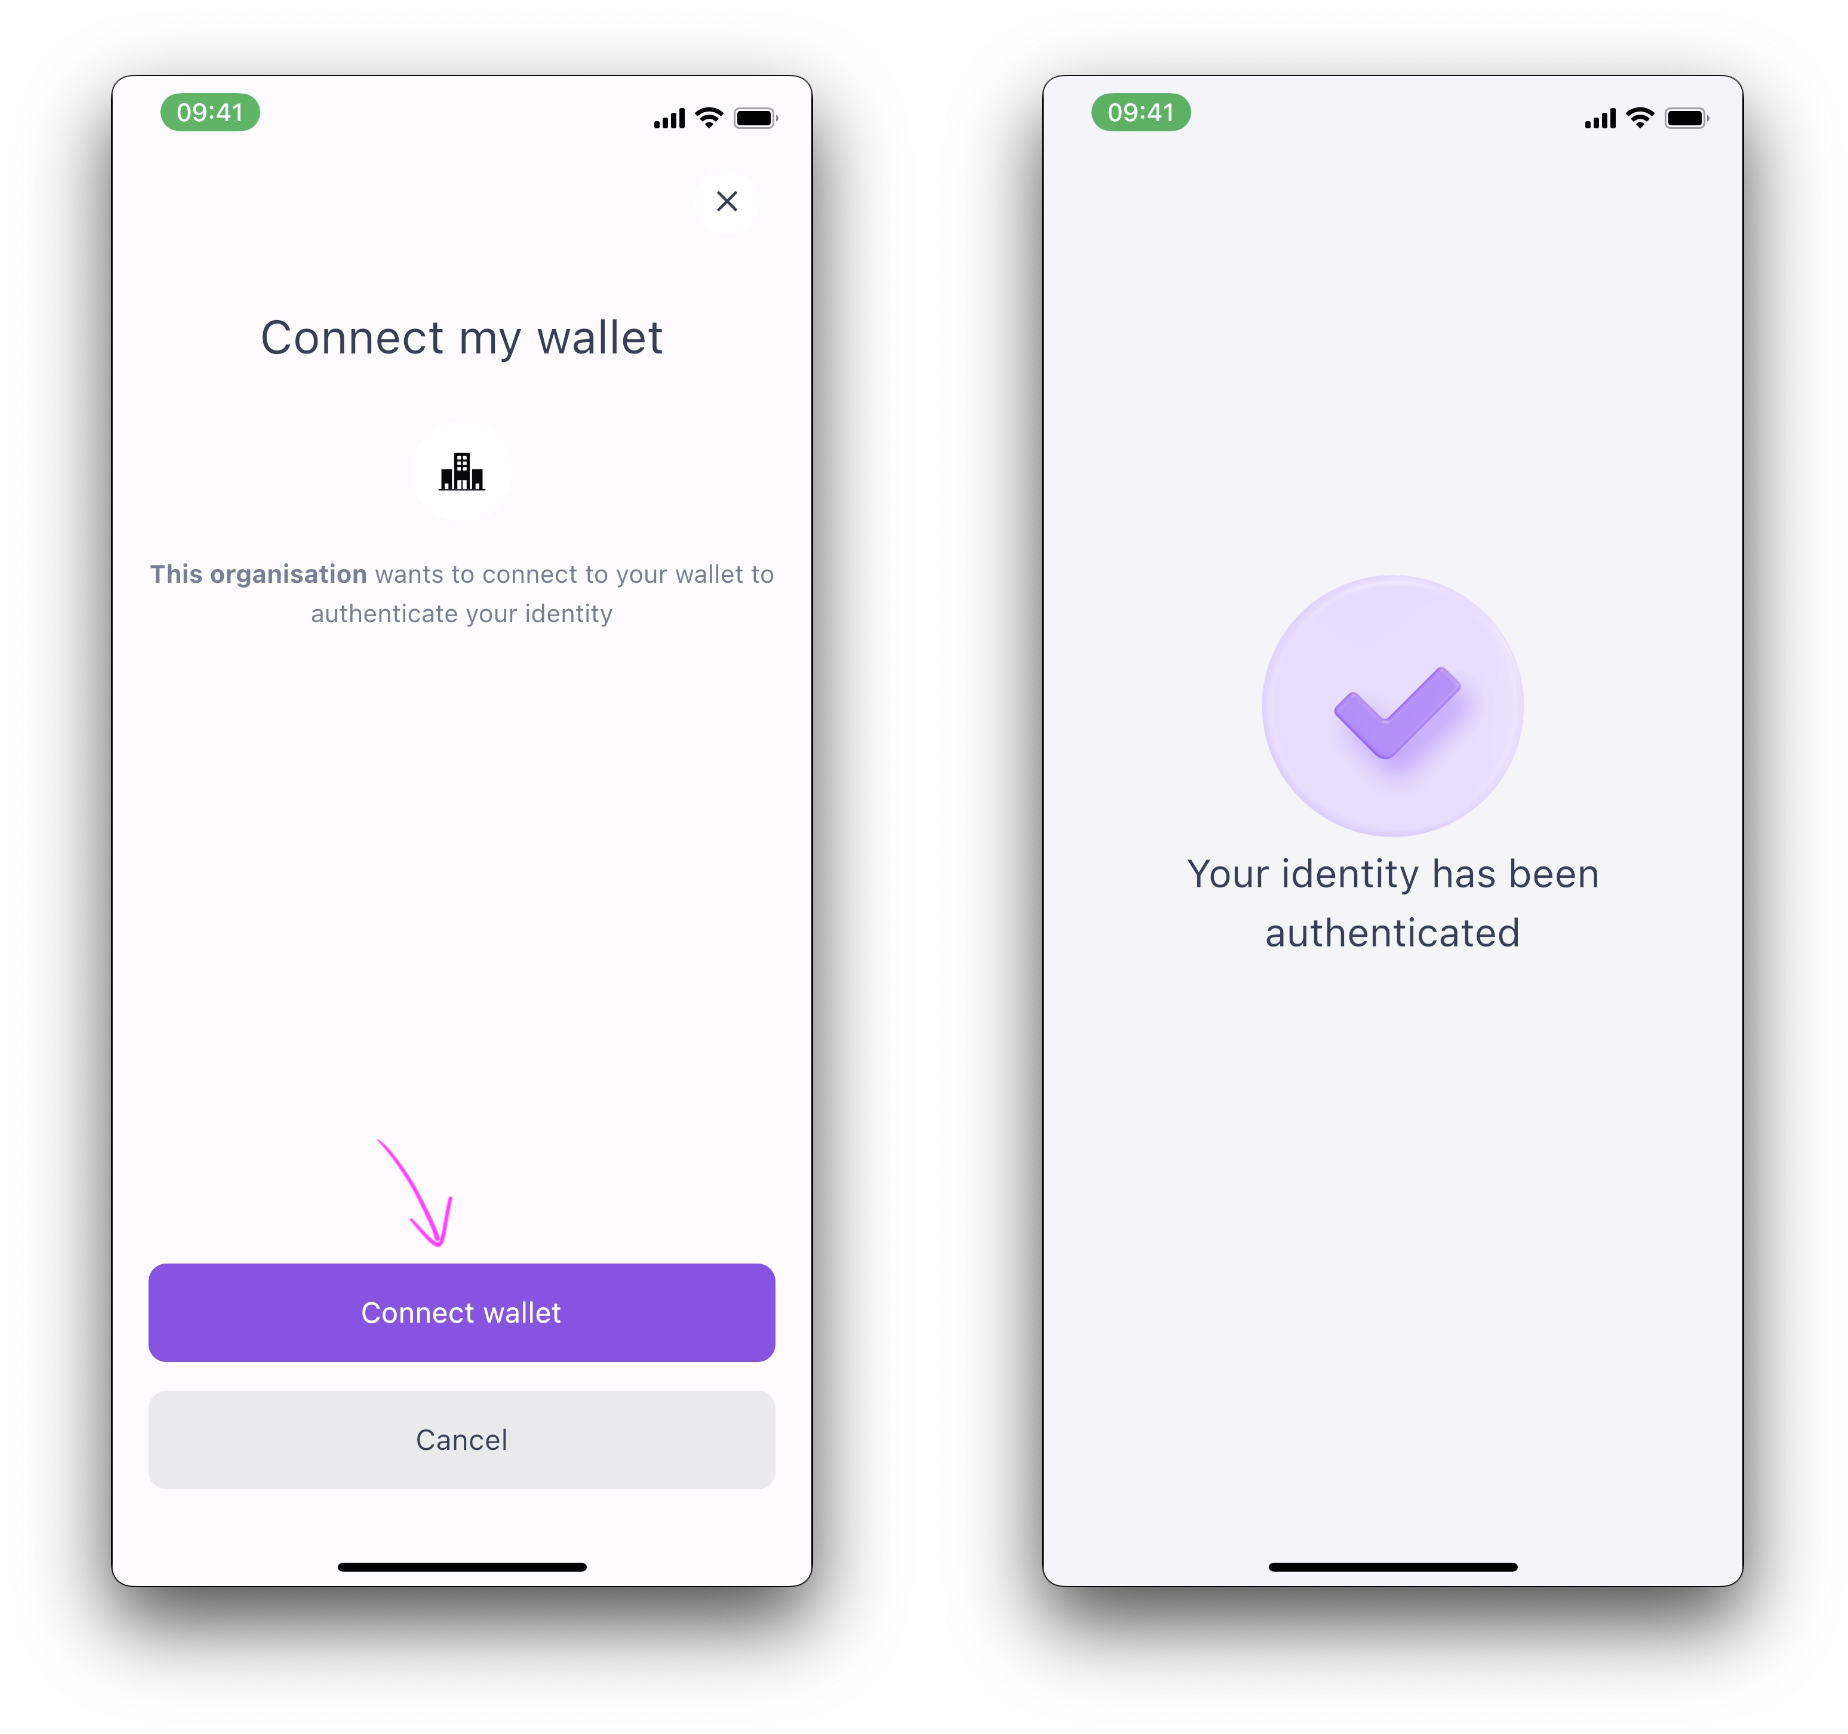
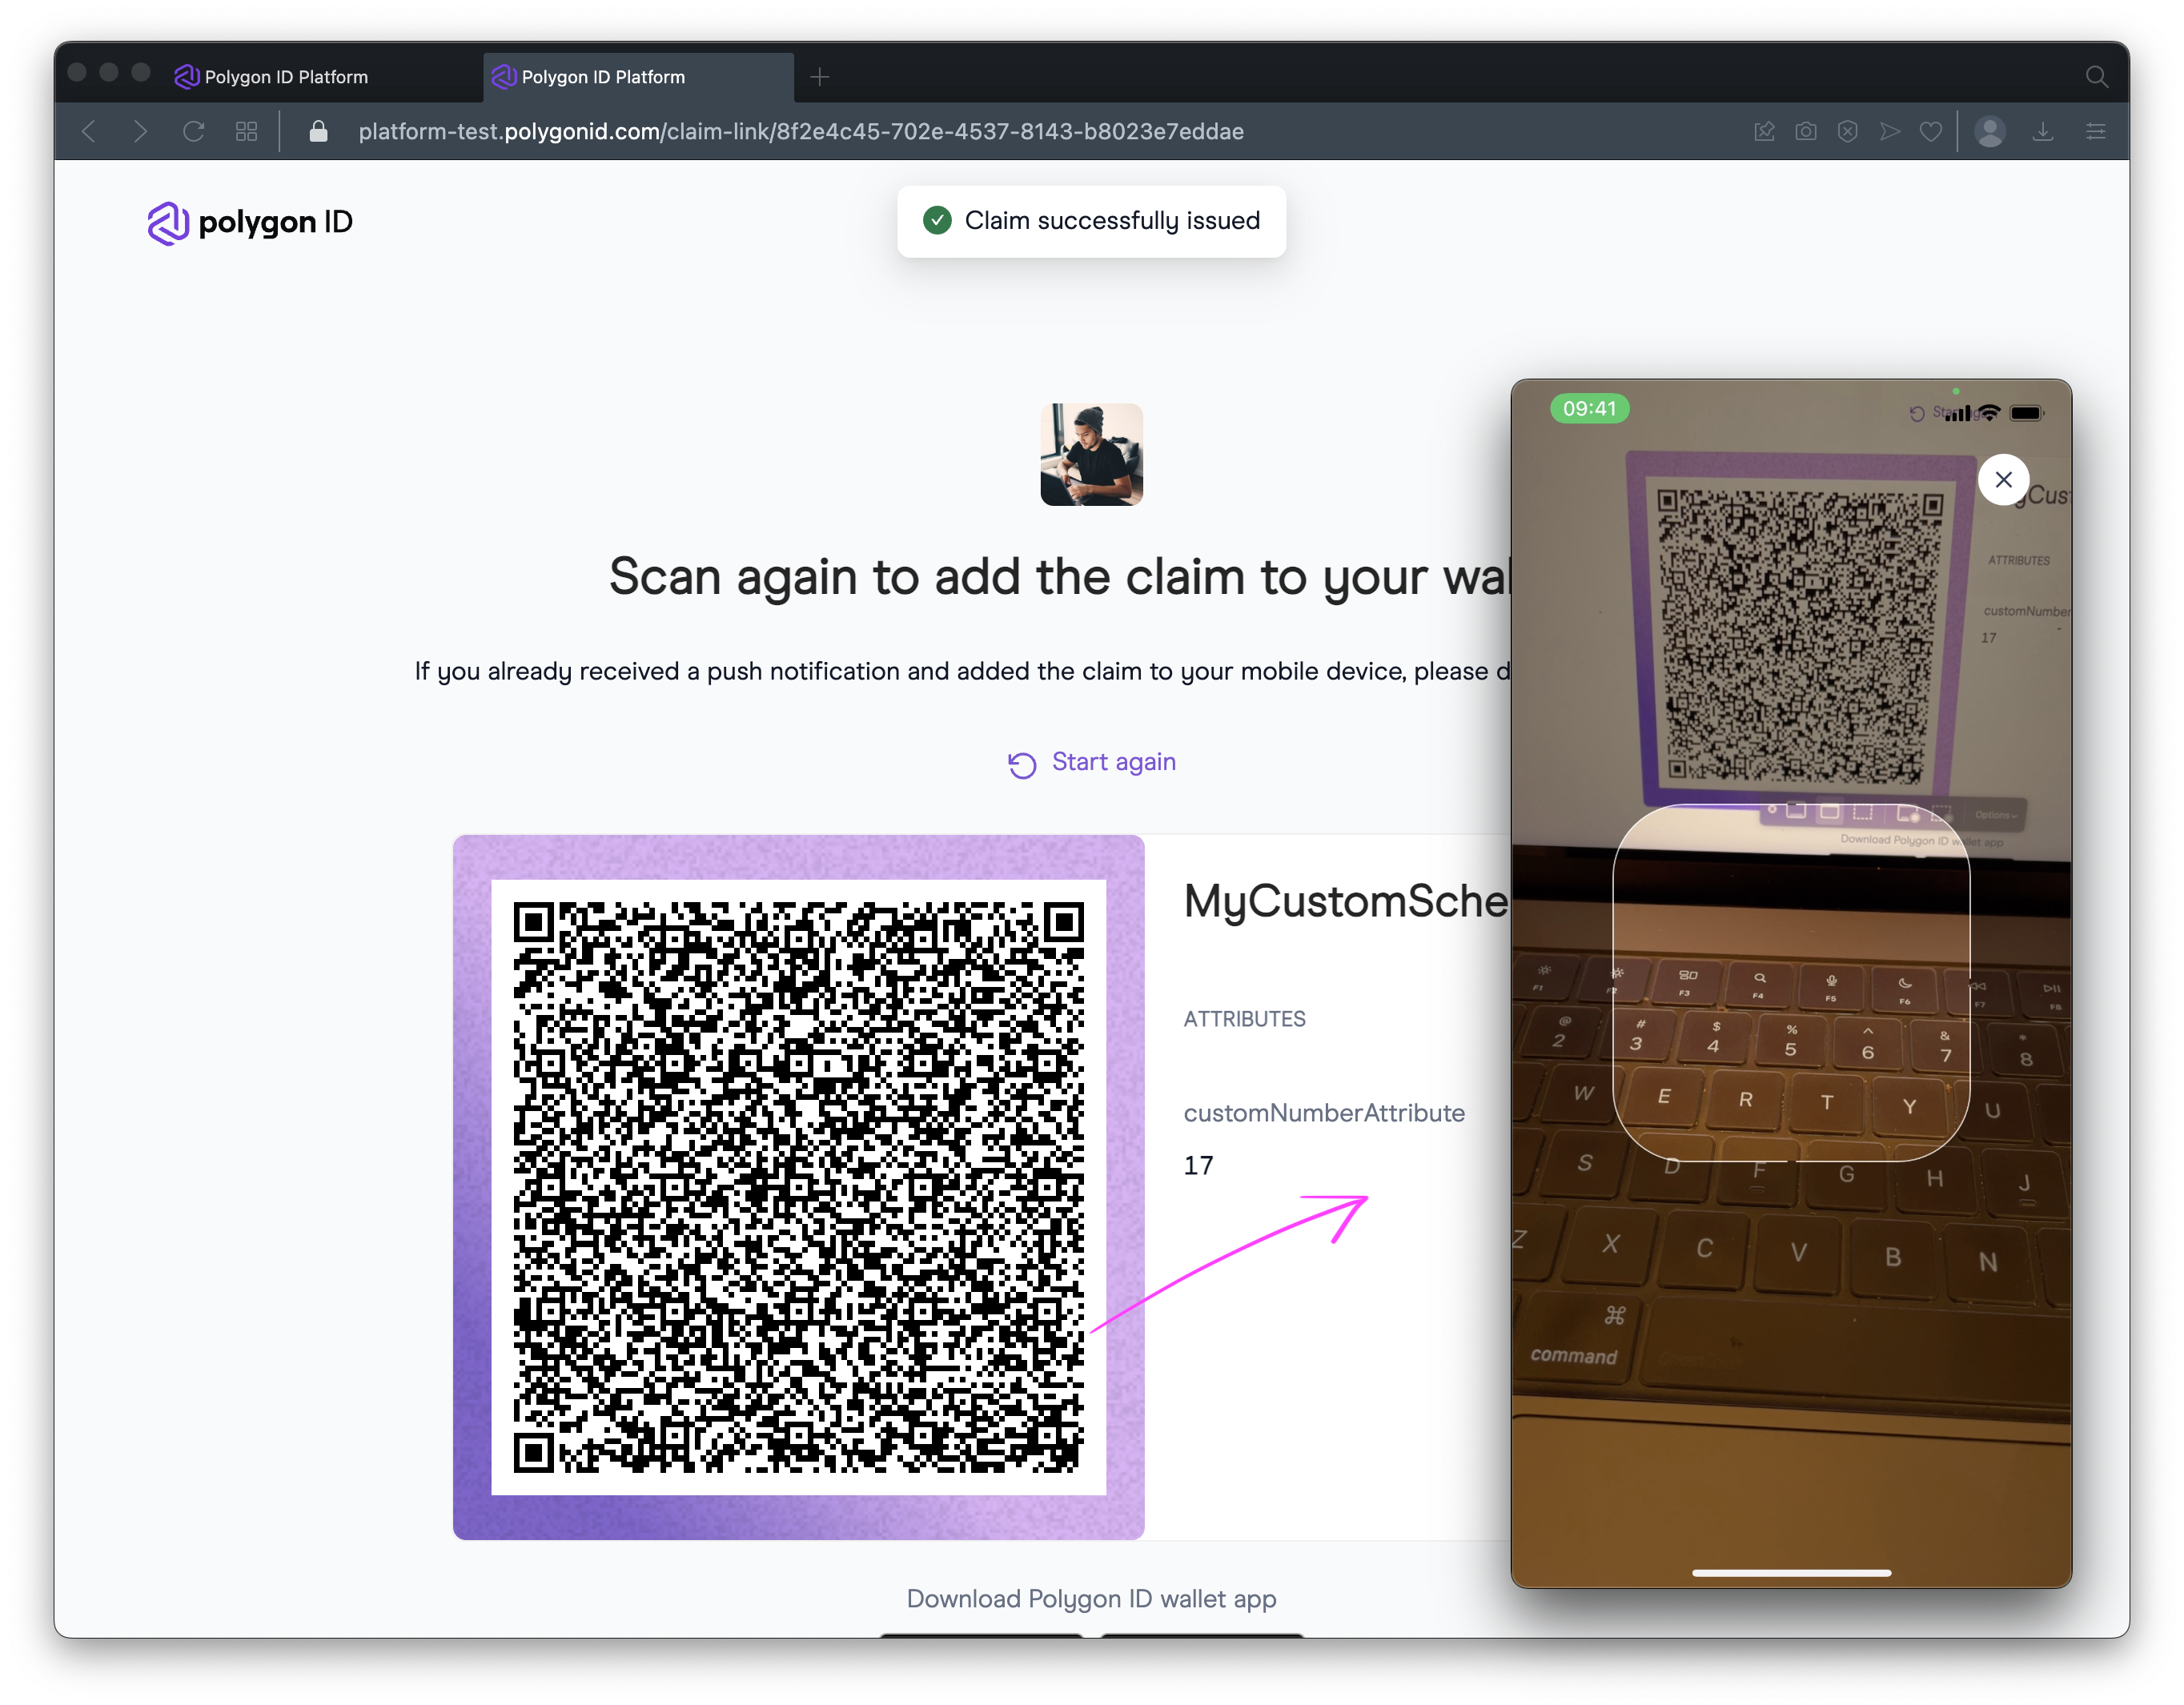
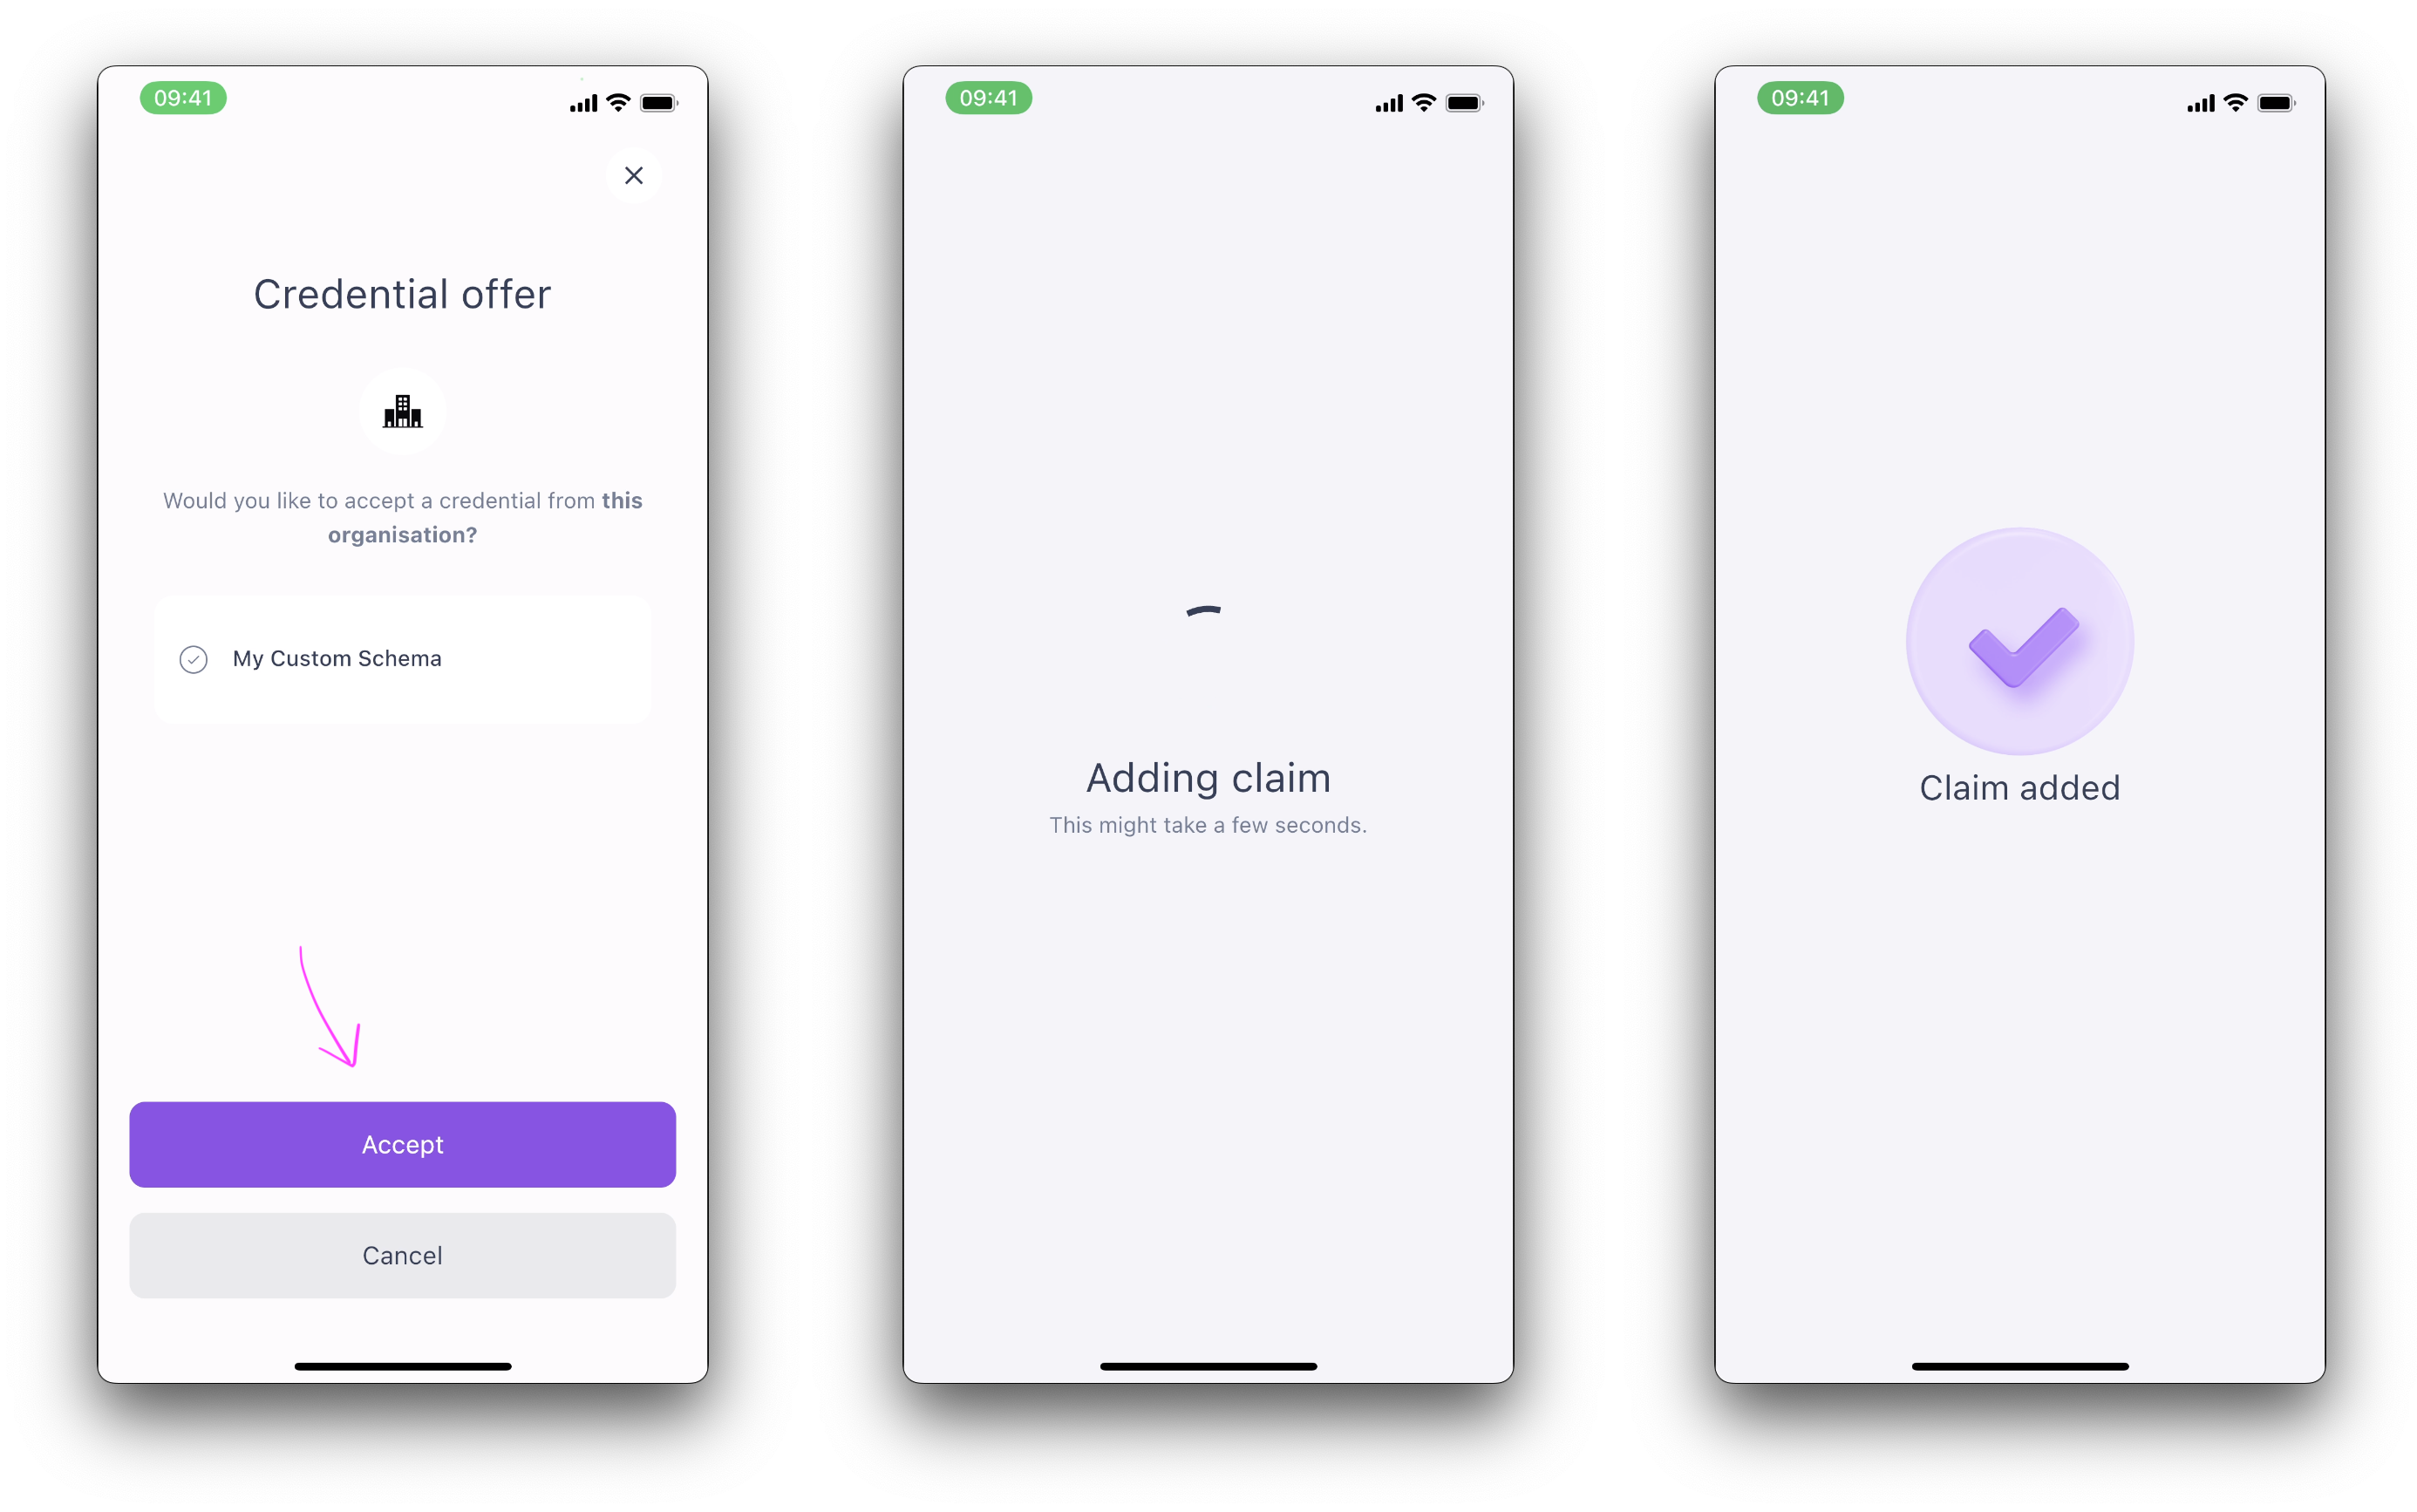
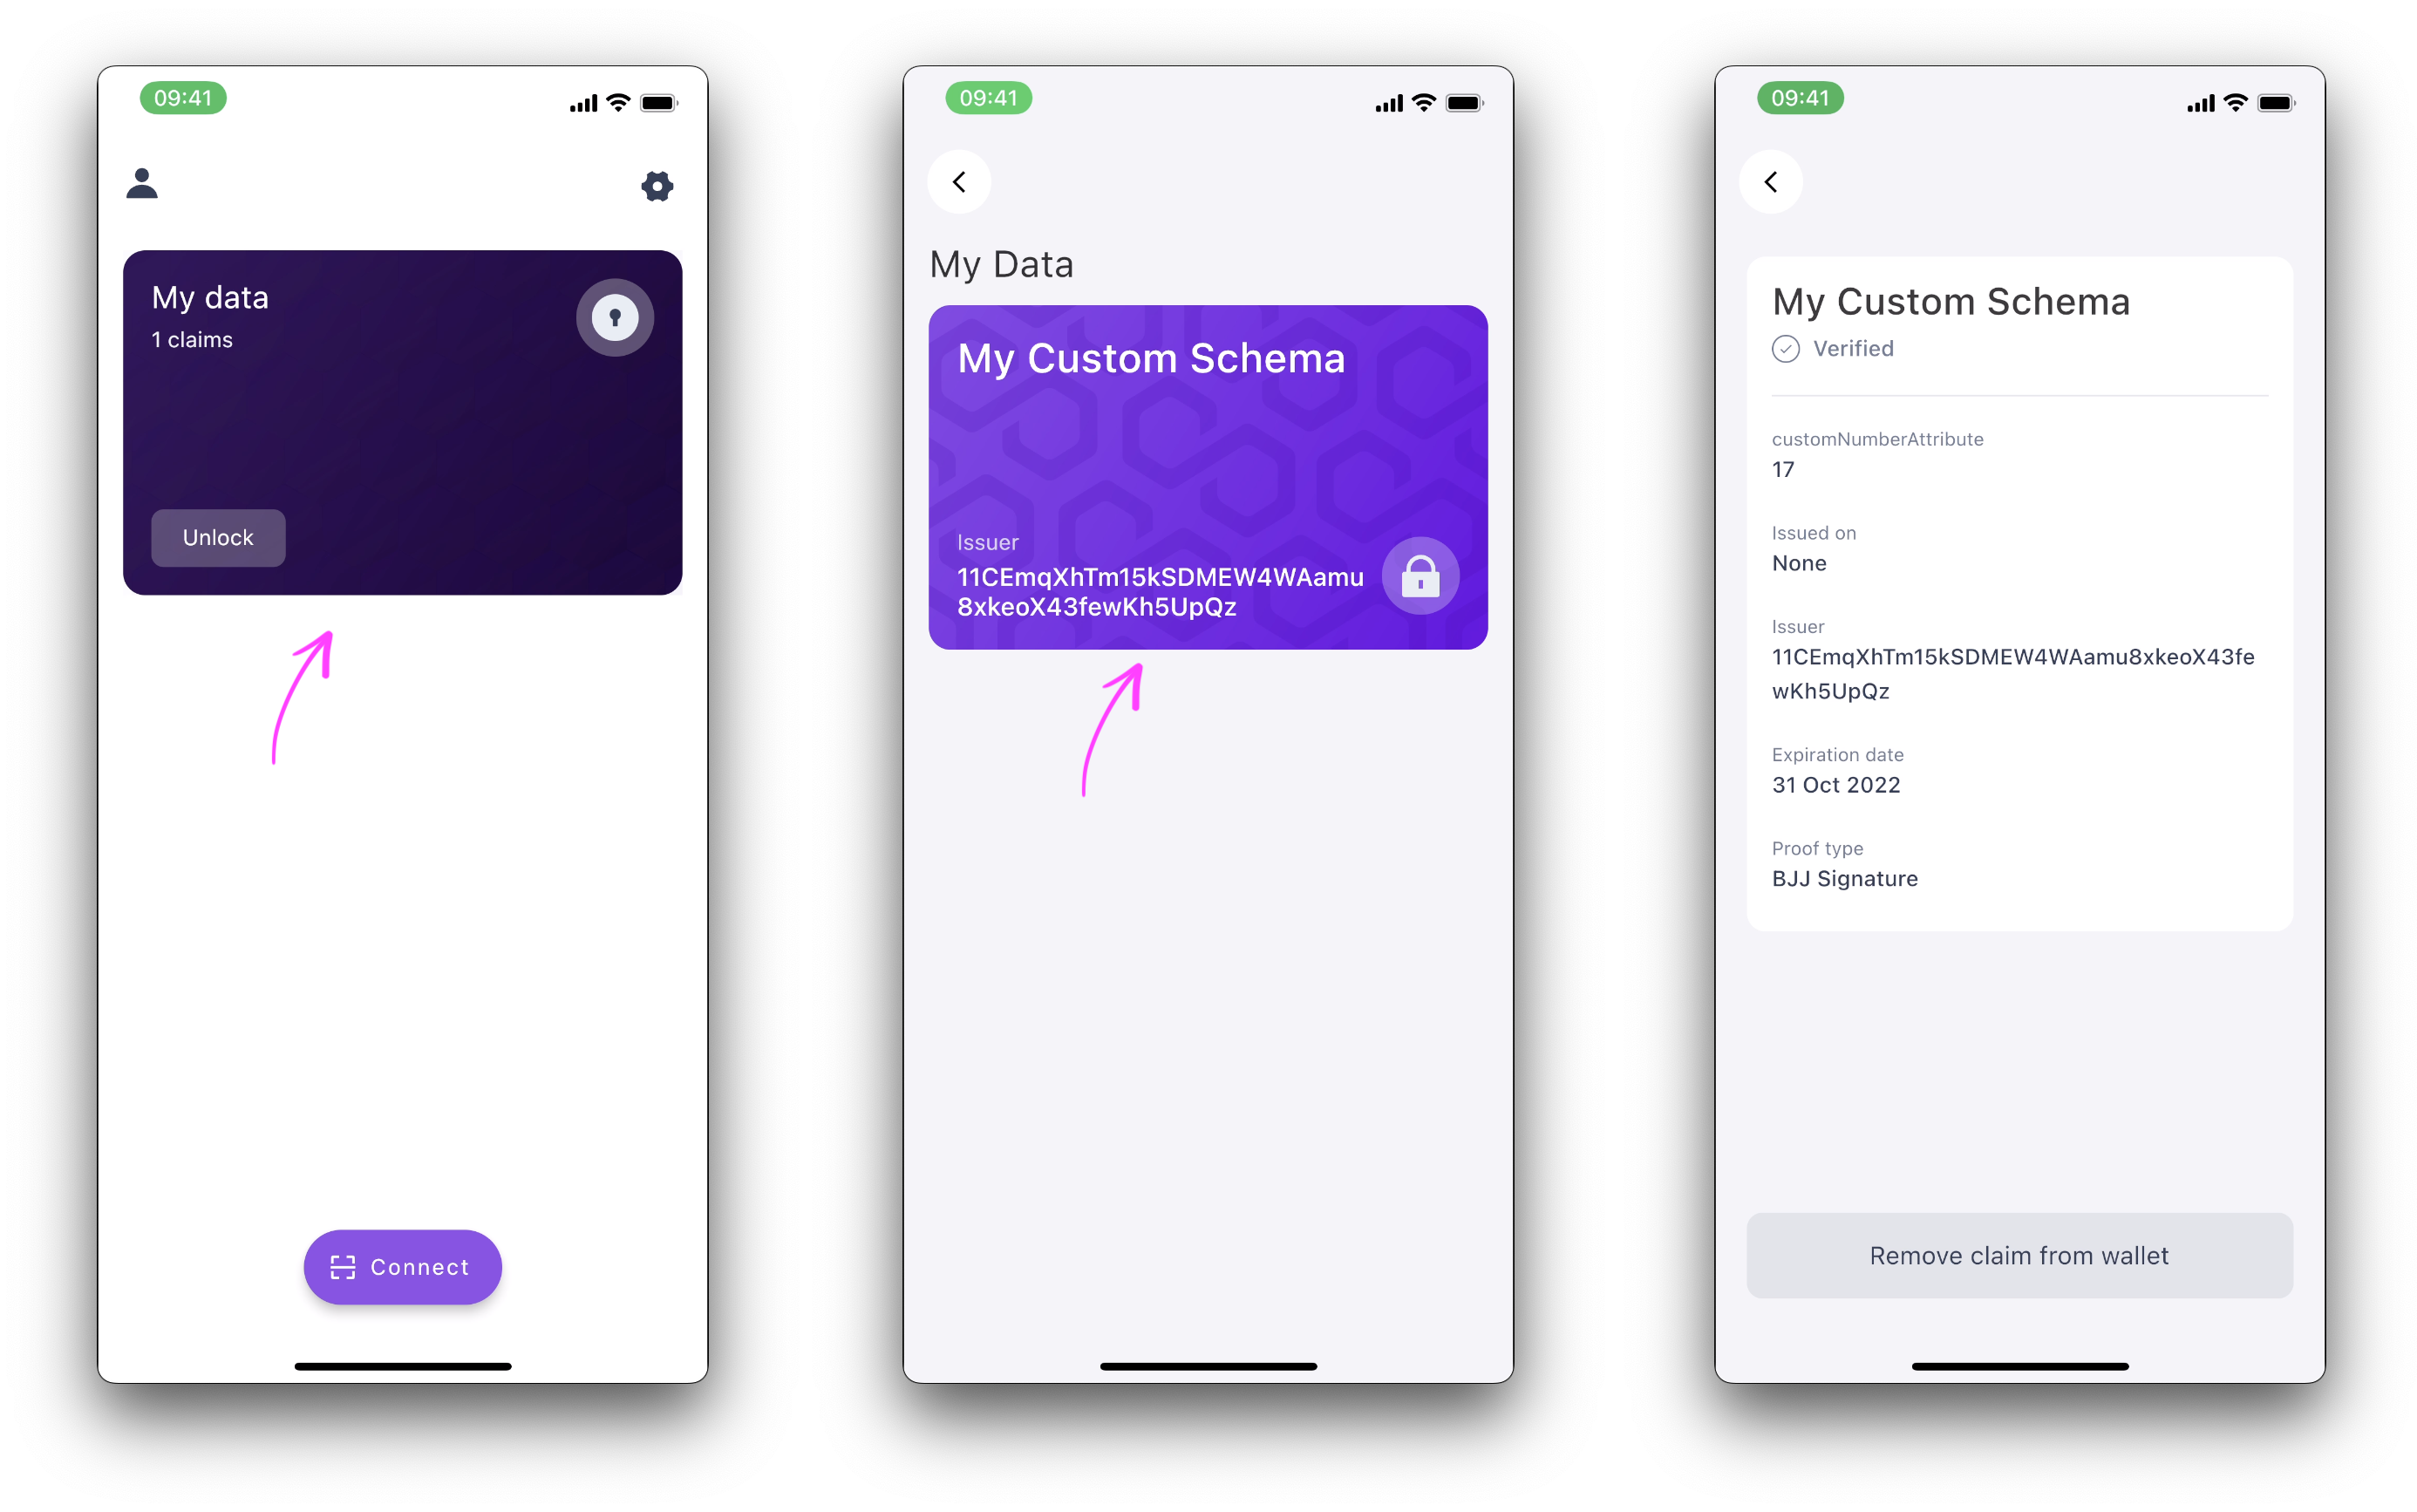
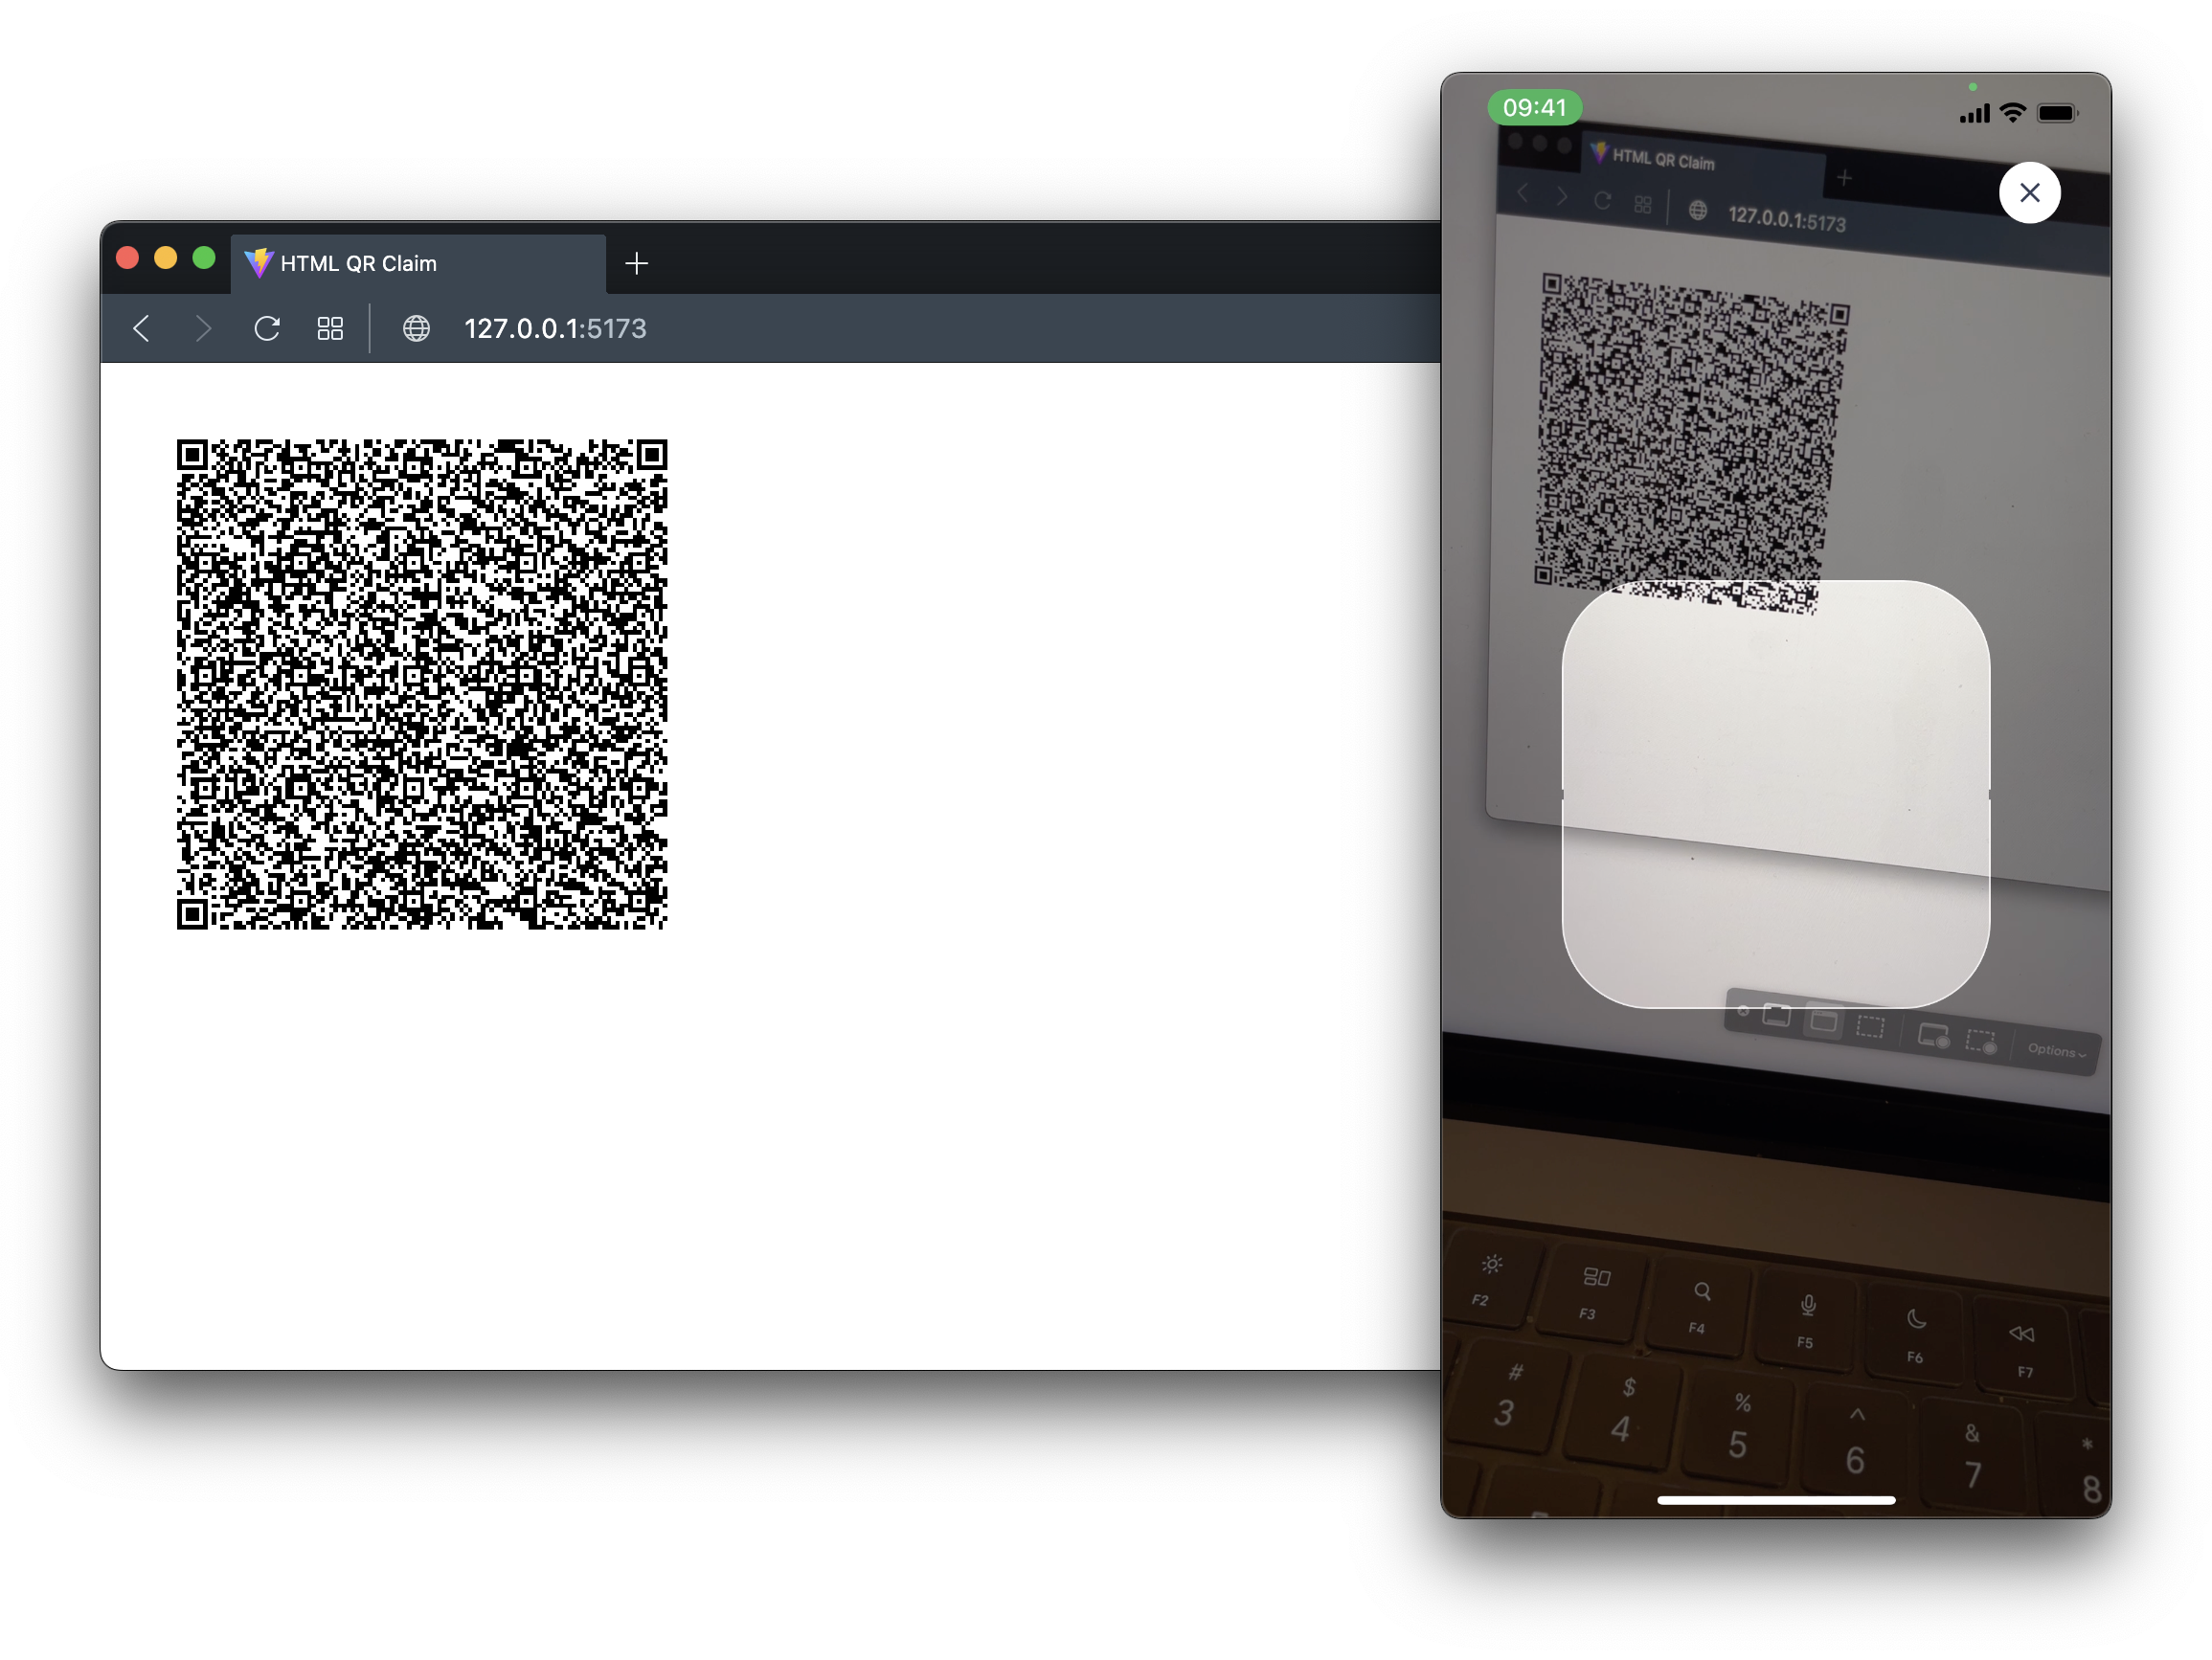
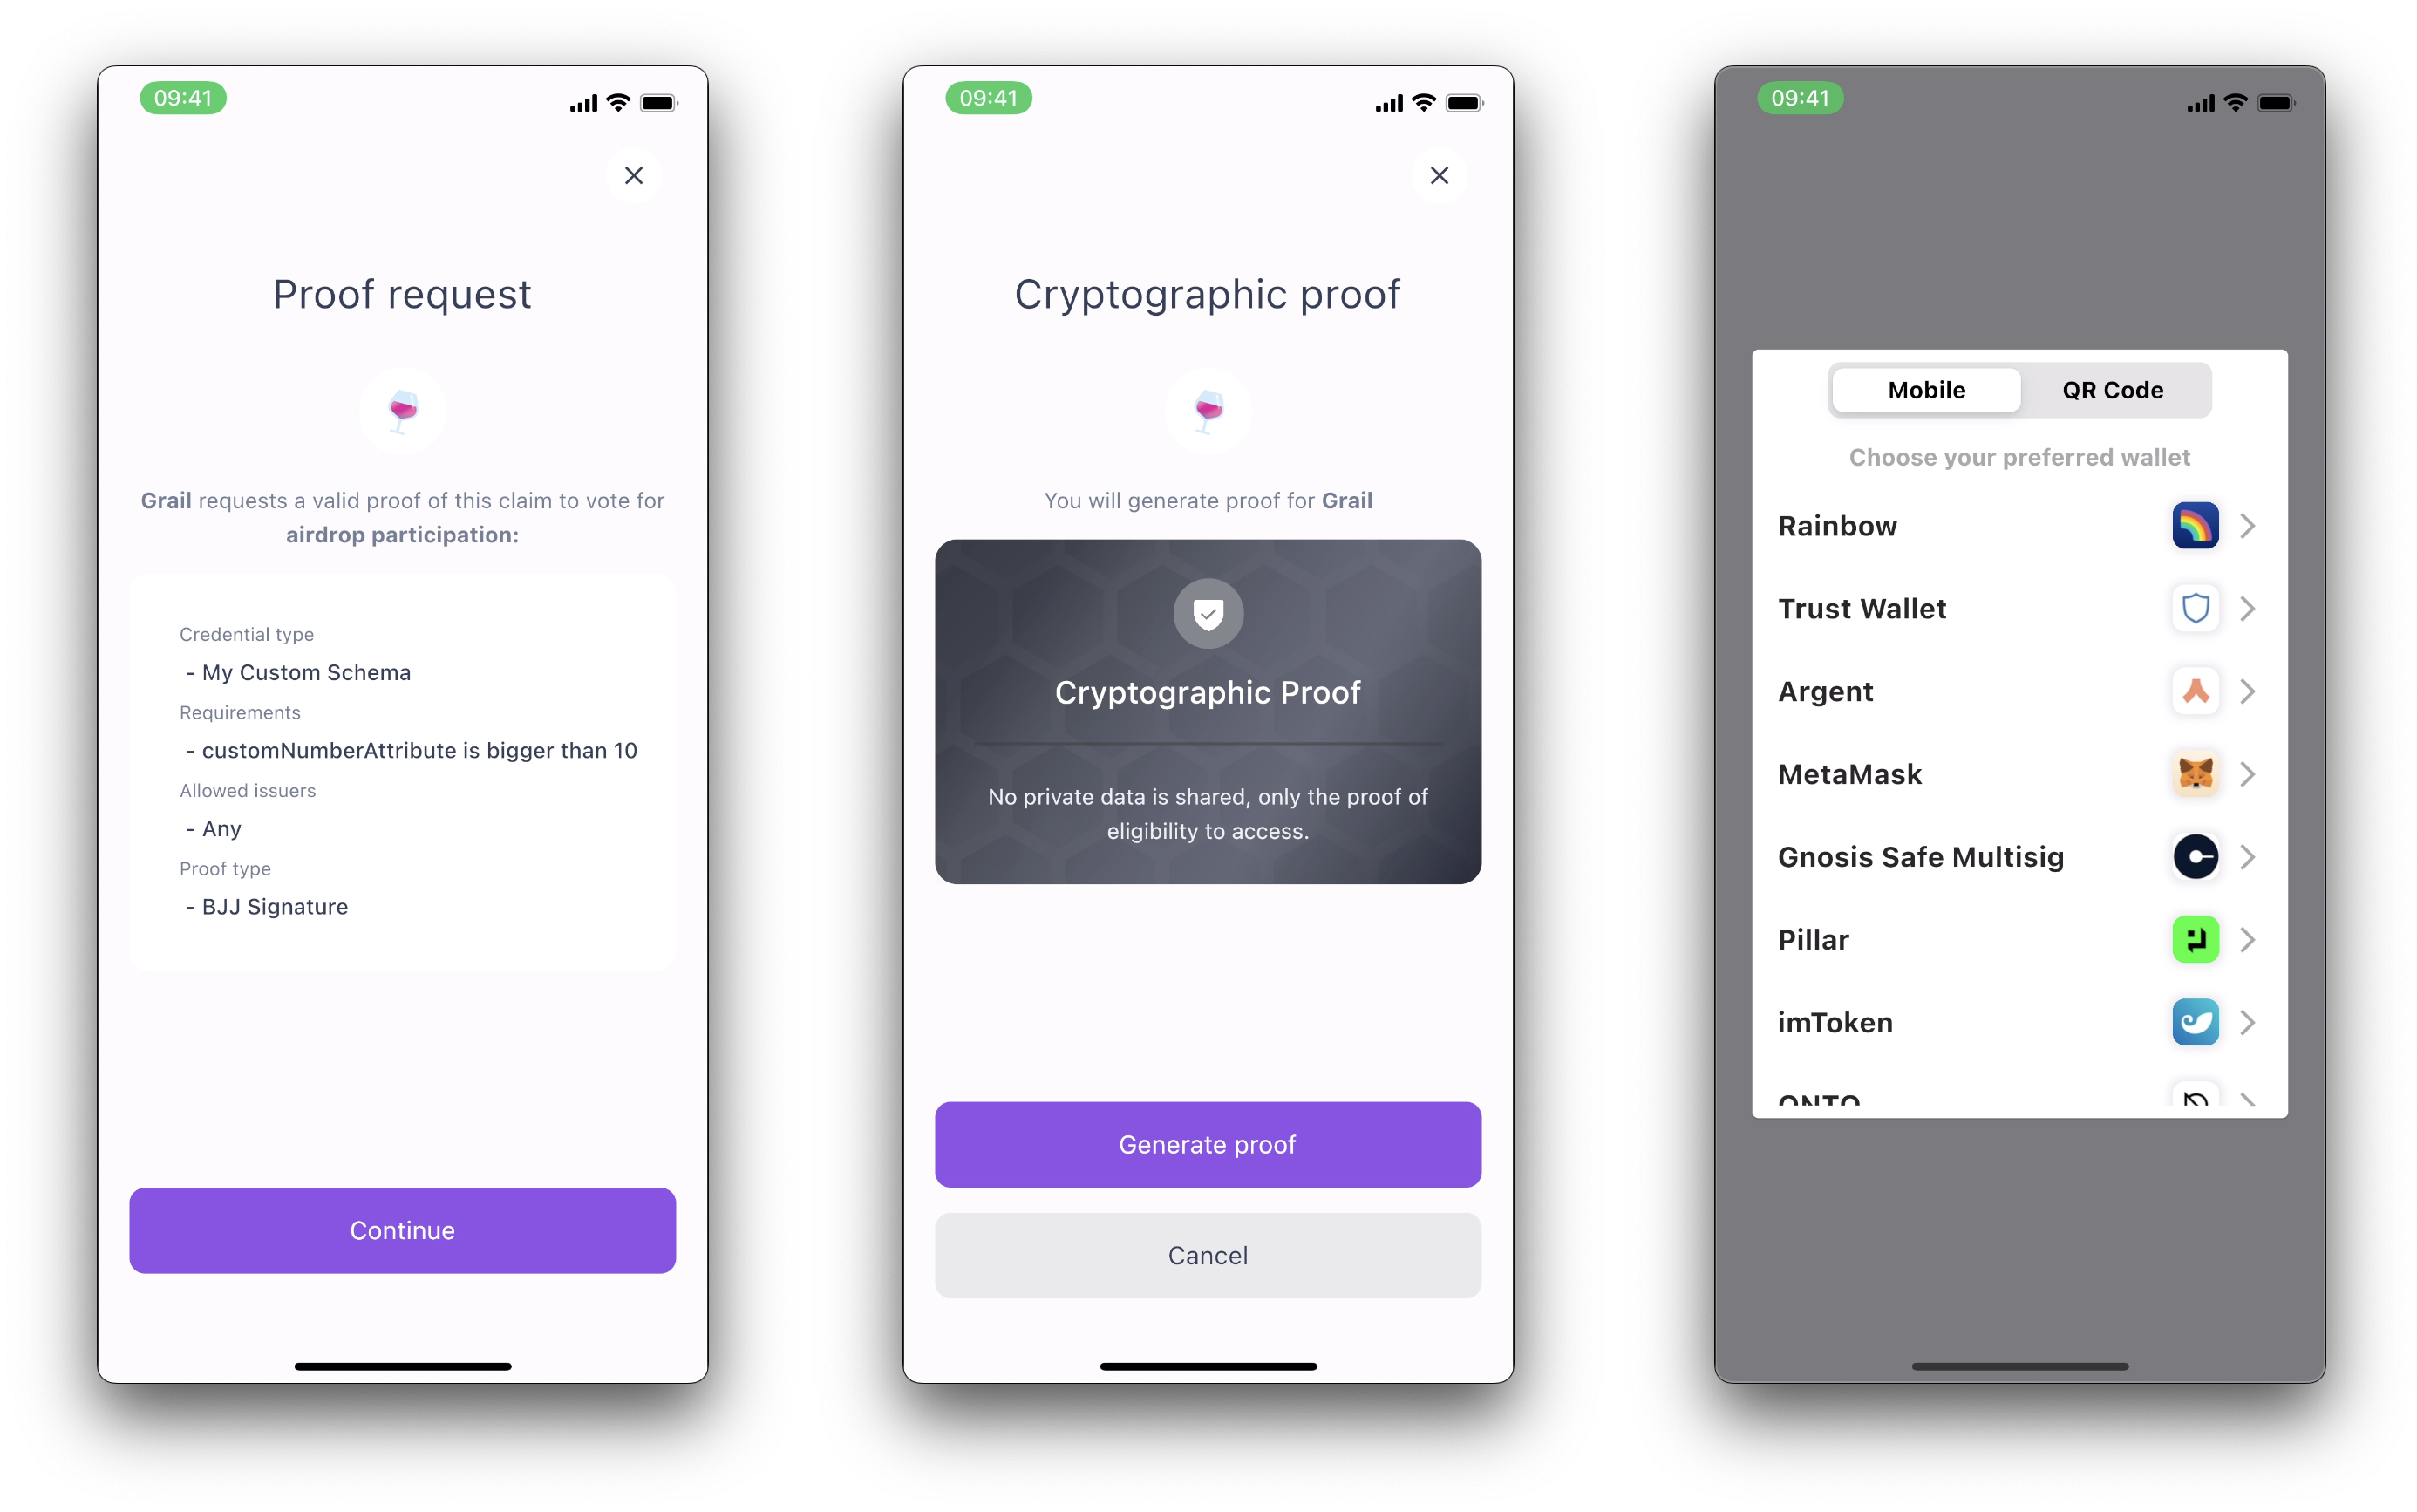
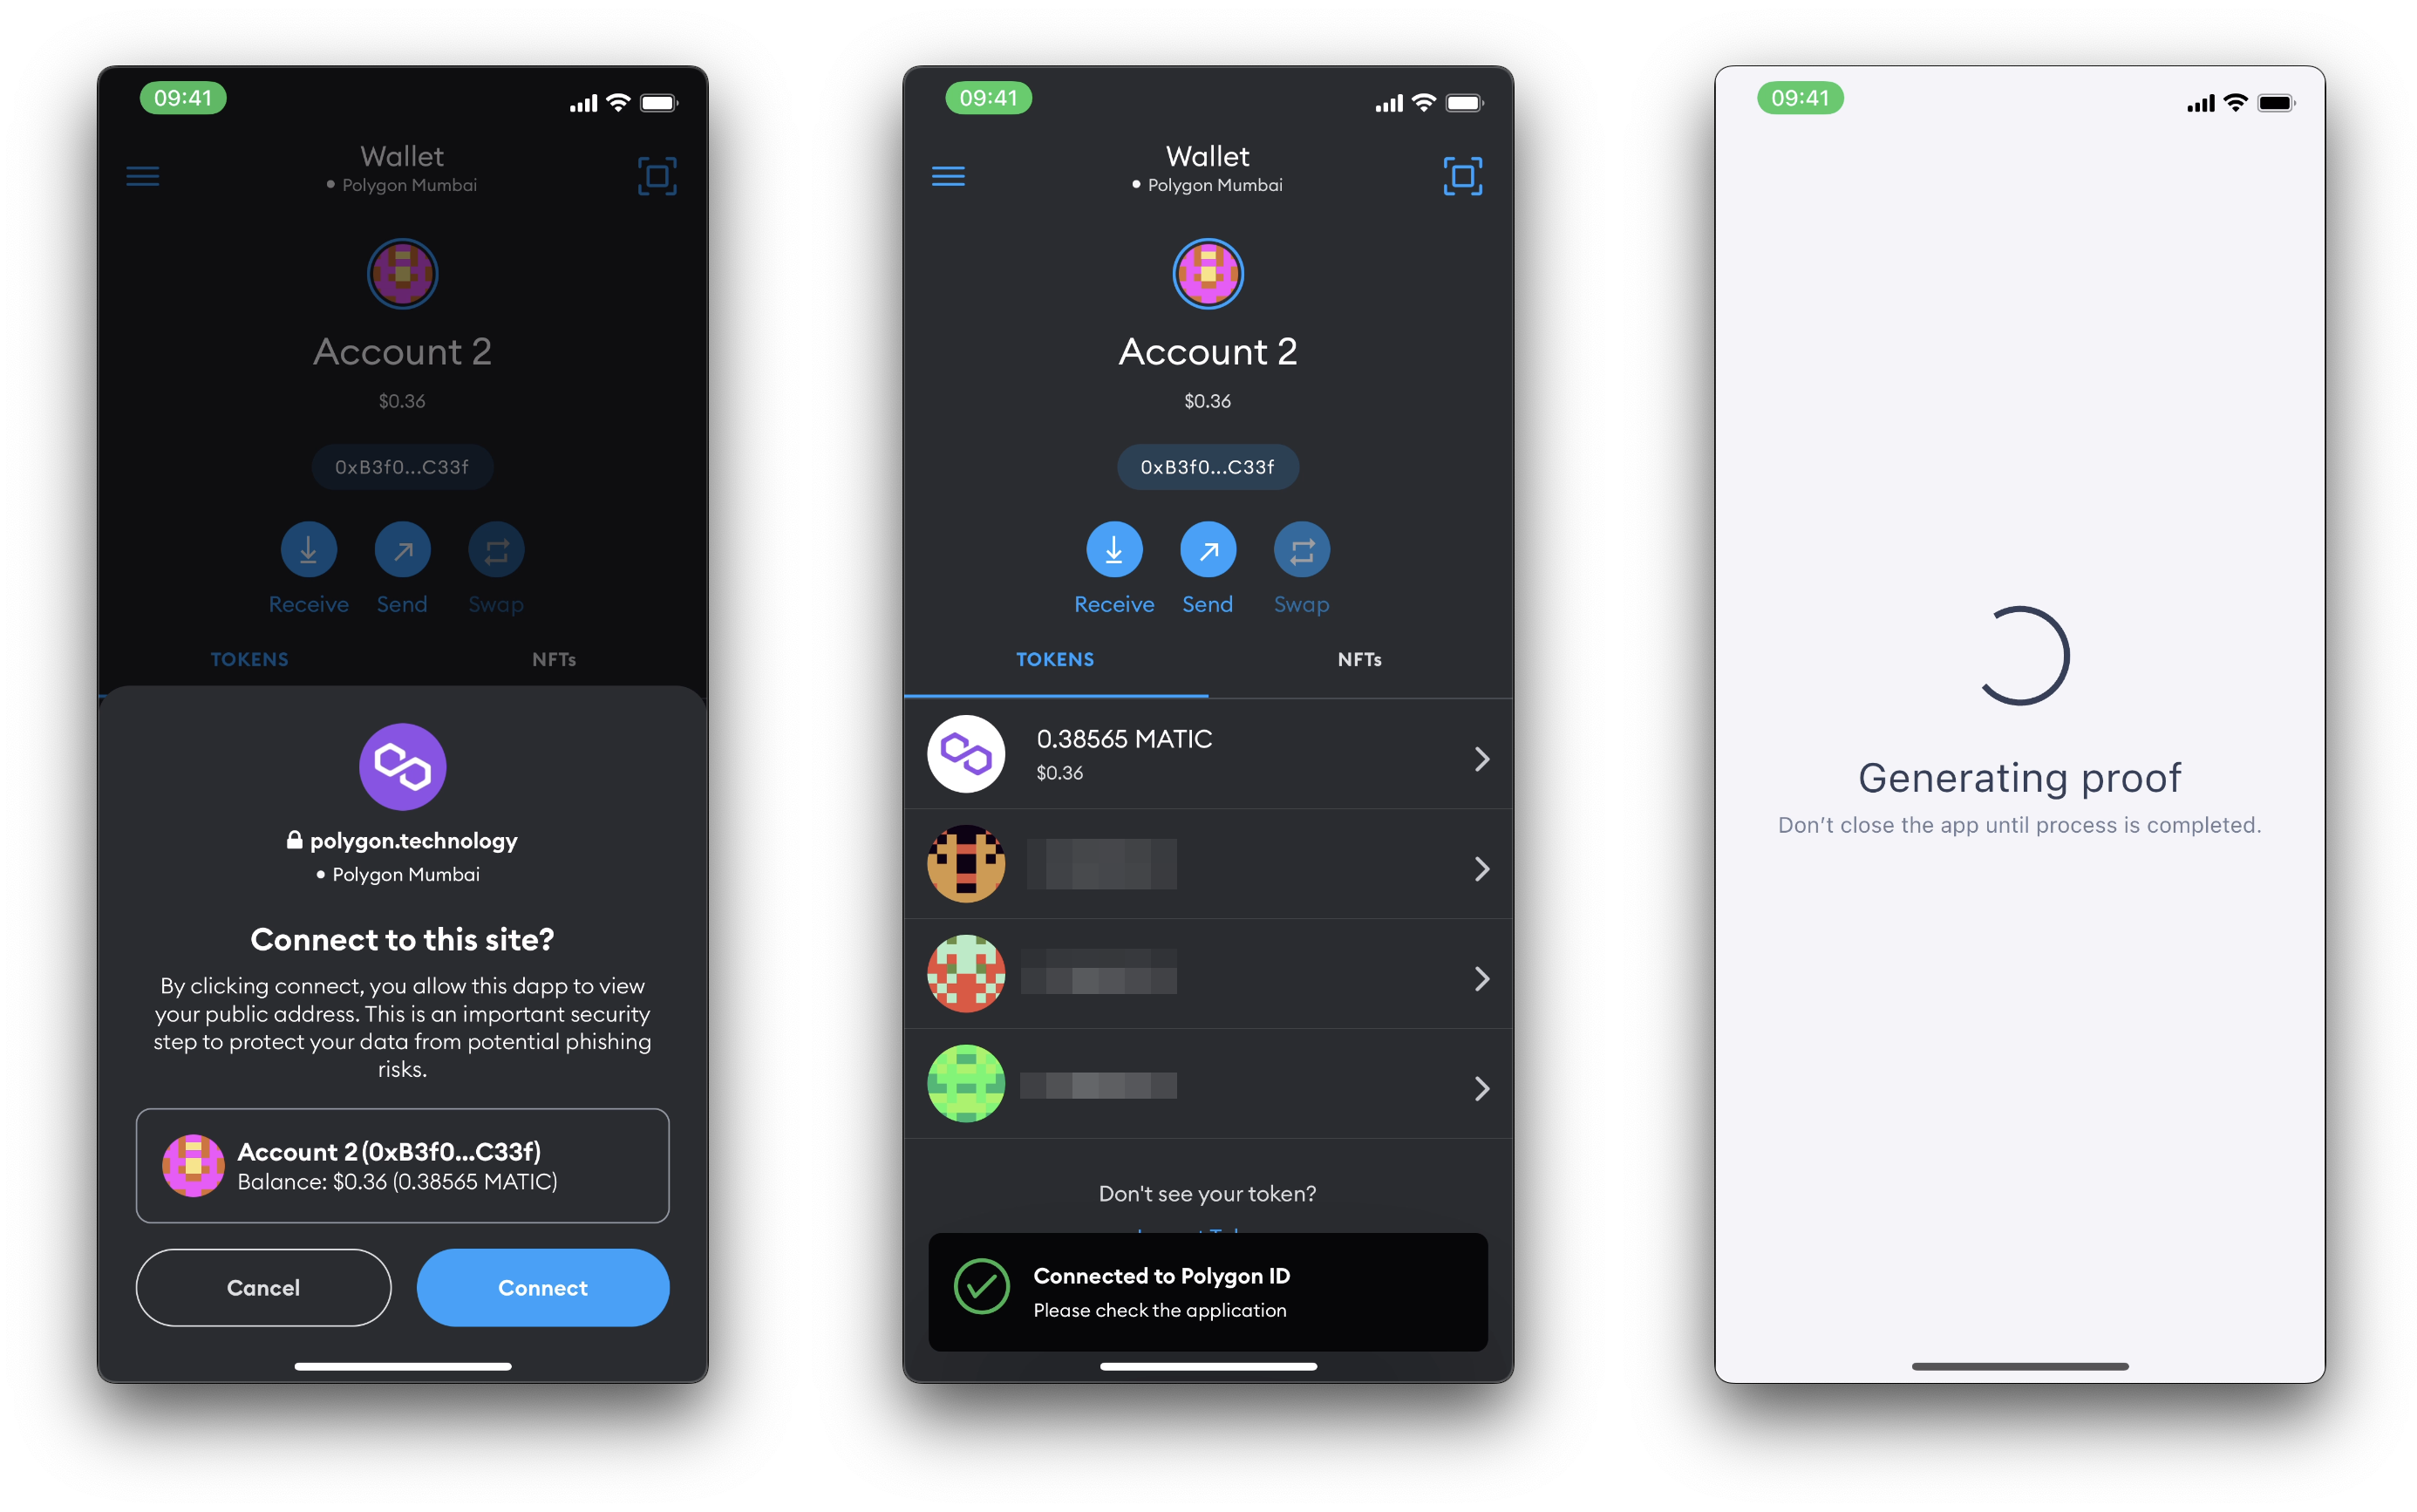
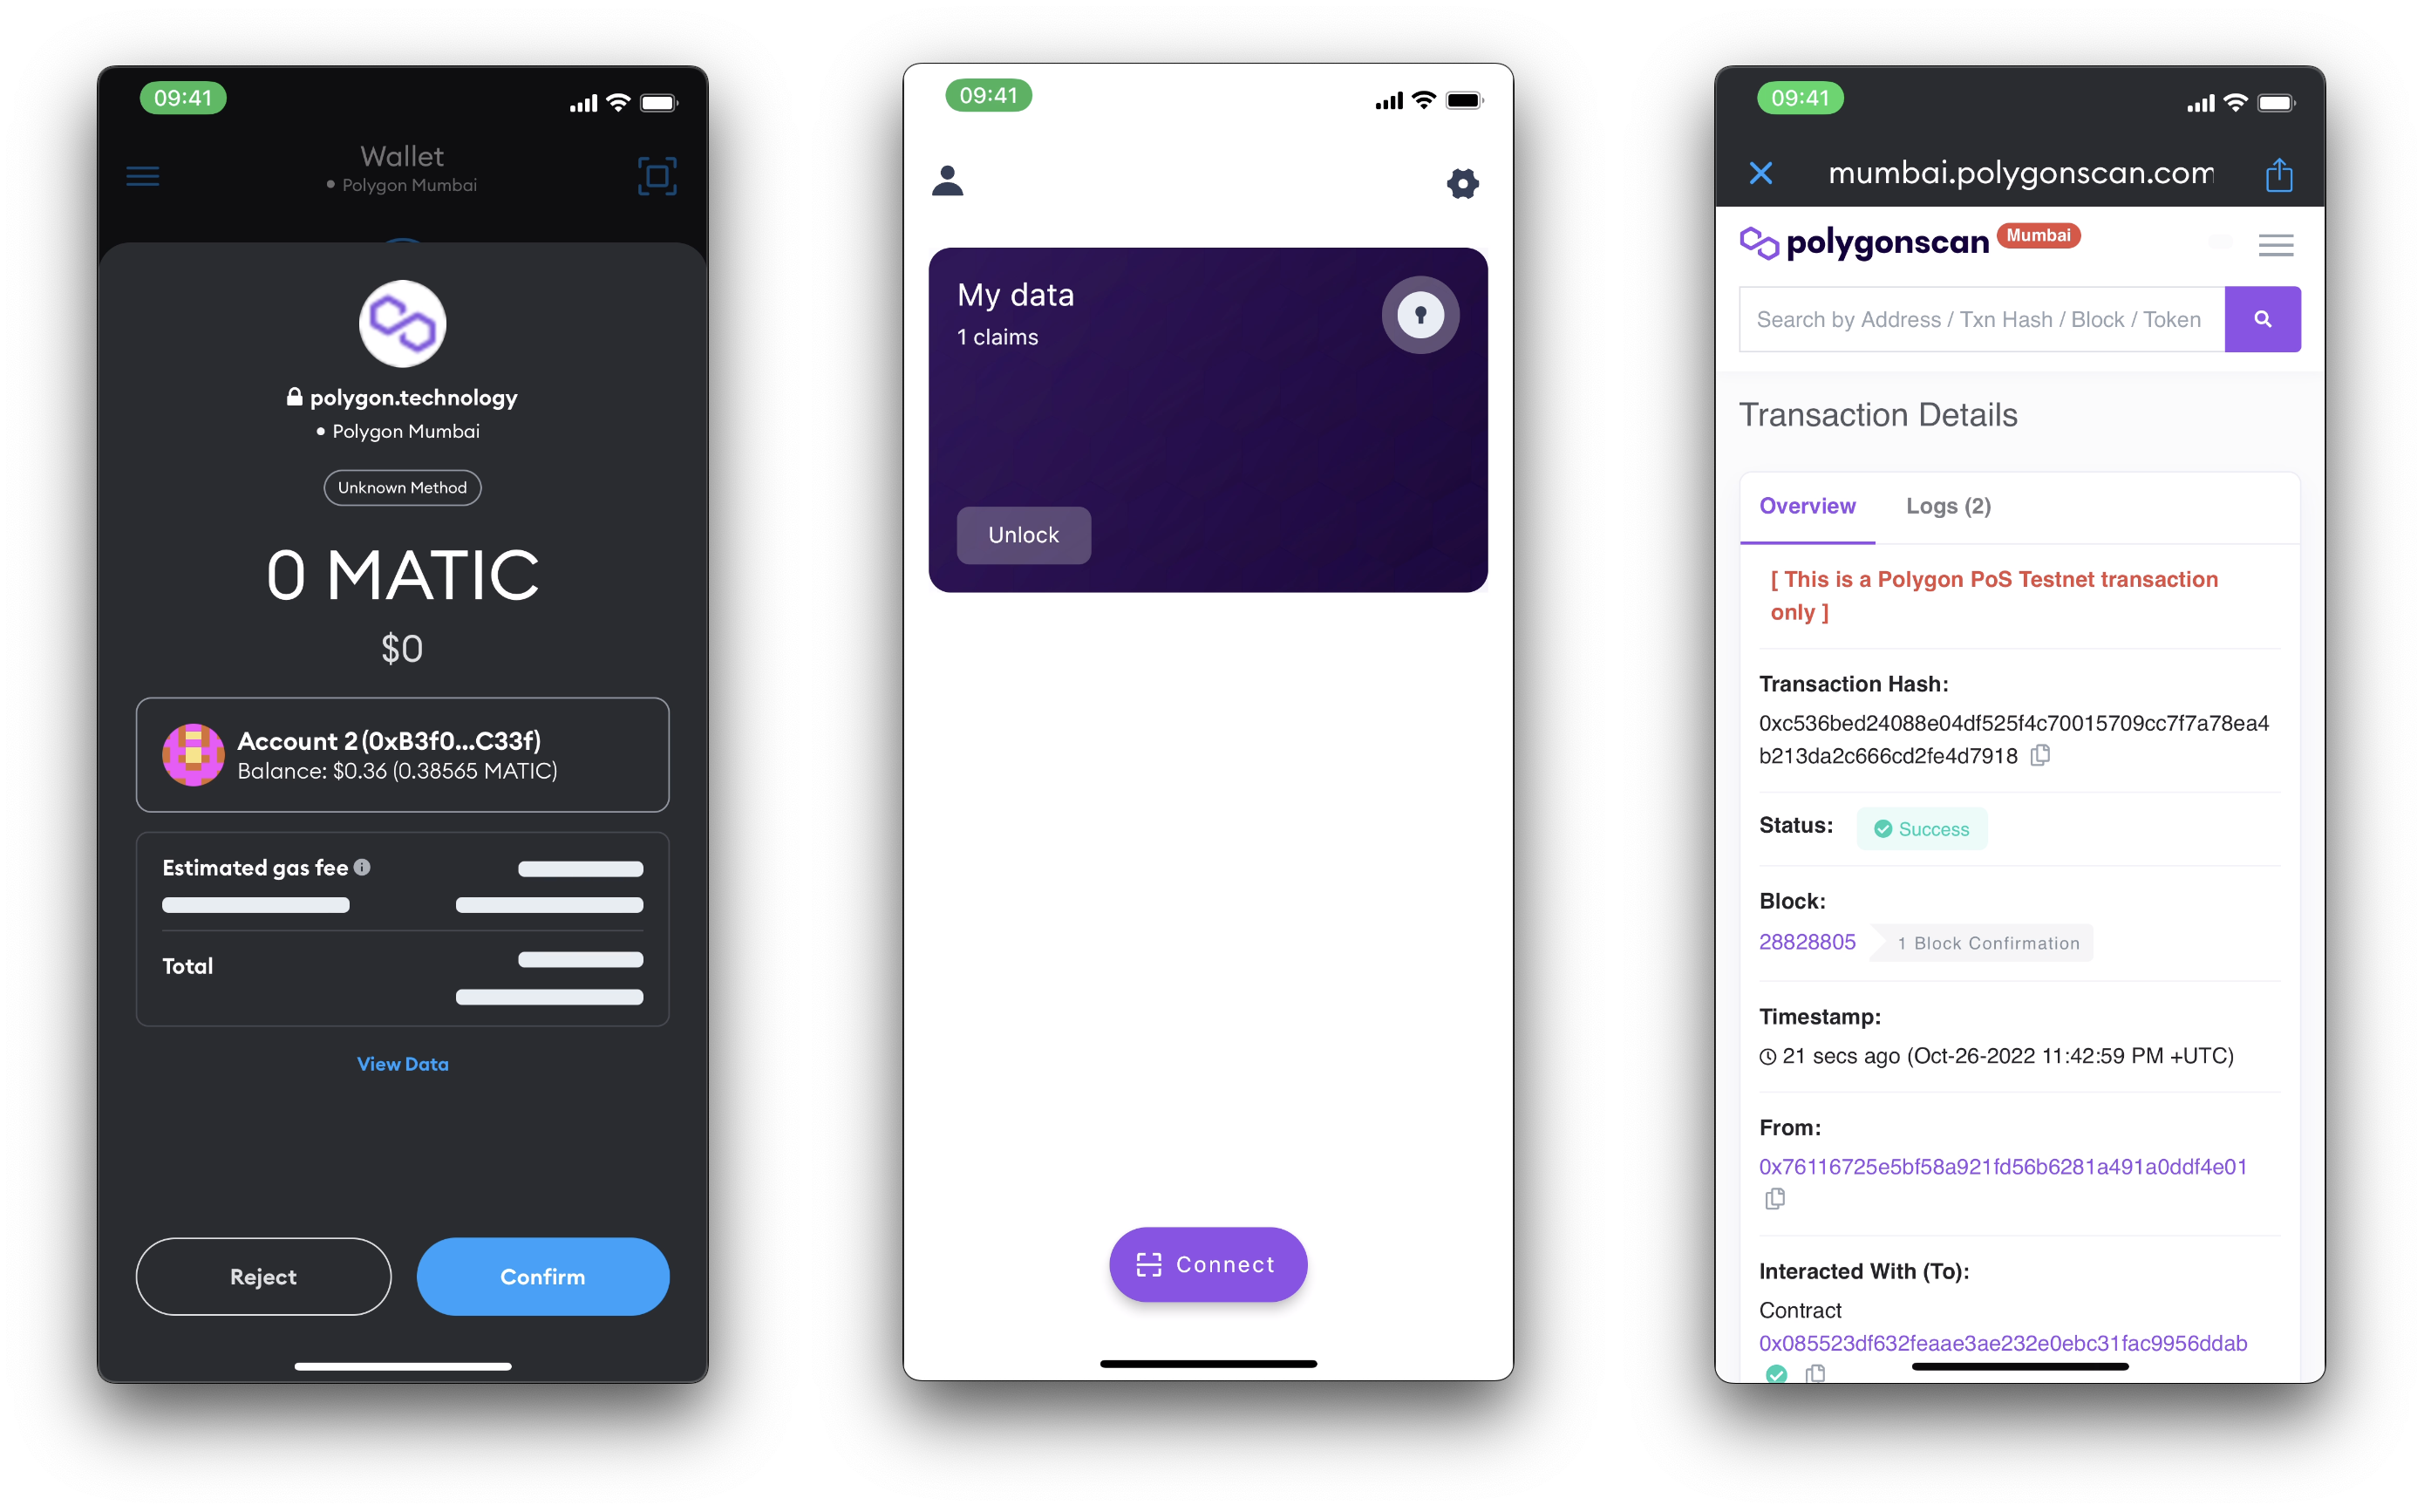
A basic tutorial on how to deploy a contract, and go through the proof process.
- NVM Node v16.17.0
- Yarn v1.22.19
There are 3 entities in SSI (Self-Sovereign Identify) for the "Trust Triangle" (https://www.okta.com/identity-101/self-sovereign-identity/).
1 - Owner
2 - Issuer
3 - Verifier
cp .env.example .env;

yarn;
Fill in the following details to deploy the proper contract
File: ./.env
ETHERSCAN_API_KEY=
RPC_MUMBAI_URL=
WALLET_PRIVATE_KEY=npx hardhat run scripts/erc20Deploy.ts --network mumbai;
# Expected output:
# Compiled x Solidity files successfully
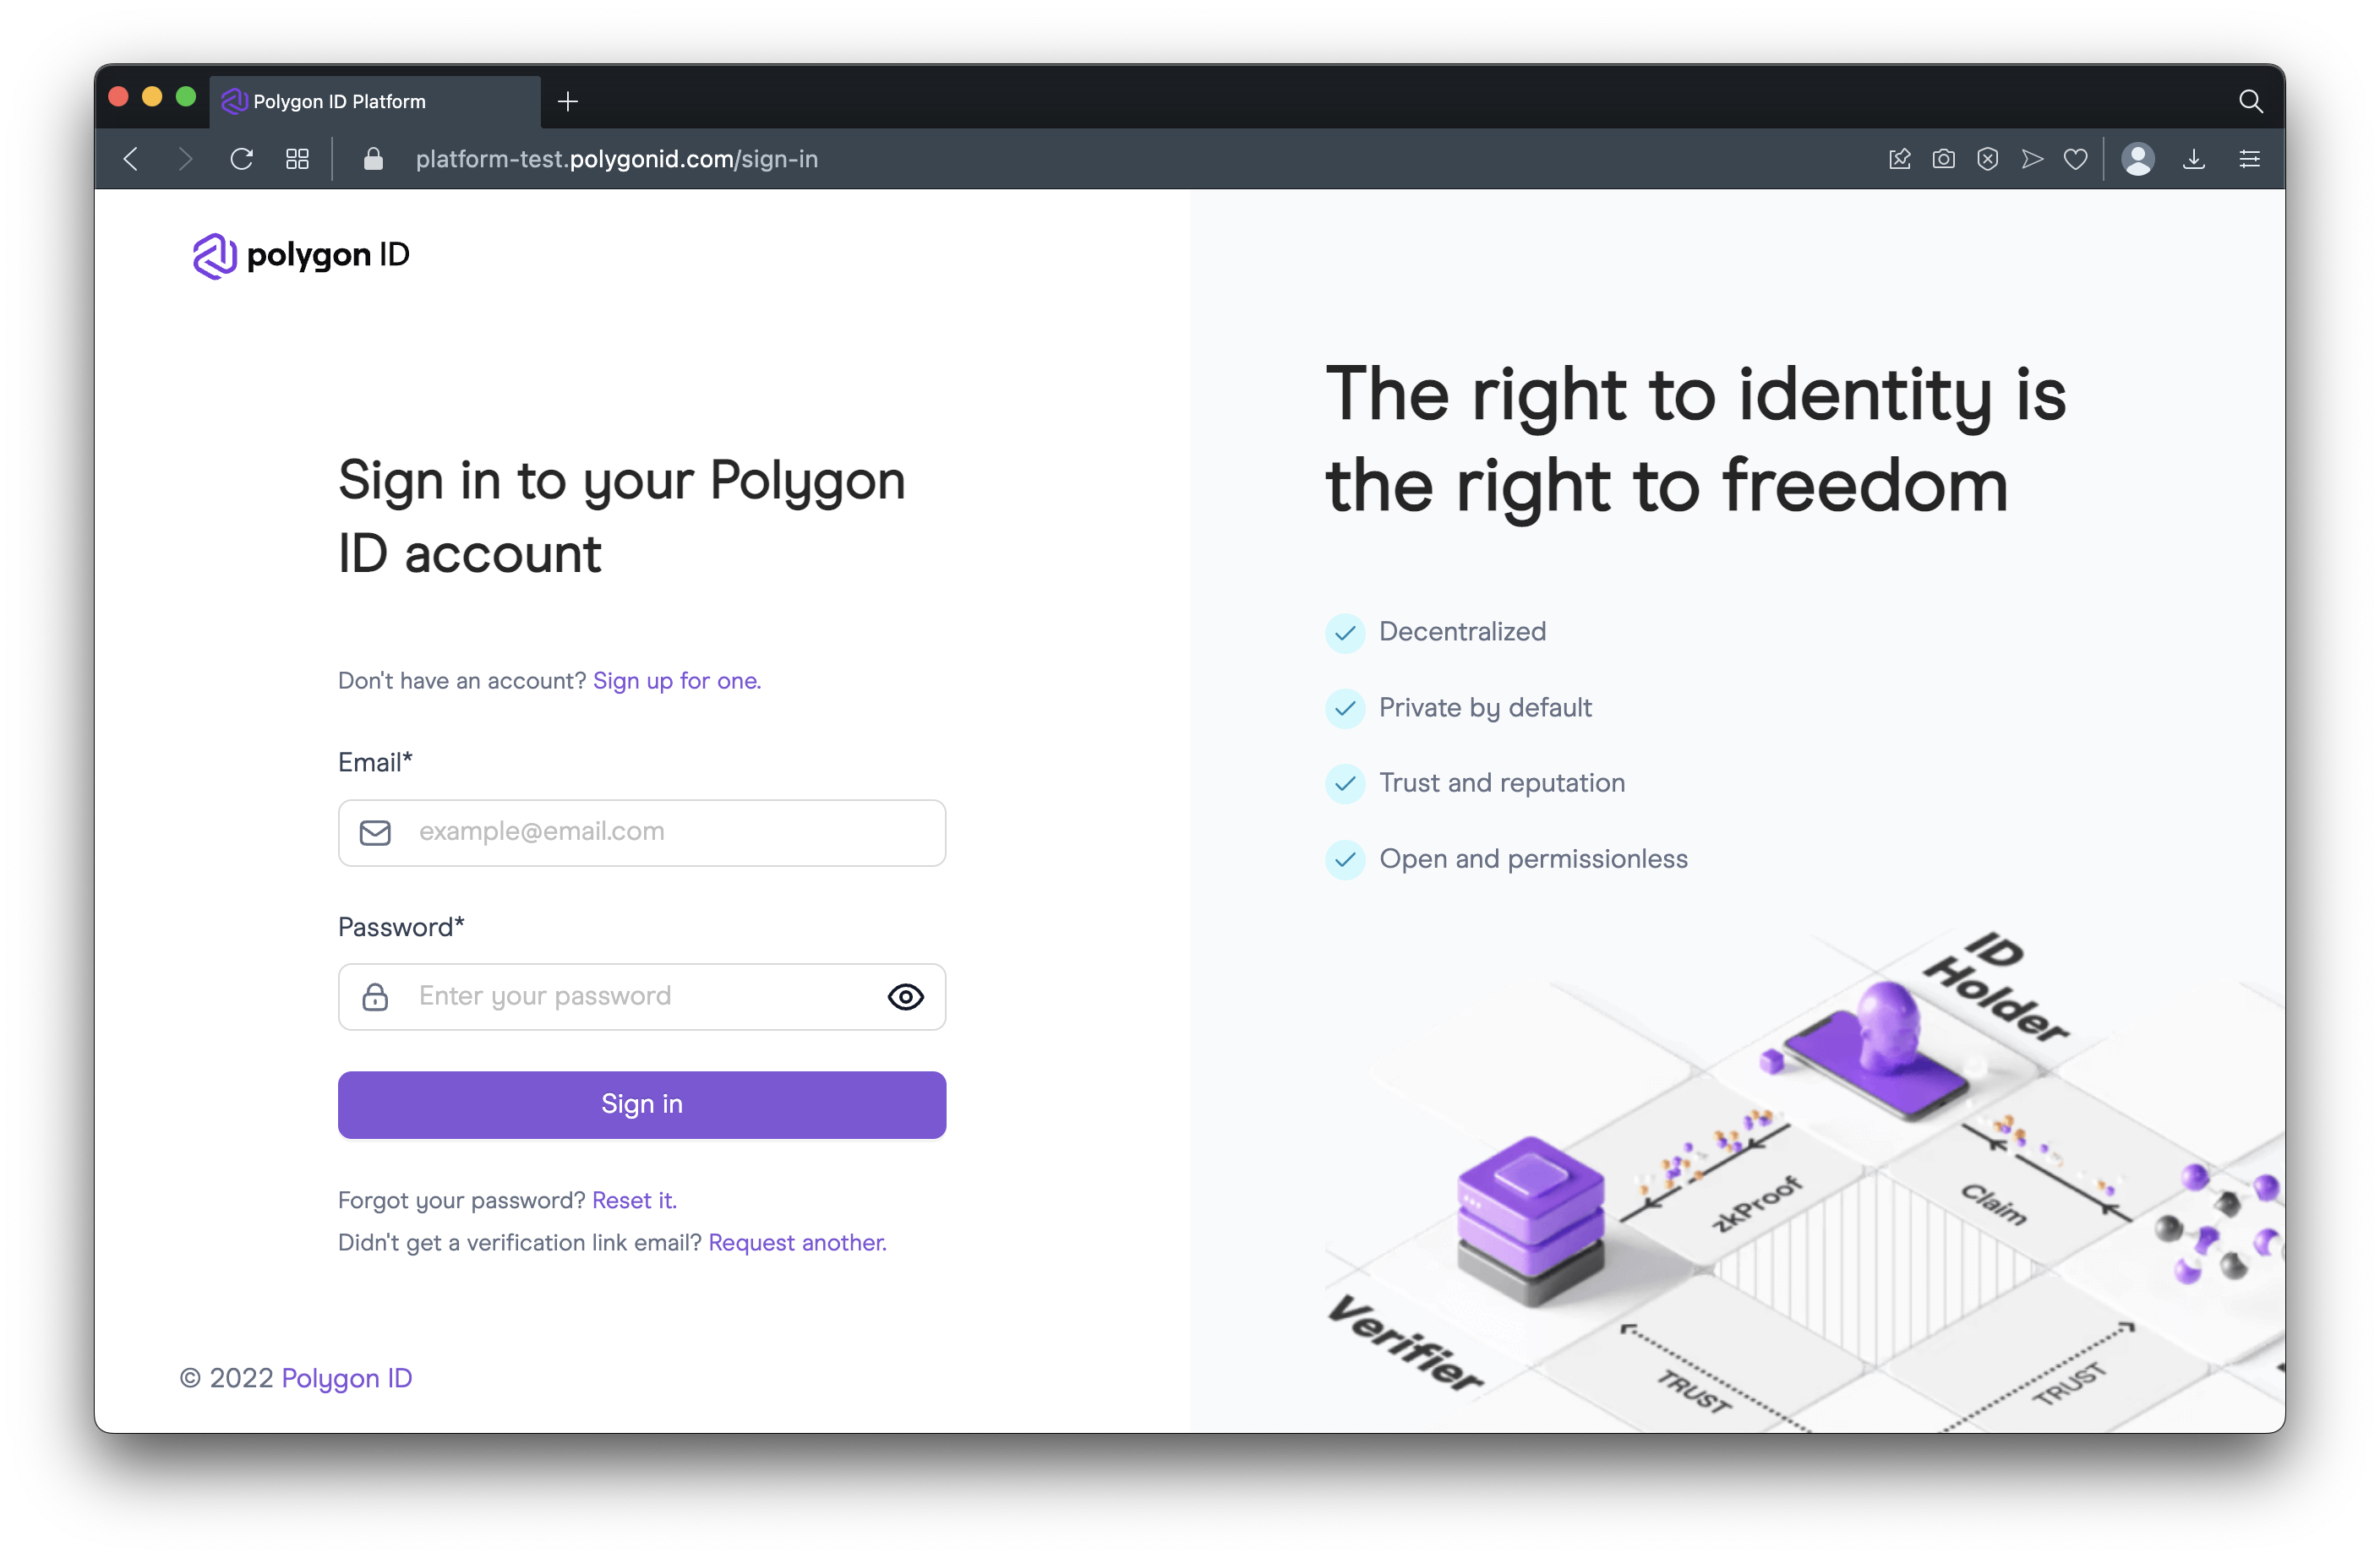
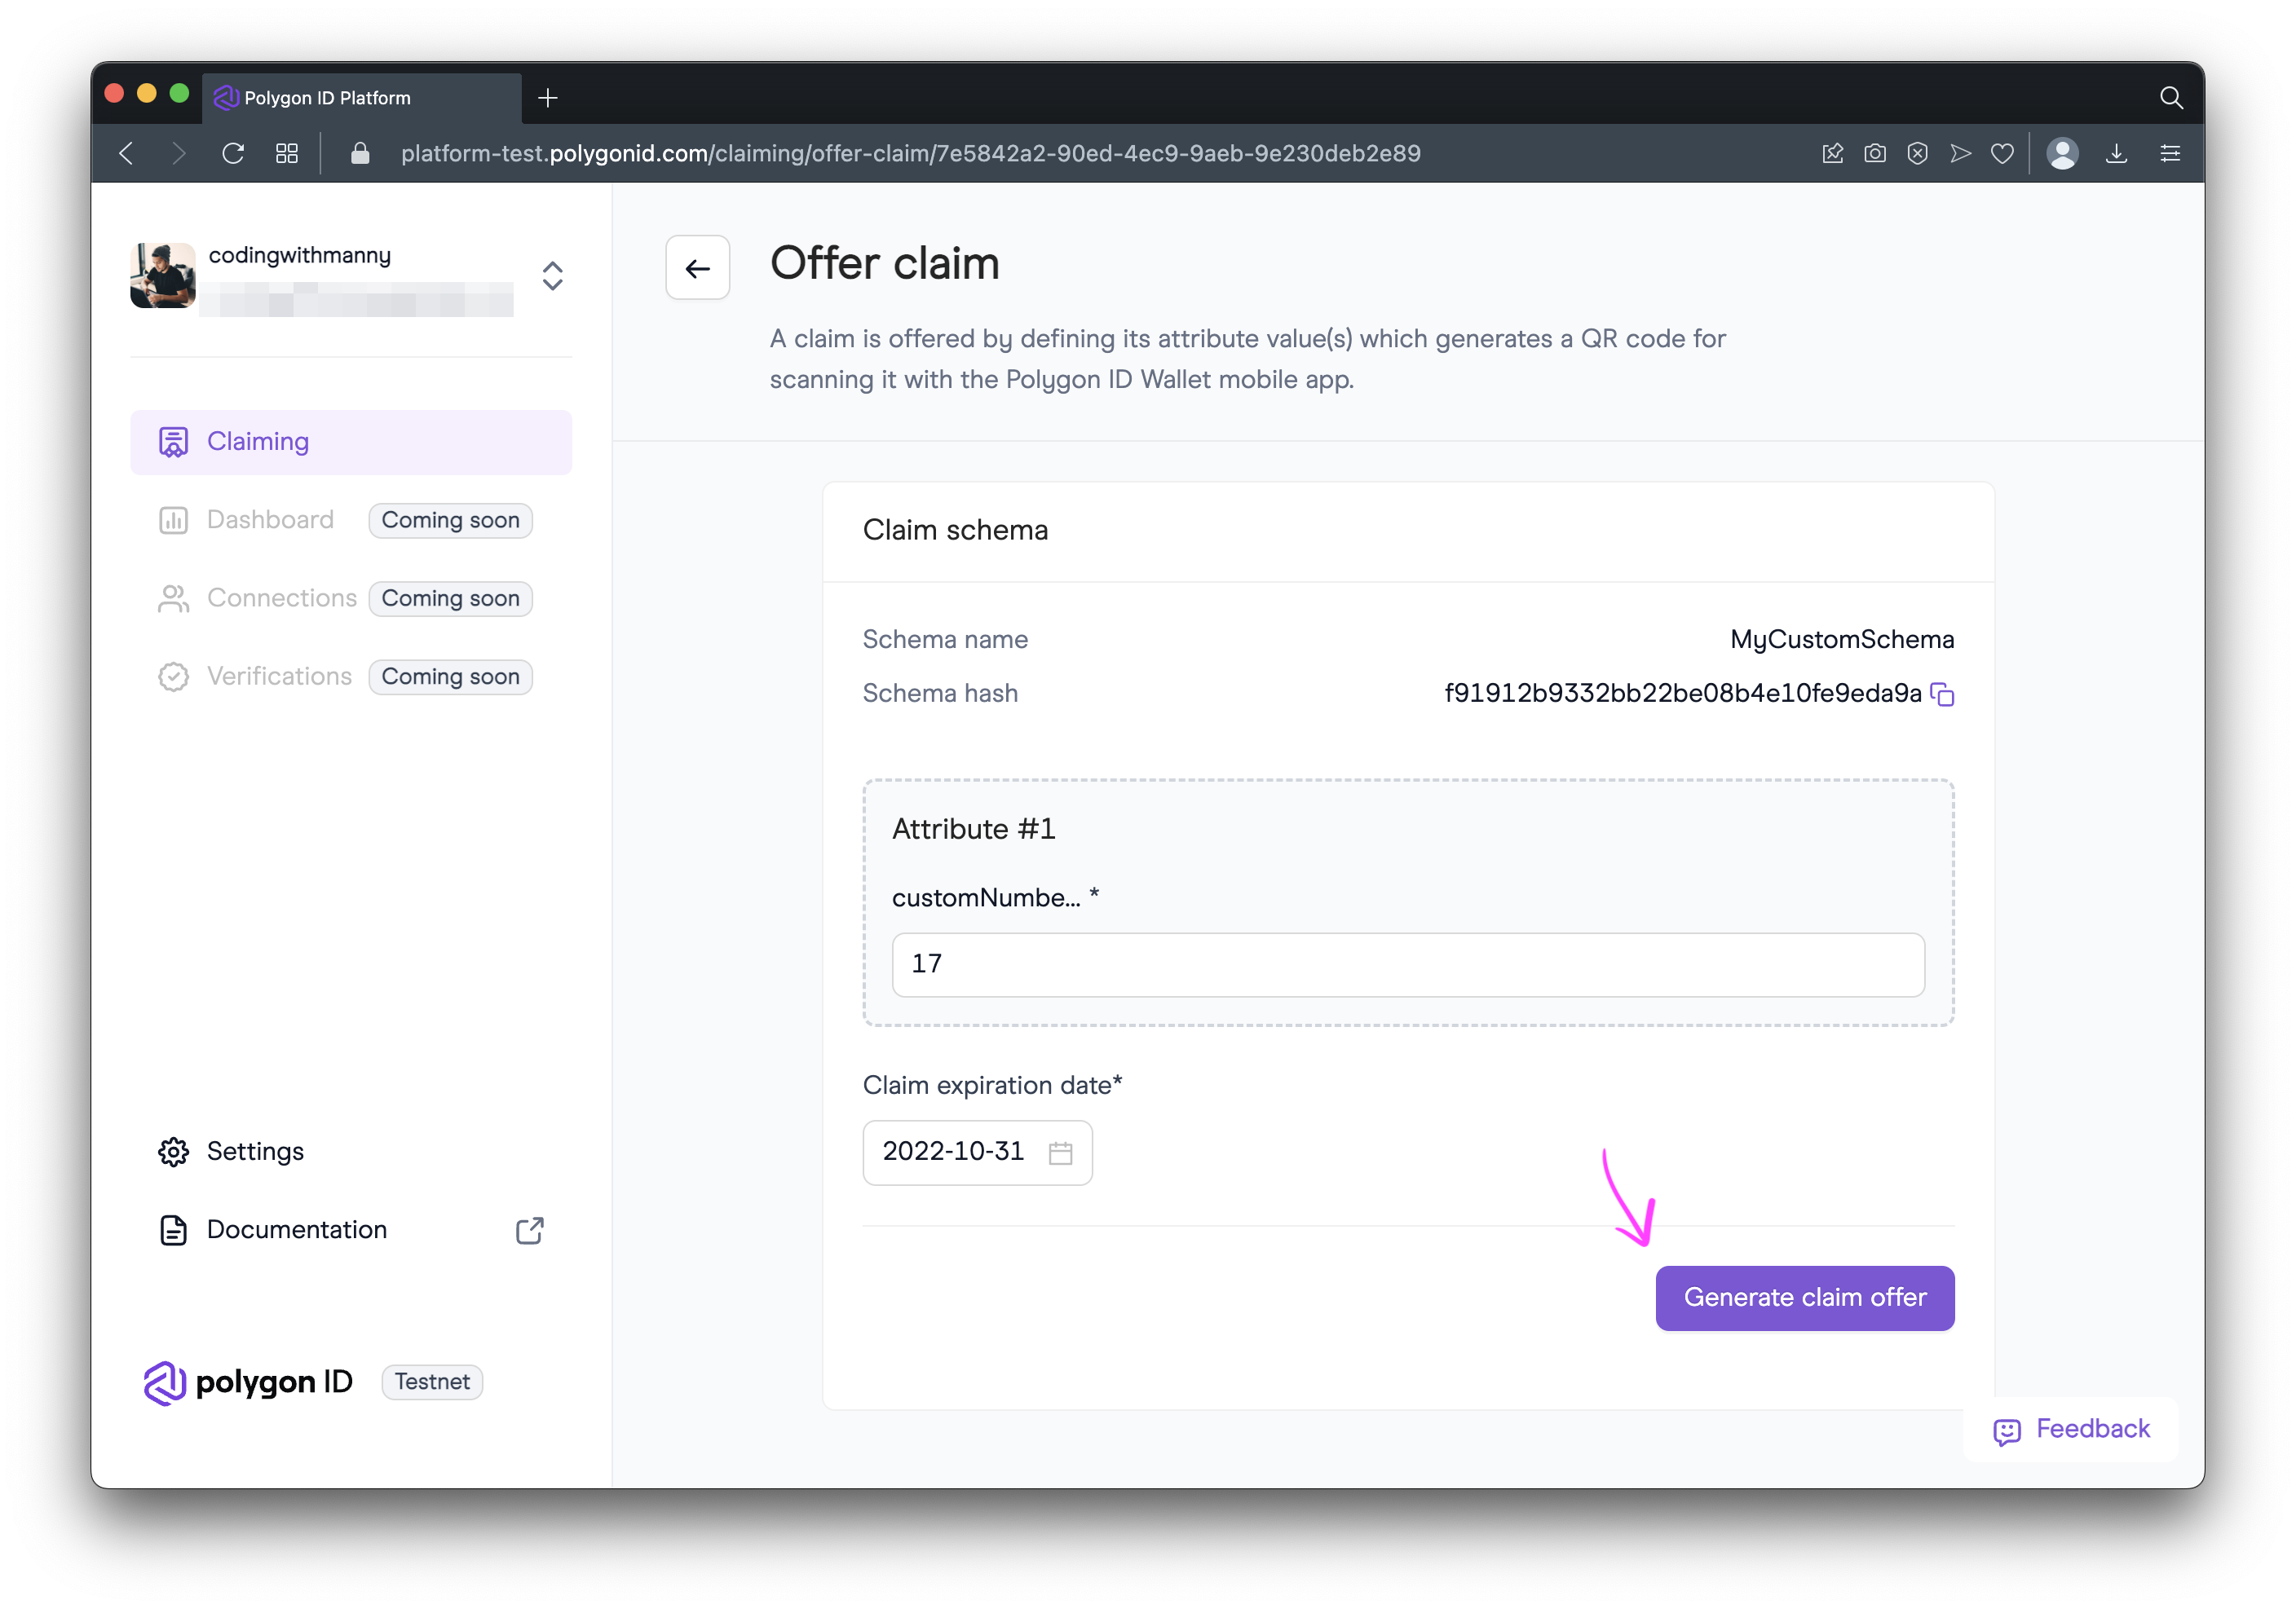
# ERC20zkAirdrop deployed to 0xABc1...}A - Sign up for https://platform-test.polygonid.com.
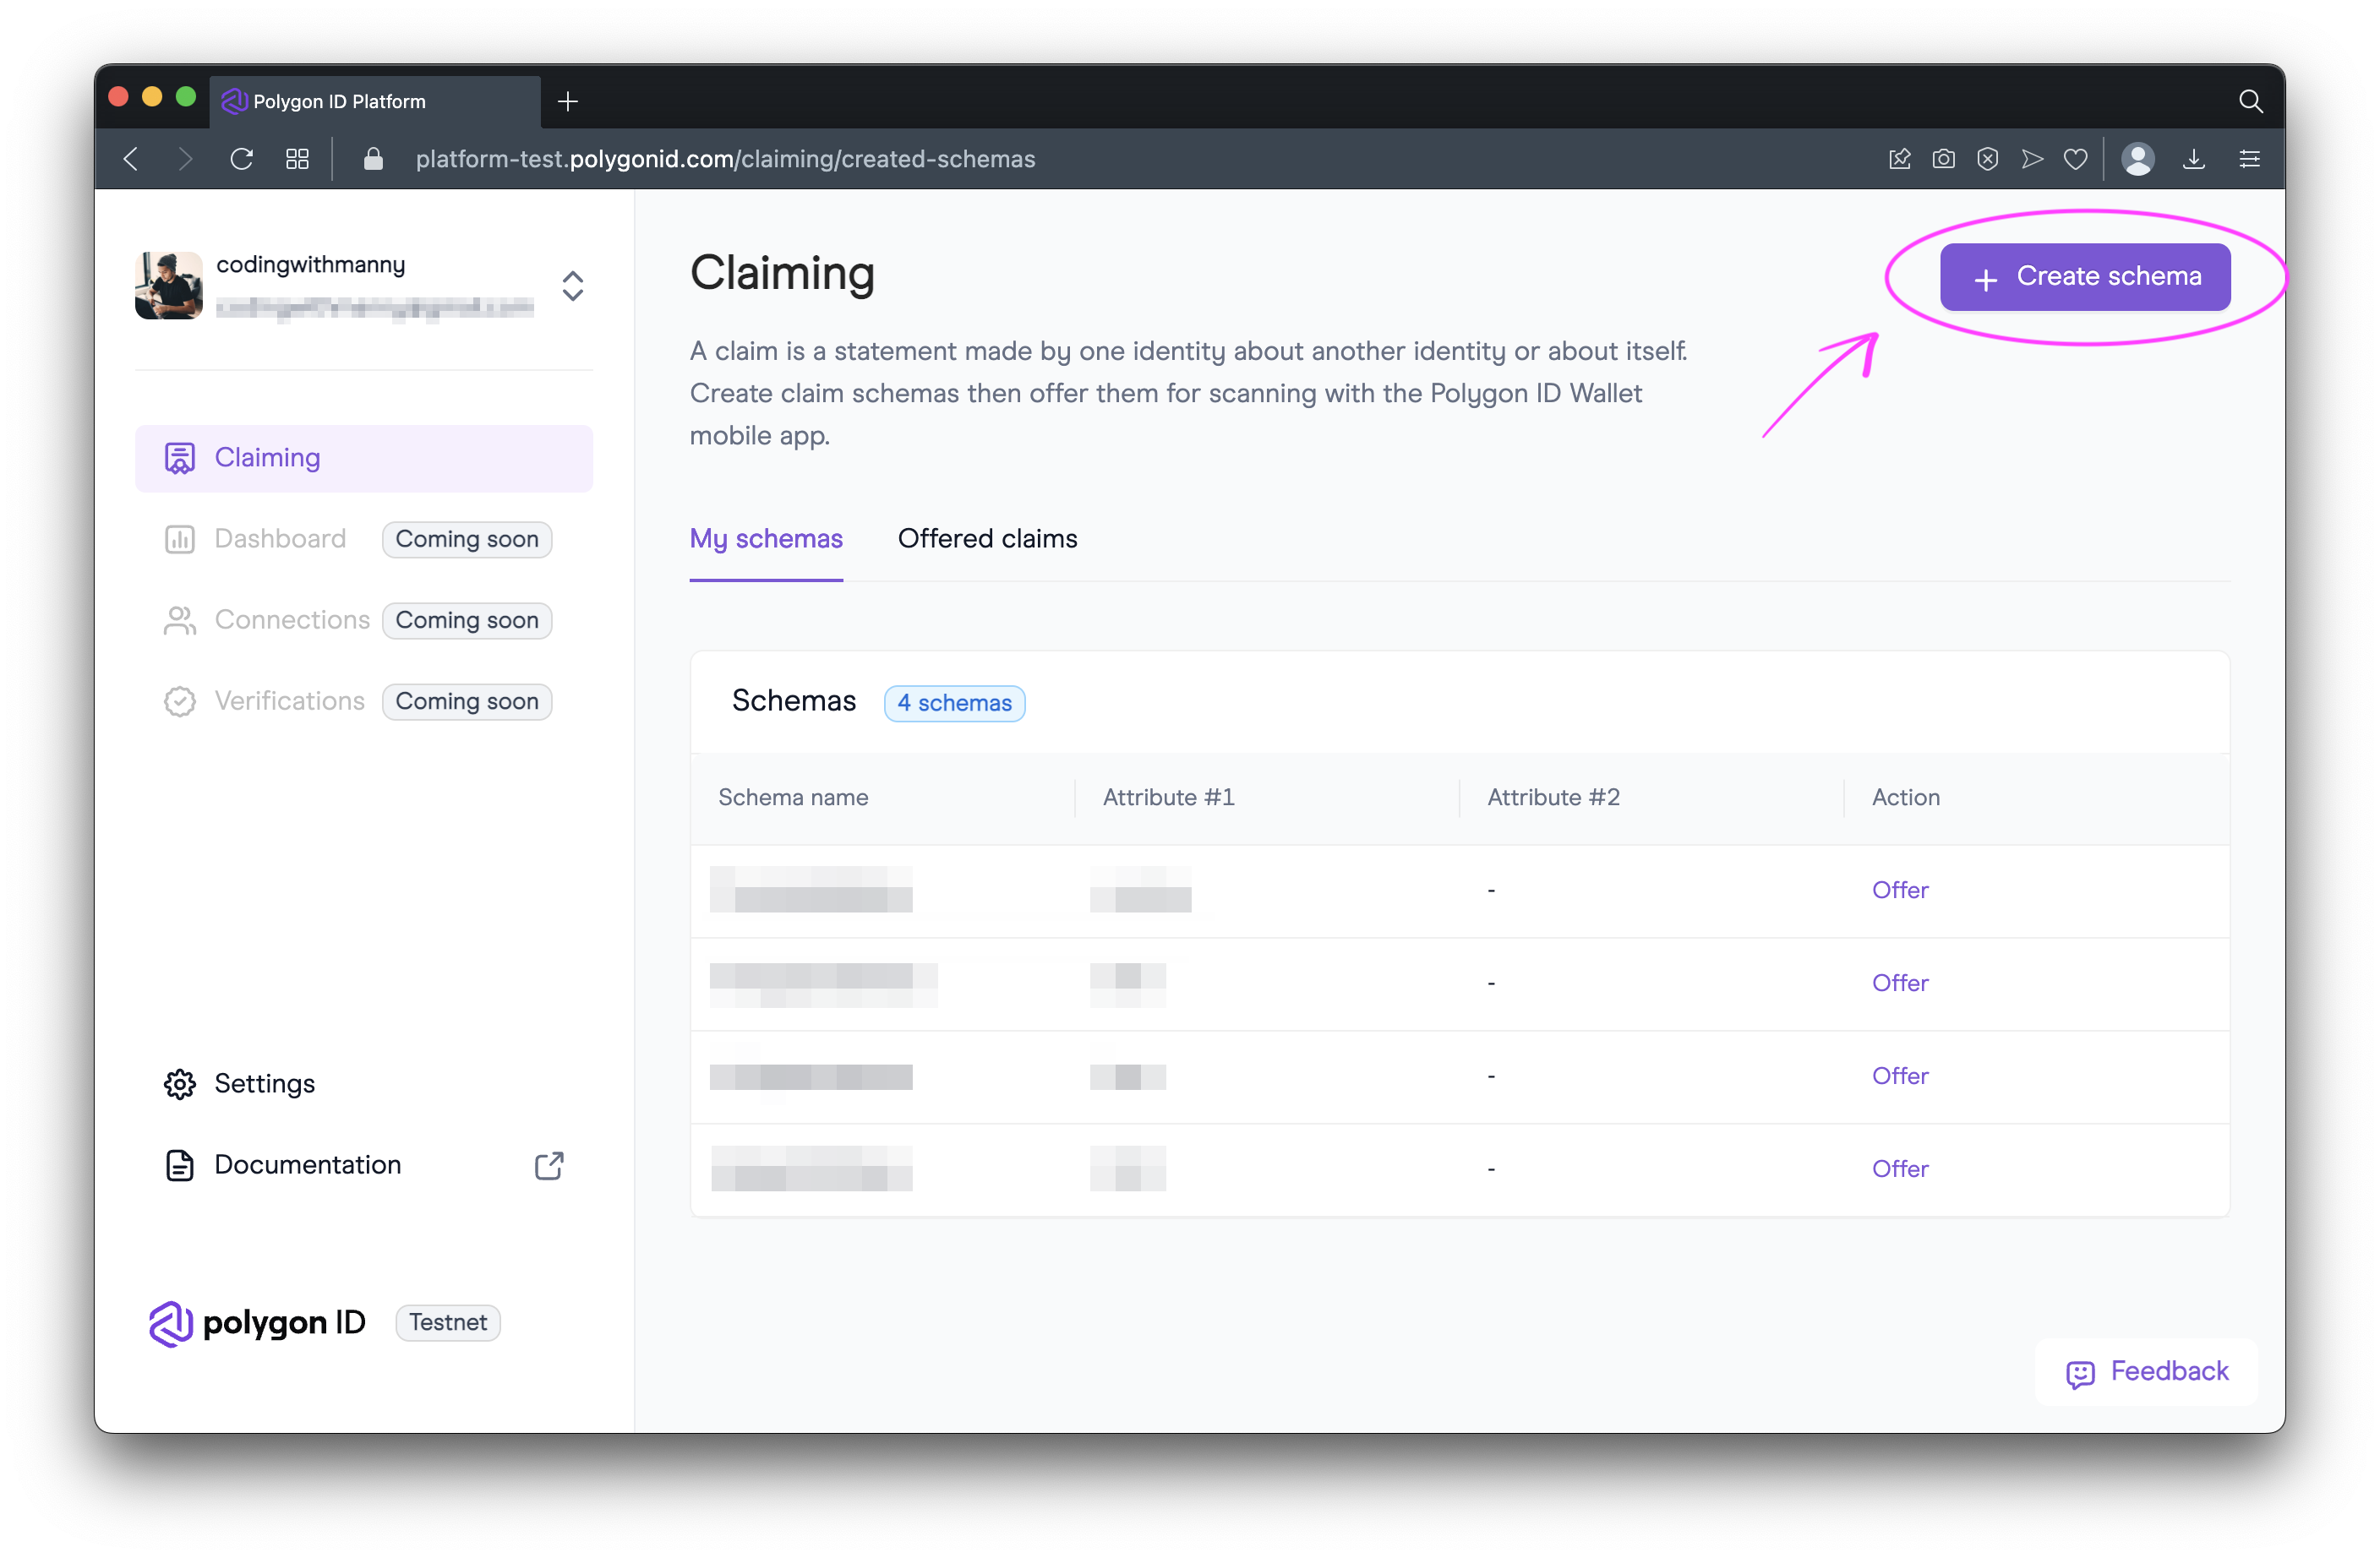
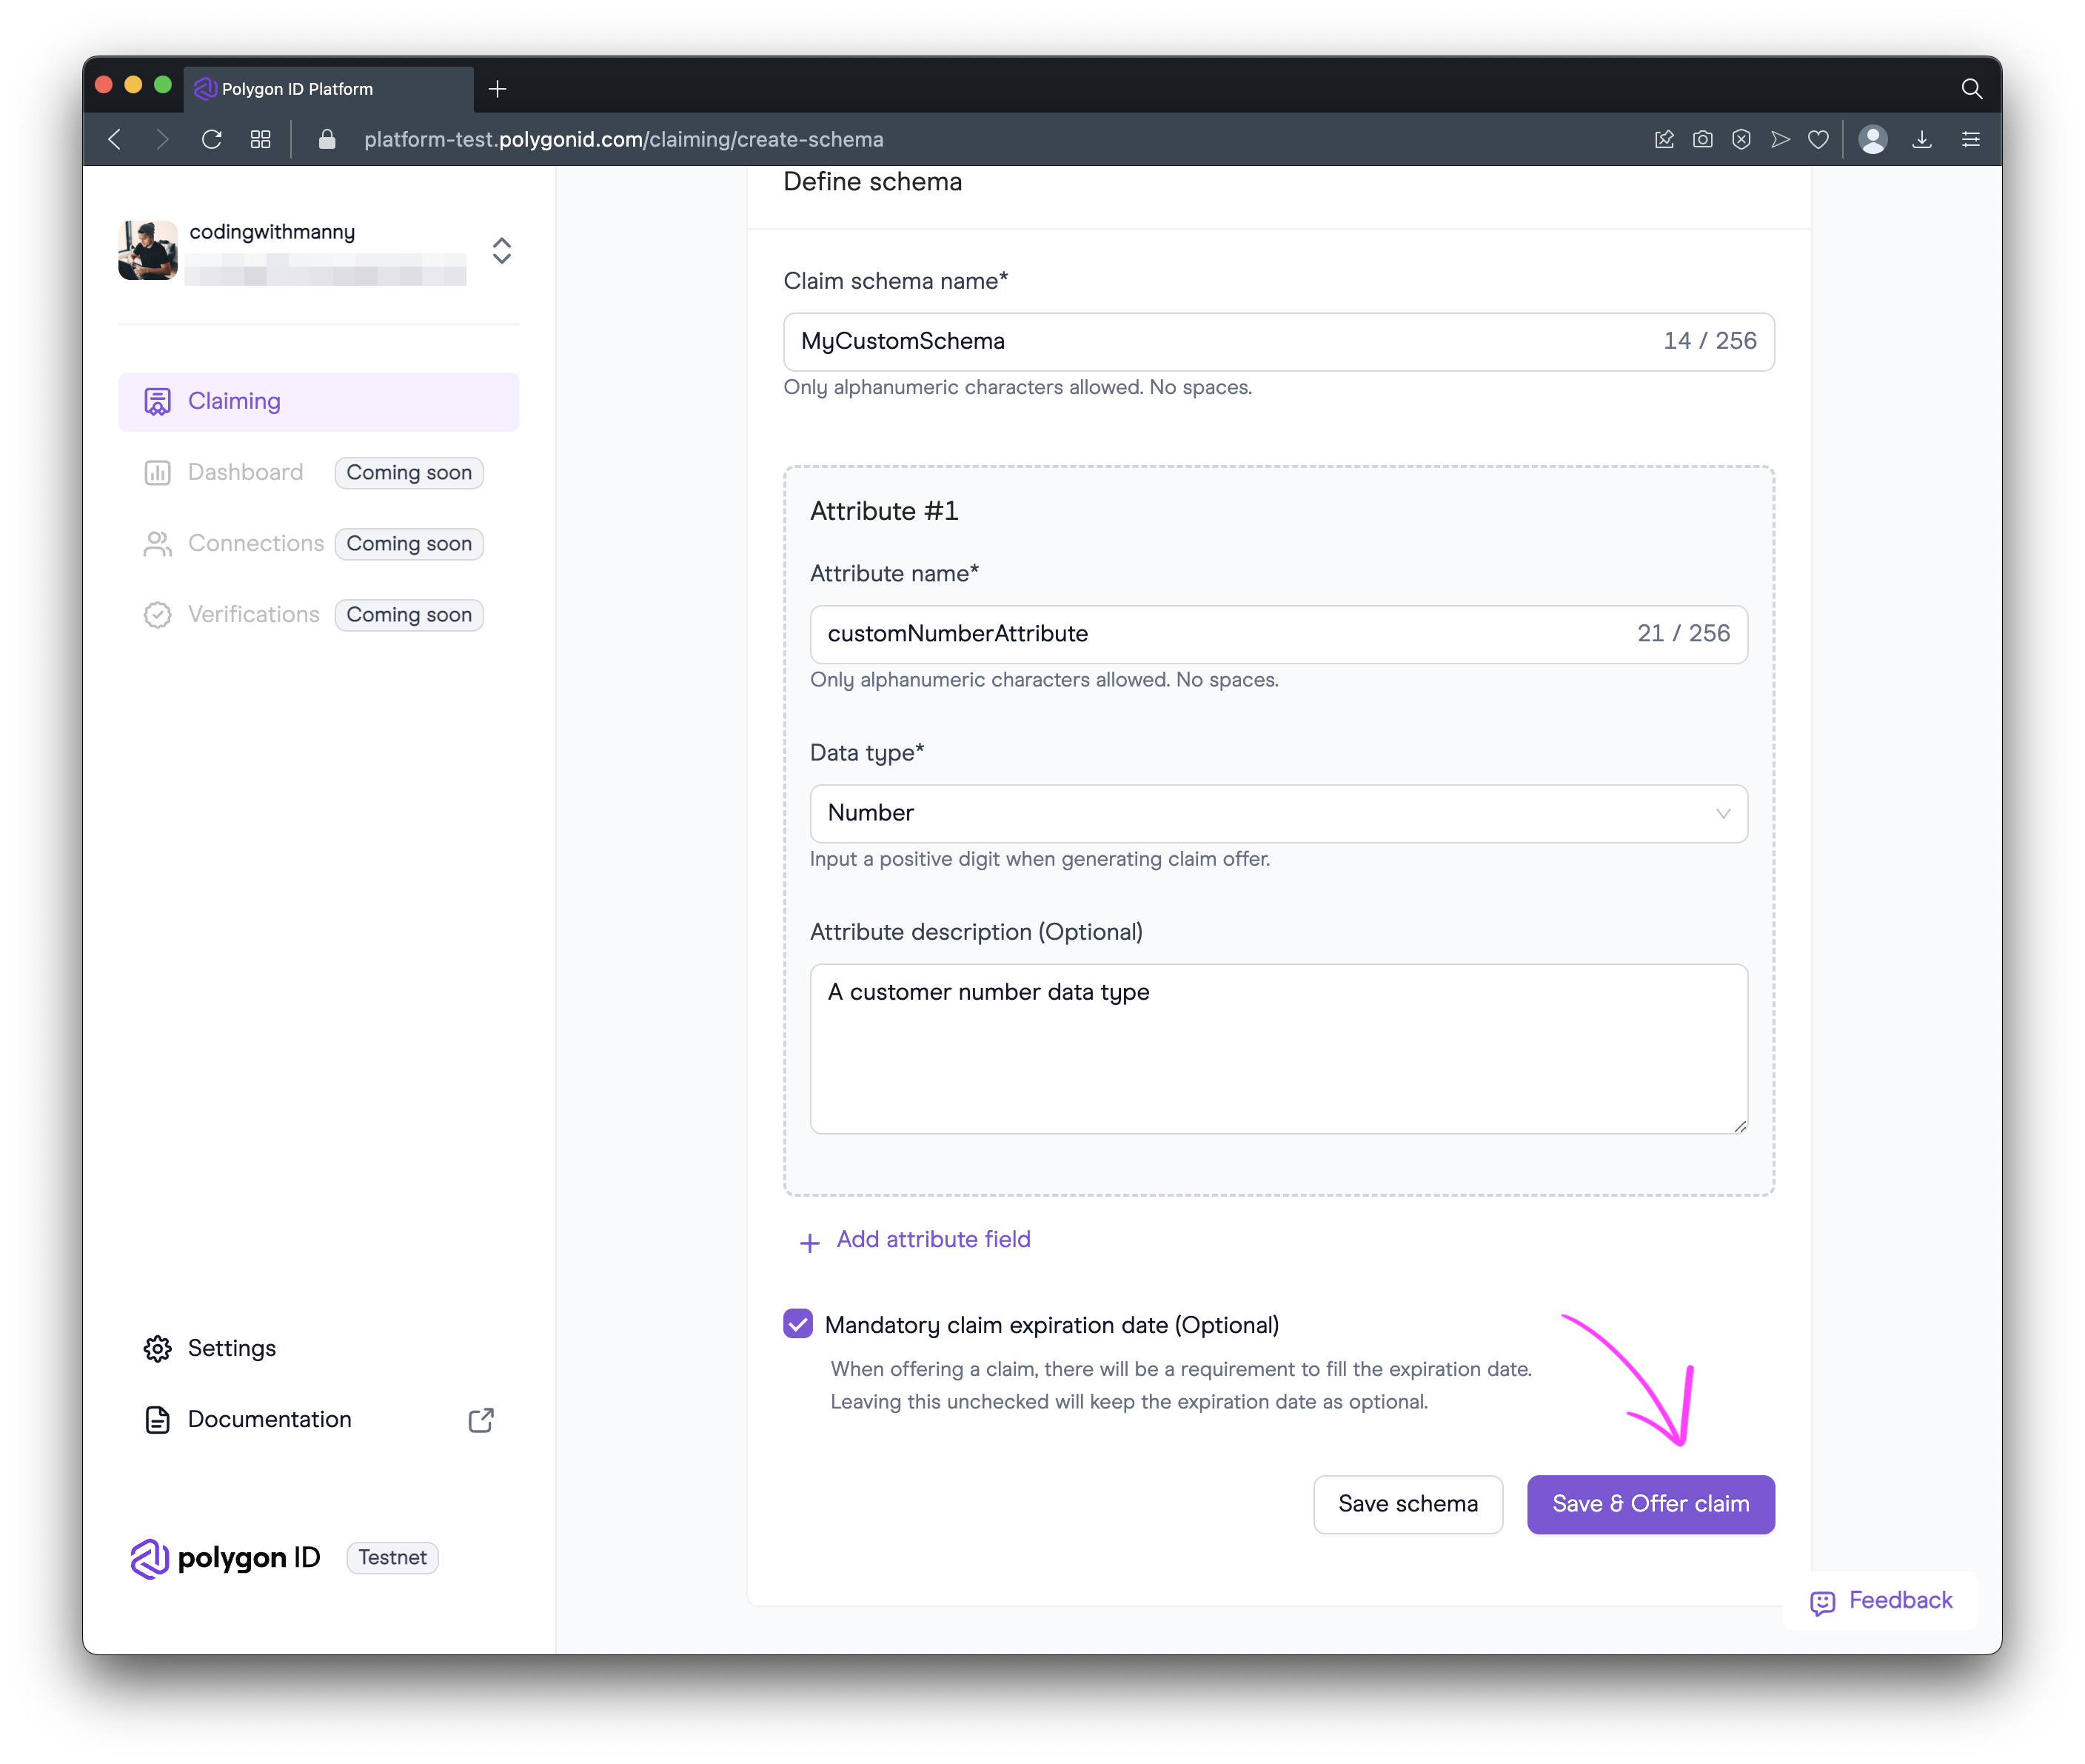
B - Create Schema
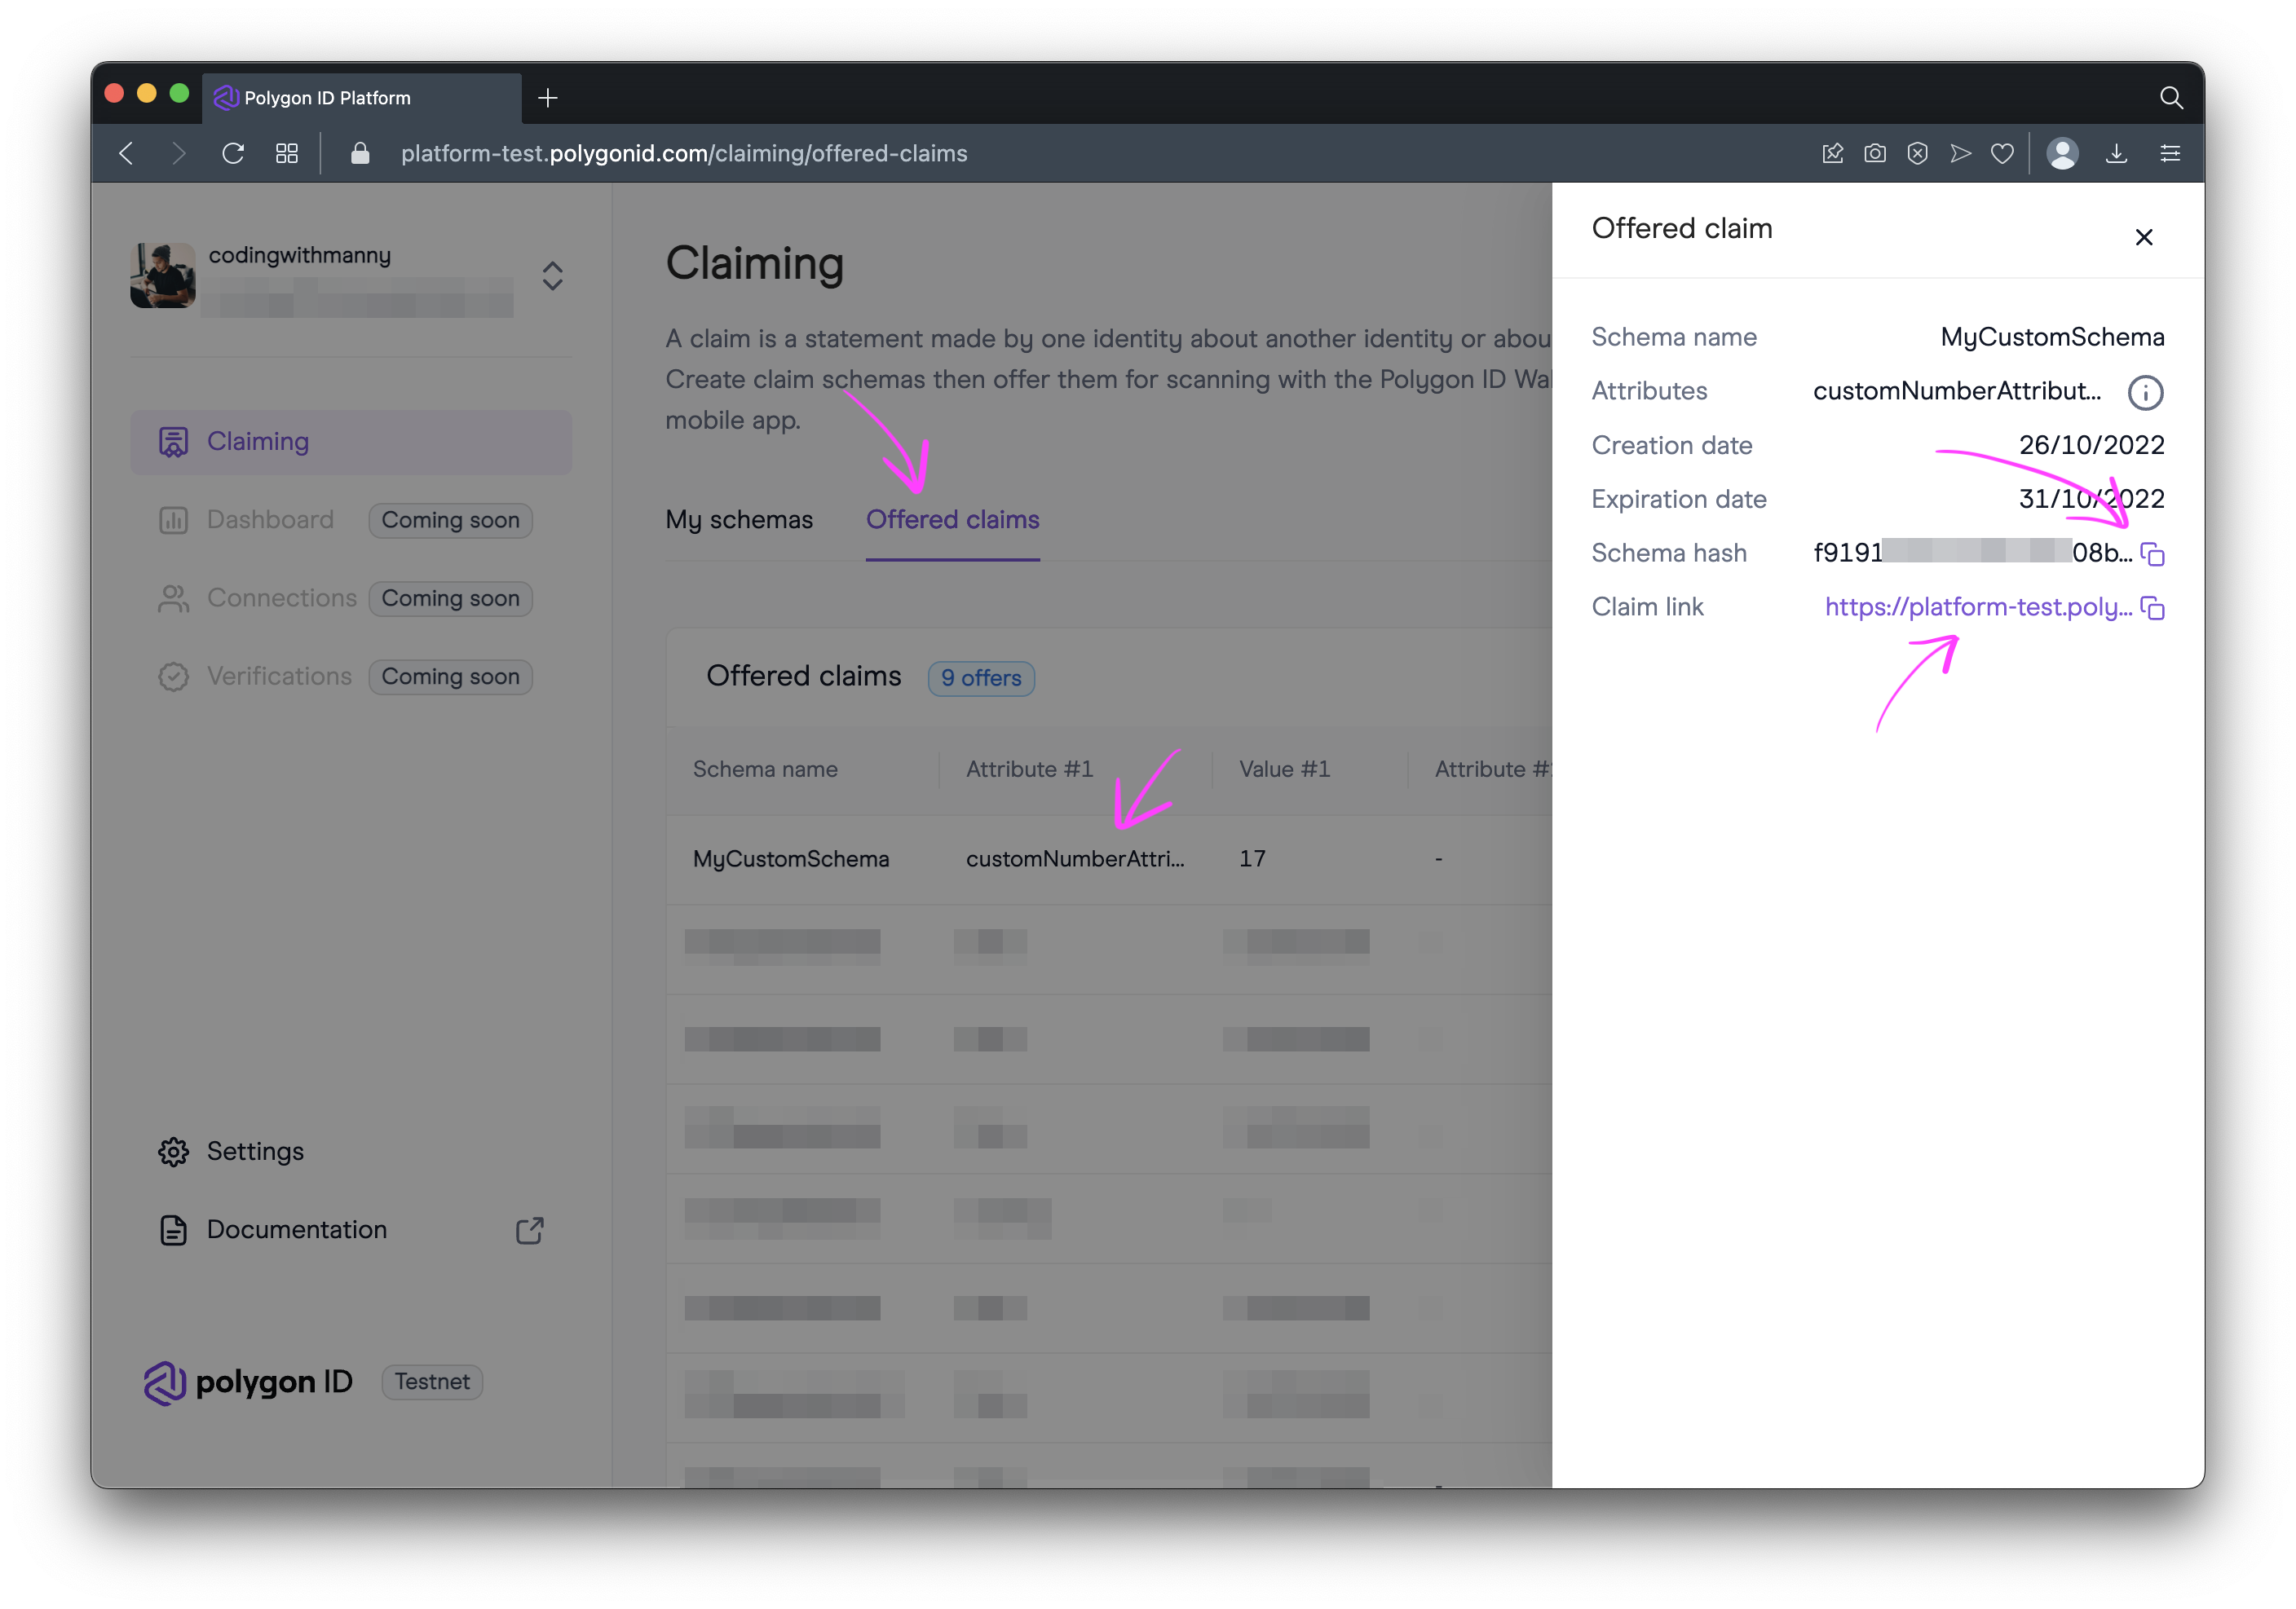
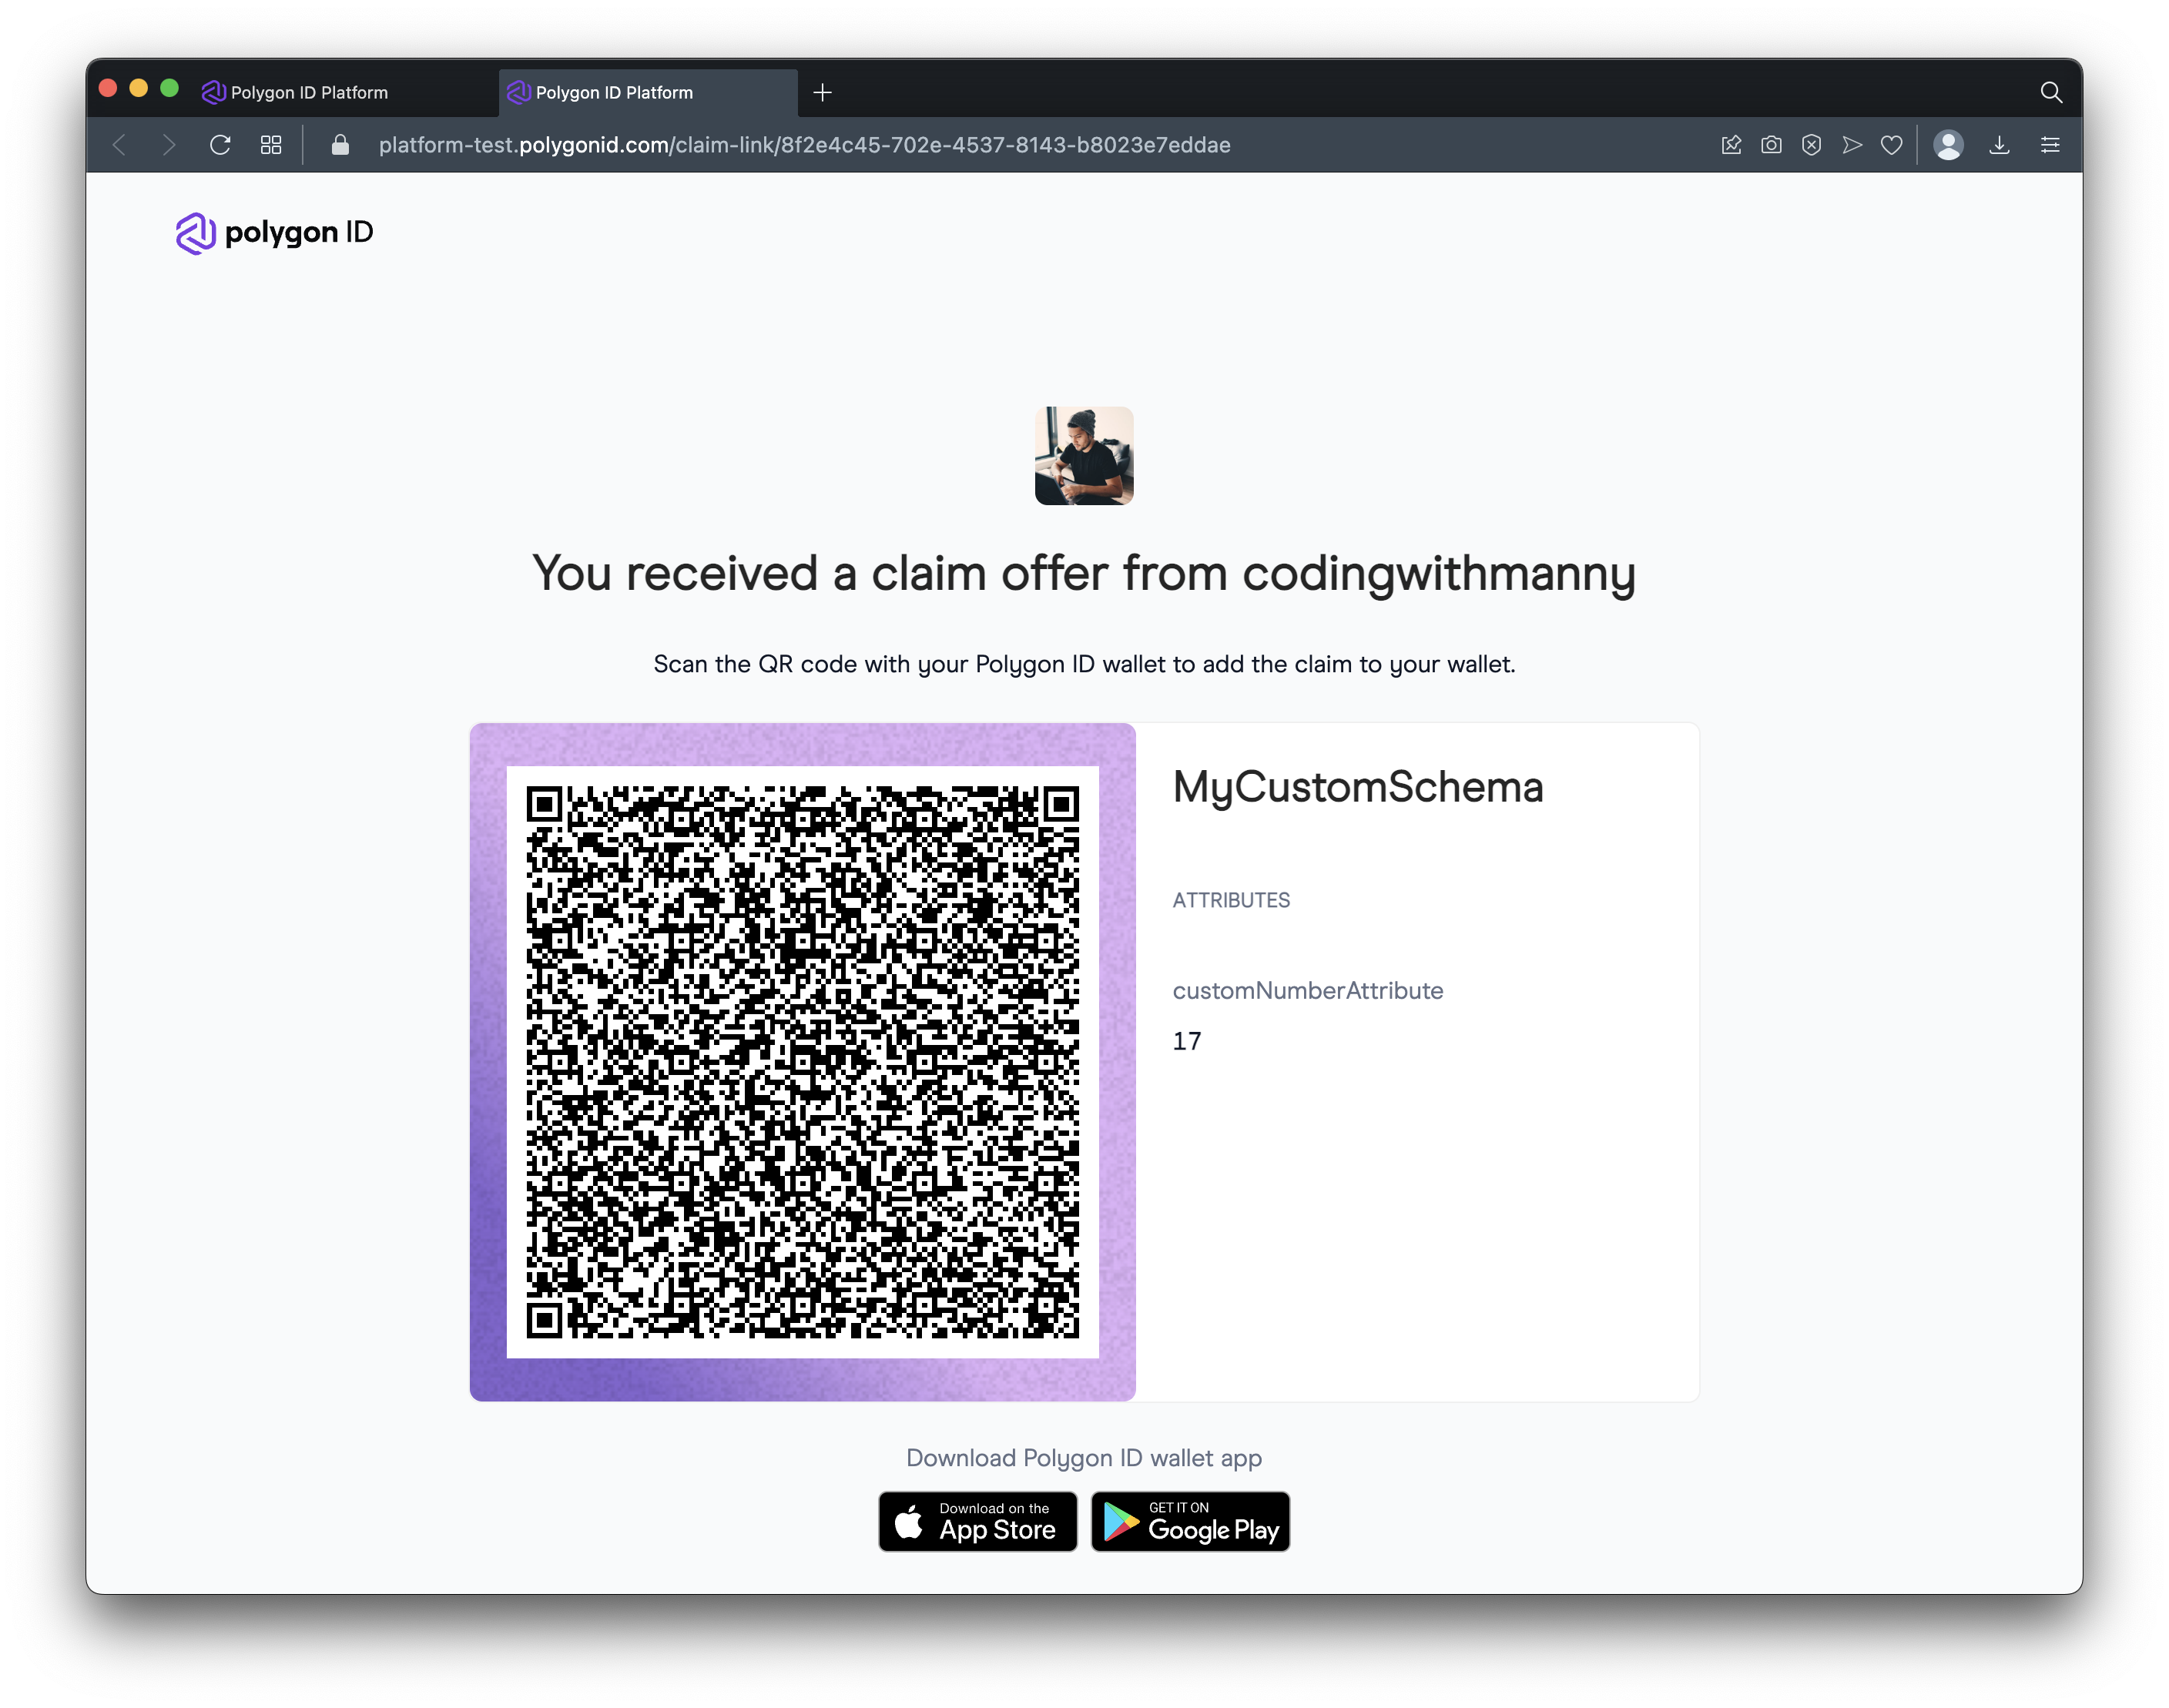
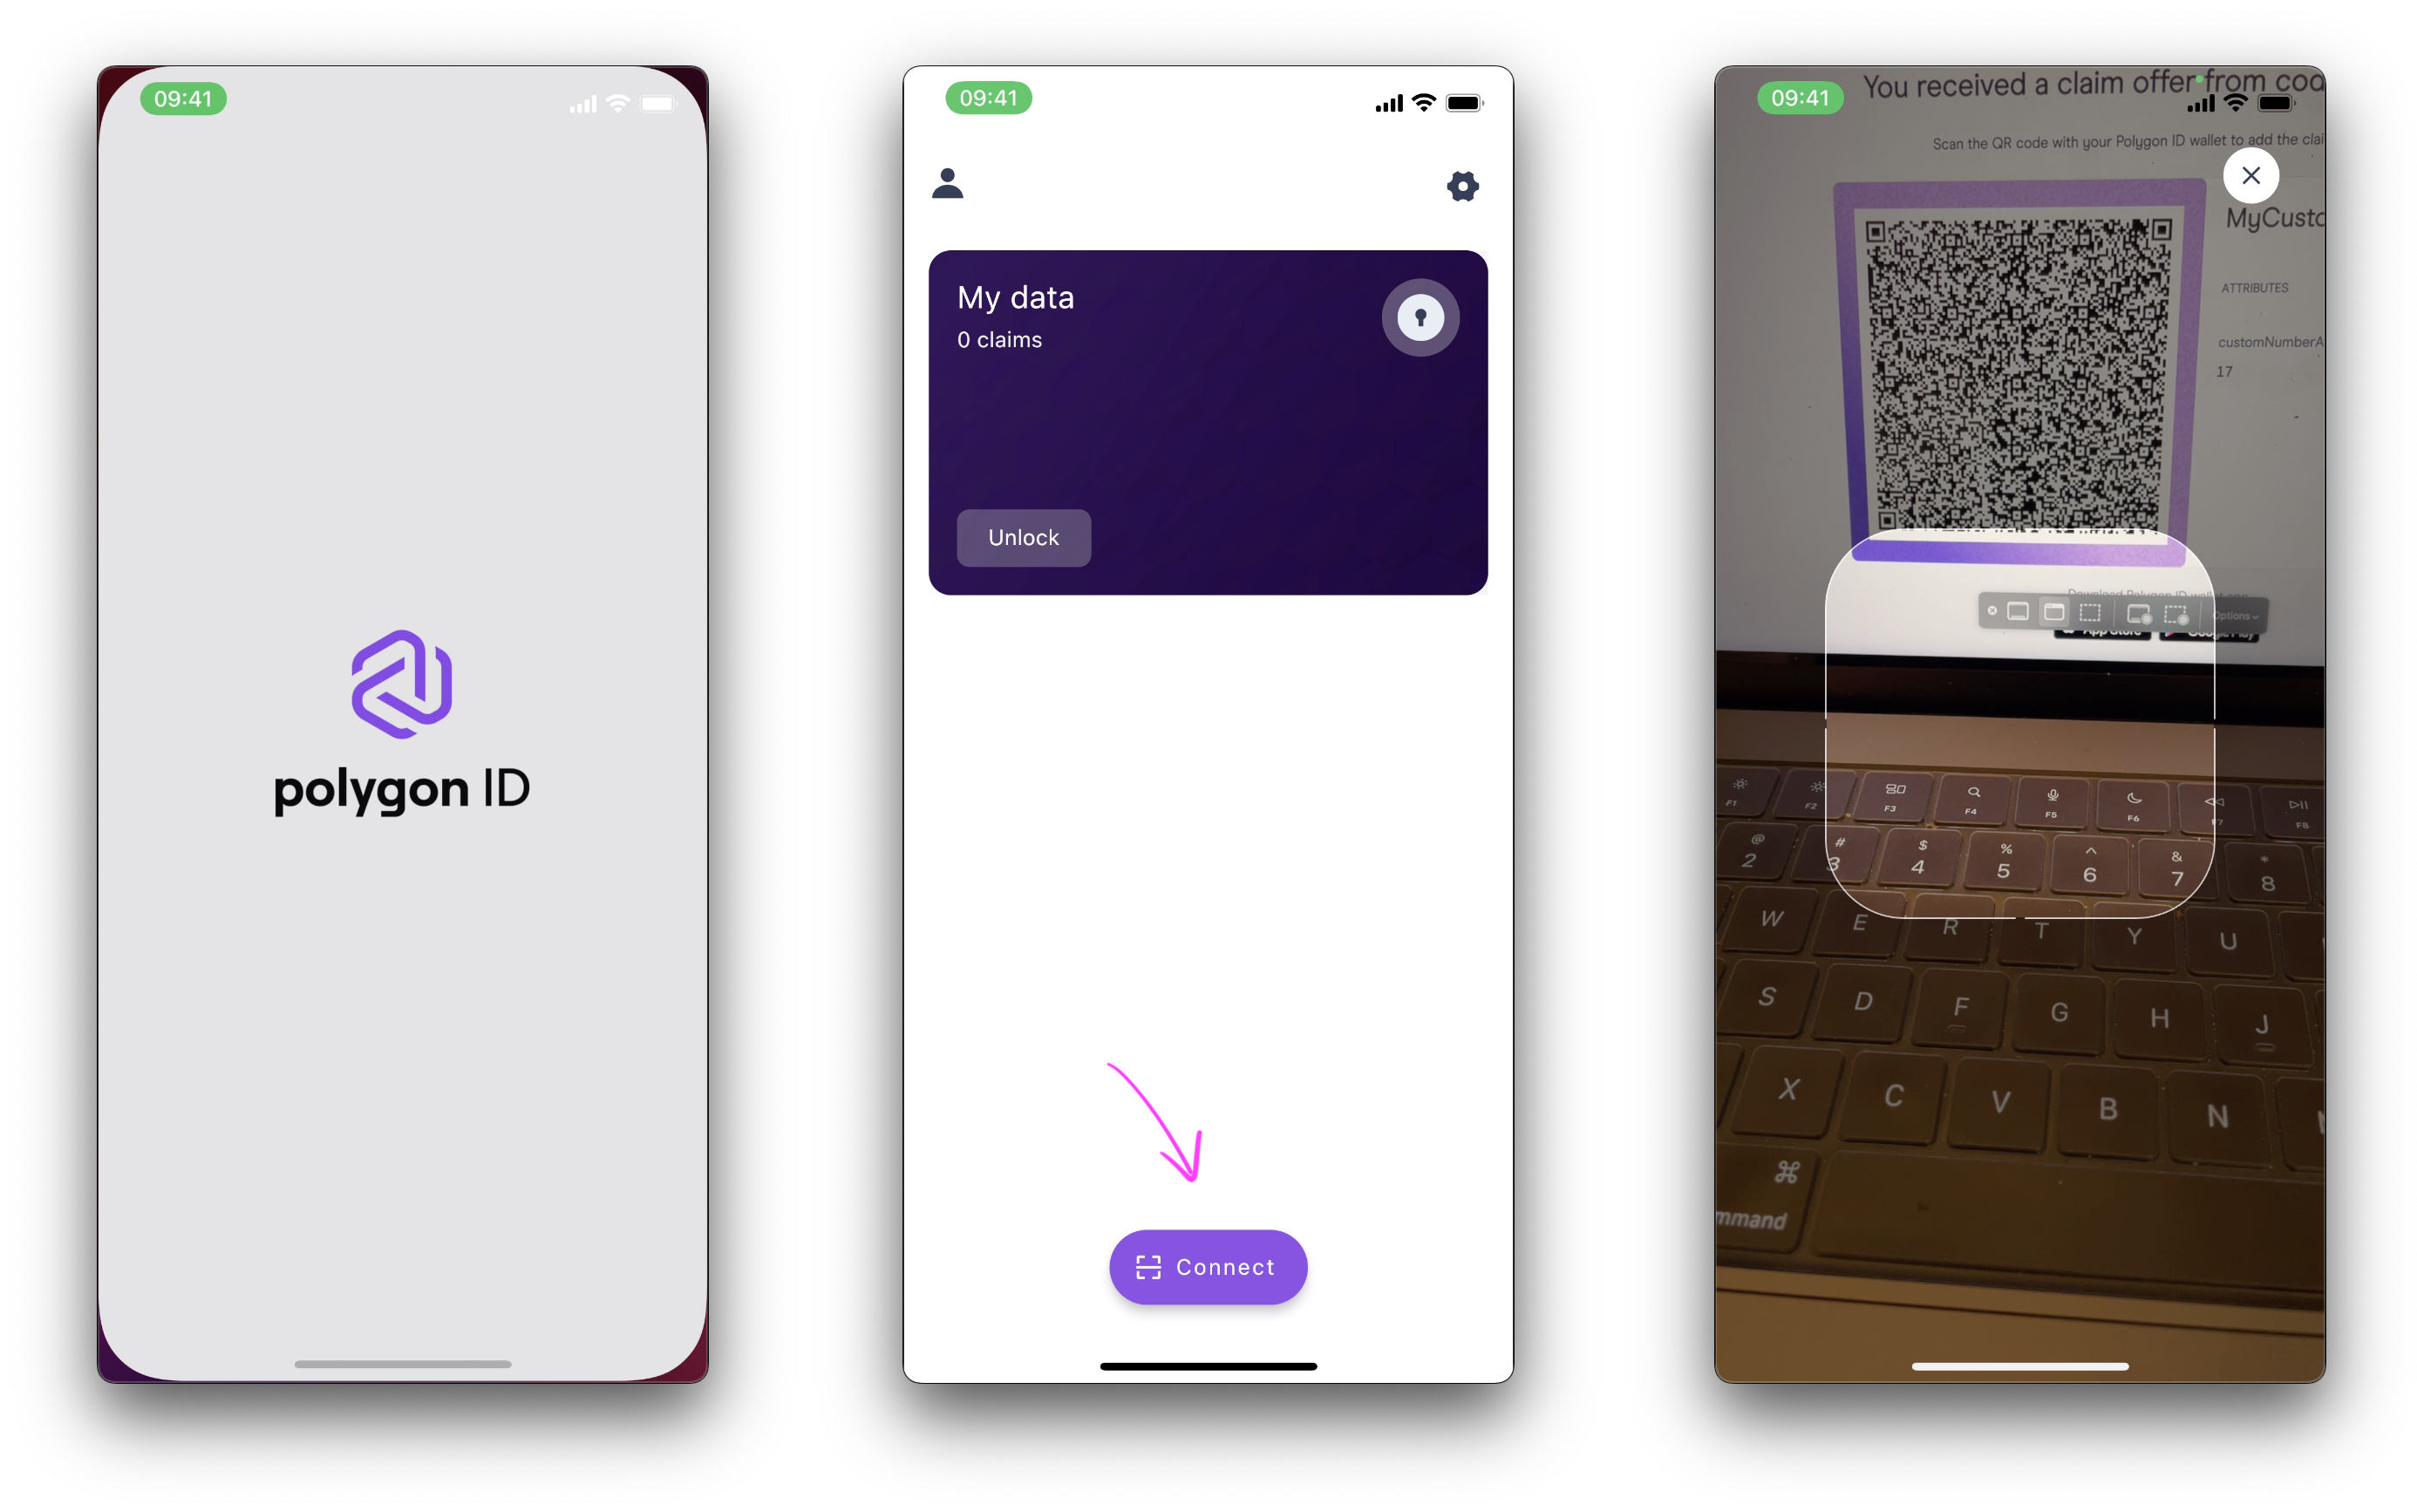
C - Claim
Modify the following file
File: ./scripts/erc20ZkpRequest.ts
    // Change to copied schemaHas from claim in Step 2C
    const schemaHash = "9c2498080a90d43cada7fec79eeee8de";
    // Changed to deployed contract
    const ERC20VerifierAddress = "0x085523dF632FEaAE3Ae232E0EBc31FaC9956ddAb";
    const schemaEnd = fromLittleEndian(hexToBytes(schemaHash));
    const query = {
        schema: ethers.BigNumber.from(schemaEnd),
        slotIndex: 2,
        operator: 2,
        // Change to 10 or value that you want to use (eg. everything greater than 10)
        value: [10, ...new Array(63).fill(0).map(i => 0)],
        circuitId,
    };
Set it on the contract:
npx hardhat run --network mumbai scripts/erc20ZkpRequest.ts;

# Expected output:
# Request set at:
# NOTE: May take a little bit to show up
# https://mumbai.polygonscan.com/tx/0x60ac...Modify the following script:
File: ./htmlQRClaim/src/App.tsx
    // ...

    // Config
    // ========================================================
    // update with your contract address
    const DEPLOYED_CONTRACT_ADDRESS = "0xCfFEb70395C8E2A98d20Facf67122d638b18673c";

    /**
     *
     */
    const qrProofRequestJson = proofRequest;
    qrProofRequestJson.body.transaction_data.contract_address = DEPLOYED_CONTRACT_ADDRESS;
    qrProofRequestJson.body.scope[0].rules.query.req = {
    "Date": {
        // NOTE: this value needs to match the erc20ZkpRequest.ts L34 or erc721ZkpRequest.ts L34
        "$gt": 10
    }
    };
    // NOTE1: if you change this you need to resubmit the erc10|erc721ZKPRequest
    // NOTE2: type is case-sensitive
    // You can generate new schemas via https://platform-test.polygonid.com
    qrProofRequestJson.body.scope[0].rules.query.schema = {
    "url": "https://s3.eu-west-1.amazonaws.com/polygonid-schemas/96c80e89-3c04-4762-8f4a-c39373571506.json-ld",
    "type": "MyCustomSchema"
    };
Run the local html QR code page
cd htmlQRClaim;
yarn dev;

# Expected output:
# VITE v3.2.0  ready in 238 ms
#
#   ➜  Local:   http://127.0.0.1:5173/
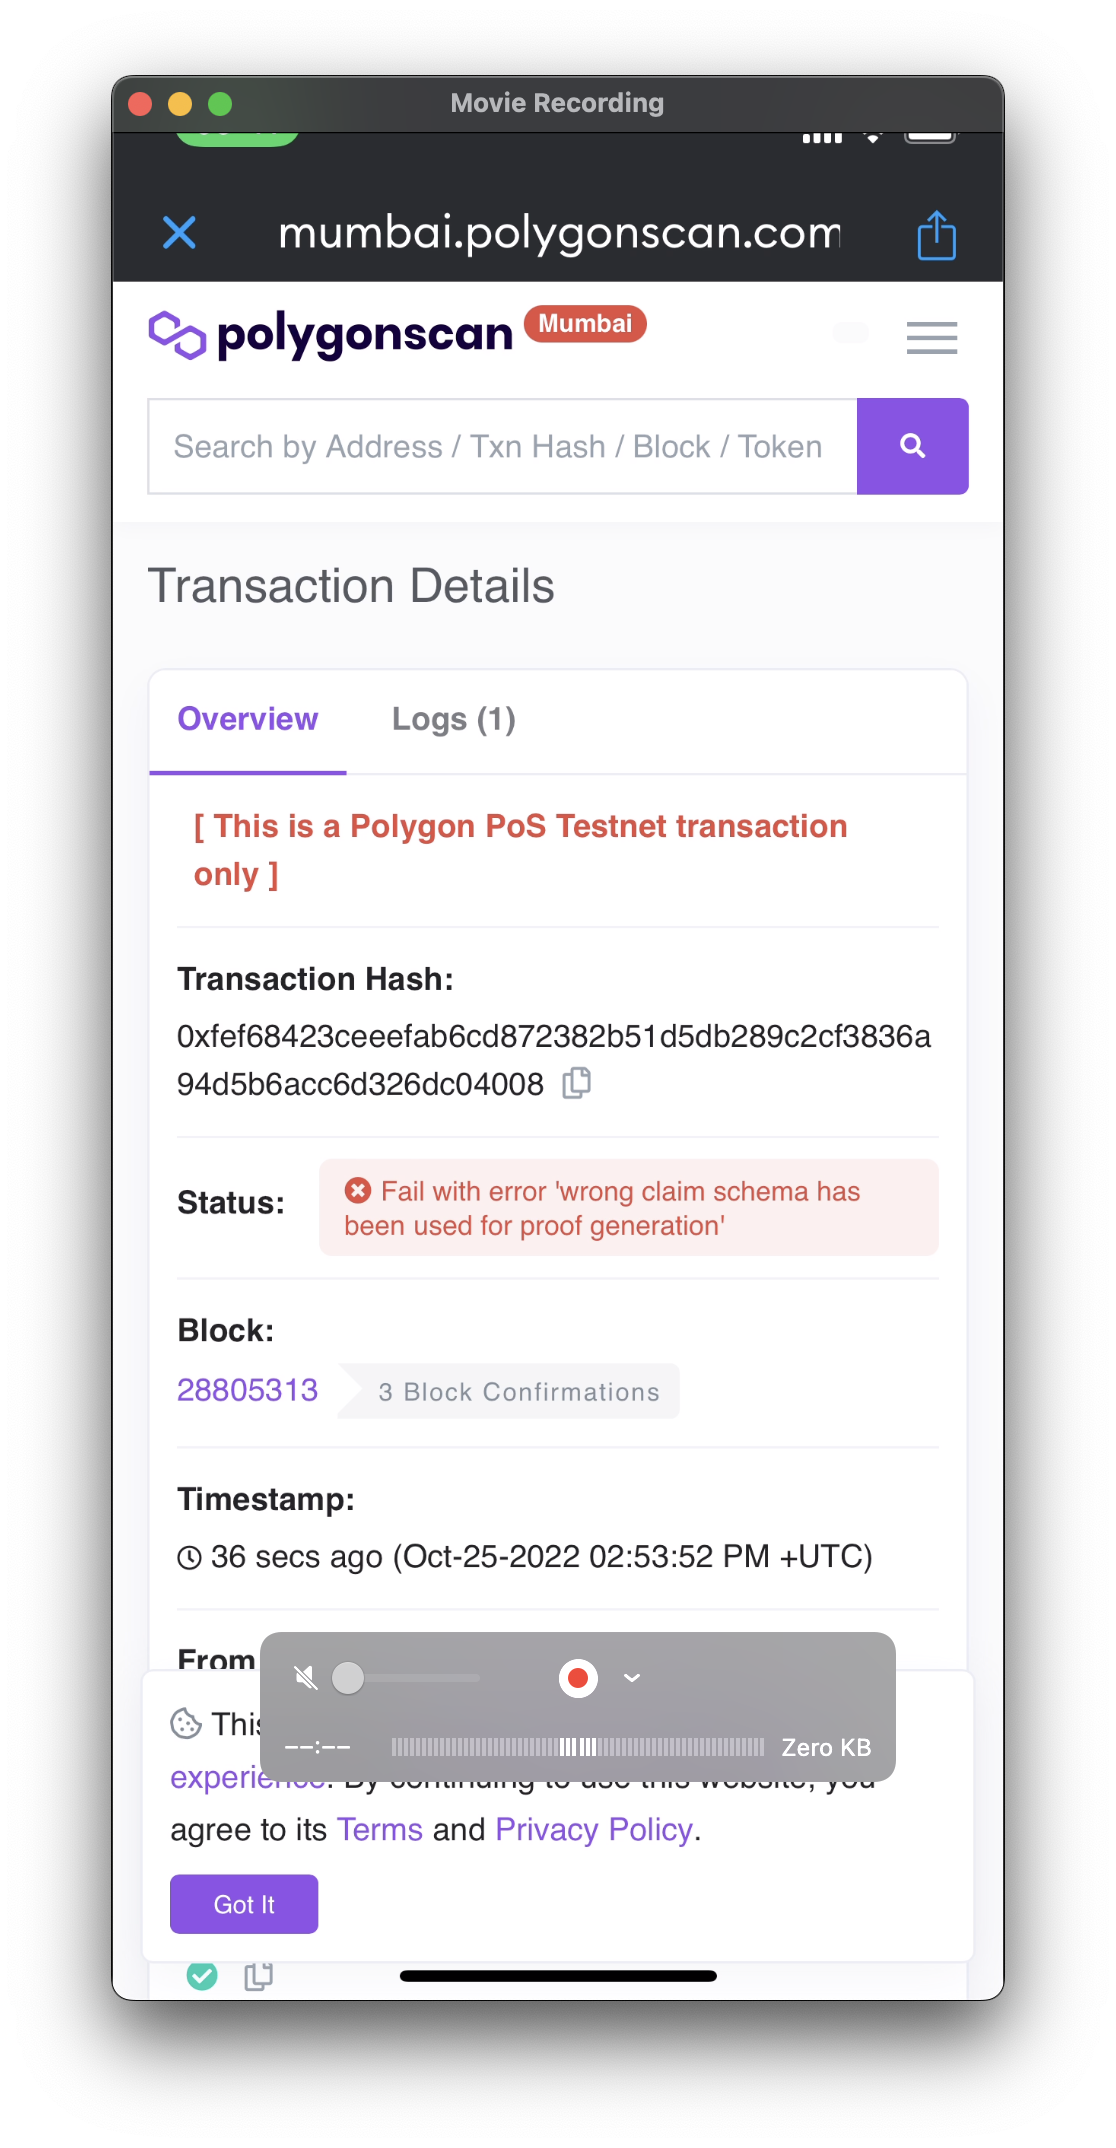
# ➜ Network: use --host to exposeDouble check that that the schema has been set correctly in the following places:
File: ./scripts/erc20ZkpRequest.ts
// This should be copied from https://platform-test.polygonid.com
const schemaHash = "f91912b9332bb22be08b4e10fe9eda9a";
AND
Files: ./htmlQRClaim/src/App.tsx
// This should match the url and the type from https://platform-test.polygonid.com
qrProofRequestJson.body.scope[0].rules.query.schema = {
  "url": "https://s3.eu-west-1.amazonaws.com/polygonid-schemas/96c80e89-3c04-4762-8f4a-c39373571506.json-ld",
  "type": "MyCustomSchema"
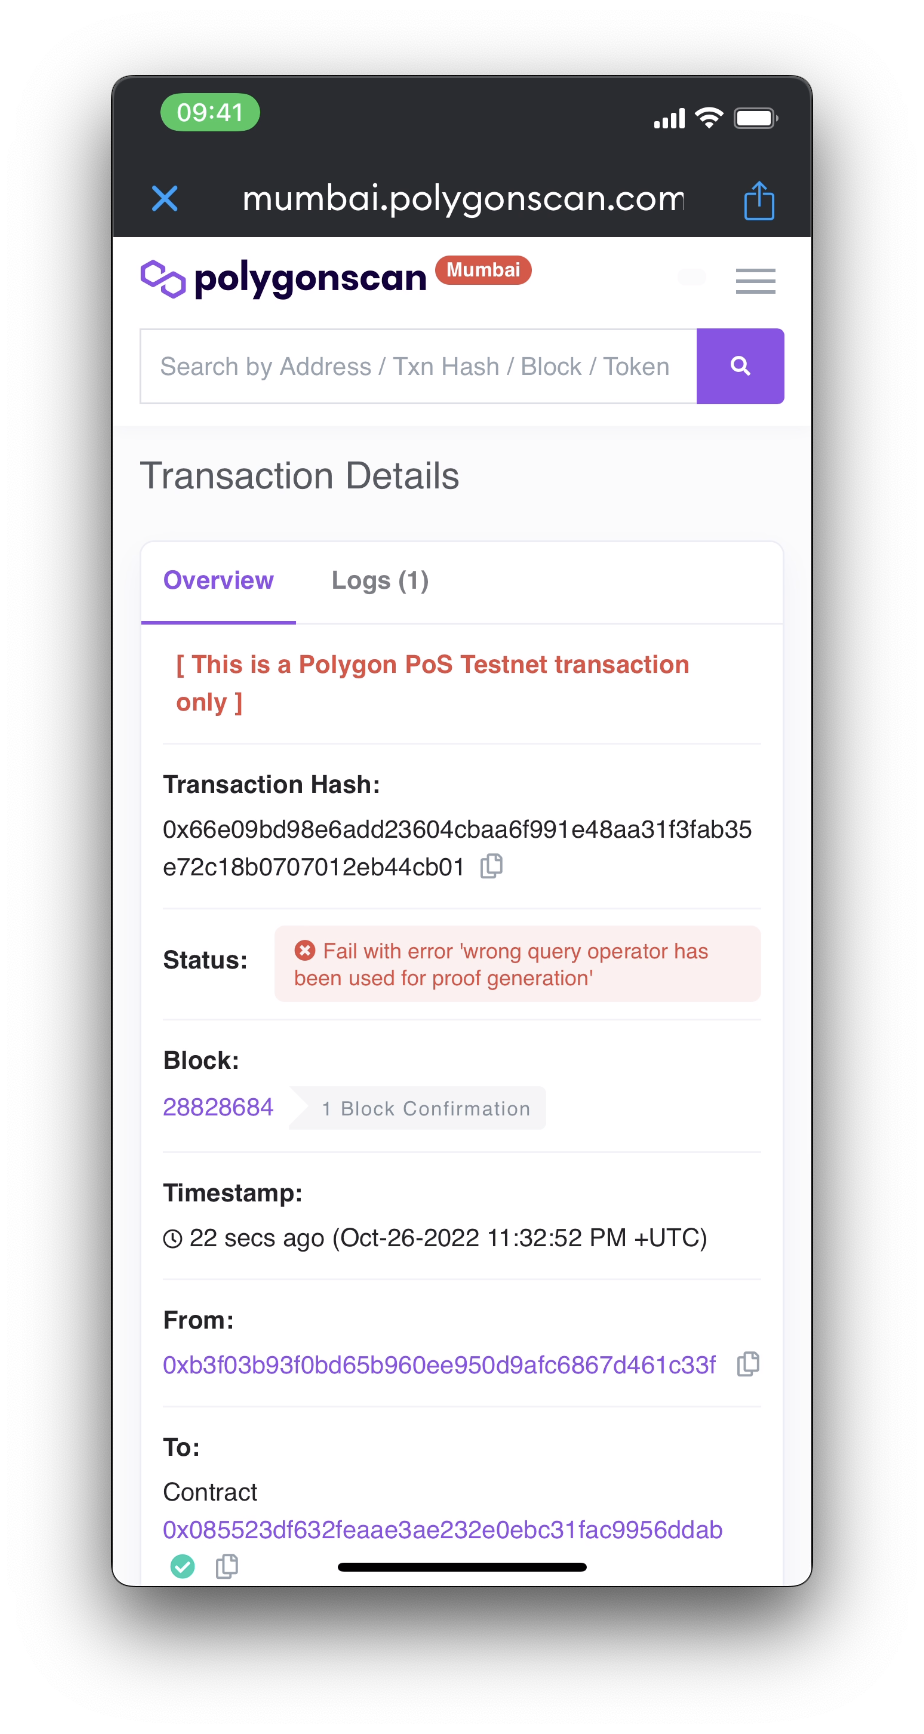
};Double check that the operator and the code for the operator is set correctly in the following places:
File: ./scripts/erc20ZkpRequest.ts
    const query = {
        schema: ethers.BigNumber.from(schemaEnd),
        slotIndex: 2,
        // see - https://0xpolygonid.github.io/tutorials/verifier/verification-library/zk-query-language/
        // 1 = equals
        // 2 = less-than
        // 3 = greater-than
        // 4 = in
        // 5 = not-in
        operator: 3,
        value: [10, ...new Array(63).fill(0).map(i => 0)],
        circuitId,
    };
AND
Files: ./htmlQRClaim/src/App.tsx
qrProofRequestJson.body.scope[0].rules.query.req = {
  "customNumberAttribute": {
    // see - https://0xpolygonid.github.io/tutorials/verifier/verification-library/zk-query-language/
    // NOTE: this value needs to match the erc20ZkpRequest.ts L34 or erc721ZkpRequest.ts L34
    // $eq = 1
    // $lt = 2
    // $gt = 3
    // $in = 4
    // $nin = 5
    "$gt": 12
  }
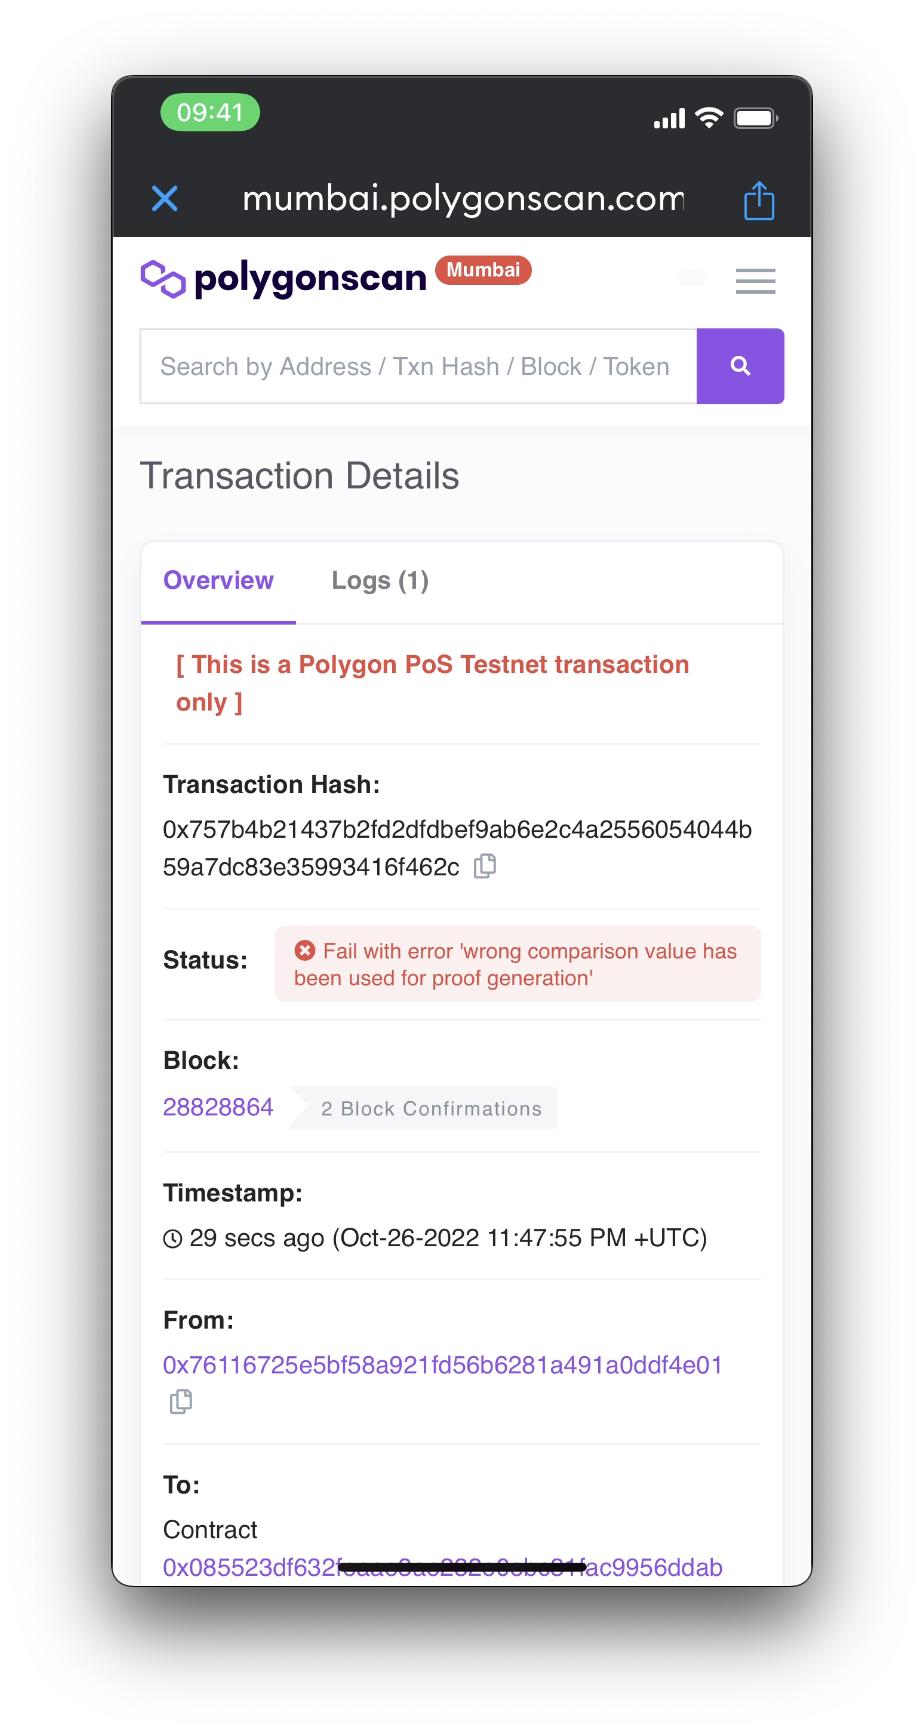
};Double check that the value used for the condition is set correctly in the following places:
File: ./scripts/erc20ZkpRequest.ts
    const query = {
        schema: ethers.BigNumber.from(schemaEnd),
        slotIndex: 2,
        operator: 3,
        // Make sure this value (ex: 10) matches the other value
        value: [10, ...new Array(63).fill(0).map(i => 0)],
        circuitId,
    };
AND
Files: ./htmlQRClaim/src/App.tsx
qrProofRequestJson.body.scope[0].rules.query.req = {
  "customNumberAttribute": {
    // Make sure this value (ex: 10) matches the other value
    "$gt": 10
  }
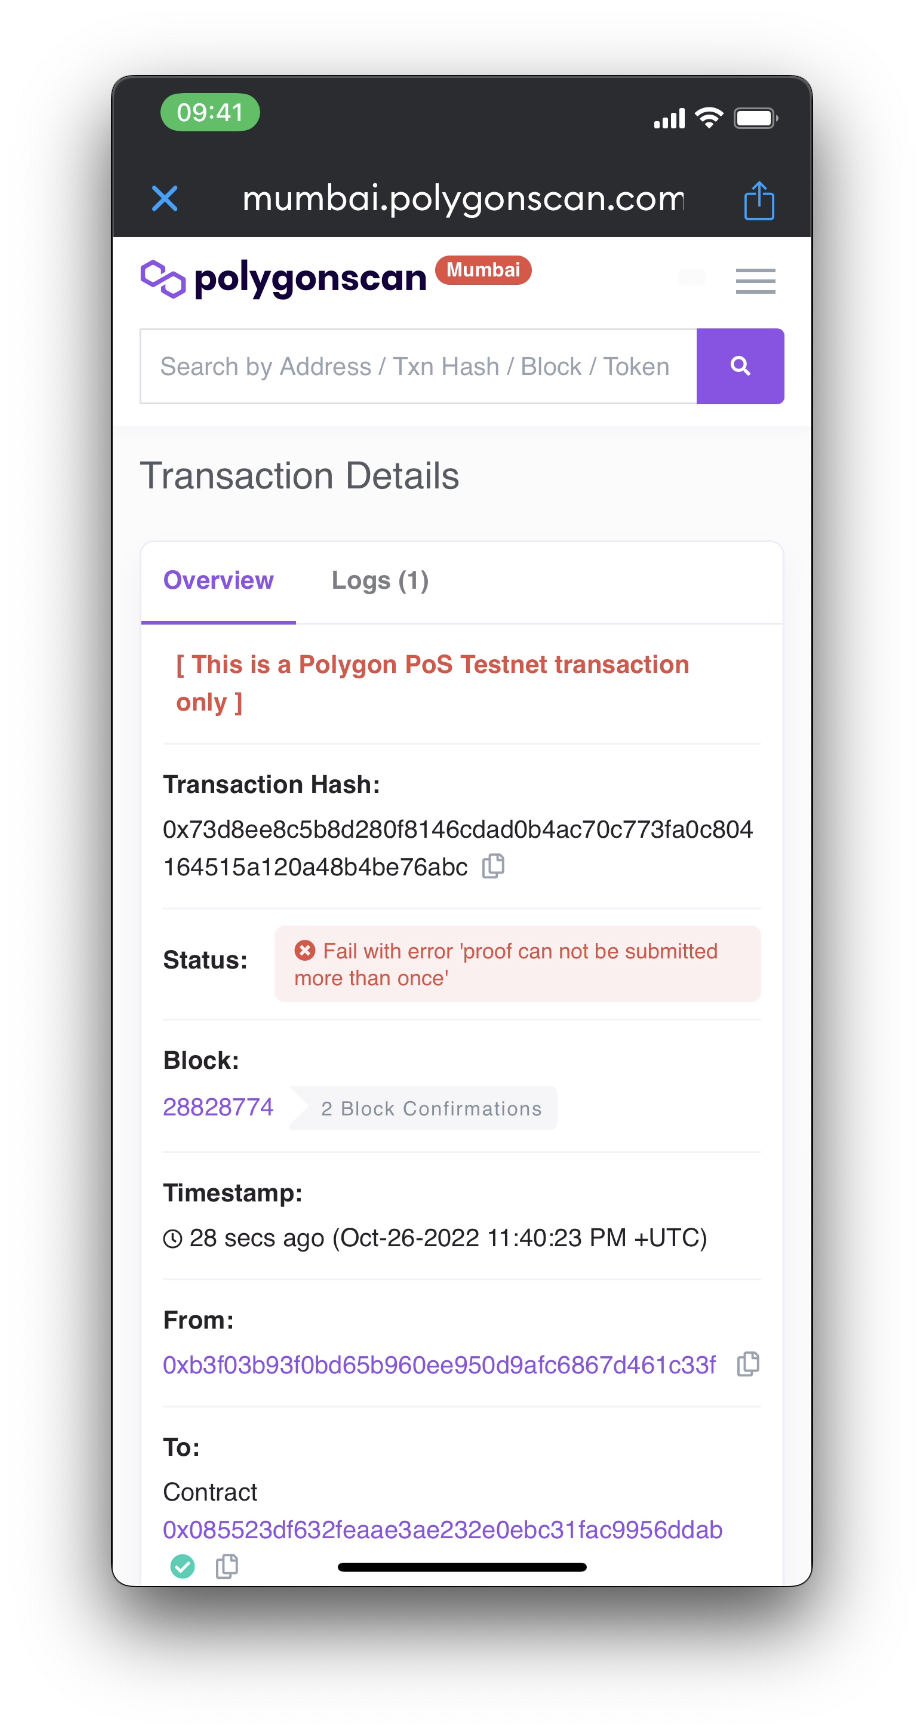
};This is because you can only mint once with that specific proof.
npx hardhat run scripts/erc721Deploy.ts --network mumbai;

# Expected output:
# Compiled x Solidity files successfully
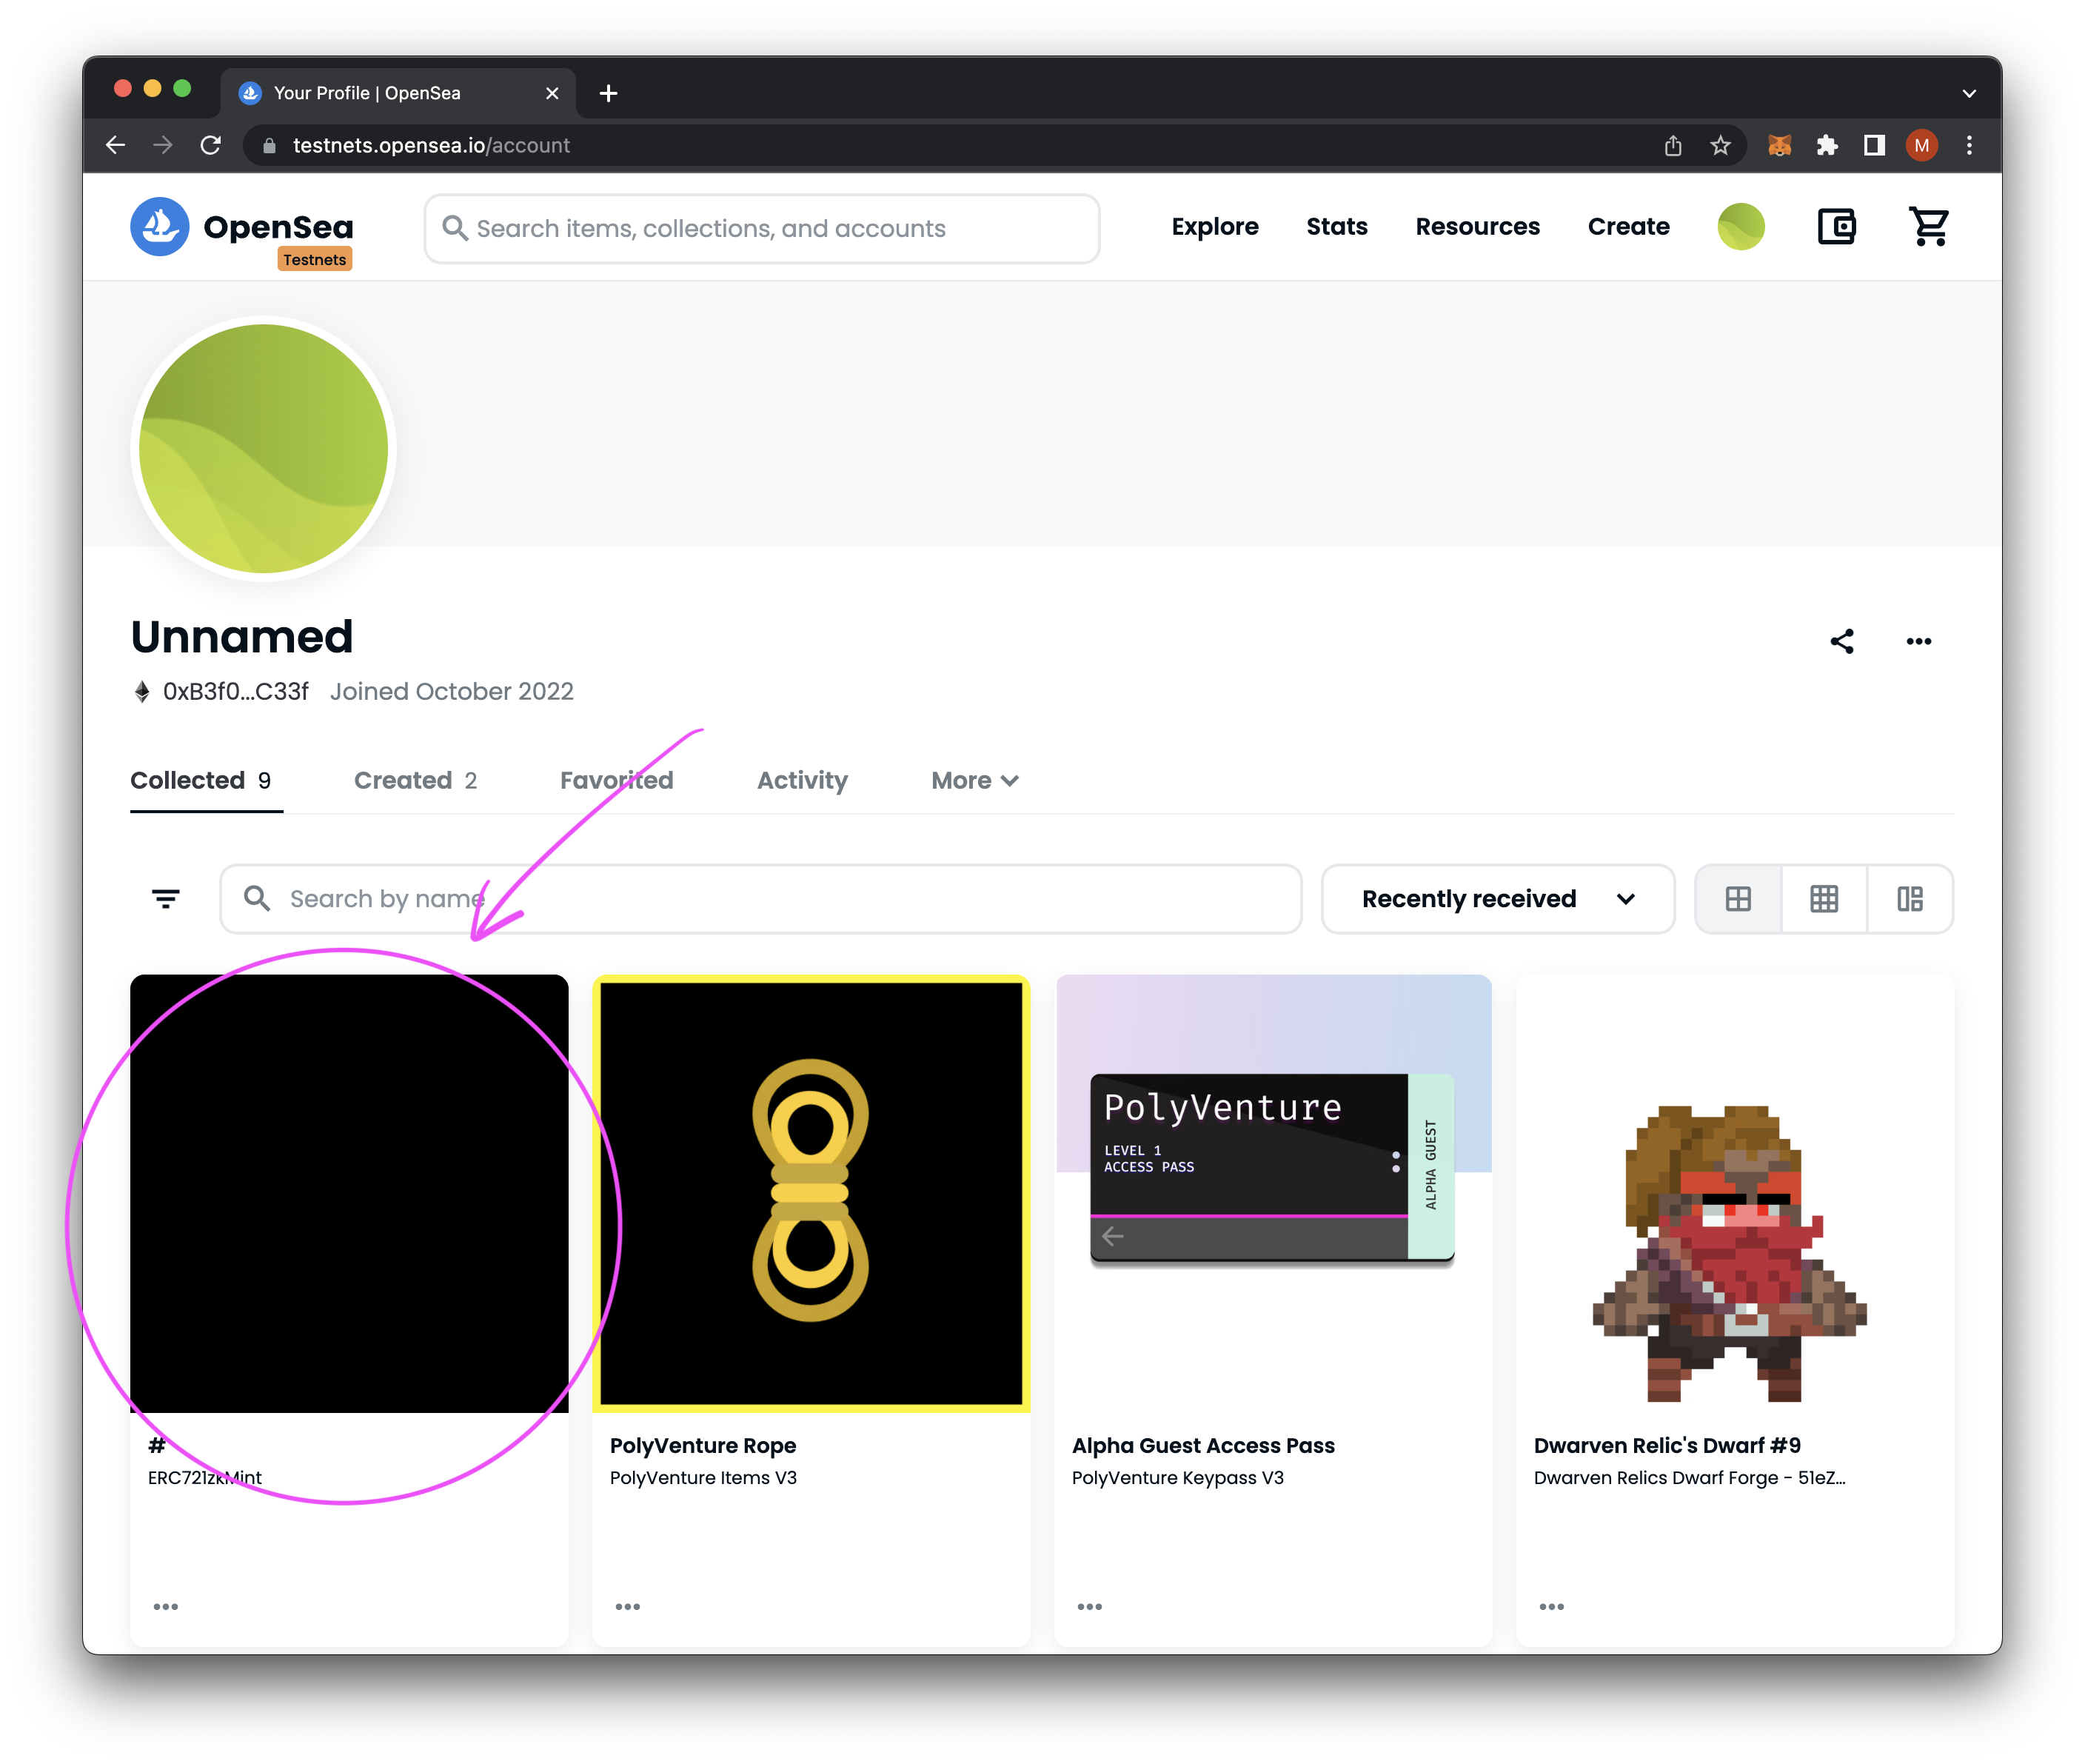
# ERC721zkMint deployed to 0xABc1...}Modify the following file
File: ./scripts/erc721ZkpRequest.ts
    // Change to copied schemaHas from claim in Step 2C
    const schemaHash = "9c2498080a90d43cada7fec79eeee8de";
    // Changed to deployed contract
    const ERC721VerifierAddress = "0x085523dF632FEaAE3Ae232E0EBc31FaC9956ddAb";
    const schemaEnd = fromLittleEndian(hexToBytes(schemaHash));
    const query = {
        schema: ethers.BigNumber.from(schemaEnd),
        slotIndex: 2,
        operator: 2,
        // Change to 10 or value that you want to use (eg. everything greater than 10)
        value: [10, ...new Array(63).fill(0).map(i => 0)],
        circuitId,
    };
Set it on the contract:
npx hardhat run --network mumbai scripts/erc721ZkpRequest.ts;

# Expected output:
# Request set at:
# NOTE: May take a little bit to show up
# https://mumbai.polygonscan.com/tx/0x60ac...Go to your OpenSea Account, connect your wallet, and see the minted hex colour nft.
