
Feature flags allow you to toggle functionality in the Wagtail based on configurable conditions.
Wagtail-Flags adds a Wagtail admin UI and Wagtail Site-based condition on top of Django-Flags. For a more complete overview of feature flags and how to use them, please see the Django-Flags documentation.

- Dependencies
- Installation
- Usage
- Extended conditions
- Getting help
- Getting involved
- Licensing
- Credits and references
- Django 1.8+ (including Django 2.0)
- Wagtail 1.10+ (including Wagtail 2.0)
- Django-Flags 3.0+
- Python 2.7+, 3.6+
- Install wagtail-flags:
pip install wagtail-flags- Add
flagsandwagtailflagsas installed apps in your Djangosettings.py:
INSTALLED_APPS = (
    ...
    'flags',
    'wagtailflags',
    ...
)Please see the Django-Flags documentation for the most current information about defining and checking feature flags.
First, define the flag in Django settings.py:
FLAGS = {
    'MY_FLAG': {}
}
Then use the flag in a Django template (mytemplate.html):
{% load feature_flags %}
{% flag_enabled 'MY_FLAG' as my_flag %}

{% if my_flag %}
  <div class="flagged-banner">
    I’m the result of a feature flag.
  </div>
{% endif %}
Next, configure a URL for that template (urls.py):
from django.urls import path
from django.views.generic import TemplateView
urlpatterns = [
path(r'mypage/', TemplateView.as_view(template_name='mytemplate.html')),
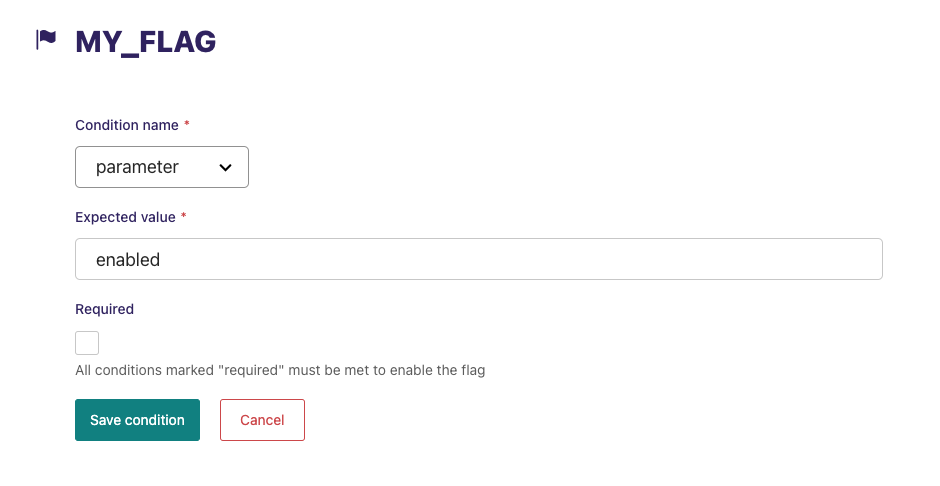
]Finally, add conditions for the flag in the Wagtail admin under "Settings", "Flags":
Wagtail-Flags adds the following conditions to Django-Flags:
Allows a flag to be enabled for a Wagtail site that matches the hostname and port in the condition value.
FLAGS = {'MY_FLAG': {'site': 'staging.mysite.com'}}Please add issues to the issue tracker.
General instructions on how to contribute can be found in CONTRIBUTING.
- Forked from cfgov-refresh