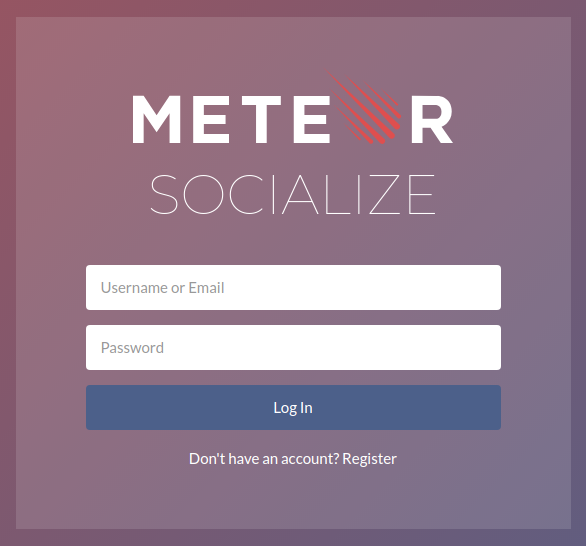
Welcome to the SocializeJs Demo. Here you'll find a Facebook style social network implemented using the packages in the socialize package set.
This demo costs me money to keep running, and the 17+ packages in the Socialize set represent a considerable time commitment to keep updated for both Meteor and React Native. More packages and more awesome features are planned which will only add to this commitment. With that in mind, if you find this demo or any of the packages useful, please consider keeping development rolling with a small monetary contribution.
Litecoin: LXLBD9sC5dV79eQkwj7tFusUHvJA5nhuD3 / Patreon / Paypal
This demo is live at https://socialize.meteorapp.com
On the initial page you see, you'll find a feed that will contain all your posts and any posts created by users that you are "friends" with. Every post can be liked or commented on and each comment can additionally be liked as well. When there is no content you will see an area with an explanatory message very similar to the one you are reading. Once your feed has content, this message will disappear. Once you are done reading this fully through, go ahead and create a post and introduce yourself. This feature is facilitated by the following packages.
Posts and Comments are Markdown enabled.
In the header take notice of the inbox icon. When you have conversations with unread messages an indicator will appear with the number of conversations that are unread. Clicking this icon will bring you to the messaging area. From there you can reply to messages sent to you, or start new conversations with friends, including group messages. When in a conversation you will also see all the other users that are participating in the conversation, as well as their online and conversation viewing status. The messaging features are facilitated by the following packages
Messages are Mardown enabled
In the header directly to the right of the messaging icon you'll find a silohette of a person. This is where you will be notified of new friend requests from other users. When you have new requests an indicator will appear showing the count. This feature is facilitated by the following packages.
On screens > 1470px you will see right side bar area which will contain any friends that are online. In the future this will be turned into an instant messaging area and when collapsed on smaller screens, will show as box affixed to the bottom of the viewport.
Generally speaking if you click on a username or a user's avatar you will be taken to their profile. To view your own profile you can click the dropdown menu at the top right in the header that appears as your username. From there click the "My Profile" link.
When on your own profile you can edit your information by clicking the "Edit Profile" link and you can upload a new Avatar by clicking the upload icon which appears over your current avatar.
On other users profile you can initiate a message, Send/Cancel a friendship request, End a friendship, or block them completely by clicking the meatball menu and clicking "block".
This feature is facilitated by the following packages.
From a users profile you can choose to block them. This will stop them from contacting you, viewing your profile and other activity on the site as well as stopping you from viewing theirs. This feature is facilitated by the following packages.
From your personal profile you can upload new avatars by clicking the upload icon layered over top of your current avatar. This feature is facilitated by the following packages.
Currently this app has cultofcoders:redis-oplog and disable-oplog installed, but it is completely optional and the app will run without them. If you do not wish to go through the setup, you can just remove them and ignore the configuration steps for redis-oplog.
Also this app uses Cloudinary for uploading and displaying user avatars. You will need a free cloudinary account to use this app. Once you have an account you can enter your credentials into settings.json and you'll be all set.
Step 1
$ git clone https://github.com/copleykj/meteor-socialize-demo.git
$ meteor npm install
Step 2 Setup a redis server for the app to connect to. This can be a tiny instance as redis-oplog requires very little resources. For a quick and easy way to get up and running, I totally recommend a free instance on redis labs.
Step 3
Create and edit a settings.json with the following settings for redis-oplog and Cloudinary, replacing necessary details with your own.
{
  "redisOplog": {
    "redis": {
      "port": 1337,
      "host": "you.host.here"
    },
    "retryIntervalMs": 10000,
    "mutationDefaults": {
        "optimistic": true,
        "pushToRedis": true
    },
    "overridePublishFunction": true
  },
  "cloudinary": {
      "api_secret": "DD_DeMOI7O5rYSGqBTWINSeCRet"
  },
  "public": {
      "cloudinary": {
          "cloud_name": "cloud773name",
          "api_key": "830573649475848"
      }
  }
}$ meteor npm startThis repo contains ESLint and Editor configurations. Please use them when contributing so I don't have to fight your code :-P
