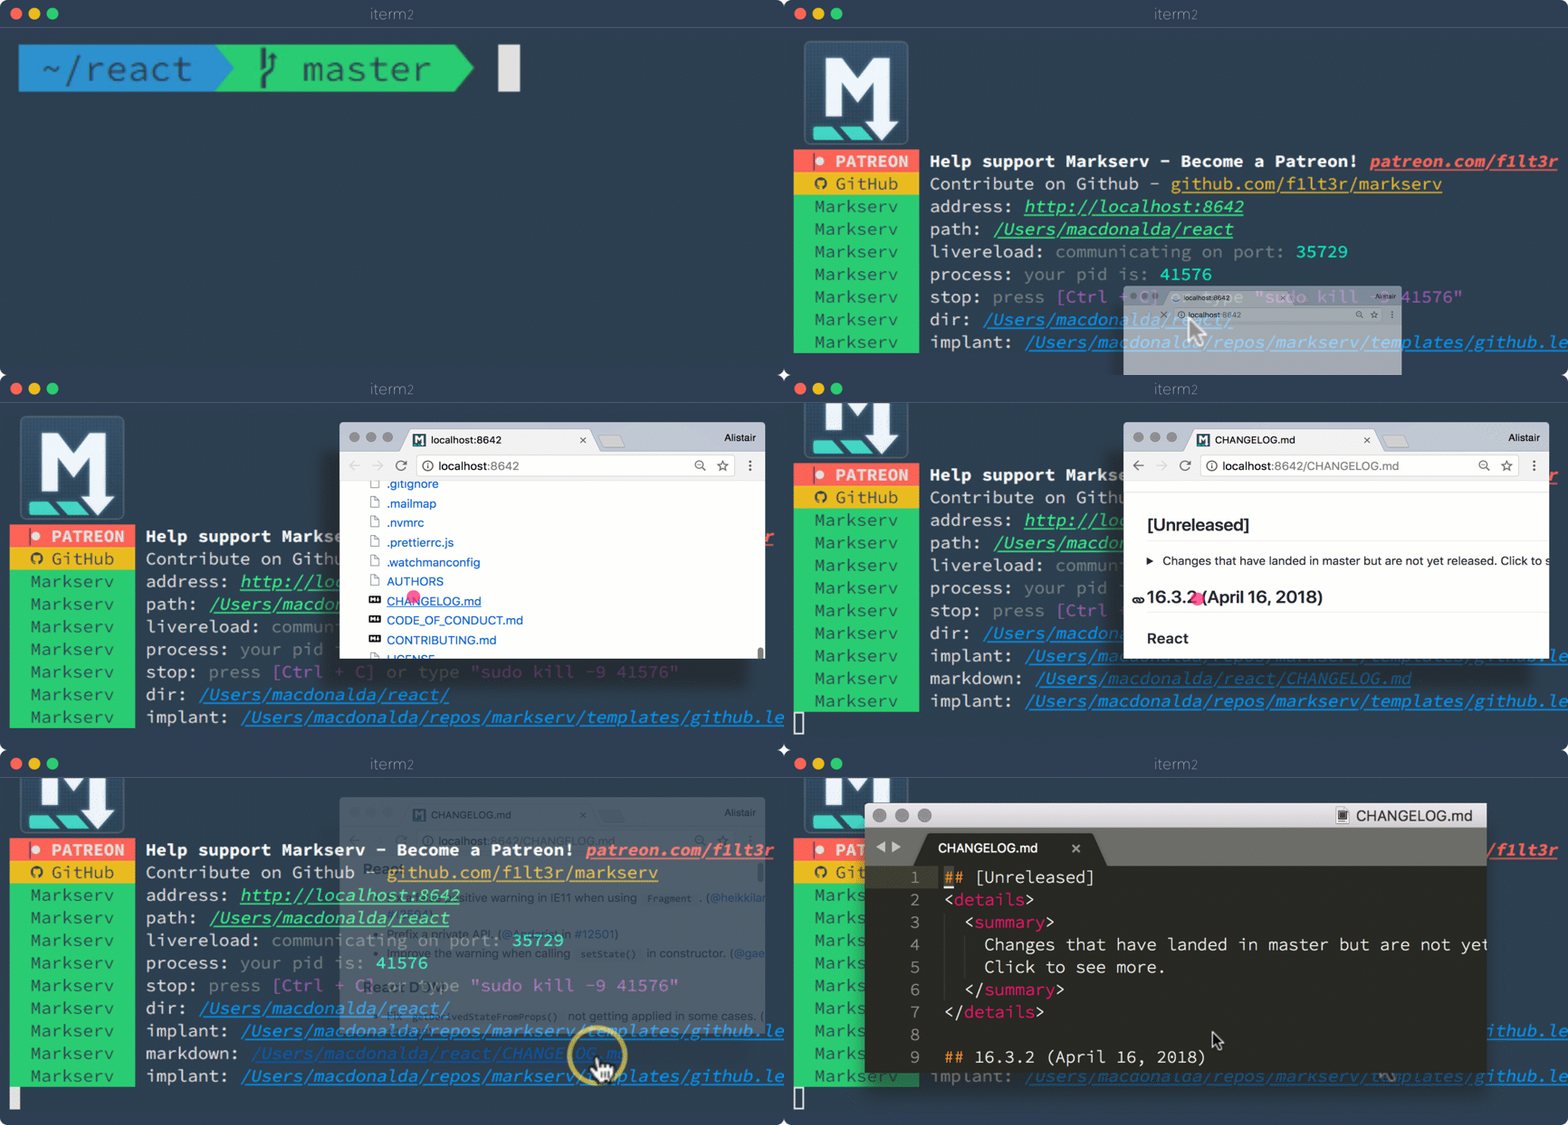
🏁 serve markdown as html (GitHub style), index directories, and live-reload as you edit
- Markdown content rendered as HTML
- GitHub flavor CSS and Syntax Highlighting
- Just in Time Templating: Markdown, HTML & LESS
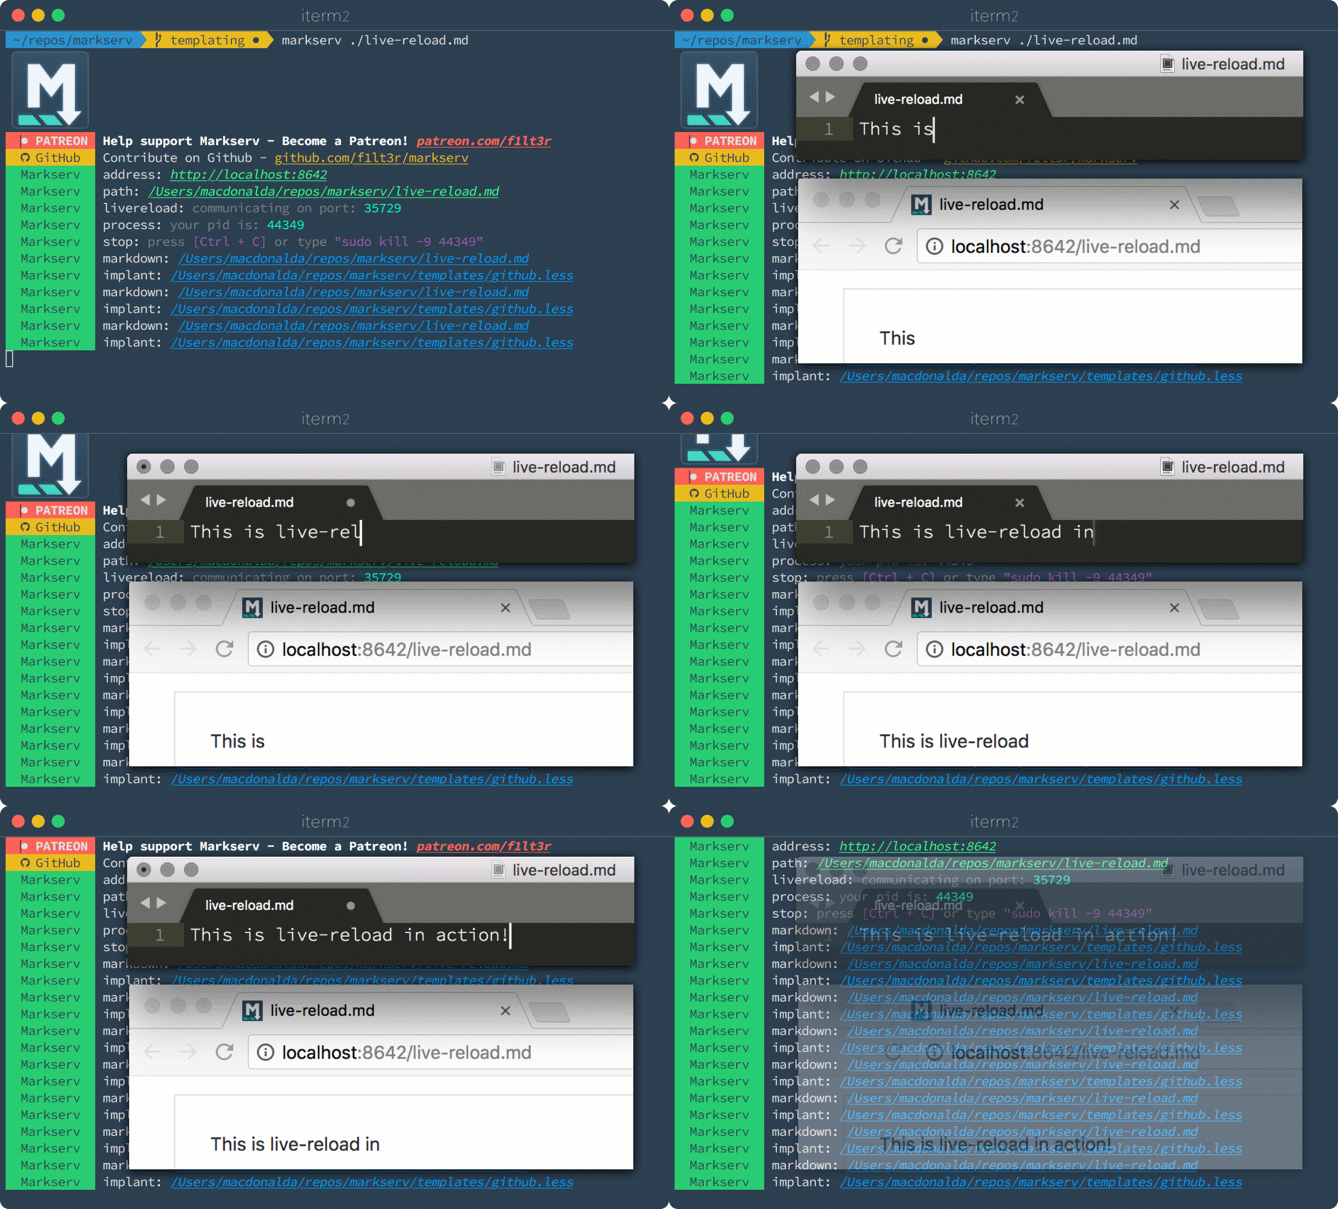
- LiveReload as you edit
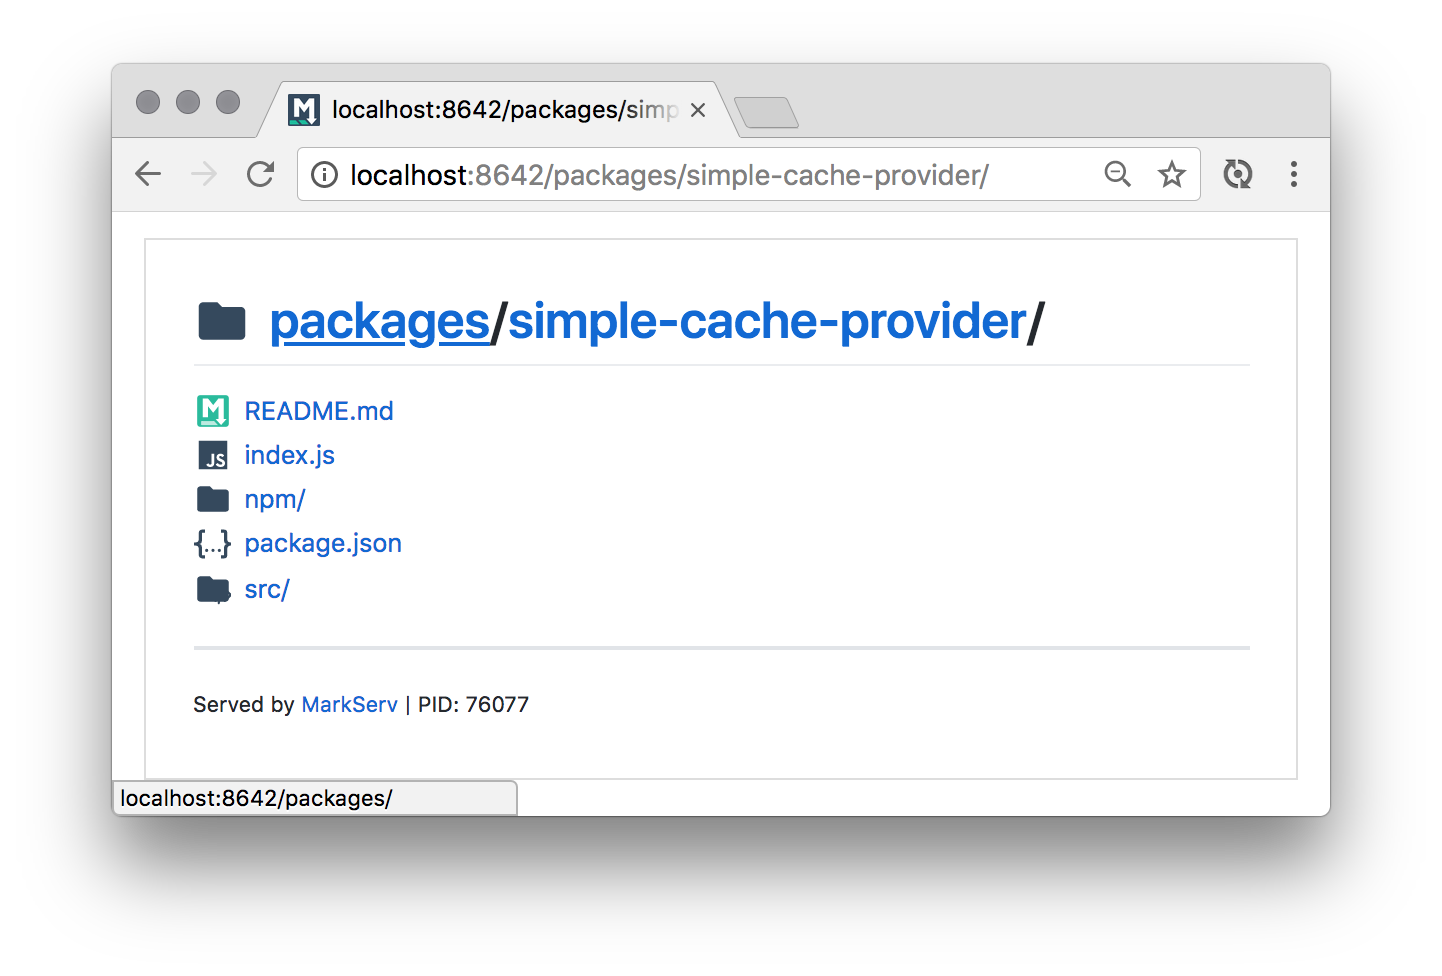
- Directory indexes
- MIME Type file support
Supporting: MathJax, Chinese Characters, Table of Contents, Tables, Heading Anchors
# NPM
$ npm i -g markserv

# Yarn
$ yarn global add markservTo start Markserv from the CLI
# Open closest README.md
$ readme

# Open file
$ markserv README.md

# Open a directory
$ markserv node_modules
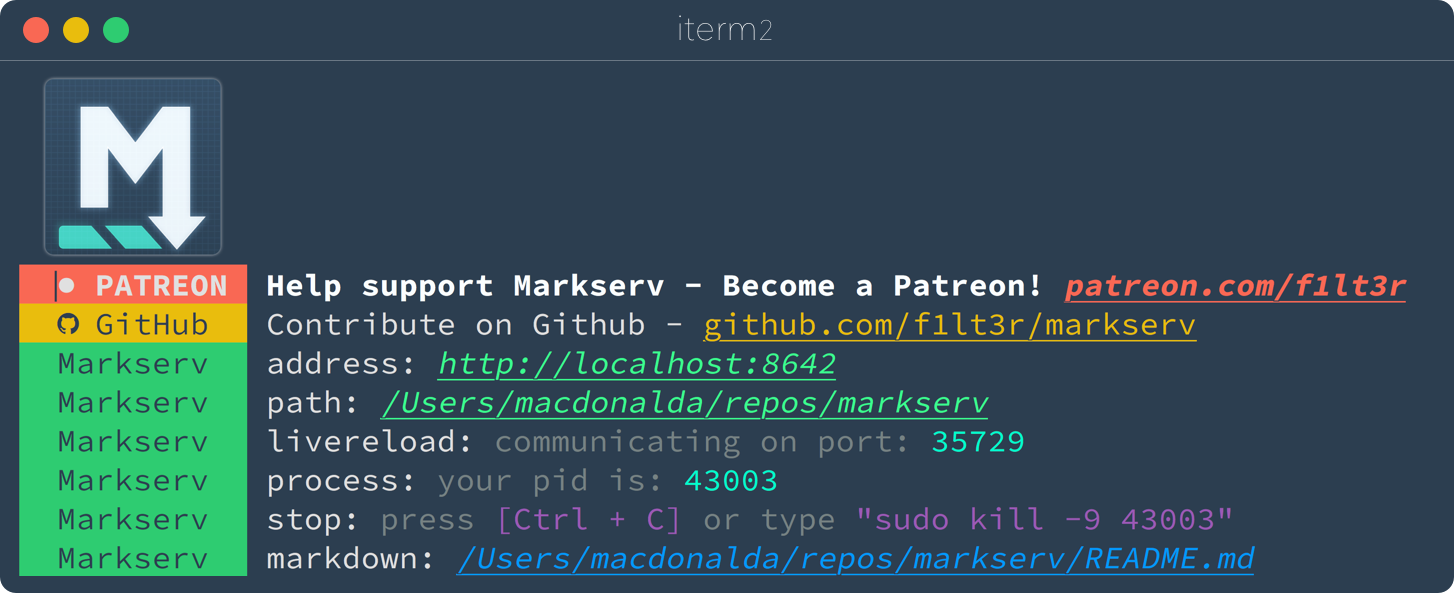
Start Markserv and open a file or directory.
# File
$ markserv ./path/to/file.md

# Directory
$ markserv ./
Start Markserv and open the closest README.md file in the browser:
$ readmeTo see real-time updates as you save your markdown files, you will need to install the LiveReload plugin for your browser:
With the Live Reload plugin installed and turned on, you should see the page reloading as you save your Markdown file.
You can link to an external Markdown file in the same way that you use GitHub Wiki links. You can use the example code here to see how external links work.
Example code:
[Skateboarding Dog!](tests/Linked-Markdown-Example.md)Example link:
Markserv allows you to include nested content. Templates are fetched and rendered when you request them in your browser. The maxDepth of includes is set to 10.
If you would like to look at an example, you can look in the tests/templates directory of this repo.
To see the server output of this templating example:
$ git clone@github.com/f1lt3r/markserv.git
$ cd markserv
$ markserv tests/templates/index.htmlNote: Any markdown files that you include will be transformed to HTML.
Where foo/bar/baz/qux.md equals:
## QuxAnd Markserv renders the following content:
# Include Markdown
{markdown: foo/bar/baz/qux.md}
The server response will be:
<h1>Include Markdown</h1>
<h2>Foo Bar</h2>Where foo/bar/baz/qux.html equals:
<h2>Qux</h2>And Markserv renders the following content:
# Include Markdown
{html: foo/bar/baz/qux.html}
The server response will be:
<h1>Include Markdown</h1>
<h2>Qux</h2>Note: Any LESS files that you include will be transformed to CSS.
Where foo/bar/baz/qux.css equals:
@link-color: green;
a {color: @link-color}
And Markserv renders the following content:
<style>{less: foo/bar/baz/qux.css}</style>The server response will be:
<style>
a {
  color: #008000;
}
</style>To list the options/flags for the markserv CLI tool:
$ markserv --helpYou can change the HTTP Port like this:
markserv -p 80In some cases localhost might be the address on which the server is listening, in which case it is hard to make the site available to external networks even with the right IP. Use the following as an example to make sure the server is accessible from external networks:
markserv -p 8642 -a 0.0.0.0Above example runs the server on port 8642 and it can be accessed from external networks using public IP of the machine on which the server is running. If you want the server to keep running in a seperate thread even when you log out, use this:
nohup markserv -p 8642 -a 0.0.0.0 &This will make the server instance persistent and will be available to access even when you log out or even when your ssh session closes (in case you are accessing a remote machine through ssh to set up markserv server)
- Logos used in the directory list: PKief - vscode-material-icon-theme
Thanks goes to these wonderful people (emoji key):
Alistair MacDonald 💻 | 陳瀛洲 💻 | Kefei Lu 💻 | Zhenfei You 💻 | Andrew 💻 | Daniel Perez 💻 | Sushruth Shastry 💻 |
Patryk Rzucidło 💻 | EstebanMarin 💻 |
This project follows the all-contributors specification. Contributions of any kind welcome!


