The unicorn-maker project is a repository that contains an end-to-end example of an AWS Cloudformation resource type.
The CloudFormation Command Line Interface (CLI) is an open-source tool that enables you to develop and test AWS and third-party resource types and register them for use in AWS CloudFormation. ]
Welcome to the unicorn-maker project!
What is a CloudFormation resource provider? Excellent question! AWS CloudFormation introduced a set of capabilities that made it easy to model and automate third-party resources such as SaaS monitoring or incident management tools with infrastructure-as-code benefits.
With this launch, you can use AWS CloudFormation as a single tool to automate the provisioning of your infrastructure and application resources, whether AWS or third party, without the need for custom scripts or manual processes. You can now create your own private AWS CloudFormation resource providers, share them with the open-source community, and leverage third-party providers developed by others.
Cool, right? How do I get started? Wow, you are full of great questions. I built this project to help you get started. In this repository, you will find an example of an AWS Cloudformation resource provider that you can use as an example.
You will need:
- The prerequisites for the language you will be using to create your resource type installed
- An AWS account
- The AWS CLI installed on your system
First, start by installing the AWS Cloudformation CLI and the language plugins.
Although not necessary, I recommend creating a Python virtual environment. It makes getting started a little easier:
$ python3 -m venv env
$ source env/bin/activate
Now, install the AWS CloudFormation CLI and language plugins:
(env)$ pip install cloudformation-cli cloudformation-cli-java-plugin cloudformation-cli-go-plugin cloudformation-cli-python-plugin
What's great about creating an AWS CloudFormation provider is you can write it in JAVA, Go, Python, or TypeScript.
In this repo, you will find a folder that contains an example resource type built in the following languages:
Java (Coming soon)
No matter what path you choose, the resource design is the same. You can use this project as a "rosetta stone."
For example, if you are good at Go and want to learn how to create a Python provider, compare the projects.
This provider uses CrudCrud as the backend, enabling you to focus on provider creation instead of standing up an API.
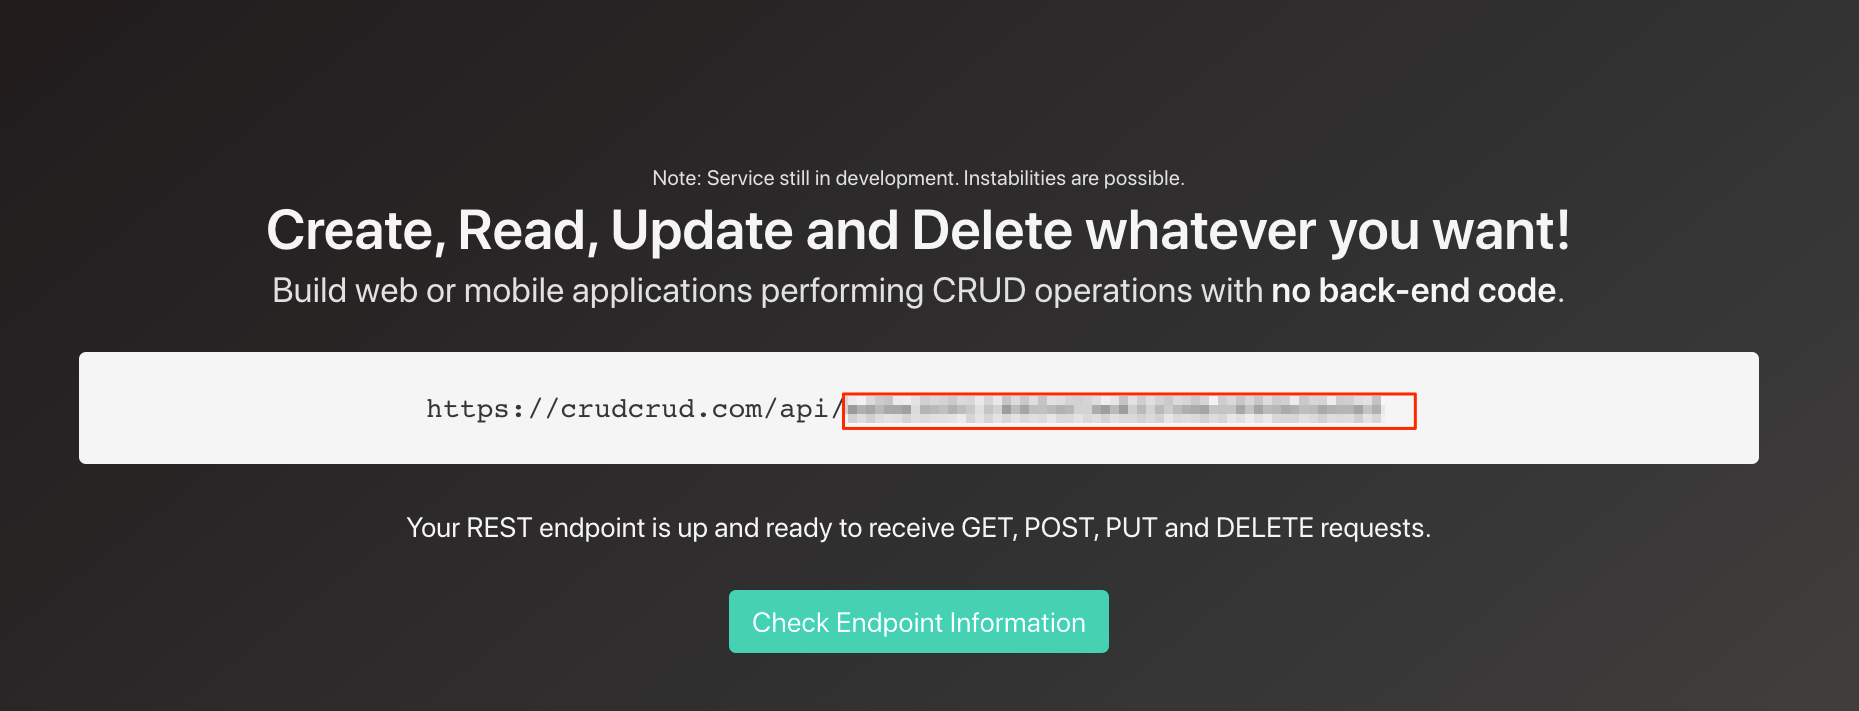
Let's setup the backend. Start by going to https://crudcrud.com/ and obtain a CrudCrud API key. Don't worry—the free version provides more than enough requests to play with this example.
Copy the API key, you well need this in the next step.
Now, it's time to build and deploy the provider.
Begin by picking a language and change directory into that project:
(env)$ cd language-folder
Add the API key to the source file.
Because the repo contains an example in each language, the build process is different between them. Please follow each project's directions to learn more about the prerequisites and how to perform a build.
Once the resource type is built, submit it using the CloudFormation CLI tool:
(env)$ cfn submit
After a few minutes, the Brianterry::Unicorn::Maker resource will be displayed in your AWS CloudFormation console under private Resource types:
Using the CloudFormation template in the deployment folder, create new stack that contains a unicorn:
The following command creates a new stack by using the cloudformation.json template.
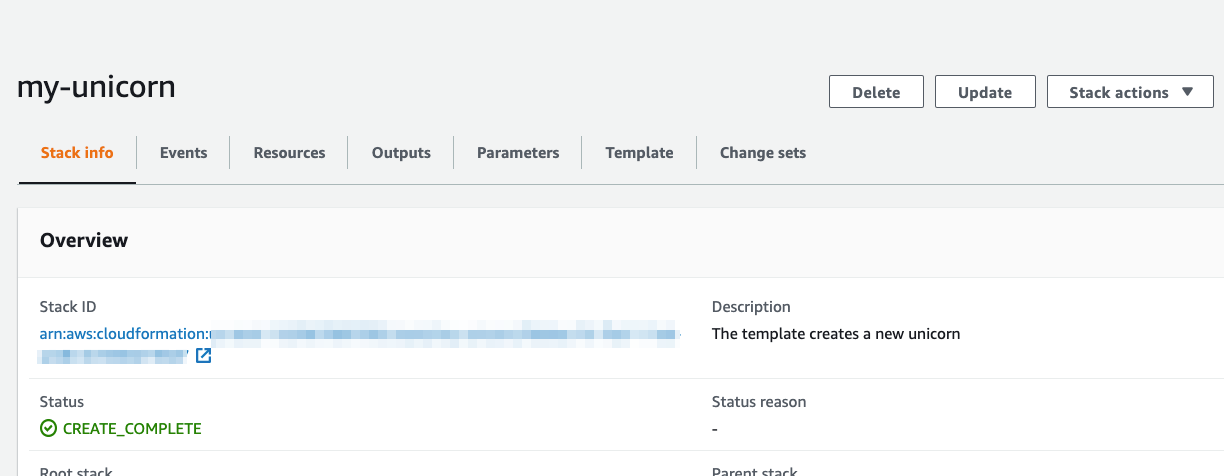
(env)$ aws cloudformation deploy --template deployment/cloudformation.json --stack-name my-unicorn
You can view the stack's process in your AWS CloudFormation Console
Now, jump over to your crubcrud dashboard at https://crudcrud.com/api/<Your API KEY>/unicorns to see your new unicorn!
CloudFormation handles the lifecycle of our unicorns. So lets change the name of the unicorn by updating the CloudFormation stack.
The following command updates the stack and changes the unicorn name
(env)$ aws cloudformation update-stack --use-previous-template --stack-name my-unicorn --parameters ParameterKey=Name,ParameterValue=Valeri
jump over to your crubcrud dashboard at https://crudcrud.com/api/<Your API KEY>/unicorns to see your updated unicorn!
When you delete an AWS CloudFormation Stack, the resource is deleted too.
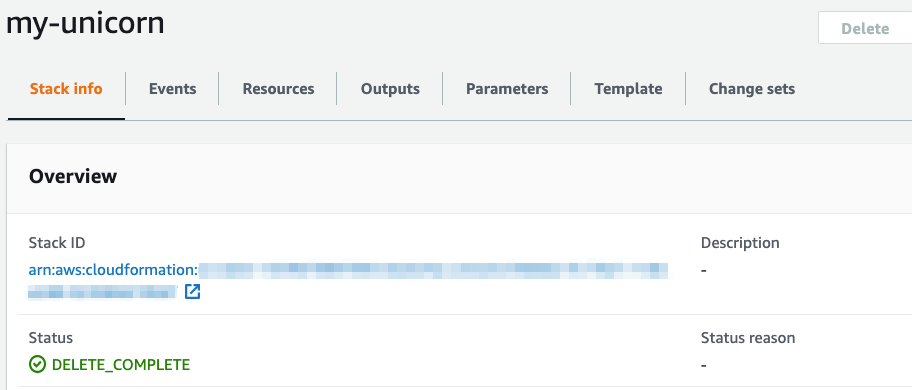
Let's delete the stack and delete the unicorn
(env)$ aws cloudformation delete-stack --stack-name my-unicorn
crudcrud dashboard:
Unicorn maker is released under the MIT license. See LICENSE.txt


