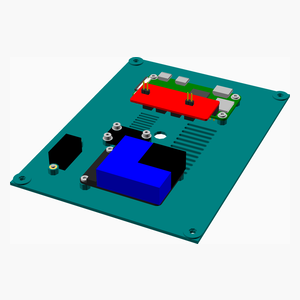
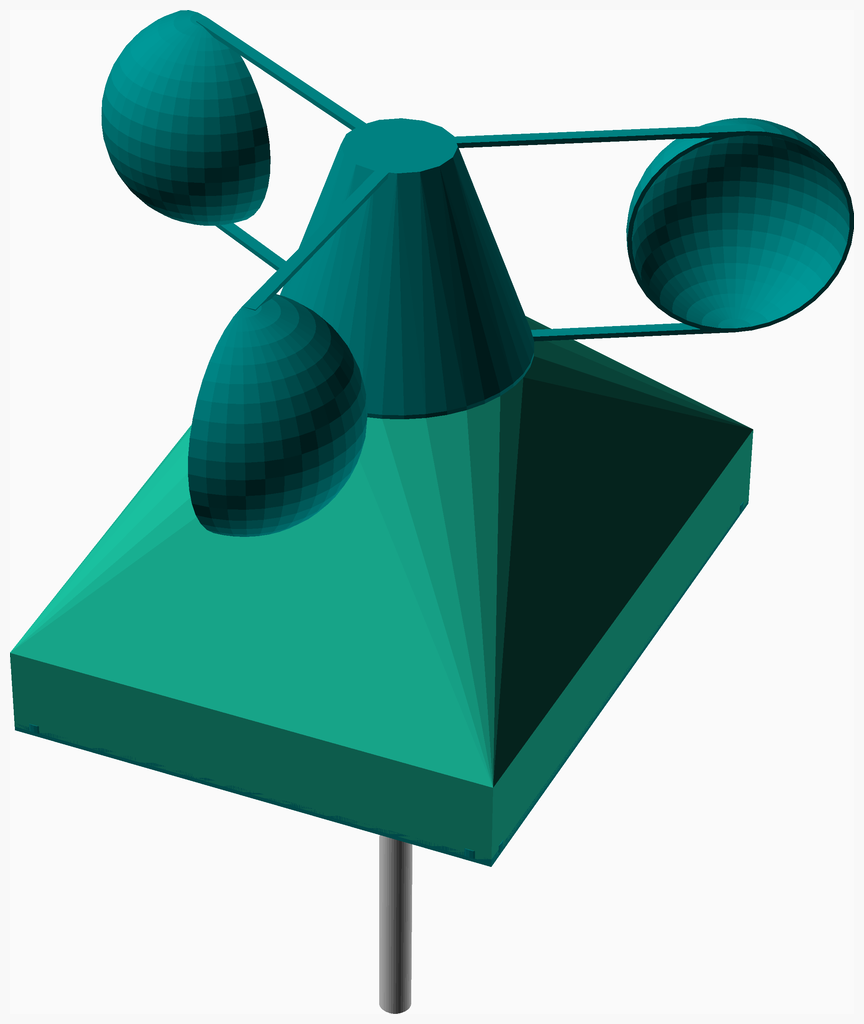
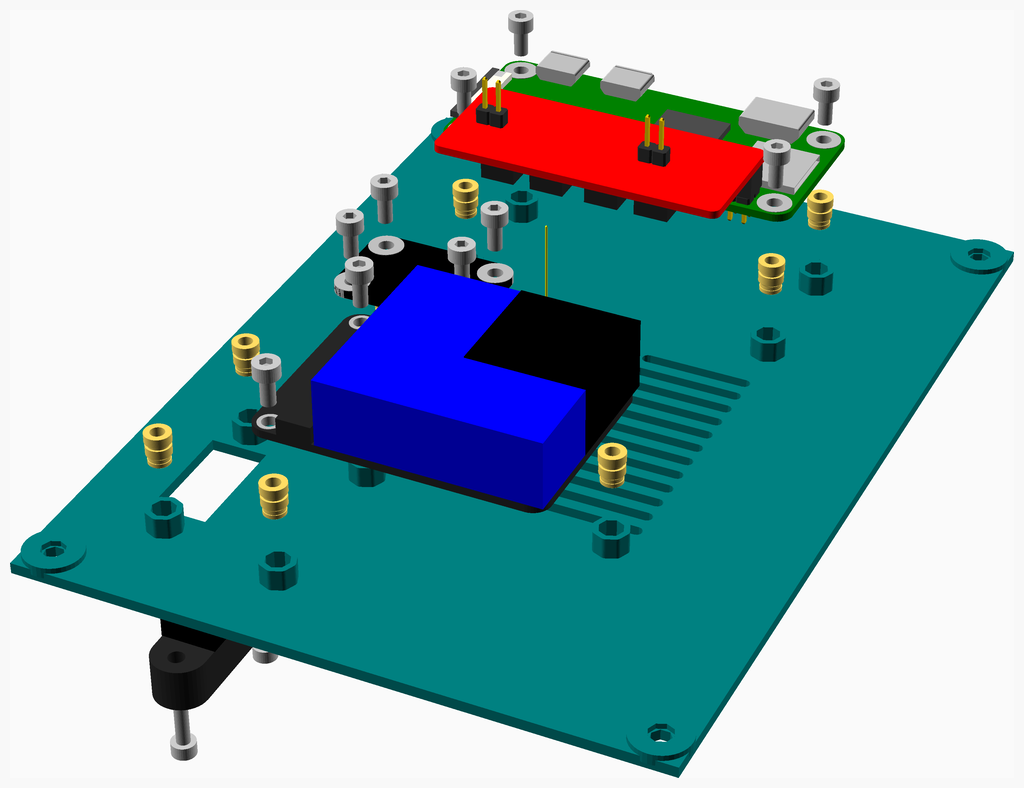
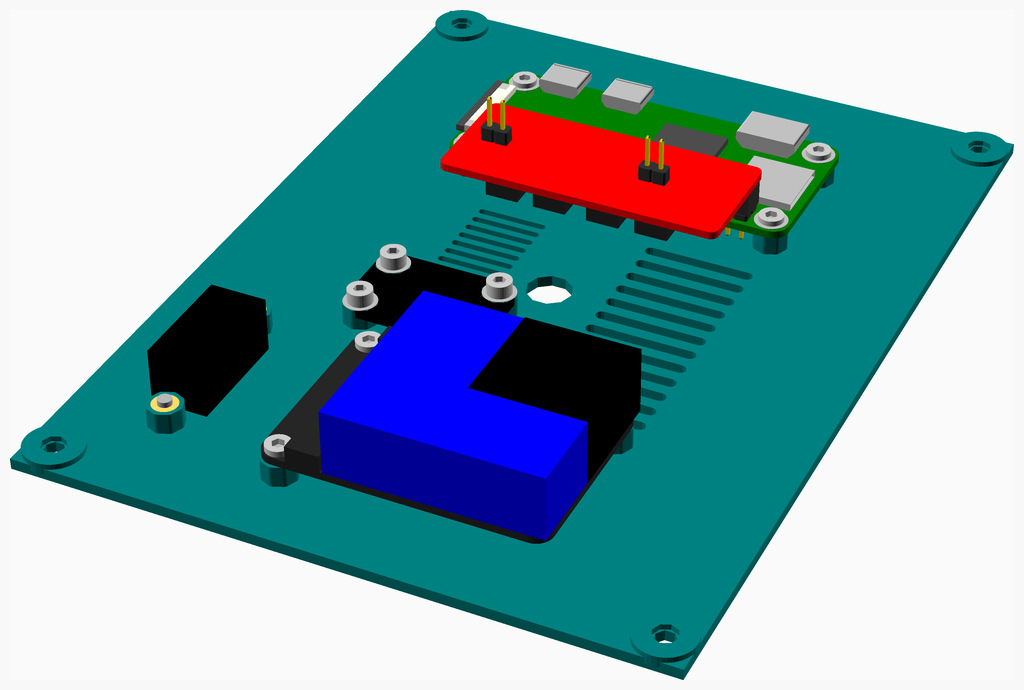
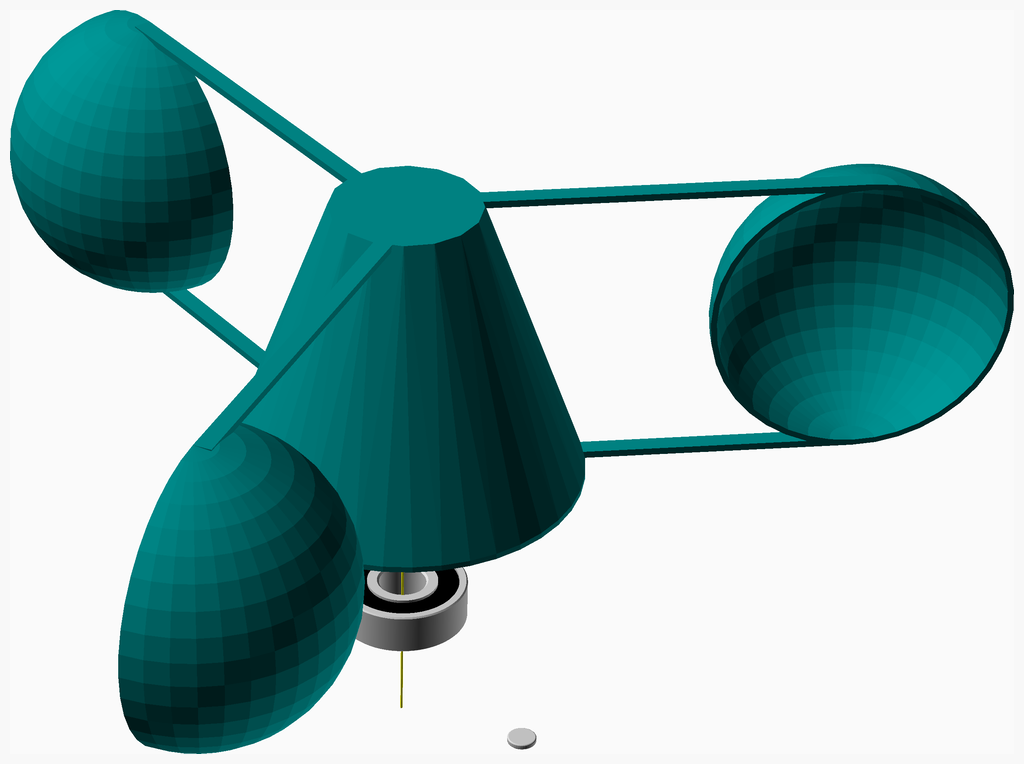
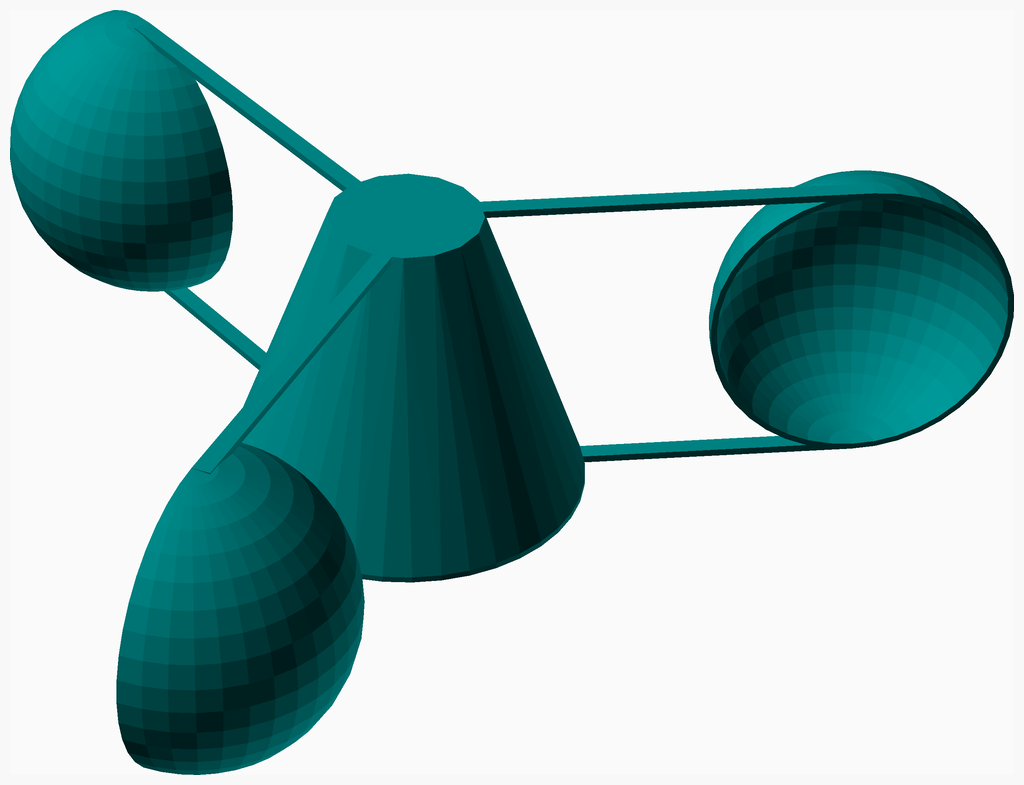
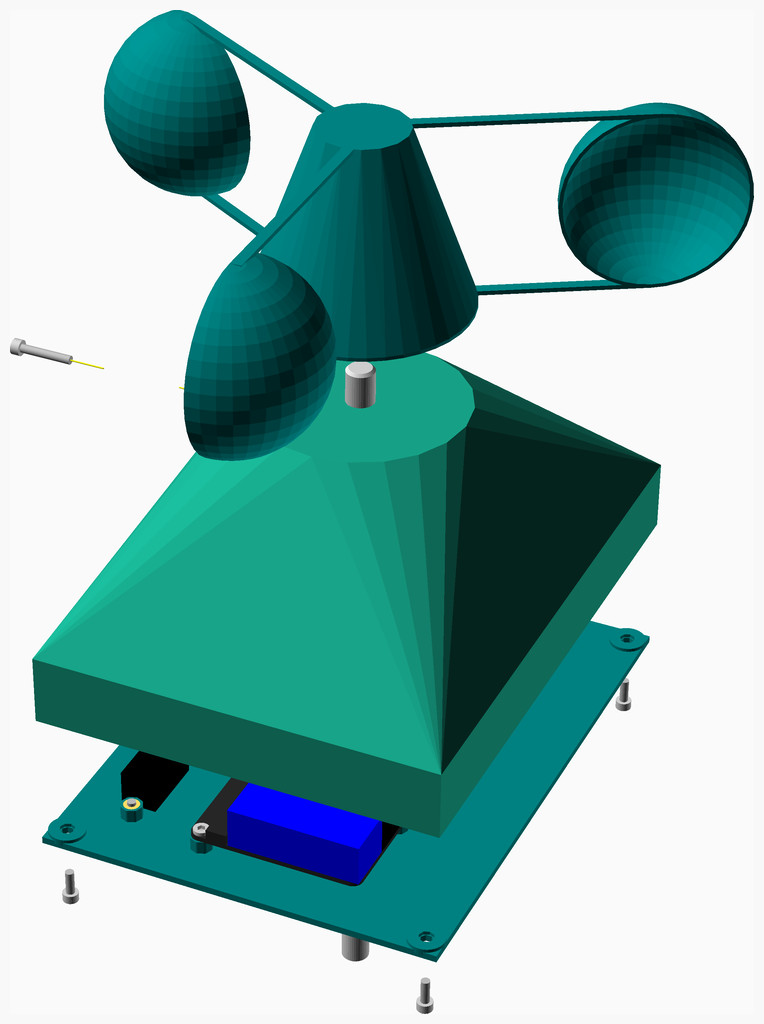
An anaerometer and atmospheric sampling station based on RasPi Zero W.
Parts list Housing Assembly Pi Assembly Plate Assembly Spinner Assembly Main Assembly
Top
Housing Pi Plate Spinner Main TOTALS
Vitamins
.
.
1
.
.
1
BME680 Atmospheric Sensor STEMMA-QT
.
.
.
1
.
1
Ball bearing 608-2RS 8mm x 22mm x 7mm
1
.
.
.
.
1
Hall Effect Sensor
5
.
13
.
.
18
Heatfit insert M2.5
.
.
.
1
.
1
Magnet, 5mm diameter, 1mm high
.
1
.
.
.
1
Micro SD card
.
.
1
.
.
1
Micro USB Panel Jack
.
.
1
.
.
1
PMSA003I Air Particulate Sensor STEMMA-QT
.
2
.
.
.
2
Pin header 2 x 1
.
1
.
.
.
1
Pin header 20 x 2
.
1
.
.
.
1
Raspberry Pi Zero
.
.
11
.
.
11
Screw M2.5 cap x 5mm
.
.
.
.
4
4
Screw M2.5 cap x 7mm
.
.
2
.
1
3
Screw M2.5 cap x 15mm
.
.
.
.
1
1
Smooth rod 8mm x 200mm
.
1
.
.
.
1
SparkFun Qwiic HAT
6
6
29
2
6
49
Total vitamins count
3D printed parts
1
.
.
.
.
1
housing.stl
.
.
1
.
.
1
plate.stl
.
.
.
1
.
1
spinner.stl
1
.
1
1
.
3
Total 3D printed parts count
Top
Qty
Description
1
Hall Effect Sensor
5
Heatfit insert M2.5
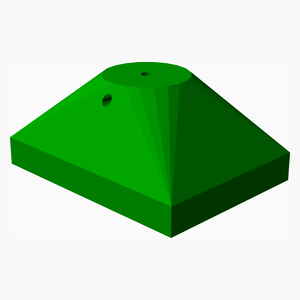
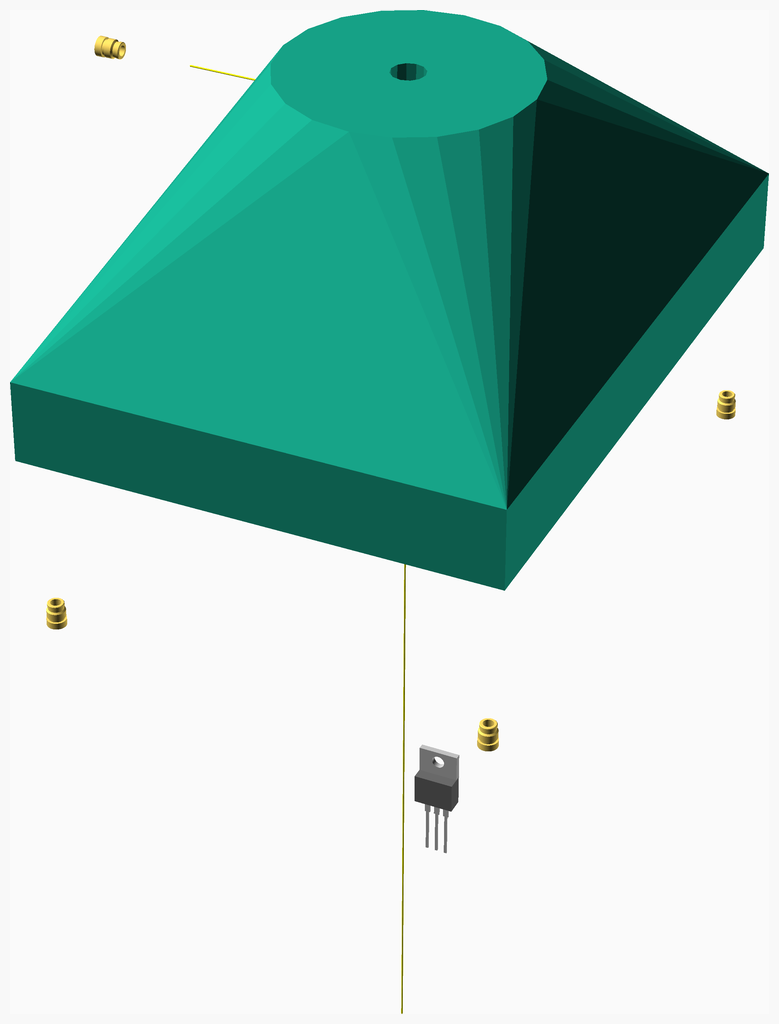
1 x housing.stl
Heat-set inserts into the four plate mounting lugs and into the rod retaining lug.
Top
Qty
Description
1
Micro SD card
2
Pin header 2 x 1
1
Pin header 20 x 2
1
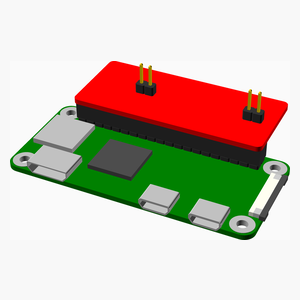
Raspberry Pi Zero
1
SparkFun Qwiic HAT
Top
Qty
Description
1
BME680 Atmospheric Sensor STEMMA-QT
13
Heatfit insert M2.5
1
Micro USB Panel Jack
1
PMSA003I Air Particulate Sensor STEMMA-QT
11
Screw M2.5 cap x 5mm
2
Screw M2.5 cap x 15mm
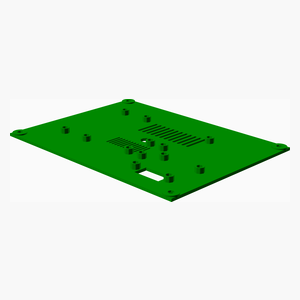
1 x plate.stl
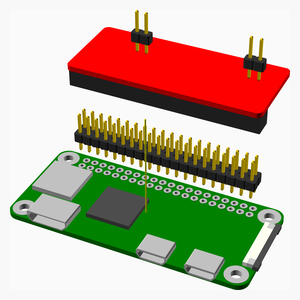
1 x pi_assembly
Insert the heat-set inserts.
Top
Qty
Description
1
Ball bearing 608-2RS 8mm x 22mm x 7mm
1
Magnet, 5mm diameter, 1mm high
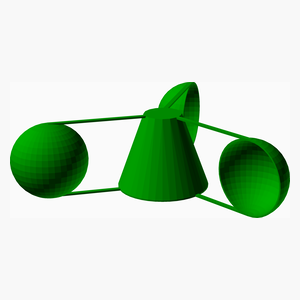
1 x spinner.stl
Press-fit the skate bearing into the anemometer spinner.
Top
Qty
Description
4
Screw M2.5 cap x 7mm
1
Screw M2.5 cap x 15mm
1
Smooth rod 8mm x 200mm
1 x housing_assembly
1 x plate_assembly
1 x spinner_assembly
Assembly instructions
Top
