This is the code for the paper
Image Generation from Scene Graphs
Justin Johnson,
Agrim Gupta,
Li Fei-Fei
Presented at CVPR 2018
Please note that this is not an officially supported Google product.
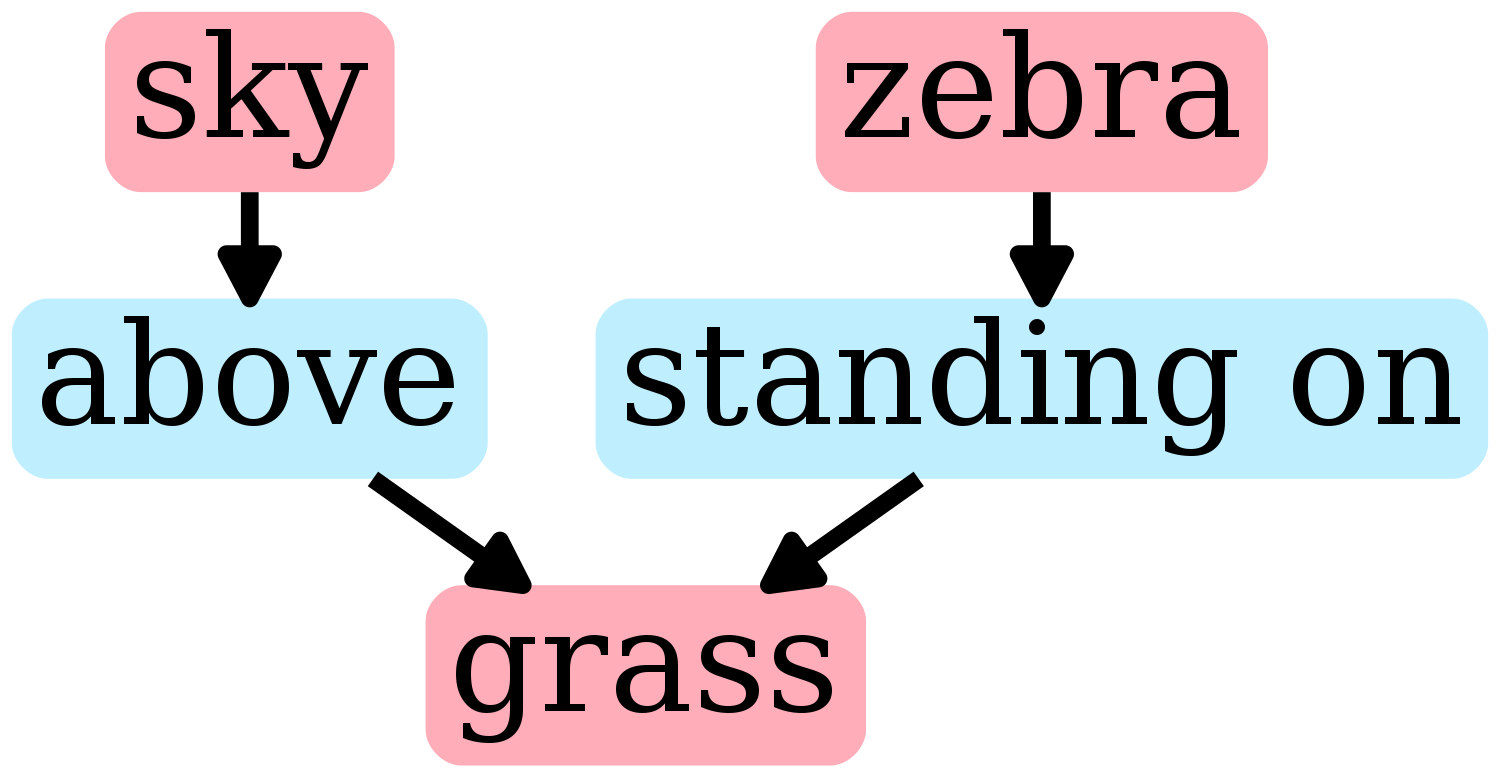
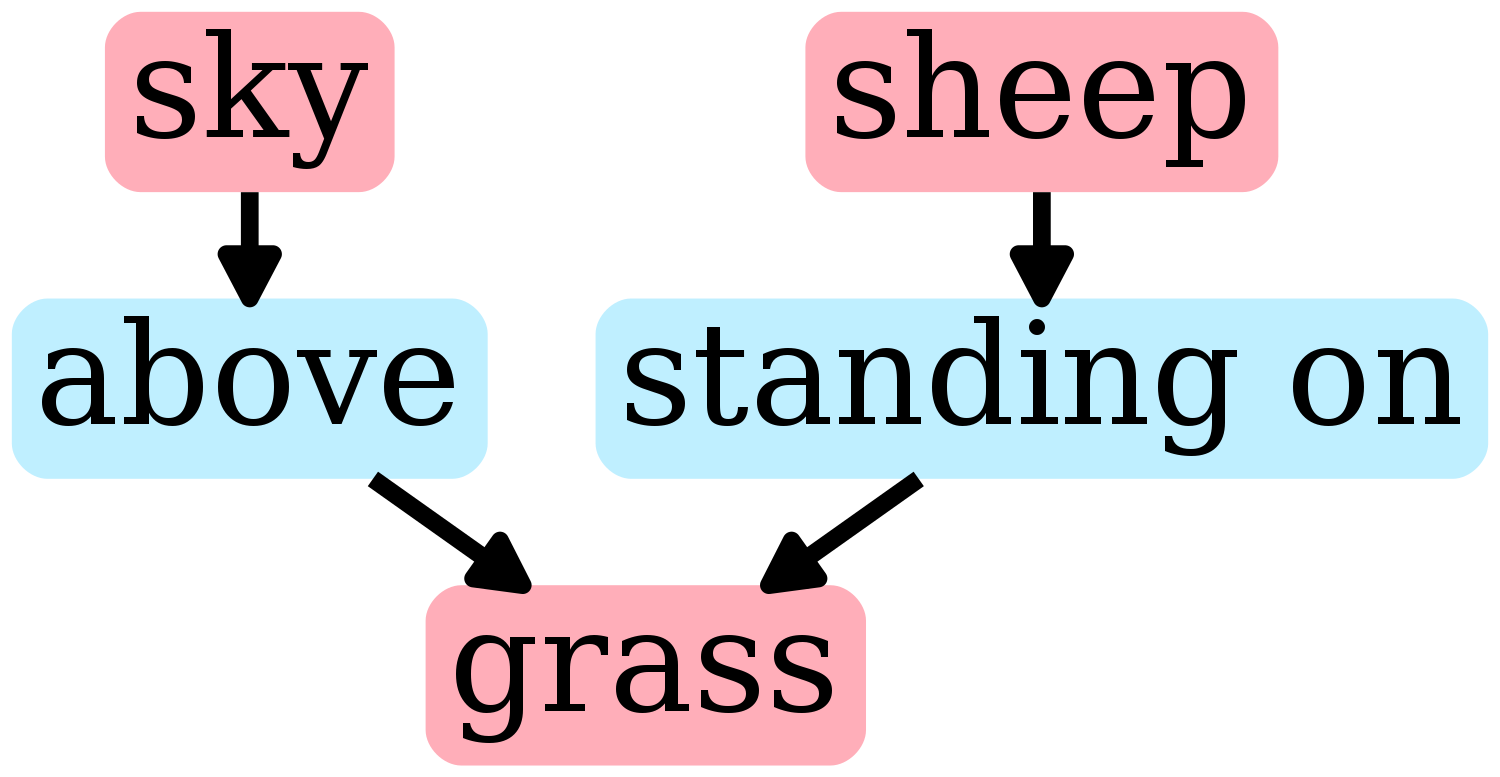
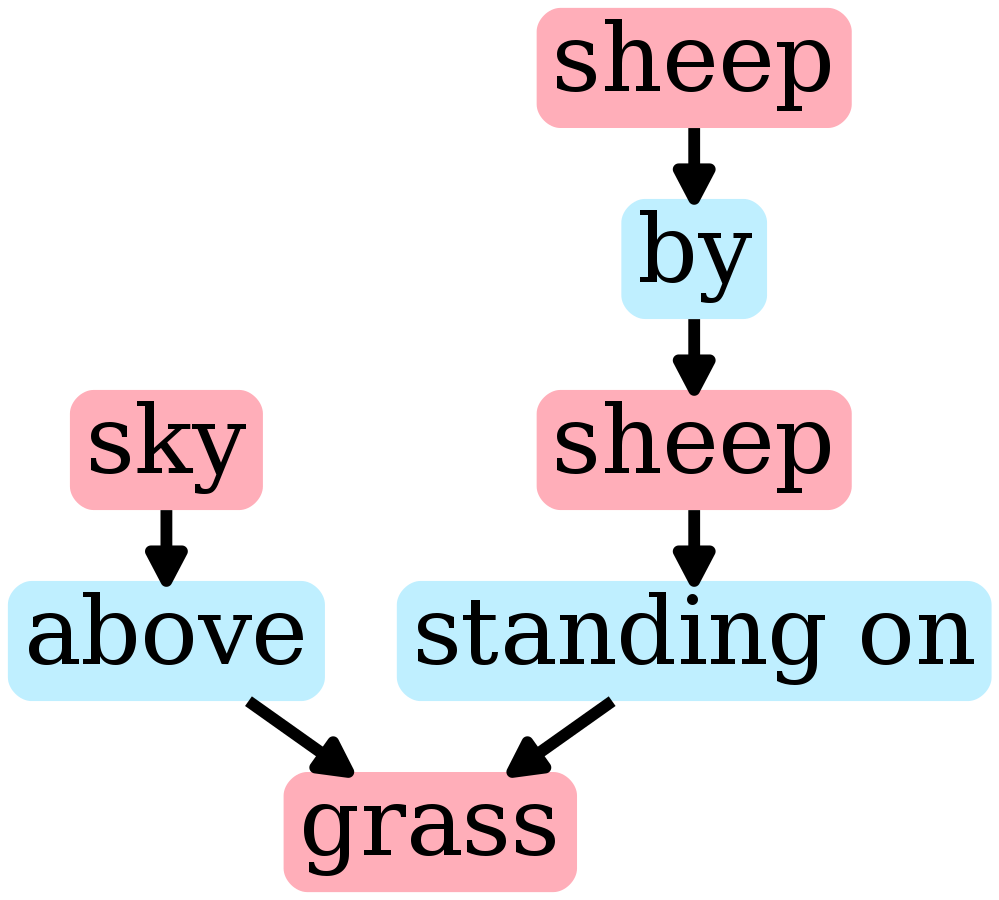
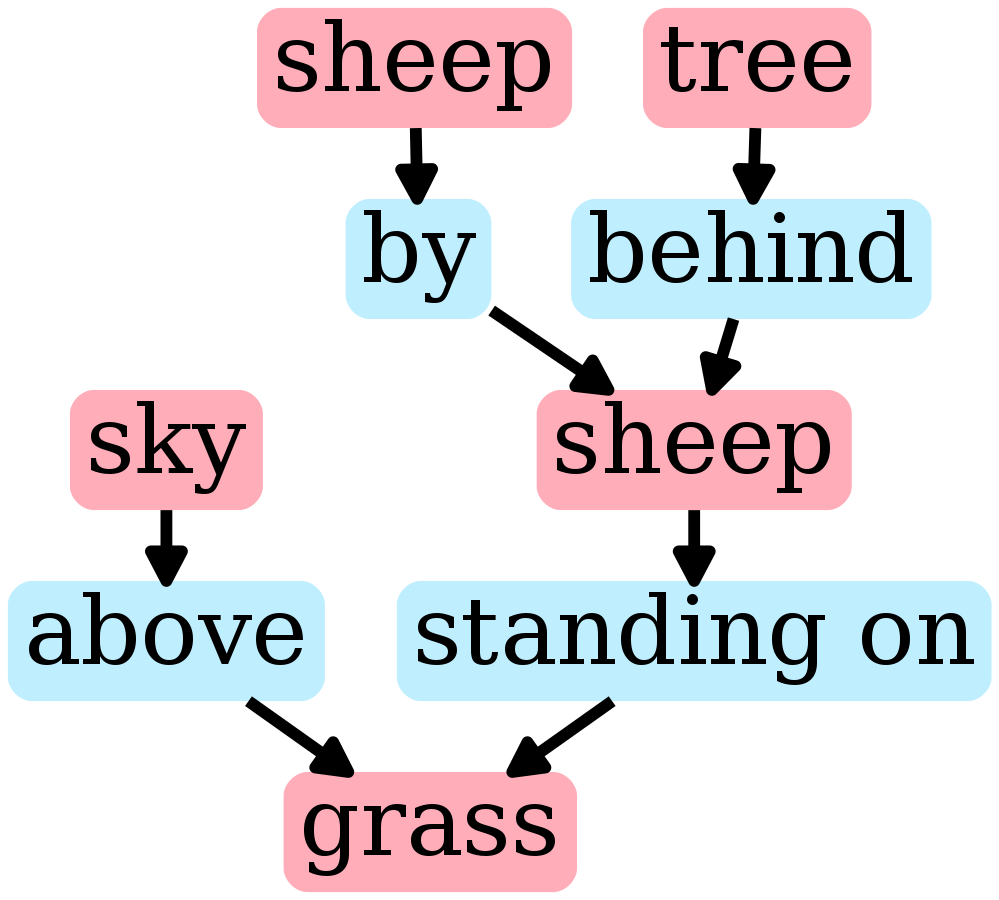
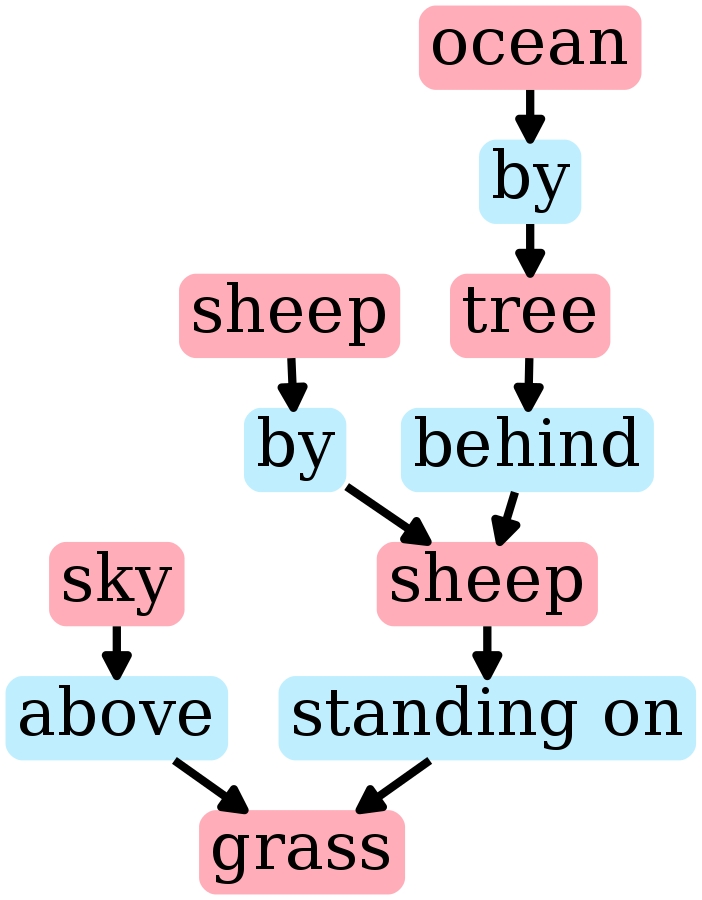
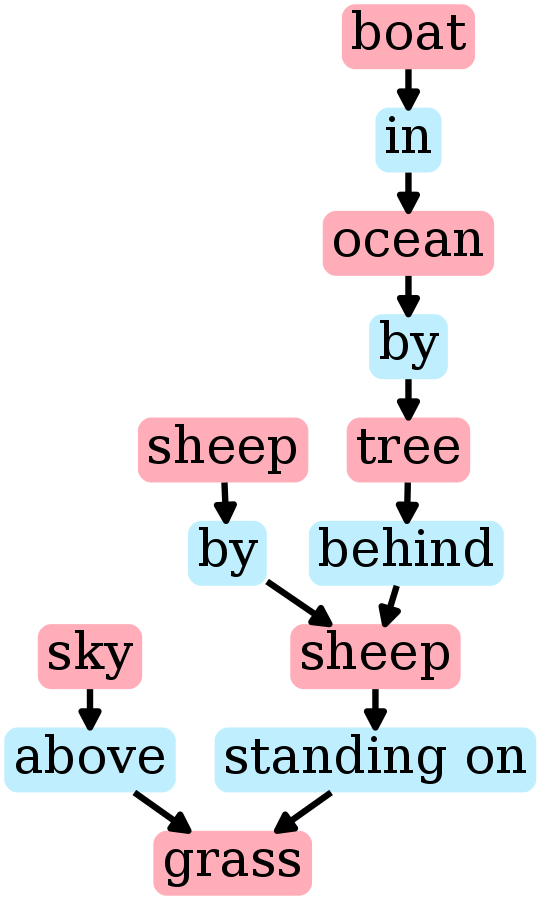
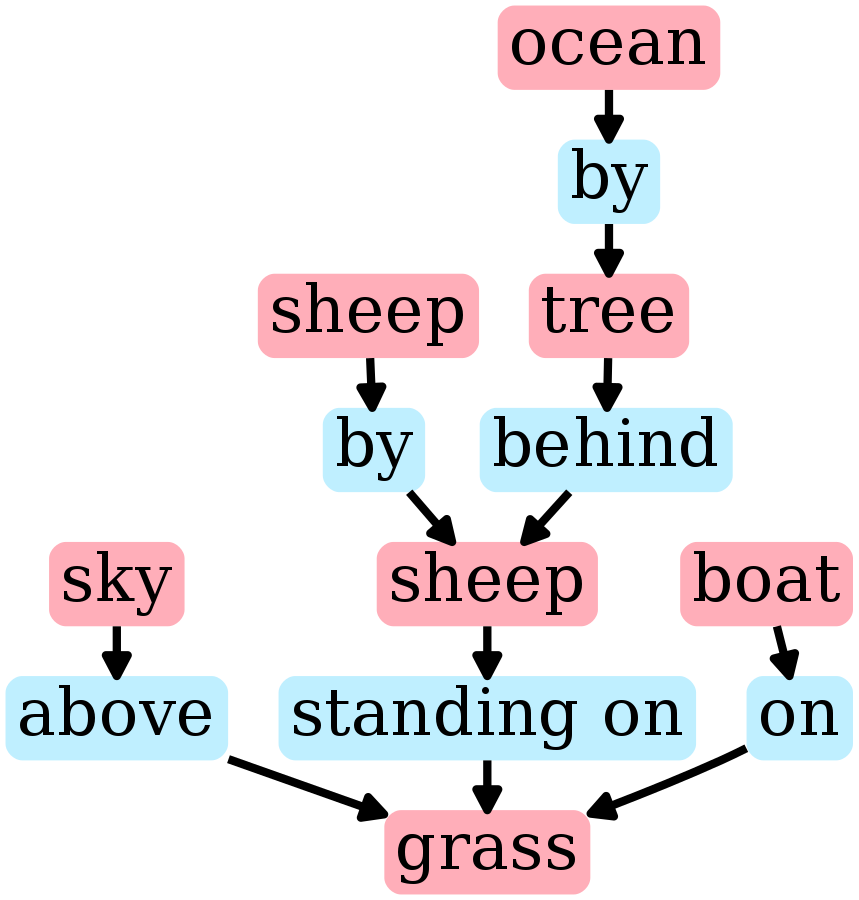
A scene graph is a structured representation of a visual scene where nodes represent objects in the scene and edges represent relationships between objects. In this paper we present and end-to-end neural network model that inputs a scene graph and outputs an image.
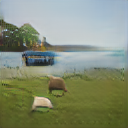
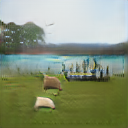
Below we show some example scene graphs along with images generated from those scene graphs using our model. By modifying the input scene graph we can exercise fine-grained control over the objects in the generated image.
If you find this code useful in your research then please cite
@inproceedings{johnson2018image,
  title={Image Generation from Scene Graphs},
  author={Johnson, Justin and Gupta, Agrim and Fei-Fei, Li},
  booktitle={CVPR},
  year={2018}
}
The input scene graph is processed with a graph convolution network which passes information along edges to compute embedding vectors for all objects. These vectors are used to predict bounding boxes and segmentation masks for all objects, which are combined to form a coarse scene layout. The layout is passed to a cascaded refinement network (Chen an Koltun, ICCV 2017) which generates an output image at increasing spatial scales. The model is trained adversarially against a pair of discriminator networks which ensure that output images look realistic.
All code was developed and tested on Ubuntu 16.04 with Python 3.5 and PyTorch 0.4.
You can setup a virtual environment to run the code like this:
python3 -m venv env               # Create a virtual environment
source env/bin/activate           # Activate virtual environment
pip install -r requirements.txt   # Install dependencies
echo $PWD > env/lib/python3.5/site-packages/sg2im.pth  # Add current directory to python path
# Work for a while ...
deactivate # Exit virtual environmentYou can download pretrained models by running the script bash scripts/download_models.sh. This will download the following models, and will require about 355 MB of disk space:
sg2im-models/coco64.pt: Trained to generate 64 x 64 images on the COCO-Stuff dataset. This model was used to generate the COCO images in Figure 5 from the paper.sg2im-models/vg64.pt: Trained to generate 64 x 64 images on the Visual Genome dataset. This model was used to generate the Visual Genome images in Figure 5 from the paper.sg2im-models/vg128.pt: Trained to generate 128 x 128 images on the Visual Genome dataset. This model was used to generate the images in Figure 6 from the paper.
Table 1 in the paper presents an ablation study where we disable various components of the full model. You can download the additional models used in this ablation study by running the script bash scripts/download_ablated_models.sh. This will download 12 additional models, requiring and additional 1.25 GB of disk space.
You can use the script scripts/run_model.py to easily run any of the pretrained models on new scene graphs using a simple human-readable JSON format. For example you can replicate the sheep images above like this:
python scripts/run_model.py \
  --checkpoint sg2im-models/vg128.pt \
  --scene_graphs scene_graphs/figure_6_sheep.json \
  --output_dir outputs
The generated images will be saved to the directory specified by the --output_dir flag. You can control whether the model runs on CPU or GPU using py passing the flag --device cpu or --device gpu.
We provide JSON files and pretrained models allowing you to recreate all images from Figures 5 and 6 from the paper.
This script can also draw images for the scene graphs themselves using GraphViz; to enable this option just add the flag --draw_scene_graphs 1 and the scene graph images will also be saved in the output directory. For this option to work you must install GraphViz; on Ubuntu 16.04 you can simply run sudo apt-get install graphviz.
Instructions for training new models can be found here.
