Unity asset for visualizing geo spatial data in Virtual Reality.
This tool brings localized, neighborhood data visualization into Unity. Content creators can easily create a 3D visualization of neighborhood-based data, such as local schools’ test scores or teacher-student ratios, in a mapped scene.
Take a look at this video below for a quick demo.
- MapBox Unity SDK V2.0.0
- GoogleVR SDK 1.190.0
This unity asset required API keys from Mapbox for rendering map and Google's geolocation API for geocoding address to latitude and longitude.
Mapbox - https://www.mapbox.com/install/unity/
Google GeoLocation API Key - https://developers.google.com/maps/documentation/geolocation (enable Geocoding API)
Note: In order to get the API Key to work, you will need to add your credit card details, and enable the biling account (You will not be charged, however Google requires you have a credit card on file. Read the guidelines on the number of requests etc provided by Google)
Once the API keys are obtained, they can be configured in the asset.
Open FilterScene from Assets->Scenes->FilterScene
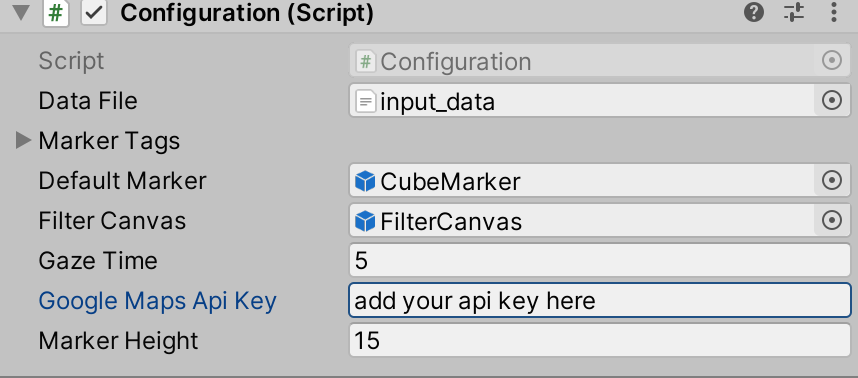
Click on the GameObject named Configuration and in the Inspector panel under Scripts sections, you will find the text box named Google Maps Api Key and provide the Google Geo Location API Key here.

Default Marker - Field where the default marker's icon object should be placed.
Marker Height - Height of the markers over the buildings. Based on the data and location adjust the height of the markers.
Gaze Time - Maximum time that user should gaze so that click action is performed on the marker object.
Data File - Field where the CSV data file should be dragged and dropped. Code expects the CSV file to have the columns in the following order - Title, Type, Address, Contact Number, Website information.
For adding mapbox API key, Choose Mapbox->Configure and provide the mapbox API key in the access token field and save it.
Geolocation data (preferably in .csv file) should be provided in the Data Field as mentioned below.
Drag and drop the file in the Data File field of the Configuration GameObject's inspector.
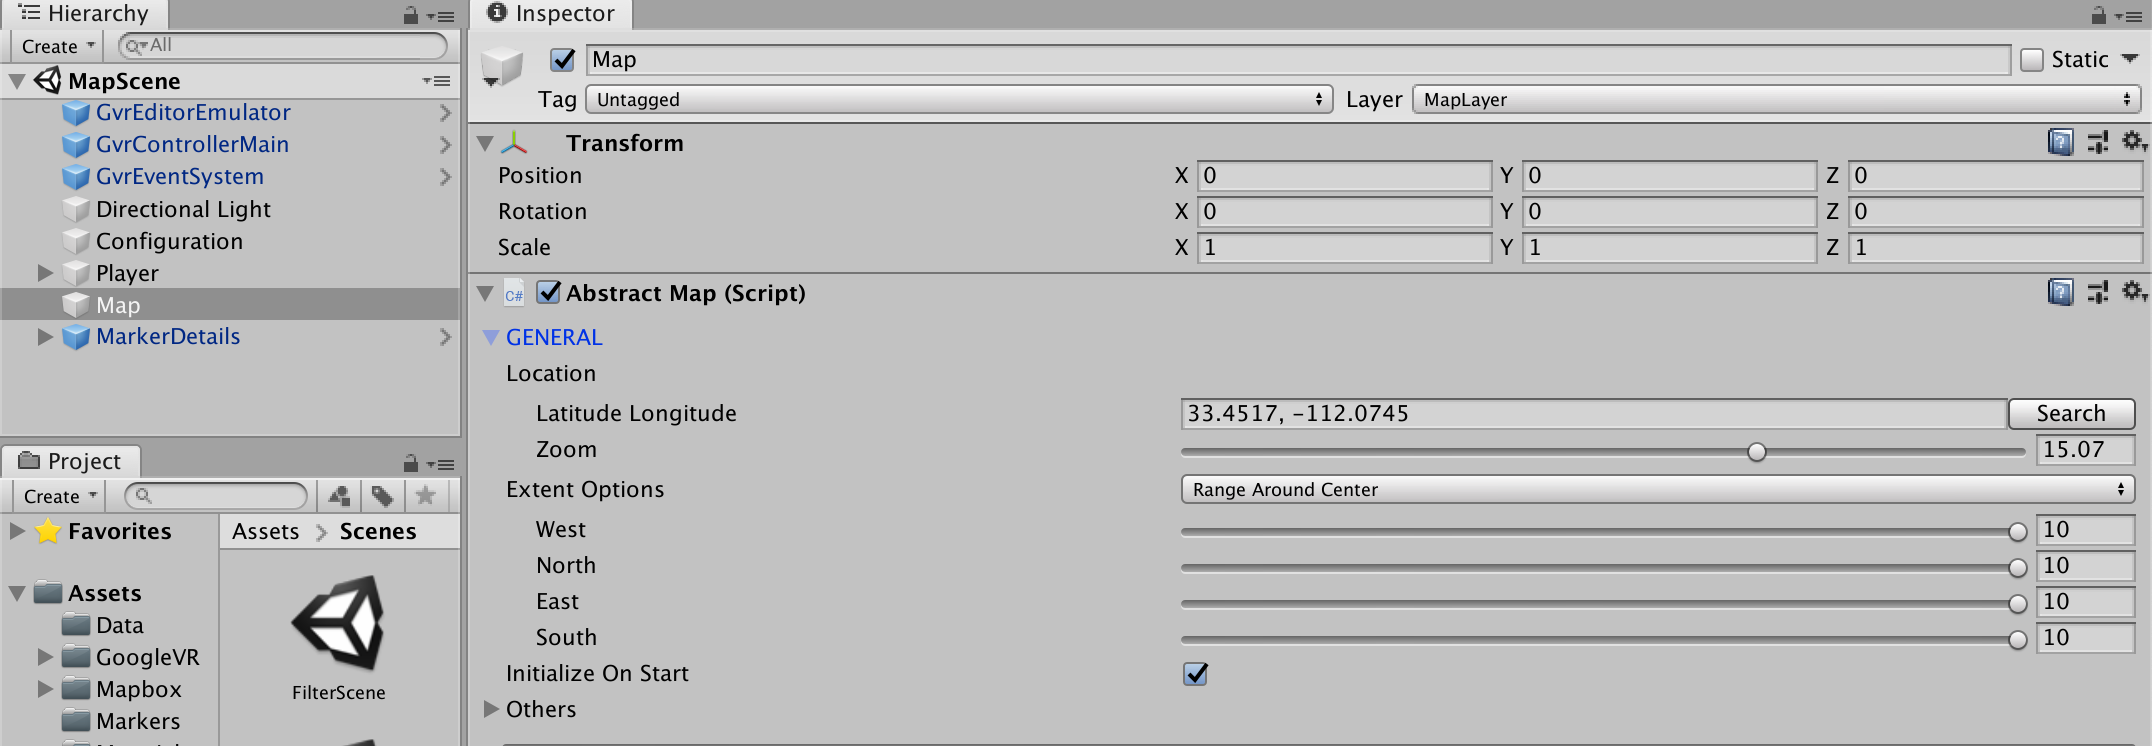
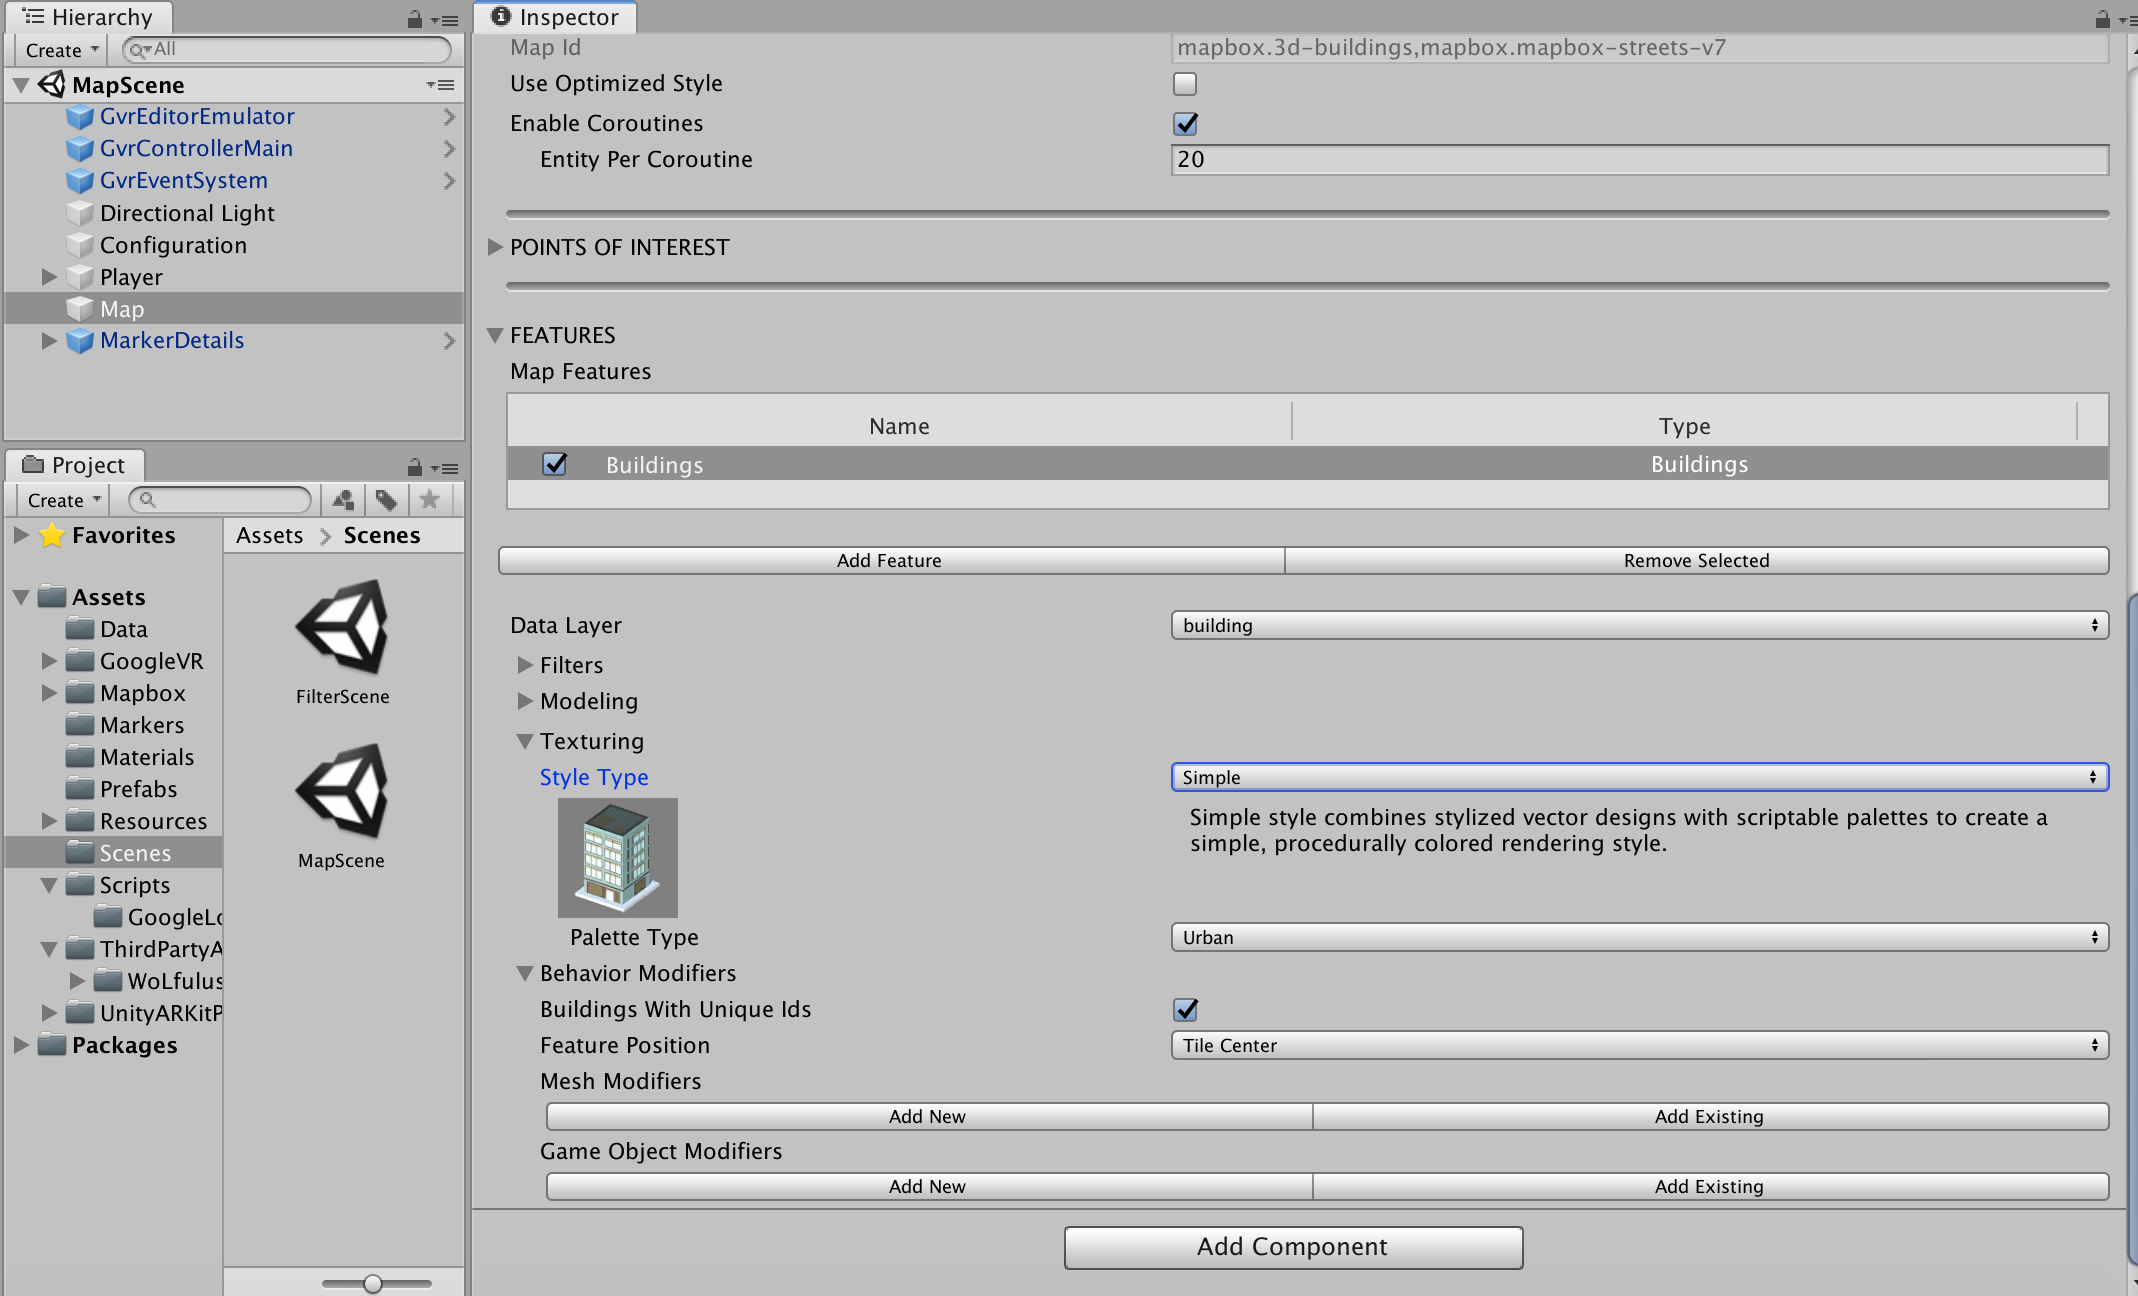
Next load MapScene from Assets->Scenes->MapScene and configure the initial location of data in the Map GameObject.

-
For changing the default marker, provide the suitable prefab in the Default Marker field of the Configuration game object.
-
For customizing different game objects for different types of markers:
- First, provide the number of the different objects in the 'Size' field of the Configuration game object.
- Second, provide the name of the type and its corresponding prefab object that should be generated for this particular game object. If a particular type of marker is not defined here, then it will take the default game object.
Important: So it is advisable to never leave default marker field empty

