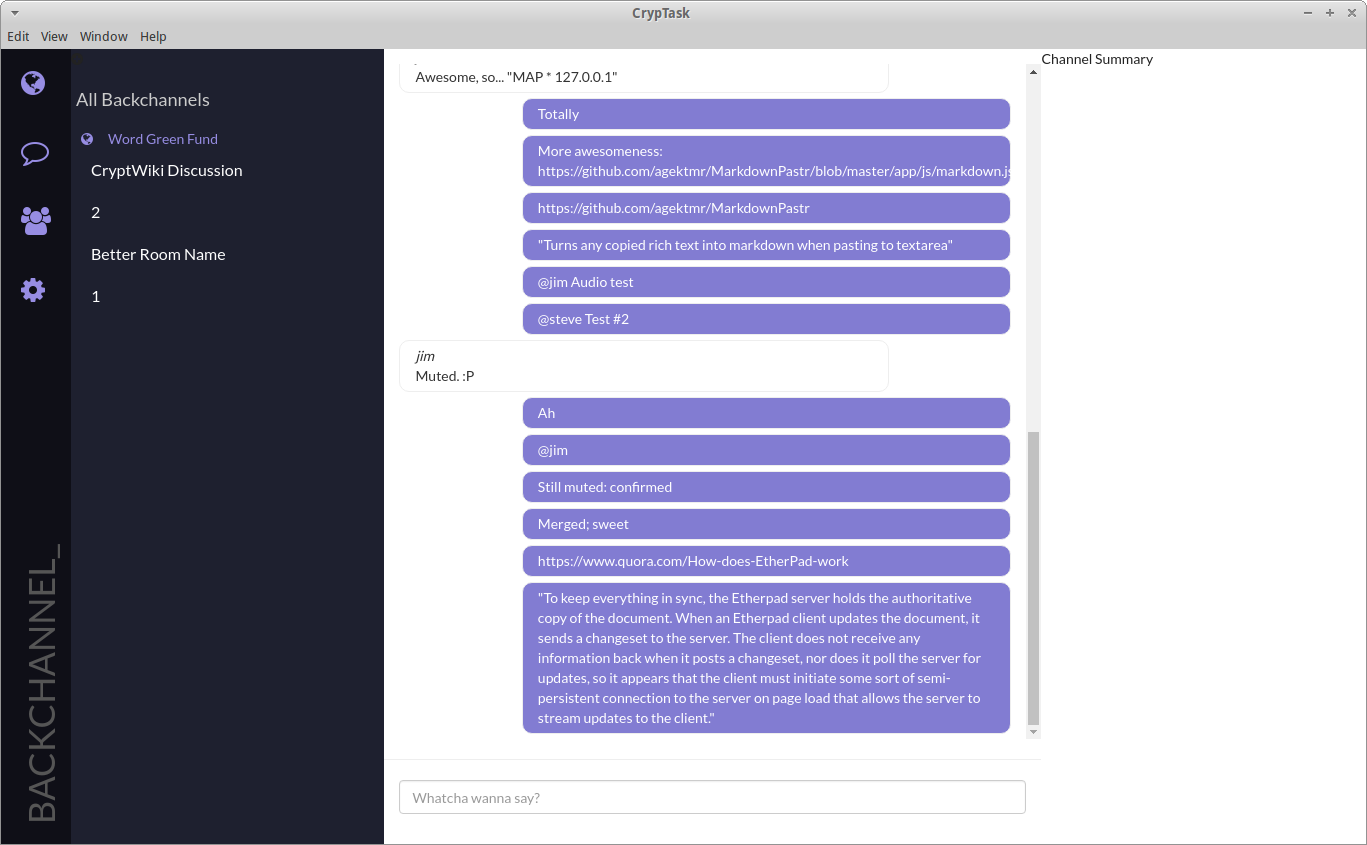
This is a user-friendly desktop chat and file-sharing app made with
electron and React.js that talks to a local server/API/daemon,
cryptagd.
-
Download and install Go: https://golang.org/dl/
-
To run Backchannel itself you'll need node, npm, and bower installed. On Linux, the easiest way to do this is to run:
    $ wget -qO- https://raw.githubusercontent.com/creationix/nvm/v0.16.1/install.sh | bash
    $ nvm install v6.2.2
    $ [sudo] npm install bower
- (Optional) If you wish to have Backchannel store its data in Sandstorm, have a friend invite you to their shared folder or create one yourself by installing the CrypTag Sandstorm app). You can create a free Sandstorm Oasis account at https://oasis.sandstorm.io/ . If you're not using Sandstorm to save your Backchannel data (messages, files, etc), you do not need to create a Sandstorm Oasis account or use Sandstorm at all.
(If someone has invited you to a Backend -- a shared folder that can live in Dropbox, Sandstorm, your own server, or just about anywhere else -- simply decrypt the .json file you receive, run
$ mkdir -p ~/.cryptag/backends
then put this (.json) file in ~/.cryptag/backends/ and skip the rest
of this step; below we only use cryptag to perform the equivalent of
creating this .json file.)
Install the cryptag command and use it to create a new Sandstorm
Backend and give it a name (here we chose ss1 but it can be
anything):
$ go get github.com/elimisteve/cryptag/cmd/cryptag
$ cryptag init sandstorm ss1 <sandstorm web key>
$ cryptag setdefaultbackend ss1
To generate a Sandstorm webkey, install the CrypTag app on Sandstorm then click the key icon near the top of your screen.
If someone else gave you the Sandstorm webkey along with the decrypt key needed to access the tasks s/he is sharing with you, also run
$ cryptag setkey <decryption key for the shared folder>
The person sharing this with you can get the key you need by running:
$ cryptag -b <name of backend they're sharing with you> getkey
First, be sure that your GOPATH is set:
$ go env GOPATH
If your GOPATH is empty, run these before you go get cryptagd:
$ export GOPATH=~/work  # Set your GOPATH to a directory you can write to
$ mkdir $GOPATH
$ export PATH=$PATH:$GOPATH/bin
Persist these changes by adding the following to your .bashrc (including linebreaks):
$ echo '
export GOPATH=~/work export PATH=$PATH:$GOPATH/bin' >> ~/.bashrc
Now you're ready to install the local server/API, cryptagd, that the
Backchannel app talks to:
$ go get github.com/elimisteve/cryptag/servers/cryptagd
Run it in one terminal with
$ cryptagd
To tell cryptagd which Backend to use by default, run it with the
BACKEND environment variable set:
$ BACKEND=ss1 cryptagd
meanwhile, in another terminal, run Backchannel (see next section).
To tell all your Backends that can run over Tor to do so -- this
includes Sandstorm, Webserver, and DropboxRemote backends, but not
FileSystem Backends -- make sure that the Tor Browser Bundle is
running, then run cryptagd with the TOR environment variable set:
$ TOR=1 cryptagd
(TOR=1 and BACKEND=... can safely be used at the same time.)
$ git clone https://github.com/elimisteve/backchannel.git
$ cd backchannel
$ nvm use v6.2.2
$ npm install
(Some Linux systems require you to instead run sudo npm install.)
$ bower install
You should also install gulp as a global tool on your system:
$ npm install gulp -g
then
$ npm start
In order to edit the CSS styles, edit the SASS files inside of static/sass. The files in static/css are generated automatically from the SASS files by running:
$ gulp sass
If you run the default gulp task:
$ gulp
gulp will run in the background and recompile the CSS any time you make changes to the SASS files.
In order to add any new bower libraries to the HTML files:
$ gulp inject
There are some placeholder tests included here that test the rendering of the individual components and the final compiled version of the app. You'll need to build the app first:
$ npm run build
If you're on Linux, instead run:
$ npm run build-linux
(TODO: automate this based on system platform detection.)
$ npm test
Major thanks to @jimmcgaw for writing the foundations to this app, which began as a clone of jimmcgaw/cpassui@d072b0f.
