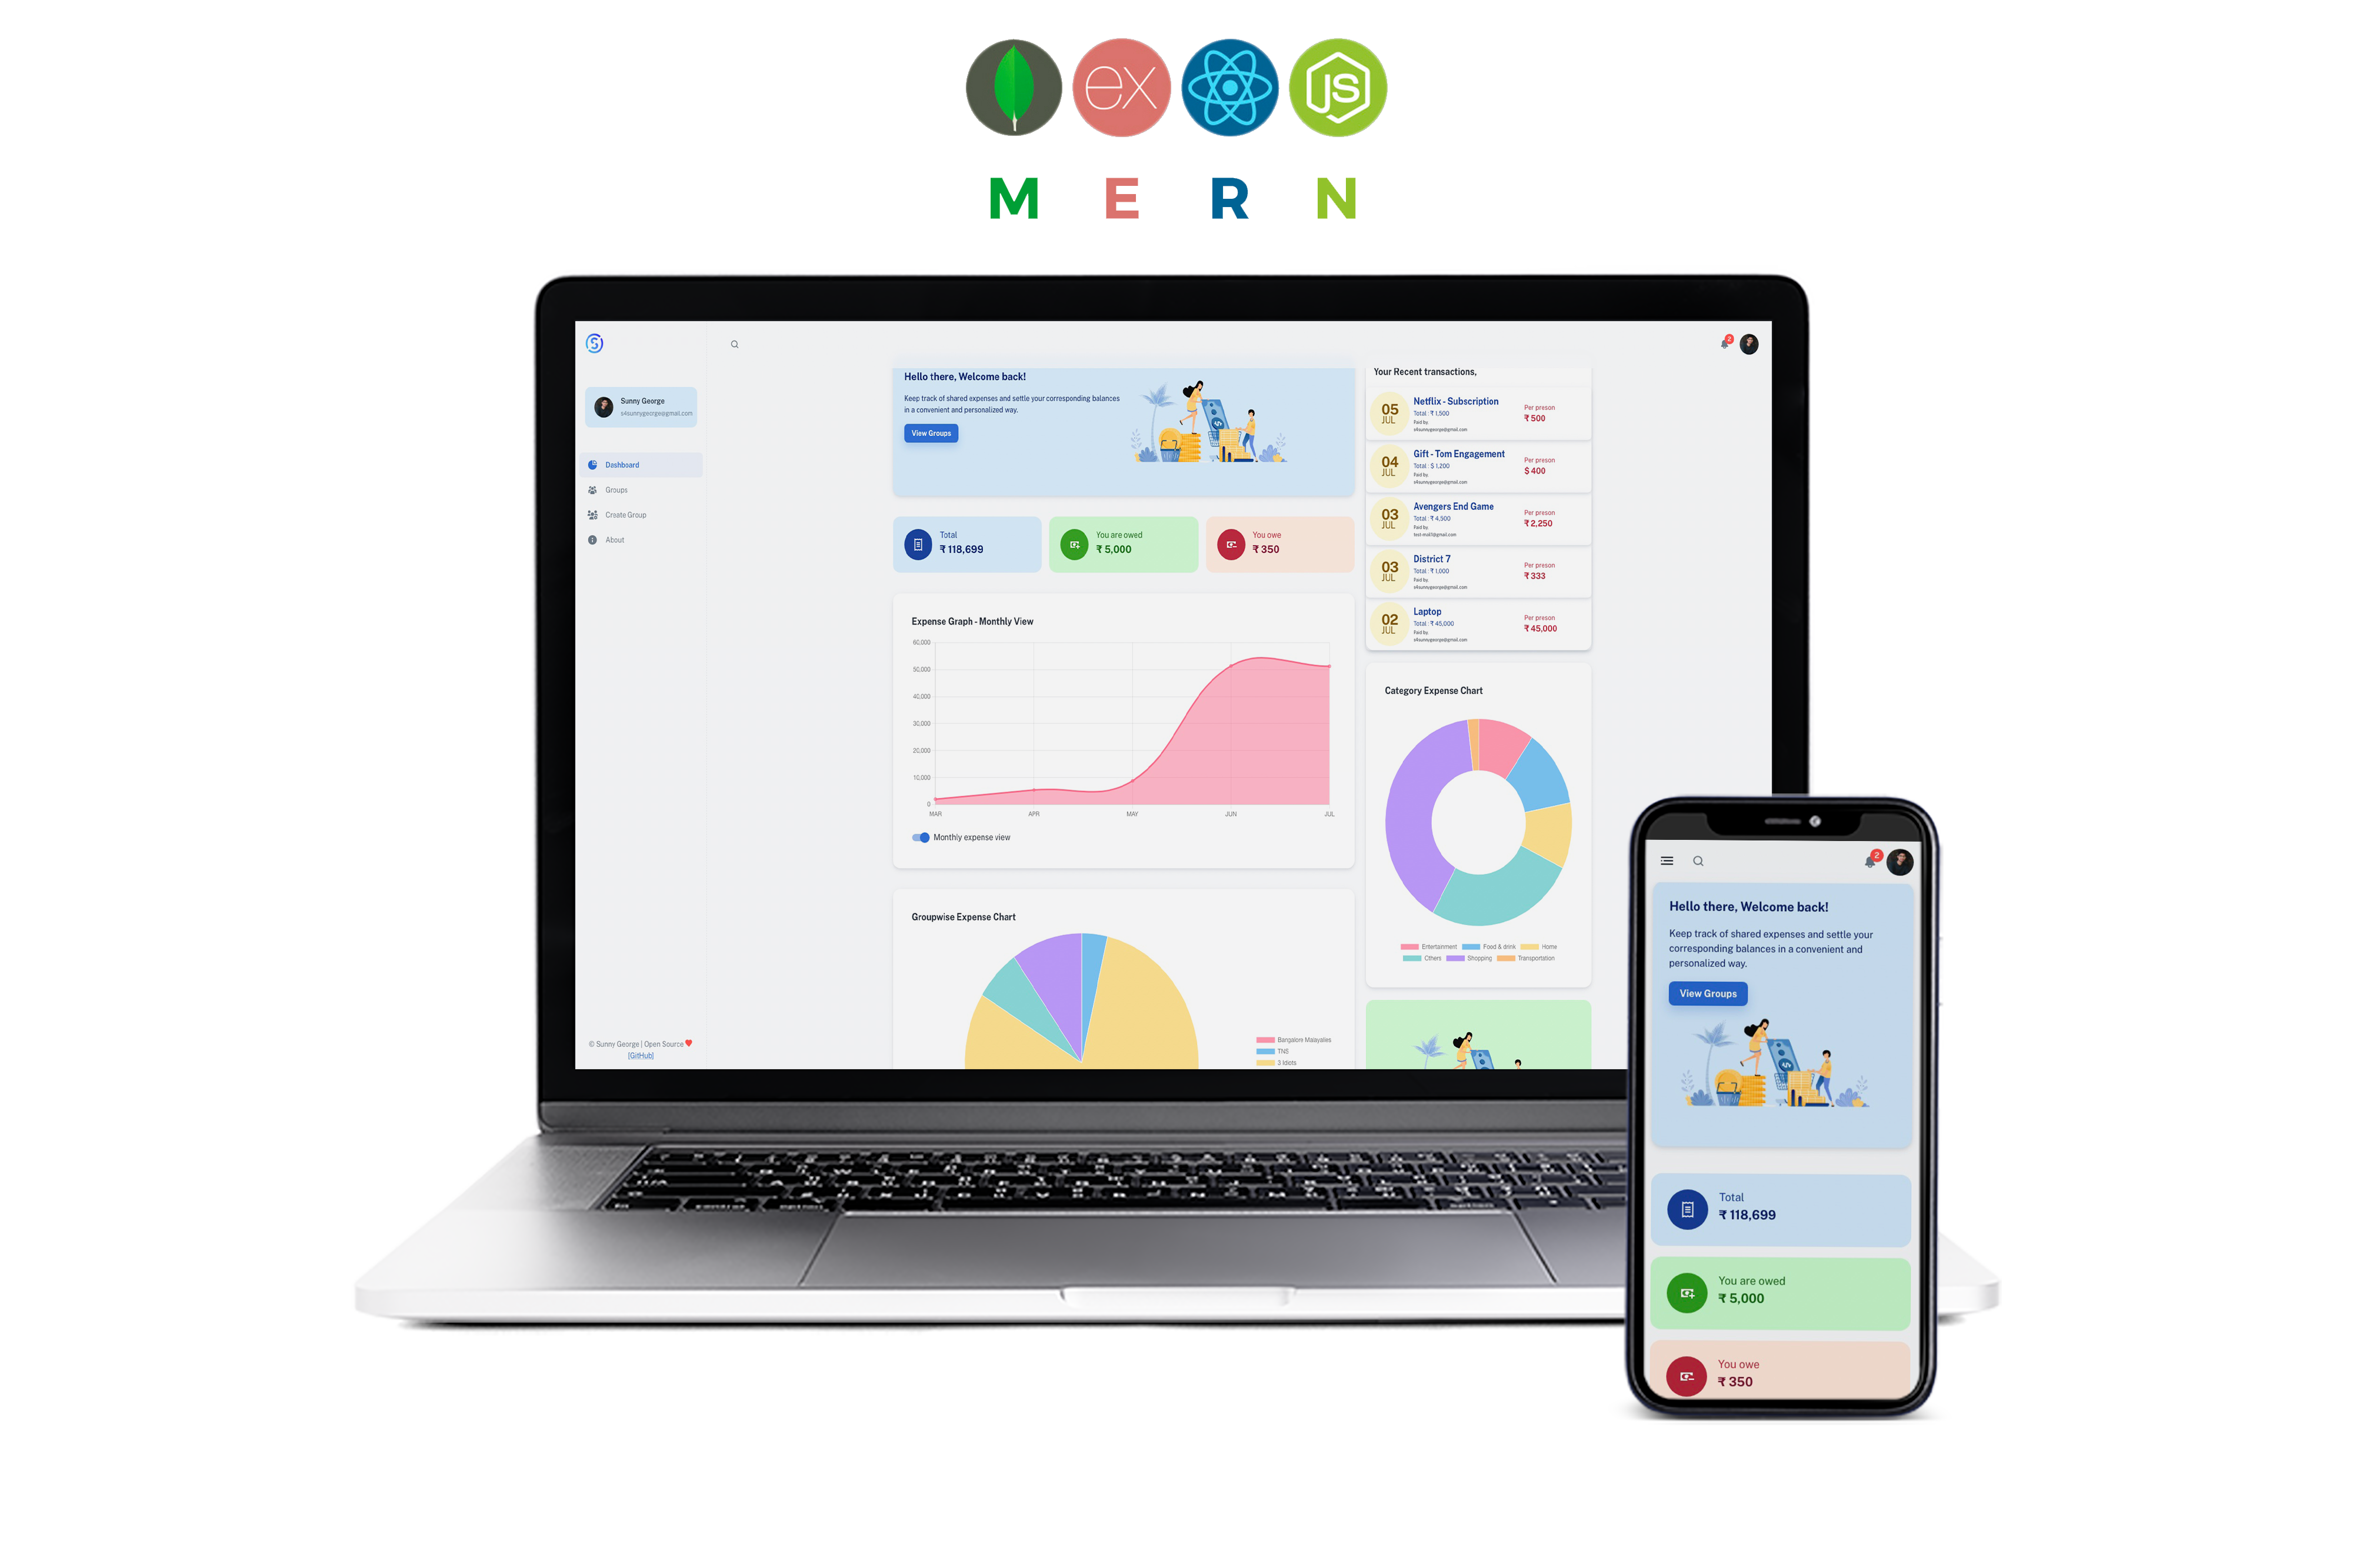
Build with the MERN stack (MongoDB, Express, React and NodeJS).
Explore the docs »
View Demo
·
Report Bug
·
Request Feature
Self-hosted expense splitting application for splitting expenses with friends... or enemies!
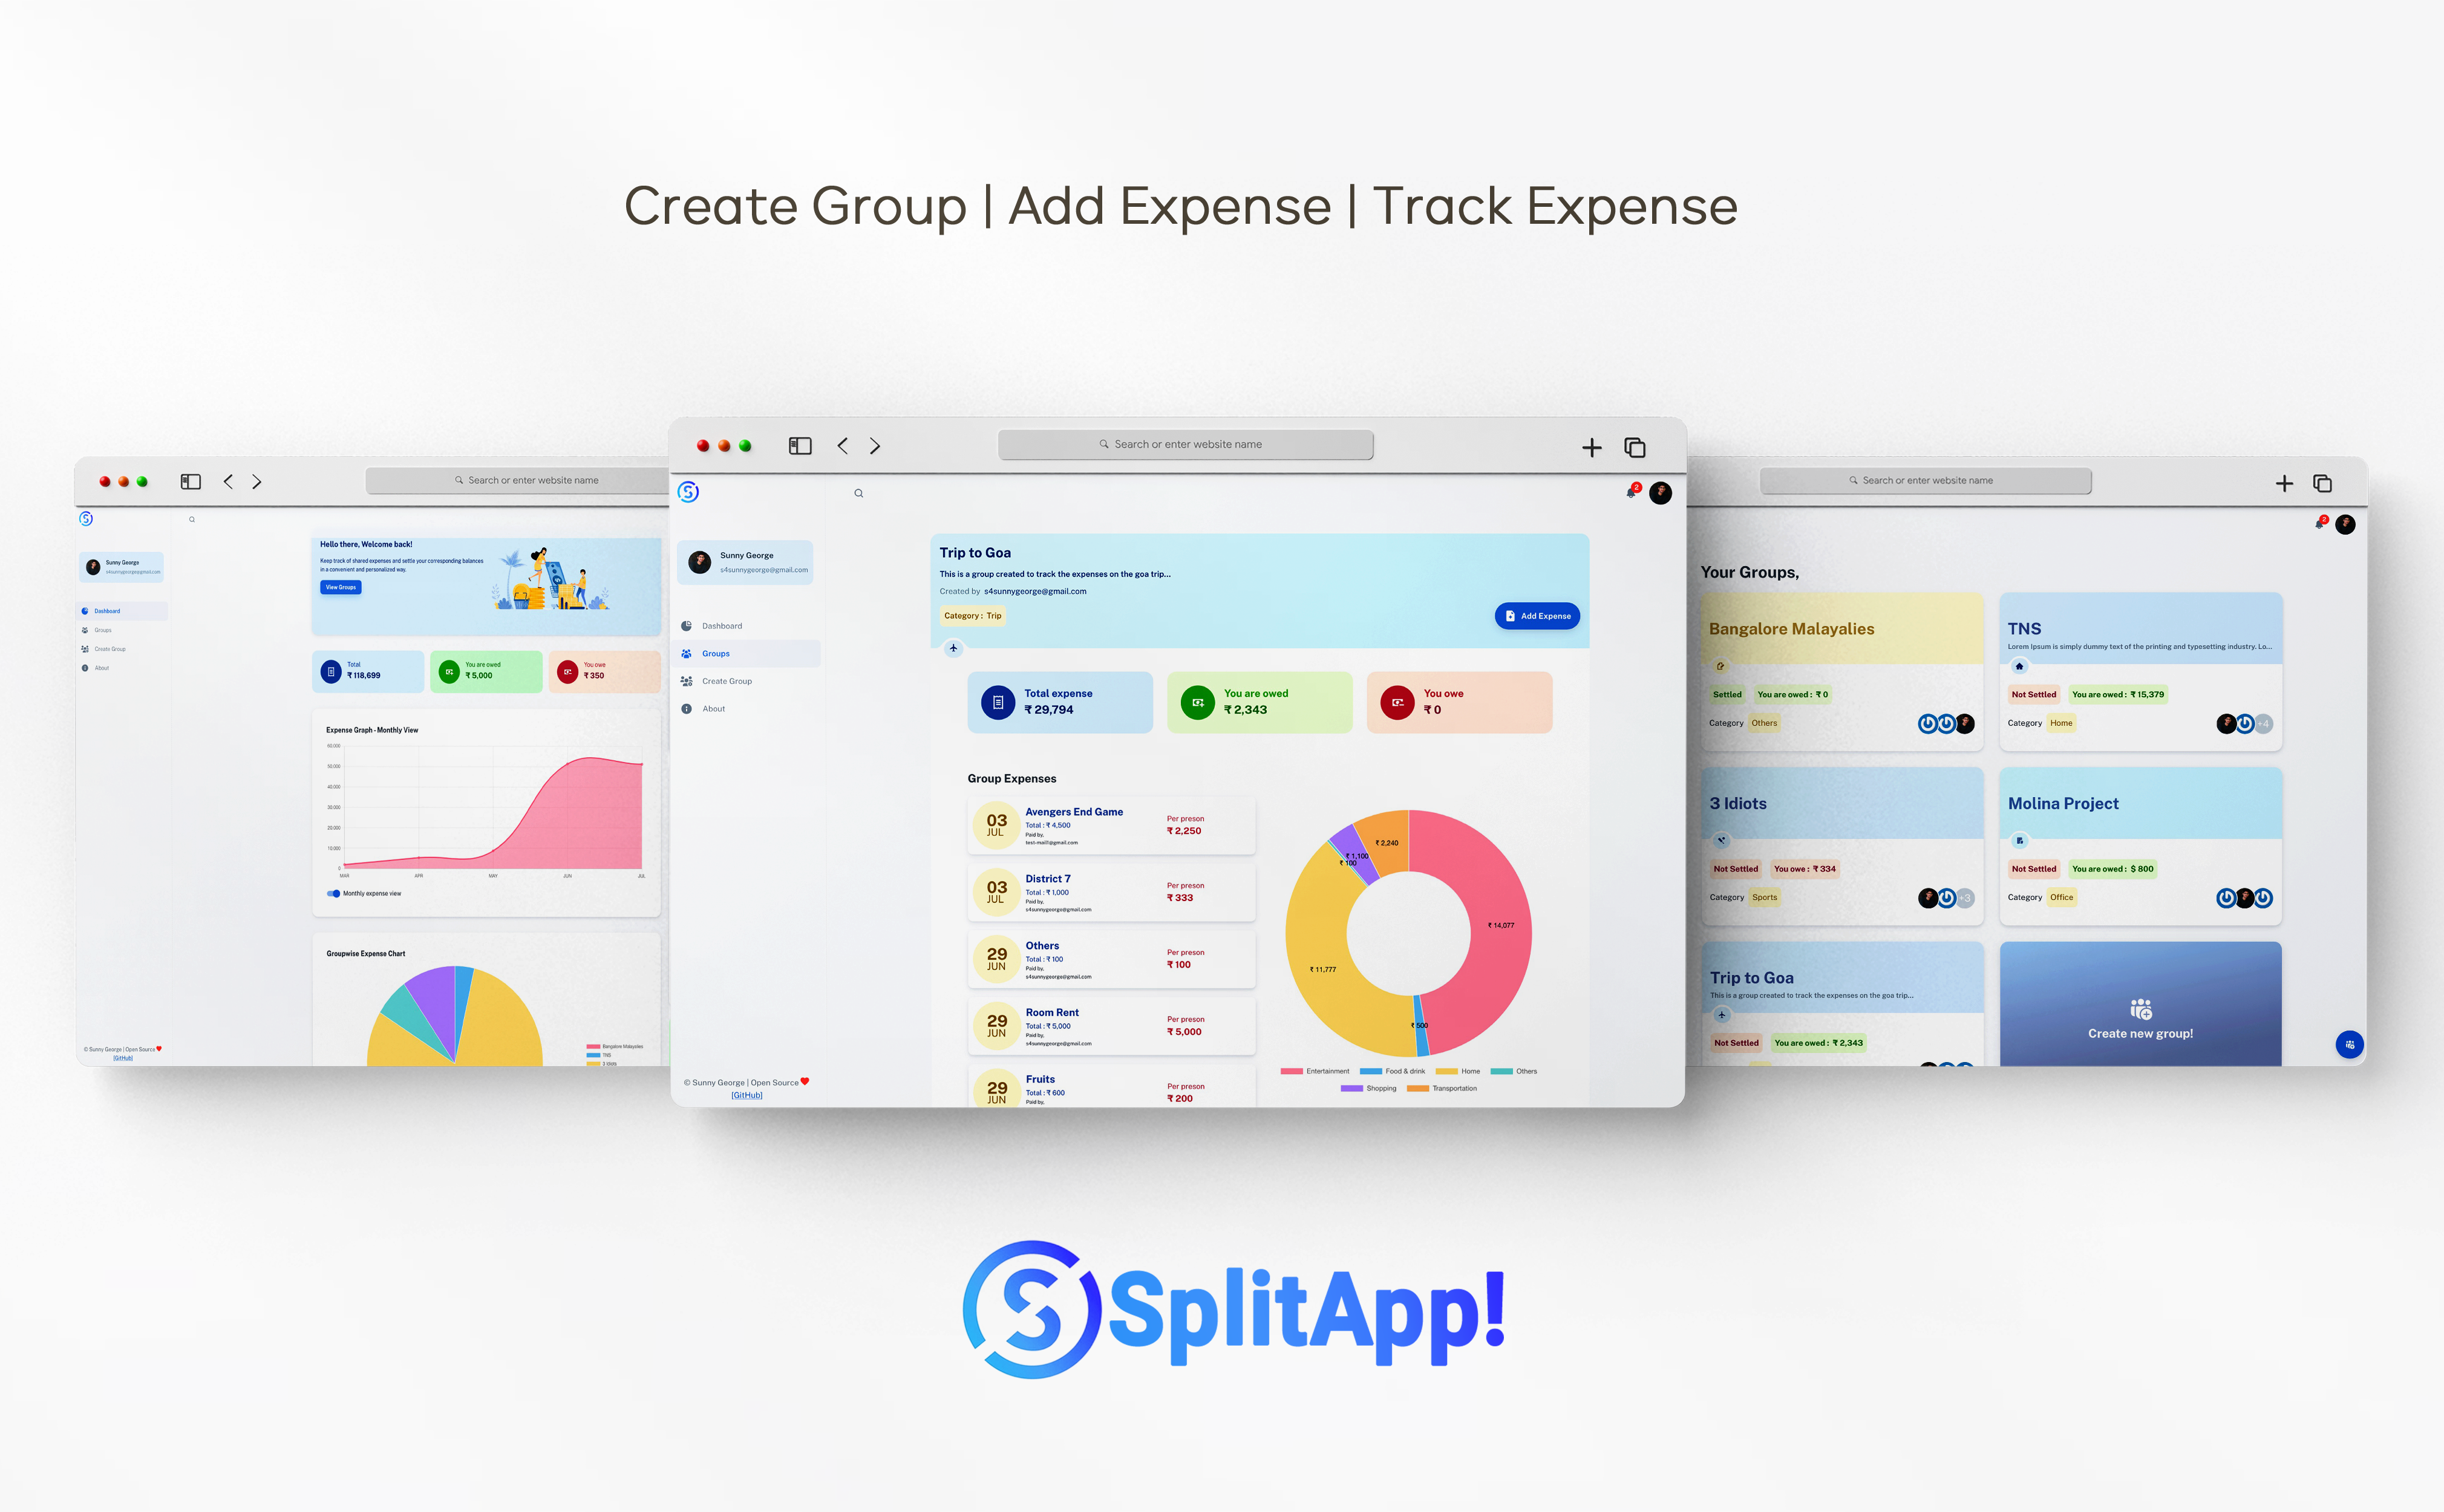
- Create user groups and track group expense
- Keep track of shared expenses and settle your corresponding balances in a convenient and personalized way.
- Get Analytical graphs to understand your expenditure trend
- Multiple user registration.
- Authentication using JSON web token (JWT)
This project was created using the following technologies.
- React JS
- Redux (for managing and centralizing application state)
- Axios (for making api calls)
- Material UI (for User Interface)
- Chart.js (To display various analytics graphs)
- React-chartjs-2
- Gravitar (for user profile picture)
- Express
- Mongoose
- JWT (For authentication)
- bcryptjs (for data encryption)
MongoDB
To host this application yourself, the only supported option at this time is via docker compose.
- Clone this repo your docker host.
- In a terminal window, navigate to the cloned repo.
- Create
.envfile, by running:echo "ATM_MACHINE_TOKEN_SECRET=$(head --bytes=256 /dev/urandom | base64 --wrap=0)" > .env - Run:
docker compose -f docker-compose.yml up -d - If successful, app will be available at:
http://<your-docker-host>:8090
In order to run this project locally, simply fork and clone the repository or download as zip and unzip on your machine.
- Open the project in your prefered code editor.
- Go to terminal -> New terminal (If you are using VS code)
- Split your terminal into two (run the client on one terminal and the server on the other terminal)
In the first terminal
$ cd client
$ npm install (to install client-side dependencies)
$ npm start (to start the client)
In the second terminal (*in the project root directory (back-end))
$ cd server
$ npm install (to install server-side dependencies)
- Create a file named
.env, in theserverdirectory. - Supply the following credentials
PORT=3001
MONGODB_URI=<address to mongo db>
ACCESS_TOKEN_SECRET=<secret key, see below>
You can generate a secret key using node. Enter the below command in the terminal to genrate a random secret key:
node -e "console.log(require('crypto').randomBytes(256).toString('base64'));"
Save the .env file and run:
$ npm start
I intend to keep adding more features to this application, so if you like it, please give it a star, that will encourage me to to keep improving the project.
Licensed under the terms of the GNU Affero General Public License as published by the Free Software Foundation, either version 3 of the License, or (at your option) any later version. See LICENSE for more details.

