You have 2 options for this workshop. Only choose one!
- Visual Studio Code version that can run dev containers
- Docker Desktop
- Github account
- Github account with at least 1.5 hours left of the free 4 core tier.
This workshop is designed to be run leveraging VSCode DevContainers.
After cloning this repository re-open it in a dev container. This should begin the yarn install process, ensure it is running and wait for it to finish. If it does not run automatically you can open a terminal within vscode and run the command yourself.

- Fork this repository into your github account.
- Go to codespaces
- Click
Get started for free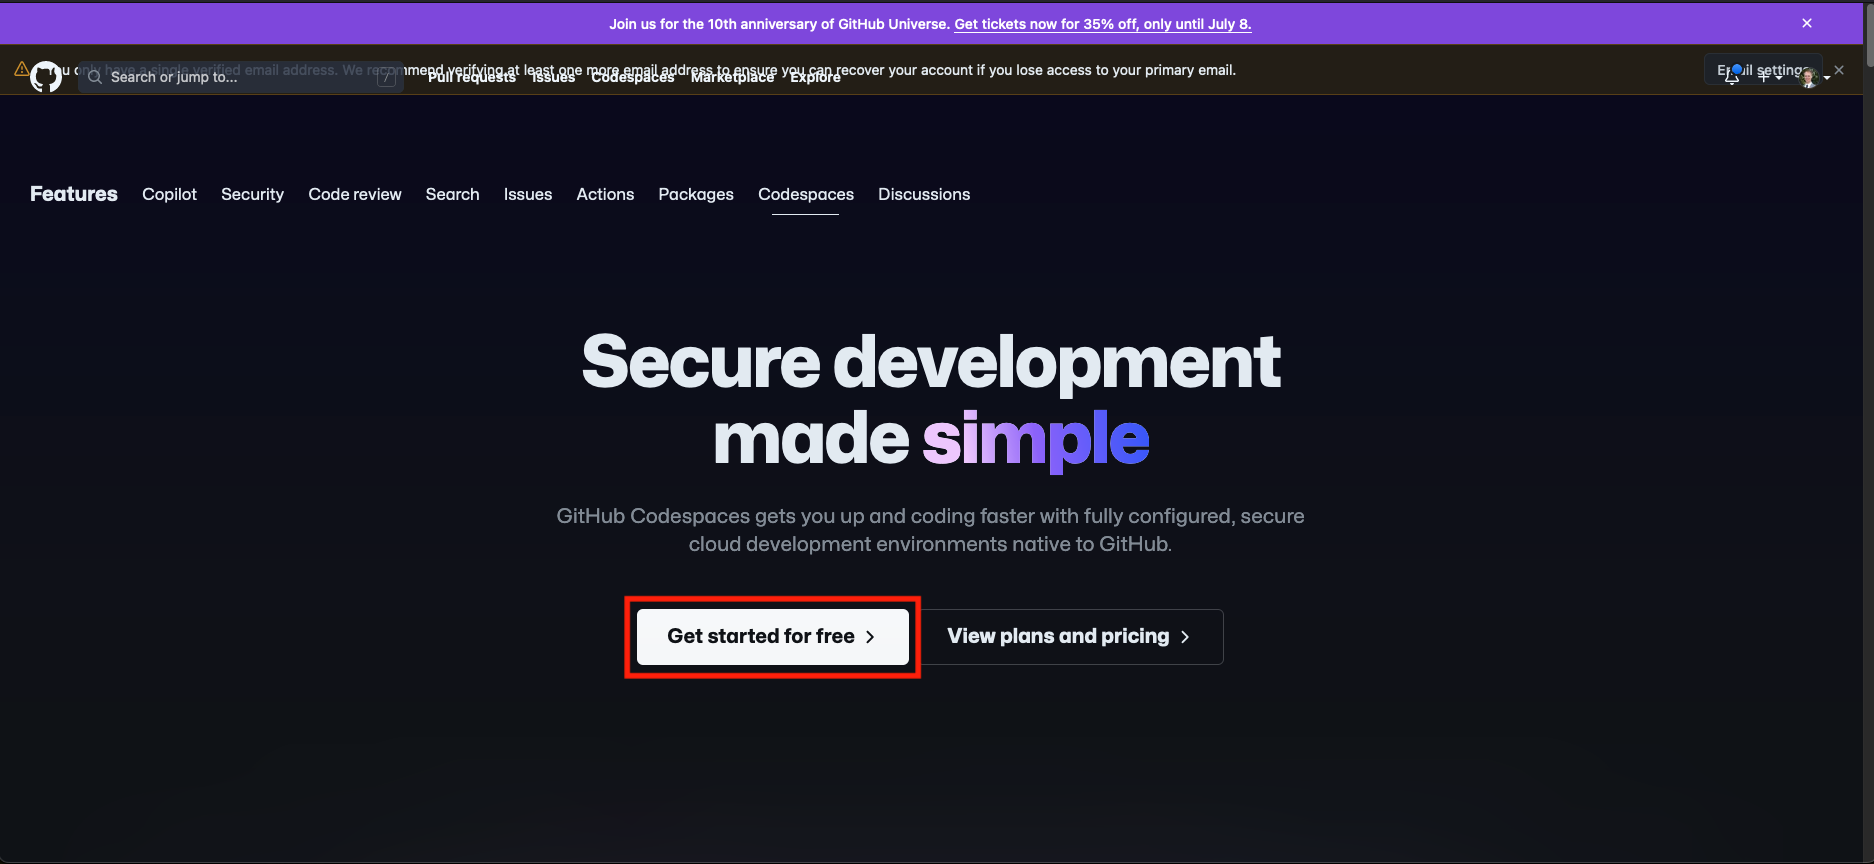
- Click
New Codespace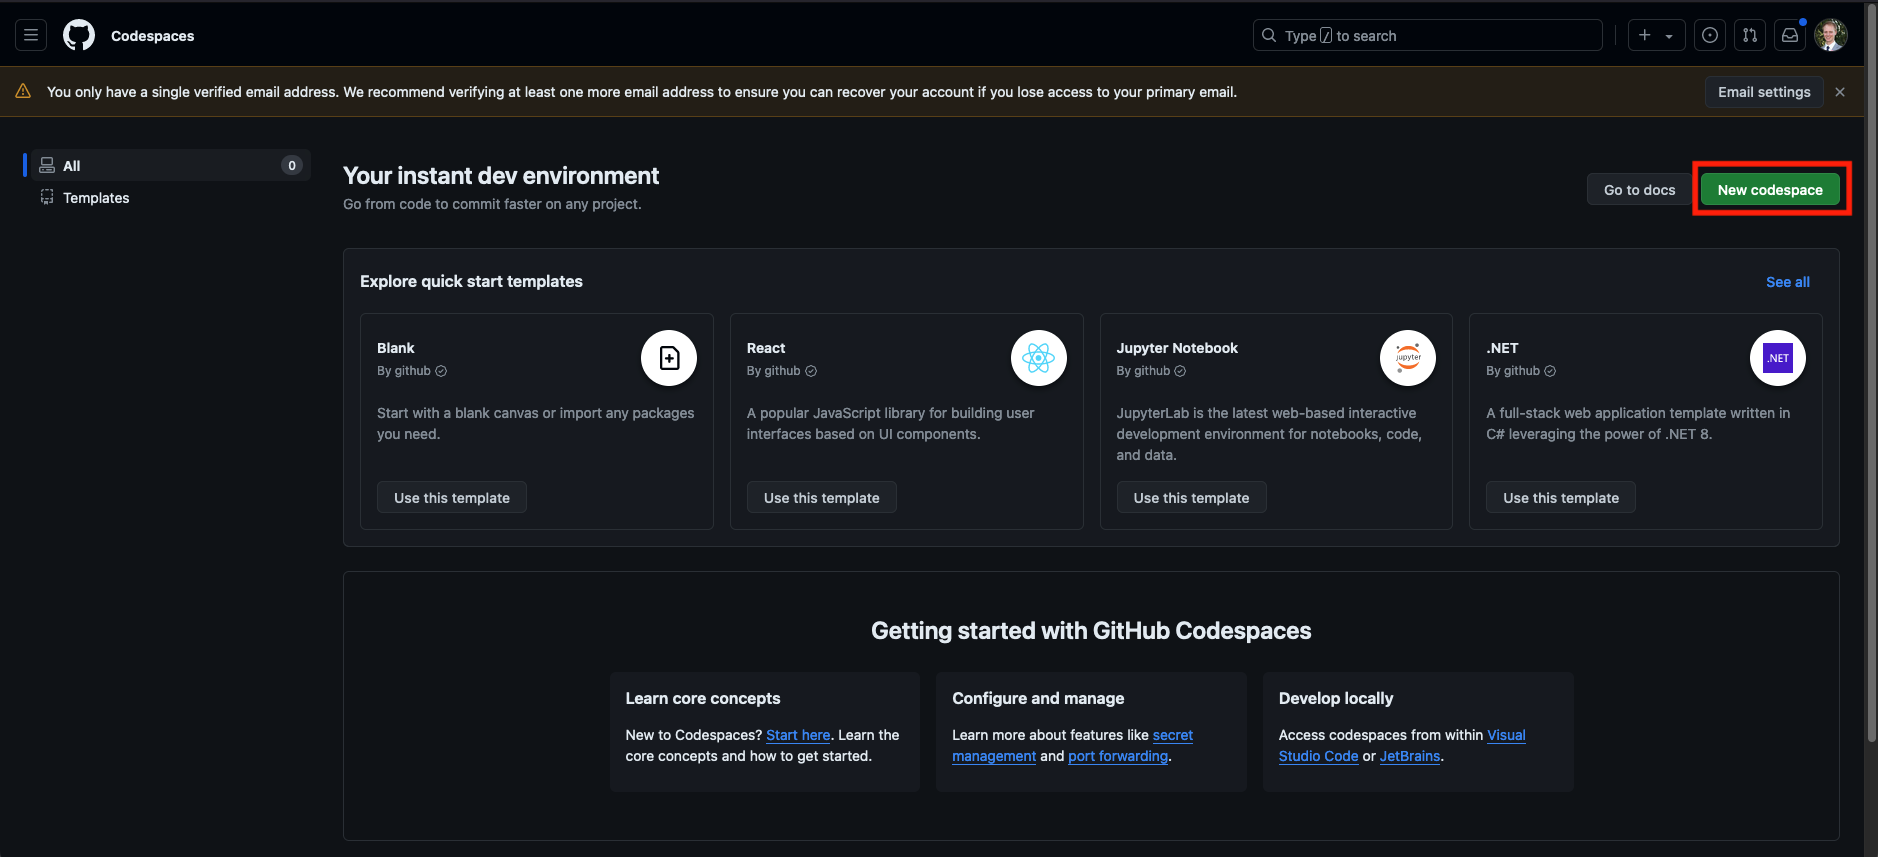
- Select the following options


- Repository:
The forked backstage-demo repo - Branch:
main - Dev container configuration:
Node.js - Region:
US East - Machine type:
4-core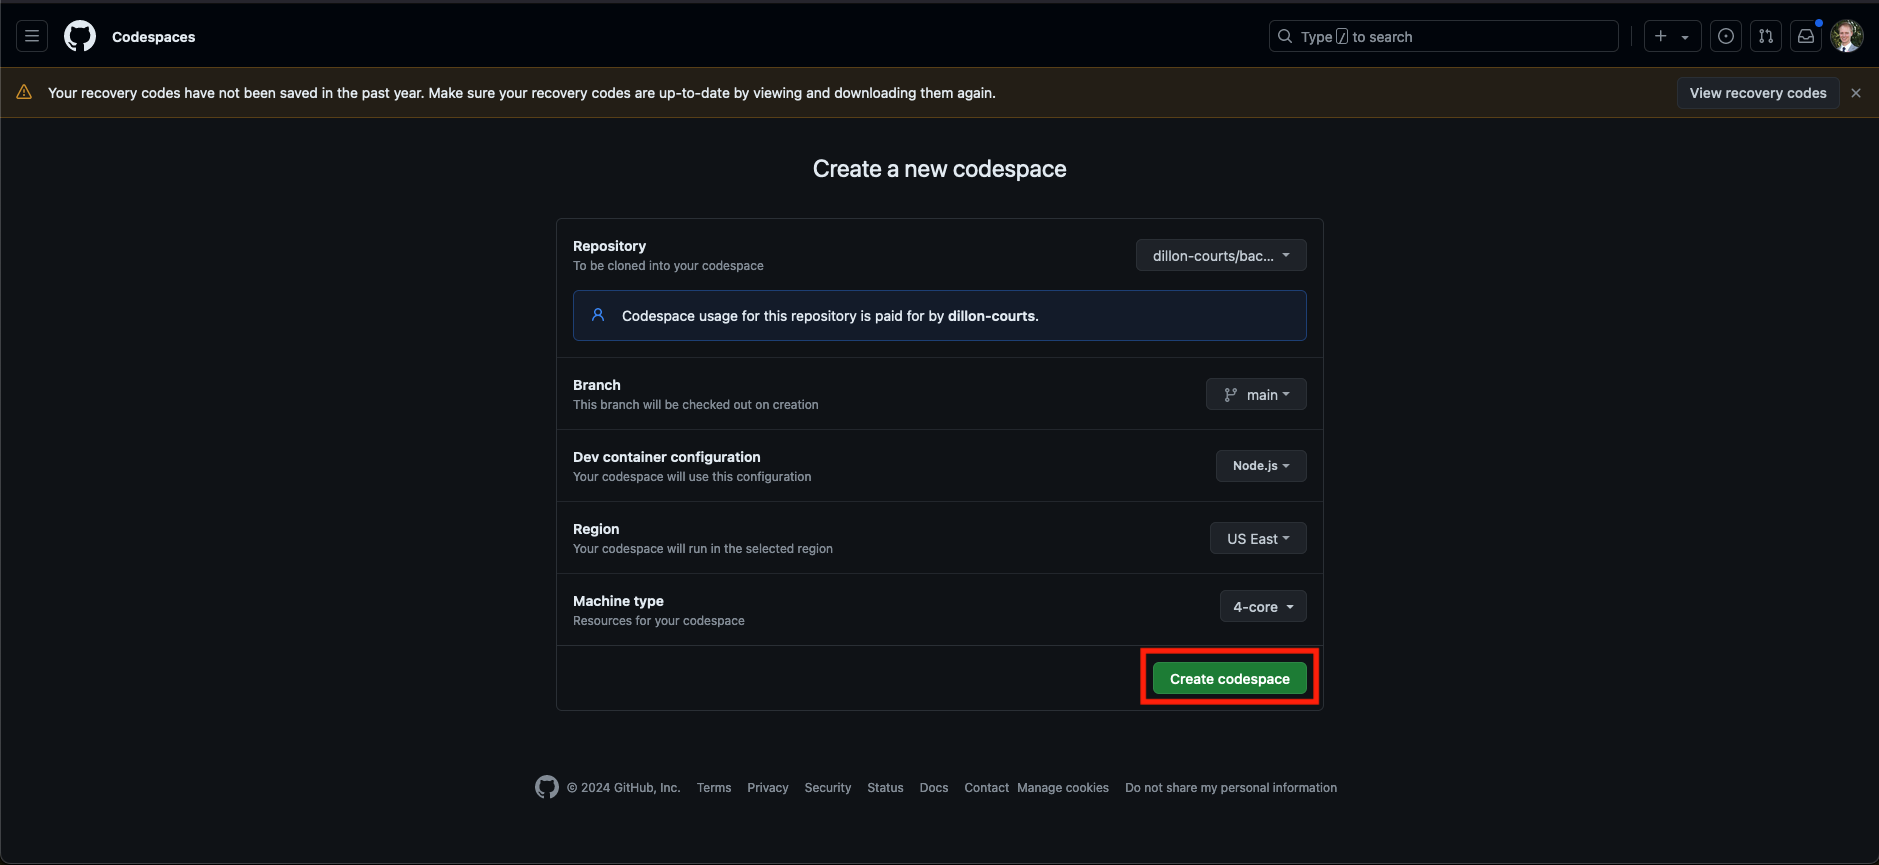

Wait for the codespace to inititialize.
Run the following command in a terminal:
docker compose upOpen another terminal if needed and run the following commands:
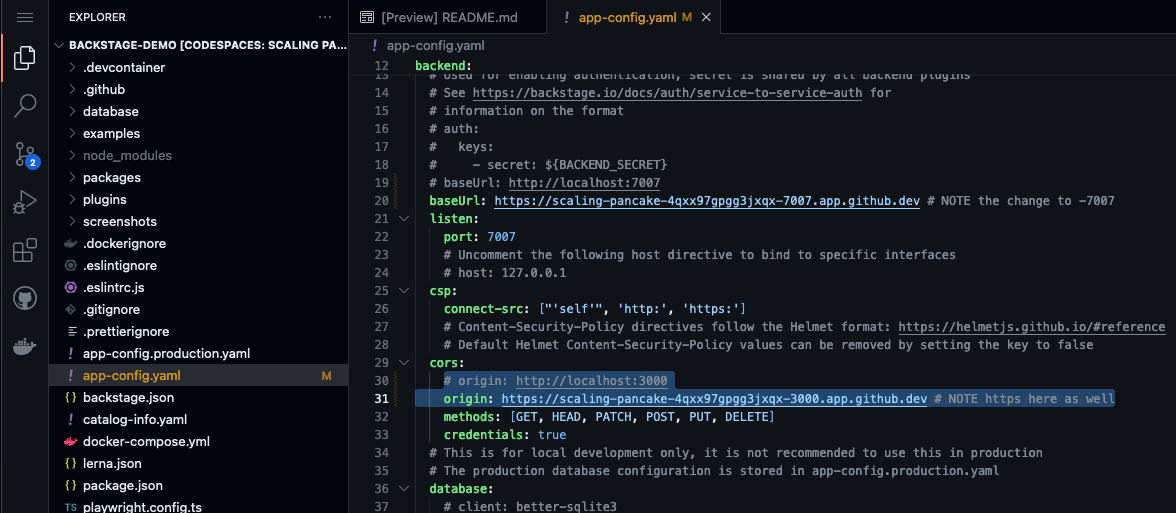
yarn devFrom here on the workshop should follow the same instructions with one exception. Any reference to localhost will need to replaced by the custom url generated by codespaces. VSCode should help you out with this by asking if you want to open any forwarded ports in your browser. We will also have to make the following changes to the app-config.yaml file.
app-config.yaml
- Update app baseUrl to codespaces generated.

- Update backend baseUrl to codespaces generated.

- Update cros to allow codespaces generated.
- Restart backstage
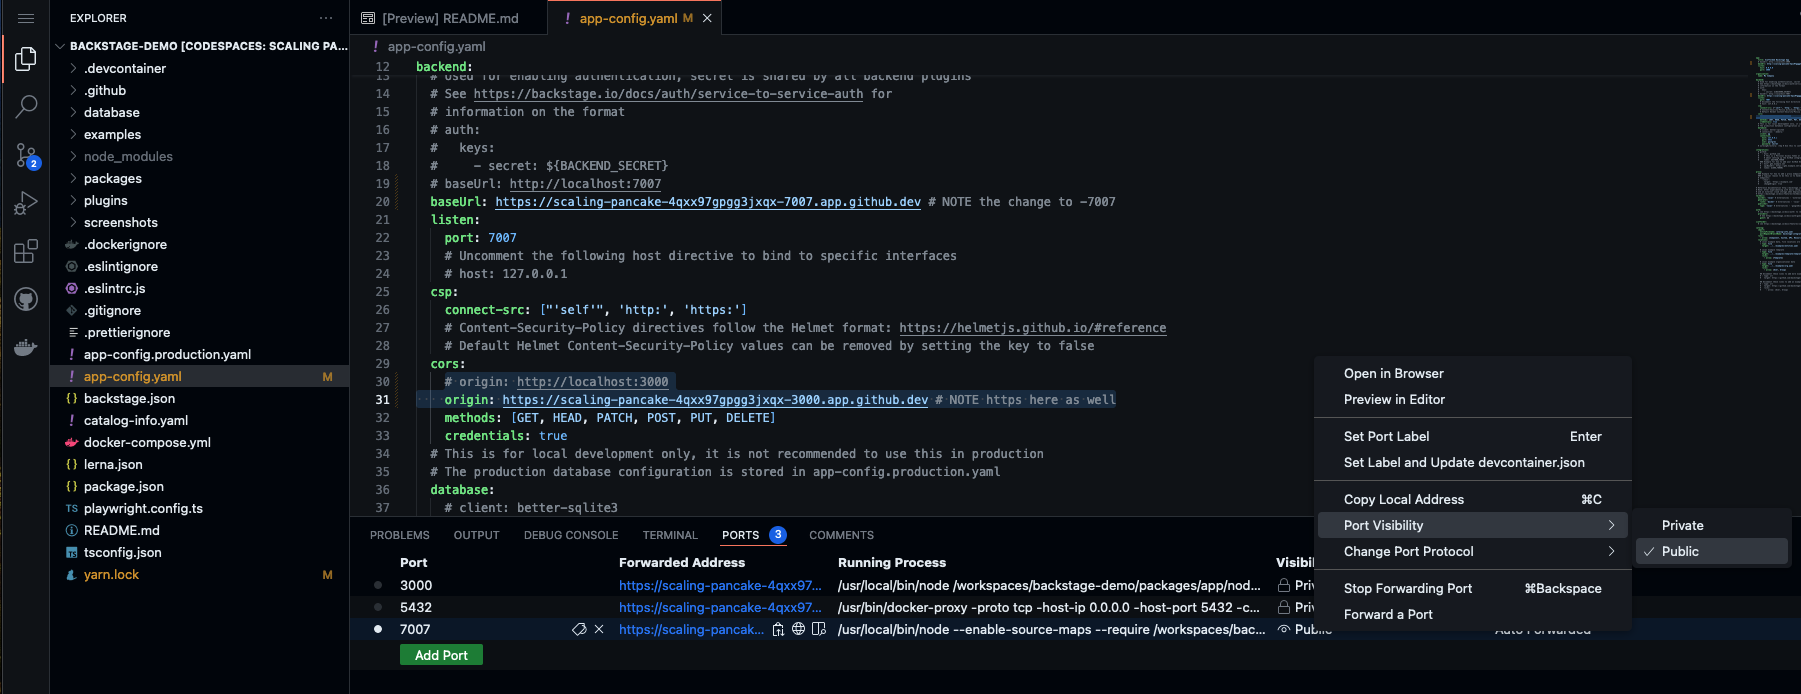
ctrl+cfollowed byyarn dev - Wait for it to come up again and then make the backend url publicly accessible.
- Refresh backstage portal in your browser


NOTE: Every time backstage is restarted you may need to make your backend port 7007 public again.
Backstage will open on http://localhost:3000.
You will need to login as a guest and you may receive the error below. You can safely ignore it.

Next you can explore the different components of backstage.
In this view you can view the different entity types available by default in Backstage. You can even add your own if you'd like. By default Backstage comes with:
- Component
- Group
- Location
- System
- Template
- User
This repo will be mostly empty except for the default Node.js template. We will add other entities throughout the workshop.
There won't be anything here yet.
There won't be anything here yet but we will add Docs later.
Here you will see the example Node.JS template. We will use this later in the workshop.
We will be leveraging the following gcp-microservices-demo to explore the software catalog concept and add entities.
Navigate to the Create section and client on Register Existing Component.

Enter the url of the catalog-info.yml file
https://github.com/dillon-courts/gcp-microservices-demo/blob/main/catalog-info.yaml

Click Analyze and then click through the next steps to import and add the component. You should now be able to view the entity under the System Kind on the Home page.

Use the same process as above to add additional components of the system.
Add at least the following components so you can see how they fit together. You can add additional components if you'd like, each service within the src directory contains a catalog-info.yaml file.
- https://github.com/dillon-courts/gcp-microservices-demo/blob/main/src/adservice/catalog-info.yaml
- https://github.com/dillon-courts/gcp-microservices-demo/blob/main/src/cartservice/catalog-info.yaml
- https://github.com/dillon-courts/gcp-microservices-demo/blob/main/src/checkoutservice/catalog-info.yaml
- https://github.com/dillon-courts/gcp-microservices-demo/blob/main/src/frontend/catalog-info.yaml
- Go to the create section
- Click
Register Existing Component - Enter the URL of a catalog-info.yml file
- Click
Analyzeand thenImport
Once complete you should see all components registered on the Home page as Kind Component.

If you go view your ms-demo system you will see the connections have been generated in a graph like structure.

You can explore the Docs of any of the entities that have been added. The docs component reads any documentation in markdown format that is present inside a docs directory and displays it within the Backstage portal.
Scaffolding a service allows the creation of a new repository based on a template. You can use this to allow self service of new repository creation with your organization standards.
There are two steps to this process.
You need to create a Github Personal Access Token to give Backstage permissions to create a new repository within your account.
- Navigate to Developer Settings on your Github Account. Profile -> Settings -> Developer Settings -> Tokens Classic -> Generate Token -> Generate New Token (Classic).


- Select the
repo&workflowpermissions and generate the token.

- Copy the generated token and paste it into your Backstage
app-config.yamlfile in the integrations section.

- Restart Backstage
(ctrl+c)yarn dev
- Navigate to the
Createpage and add click theChoosebutton on the NodeJS template.

- Enter a name for your component. This is the name that will be used in the
catalog-info.ymlfile, so it will be the same name shown in backstage. ClickNext.

- Enter the
owneras your github username and enter a name for the repository. ClickReview.

- Click
Create.

- Your repository should be created, you can view it either in github or backstage by using the links provided.

We are going to add a single plugin to see what that process entails. The Tech Radar plugin was chosen for simplicity.
- Add the package.
From your Backstage root directory
yarn --cwd packages/app add @backstage-community/plugin-tech-radar
- Modify your app routes to include the Router component exported from the tech radar, for example:
// In packages/app/src/App.tsx
import { TechRadarPage } from '@backstage-community/plugin-tech-radar';

const routes = (
  <FlatRoutes>
    {/* ...other routes */}
    <Route
      path="/tech-radar"
      element={<TechRadarPage width={1500} height={800} />}
    />
- Add a link to the side bar:
// In packages/app/src/components/Root/Root.tsx
        {/* End global nav */}
        <SidebarDivider />
        <SidebarScrollWrapper>
          {
            <SidebarItem icon={CreateComponentIcon} to="tech-radar" text="Tech Radar" />
          /* Items in this group will be scrollable if they run out of space */
          }
        </SidebarScrollWrapper>
      </SidebarGroup>

- Restart the app with
(ctrl+c)followed byyarn devand either click the new link in the side bar or navigate directly to http://localhost:3000/tech-radar