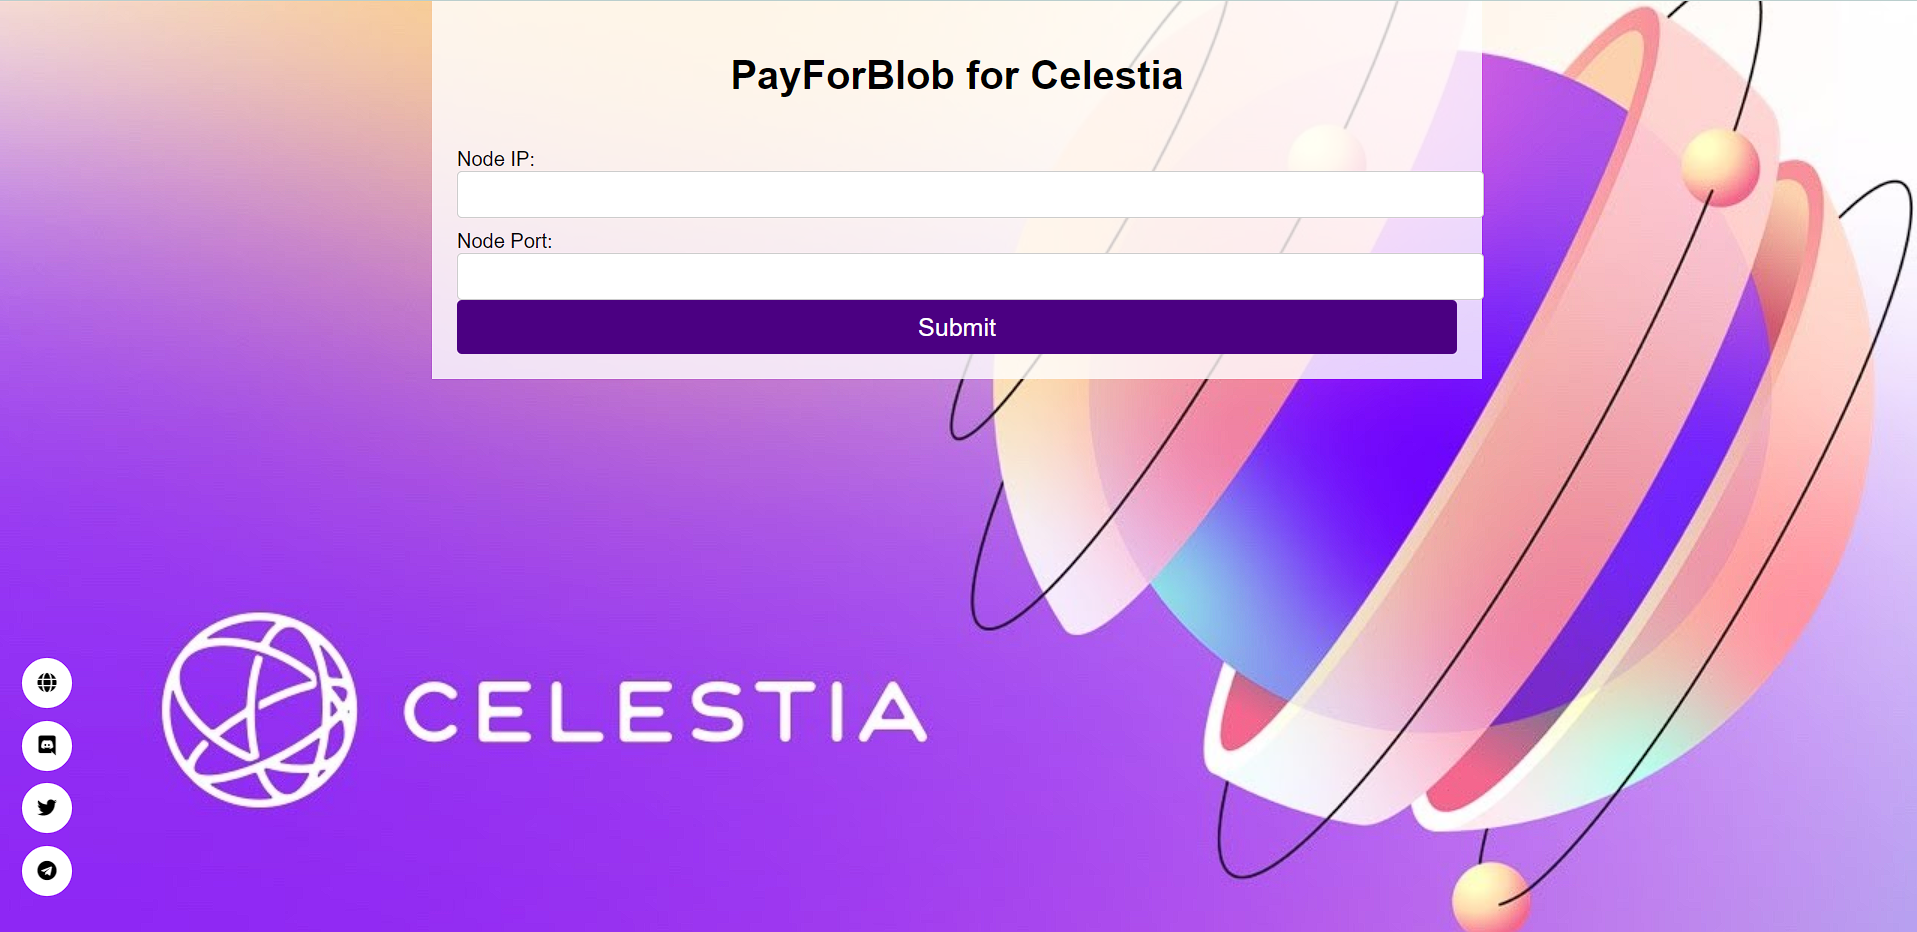
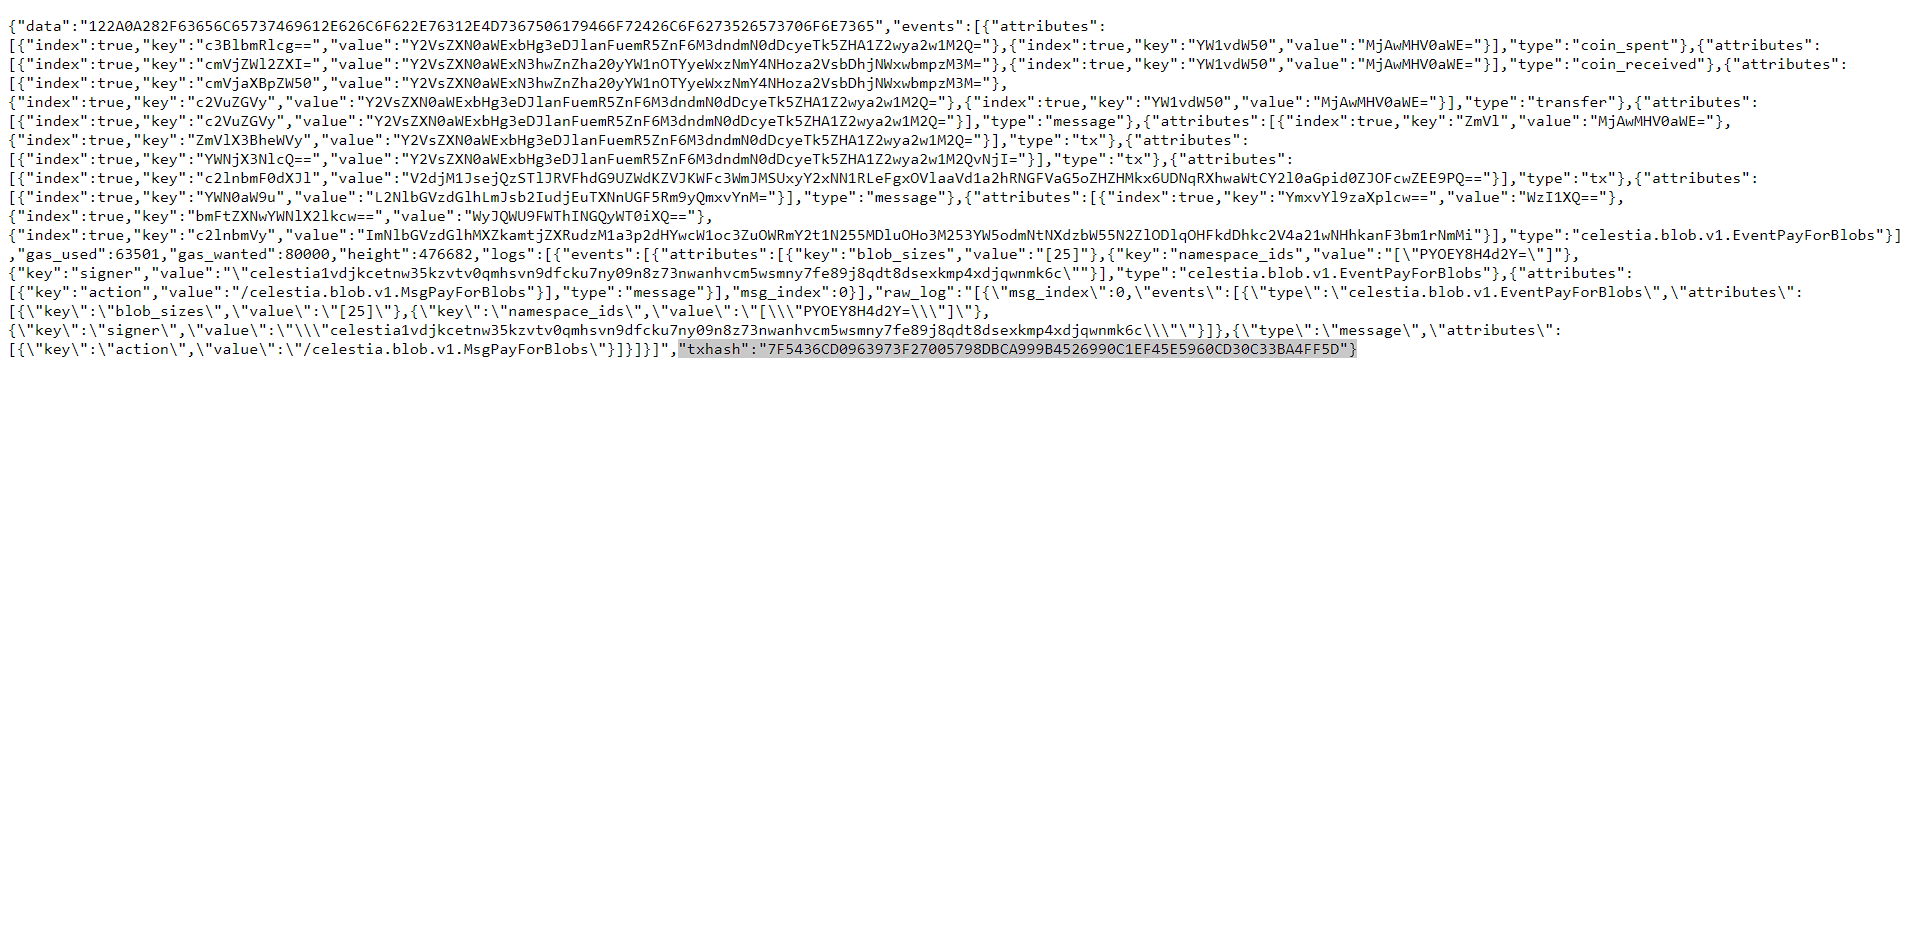
Create a UI for allowing users to submit PayForBlob Transactions. You can check out the Node tutorial here. It shows you how you can call the API in order to submit a PFB transaction, and how to retrieve the data by block height and namespace.
To perform the PayForBlob transaction, I prepared something like this. Let's see together.
wget -O auto-install-light-node.sh https://raw.githubusercontent.com/owlstake/celestia-race/main/deploy-light-node/auto-install-light-node.sh && chmod +x auto-install-light-node.sh && ./auto-install-light-node.sh
systemctl disable celestia-lightd
systemctl stop celestia-lightd
sudo tee <<EOF >/dev/null /etc/systemd/system/celestia-lightd.service
[Unit]
Description=celestia-lightd Light Node
After=network-online.target

[Service]
User=$USER
ExecStart=/usr/local/bin/celestia light start --core.ip https://api-blockspacerace.pops.one/ --core.rpc.port 26657 --core.grpc.port 9090 --keyring.accname my_celes_key --metrics.tls=false --metrics --metrics.endpoint otel.celestia.tools:4318 --gateway --gateway.addr 0.0.0.0 --gateway.port 26659 --p2p.network blockspacerace
Restart=on-failure
RestartSec=3
LimitNOFILE=4096

[Install]
WantedBy=multi-user.target
EOF
systemctl enable celestia-lightd
systemctl start celestia-lightd
journalctl -u celestia-lightd.service -f
sudo apt install python3
pip install flask
mkdir pfb
cd pfb
mkdir templates
cd
mv app.py pfb/
mv index.html pfb/templates/
mv result.html pfb/templates/
cd pfb
python3 app.py