Framework : squeezer.io
Docs : docs.squeezer.io
Squeezer is a platform that empowers new-entry blockchain developers to build serverless dApps simply as dead.
The main usage of the ChainKit is to unify top blockchains interfaces into a single normalized API interface , therefore you can build blockchain dApps easily without digging into blockchain complex infrastructure.
- create blockchain wallets
- double-encrypt for wallet data
- user choose how to store wallet token
- bi-directional blockchain transactions (inbound and outbound)
- create blockchain payment solution
- build dApps connecting to smart contracts using chainkit agnostic connector
- deploy smart contracts
- quick intuitive code deployments by using a special mechanism which will deploy smart contracts and dApp services where code changed
- powered by microservices
- share components between functions, similar to monolytic project
- auto-deployable, auto-scalable , no DevOps requirements
- silent deployments ,no interruption for the current functionality ( really useful on production )
- one single command to simultaneously deploy all available functions on your project where code changed from the last deployment
- automatic rollback to the previous working deployment if something goes wrong
- sequential deployments, wait for the current deployments in progress to finish
- self-healing functions
- test your code locally on a simulated functions platform for a faster development cycle
- separate your environments in multiple stages
- extend framework functionality with your own "home-made" plugins
- pay only for the usage ( no monthly subscriptions )
- Swagger UI API documentation support
- Install node.js version
>=6
Squeezer command-line interface
Create a quick project stub by using templates :
| template | description |
|---|---|
| Squeezer 2way Payment | https://github.com/SqueezerIO/squeezer-2way-payment |
Extend or merge the Squeezer framework functionality with plugins
| Plugin | Author |
|---|---|
| Serve Plugin This plugin enables serving support for local development within the Squeezer Framework. |
Nick Chisiu |
| Swagger Plugin This plugin enables Swagger API Documentation support within the Squeezer Framework. |
Nick Chisiu |
| Project Name | Author | Demo |
|---|---|---|
| Squeezer 2way Payment Squeezer Two Way Blockchain Payment System (inbound + outbound) |
Nick Chisiu | video |
NOTE: Windows users should enable symlinks in order to avoid unwanted symbolic links errors .
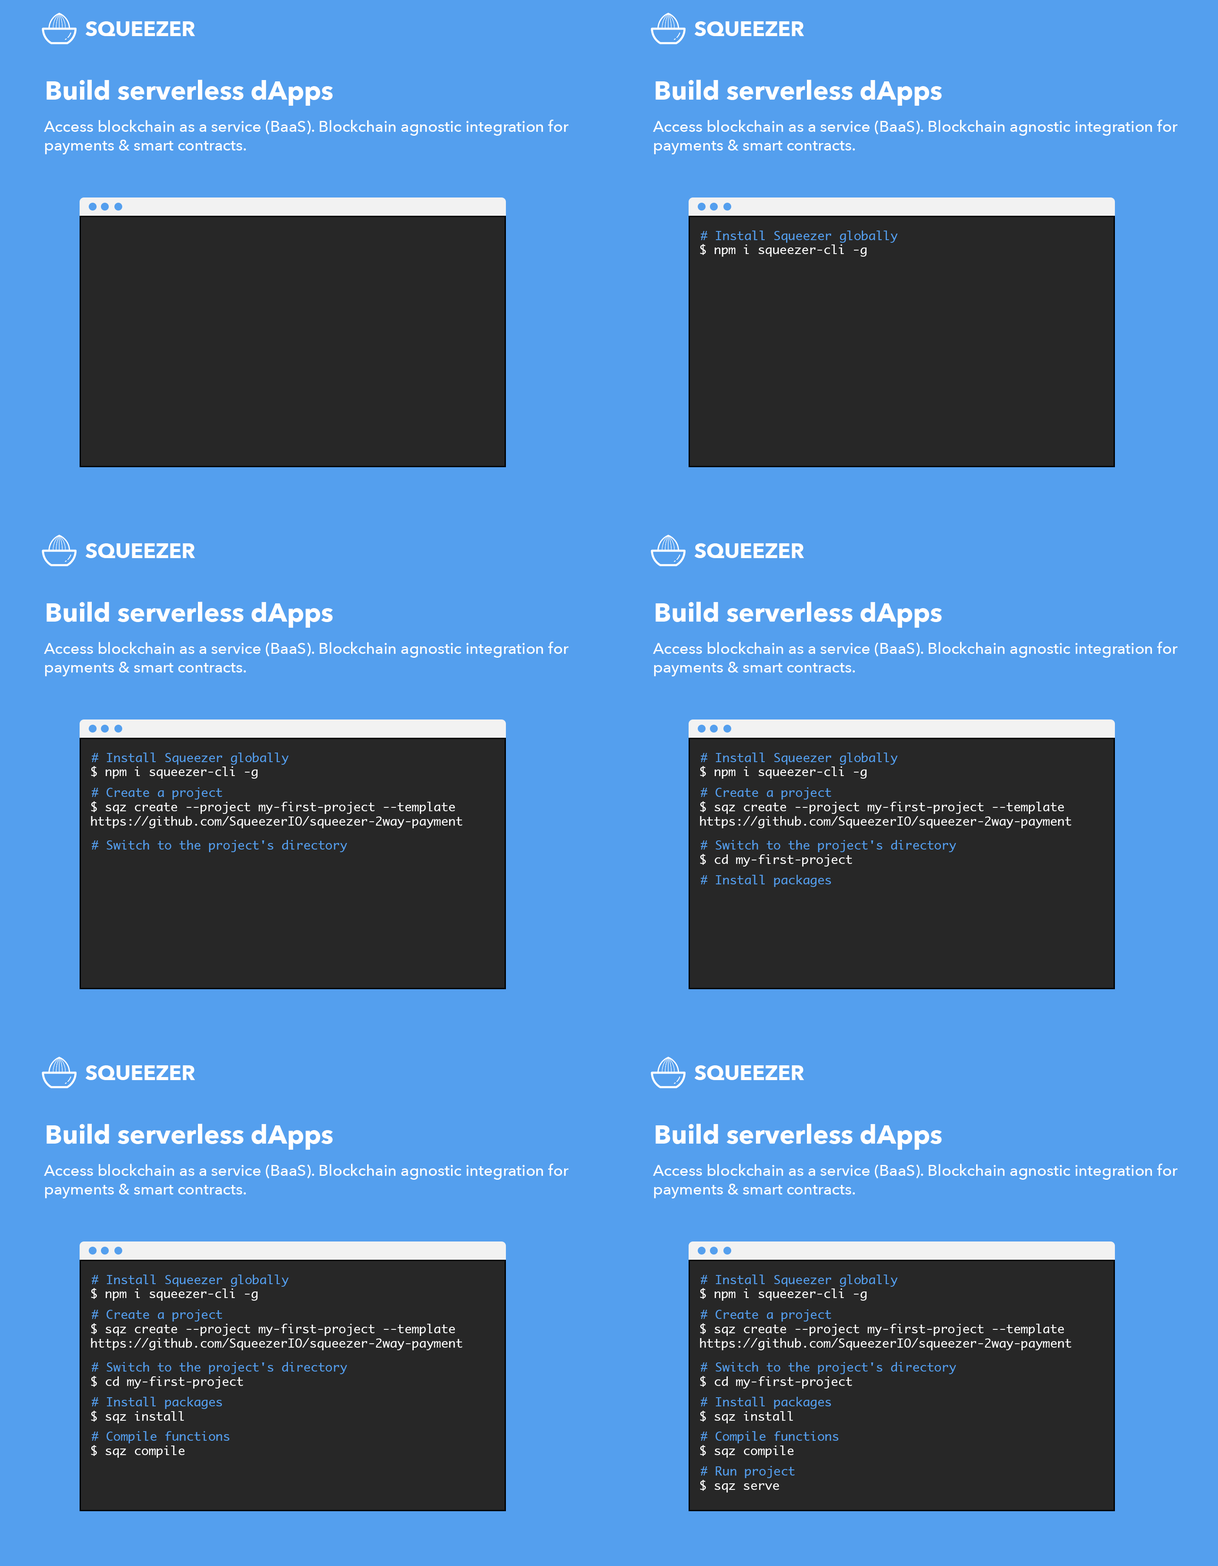
- Install Squeezer's command line tool globally on your machine using npm:
npm install squeezer-cli -g - Create a new project using the squeezer-2way-payment template:
sqz create --project my-first-project --template https://github.com/SqueezerIO/squeezer-2way-payment - Switch to the project's directory:
cd my-first-project - Initialize the local directory as a Git repository:
git init - Add the files in your new local repository. This stages them for the first commit:
git add . - Open up GitHub in a browser, navigate to the repositories page, and click on the
Newbutton, and enter the name of your project that you've created locally, in our case it will be my-first-project, then create the new repository. - In Terminal, add the URL for the remote repository where your local repository will be pushed: git remote add origin remote repository URL
- Commit the files that you've staged in your local repository:
git commit -m "First commit" - Push the master branch to GitHub:
git push -u origin master - Open up a new browser window and navigate to https://platform.squeezer.io, then login to the platform.
- Click on the import project button and import the project you've created from GitHub.
- In the first step of the import process, you have to select the repository from your list.
- In the second step of the import, you have to choose the provider and the stage name, dev or prod.
- After importing the project, the deployment will start automatically.
- When the deploy will be finished, we can check the logs by clicking on it.
- Scroll all the way down in the log window and copy the Swagger URL, then paste in a browser window.
See contributing.md for contribution guidelines


