This project provides an open source Amazon Cognito Authenticator plug-in for the Curity Identity Server. This allows an administrator to add functionality to Curity which will then enable end users to login using their StackOverflow, SuperUser, ServerFault or other Amazon Cognito credentials. The app that integrates with Curity may also be configured to receive the Amazon Cognito access token, allowing it to manage Amazon Cognito resources.
- Curity Identity Server 2.4.0 and its system requirements
- Maven 3
- Java JDK v. 8
The source is very easy to compile. To do so from a shell, issue this command: mvn package.
To install this plug-in, either download a binary version available from the releases section of this project's GitHub repository or compile it from source (as described above). If you compiled the plug-in from source, the package will be placed in the target subdirectory. The resulting JAR file or the one downloaded from GitHub needs to placed in the directory ${IDSVR_HOME}/usr/share/plugins/aws. (The name of the last directory, aws, which is the plug-in group, is arbitrary and can be anything.) After doing so, the plug-in will become available as soon as the node is restarted.
Note
The JAR file needs to be deployed to each run-time node and the admin node. For simple test deployments where the admin node is a run-time node, the JAR file only needs to be copied to one location.
For a more detailed explanation of installing plug-ins, refer to the Curity developer guide.
To create a new app in Amazon Cognito, follow Amazon Docs.
After you create the App, take note of the Client ID, Secret key and Domain/Url. These will be needed when configuring Curity.
Amazon Cognito will also display the Authorization callback URL in the new app's configuration. This needs to match the yet-to-be-created Amazon Cognito authenticator instance in Curity. This should be updated to some URL that follows the pattern $baseUrl/$authenticationEndpointPath/$awsAuthnticatorId/callback, where each of these URI components has the following meaning:
| URI Component | Meaning |
baseUrl |
The base URL of the server (defined on the System --> General page of the
admin GUI). If this value is not set, then the server scheme, name, and port should be
used (e.g., https://localhost:8443). |
authenticationEndpointPath |
The path of the authentication endpoint. In the admin GUI, this is located in the
authentication profile's Endpoints tab for the endpoint that has the type
auth-authentication. |
awsAuthenticatorId |
This is the name given to the Amazon Cognito authenticator when defining it
(e.g., cognito1). |
Once the redirect URI is updated, the only thing left is to configure scopes. You need to configure at least one scope openid.

It could be helpful to also enable additional scopes. Scopes are the AWS-related rights or permissions that the app is requesting. If the final application (not Curity, but the downstream app) is going to perform actions using the Amazon Cognito API, additional scopes probably should be enabled. Refer to the Amazon Cognito documentation on scopes for an explanation of those that can be enabled and what they allow.
Warning
If the app configuration in Amazon Cognito does not allow a certain scope (e.g., the Profile scope) but that scope is enabled in the authenticator in Curity, a server error will result. For this reason, it is important to align these two configurations or not to define any when configuring the plug-in in Curity.
The easiest way to configure a new Amazon Cognito authenticator is using the Curity admin UI. The configuration for this can be downloaded as XML or CLI commands later, so only the steps to do this in the GUI will be described.
Go to the
Authenticatorspage of the authentication profile wherein the authenticator instance should be created.Click the
New Authenticatorbutton.Enter a name (e.g.,
cognito1).For the type, pick the
Awsoption: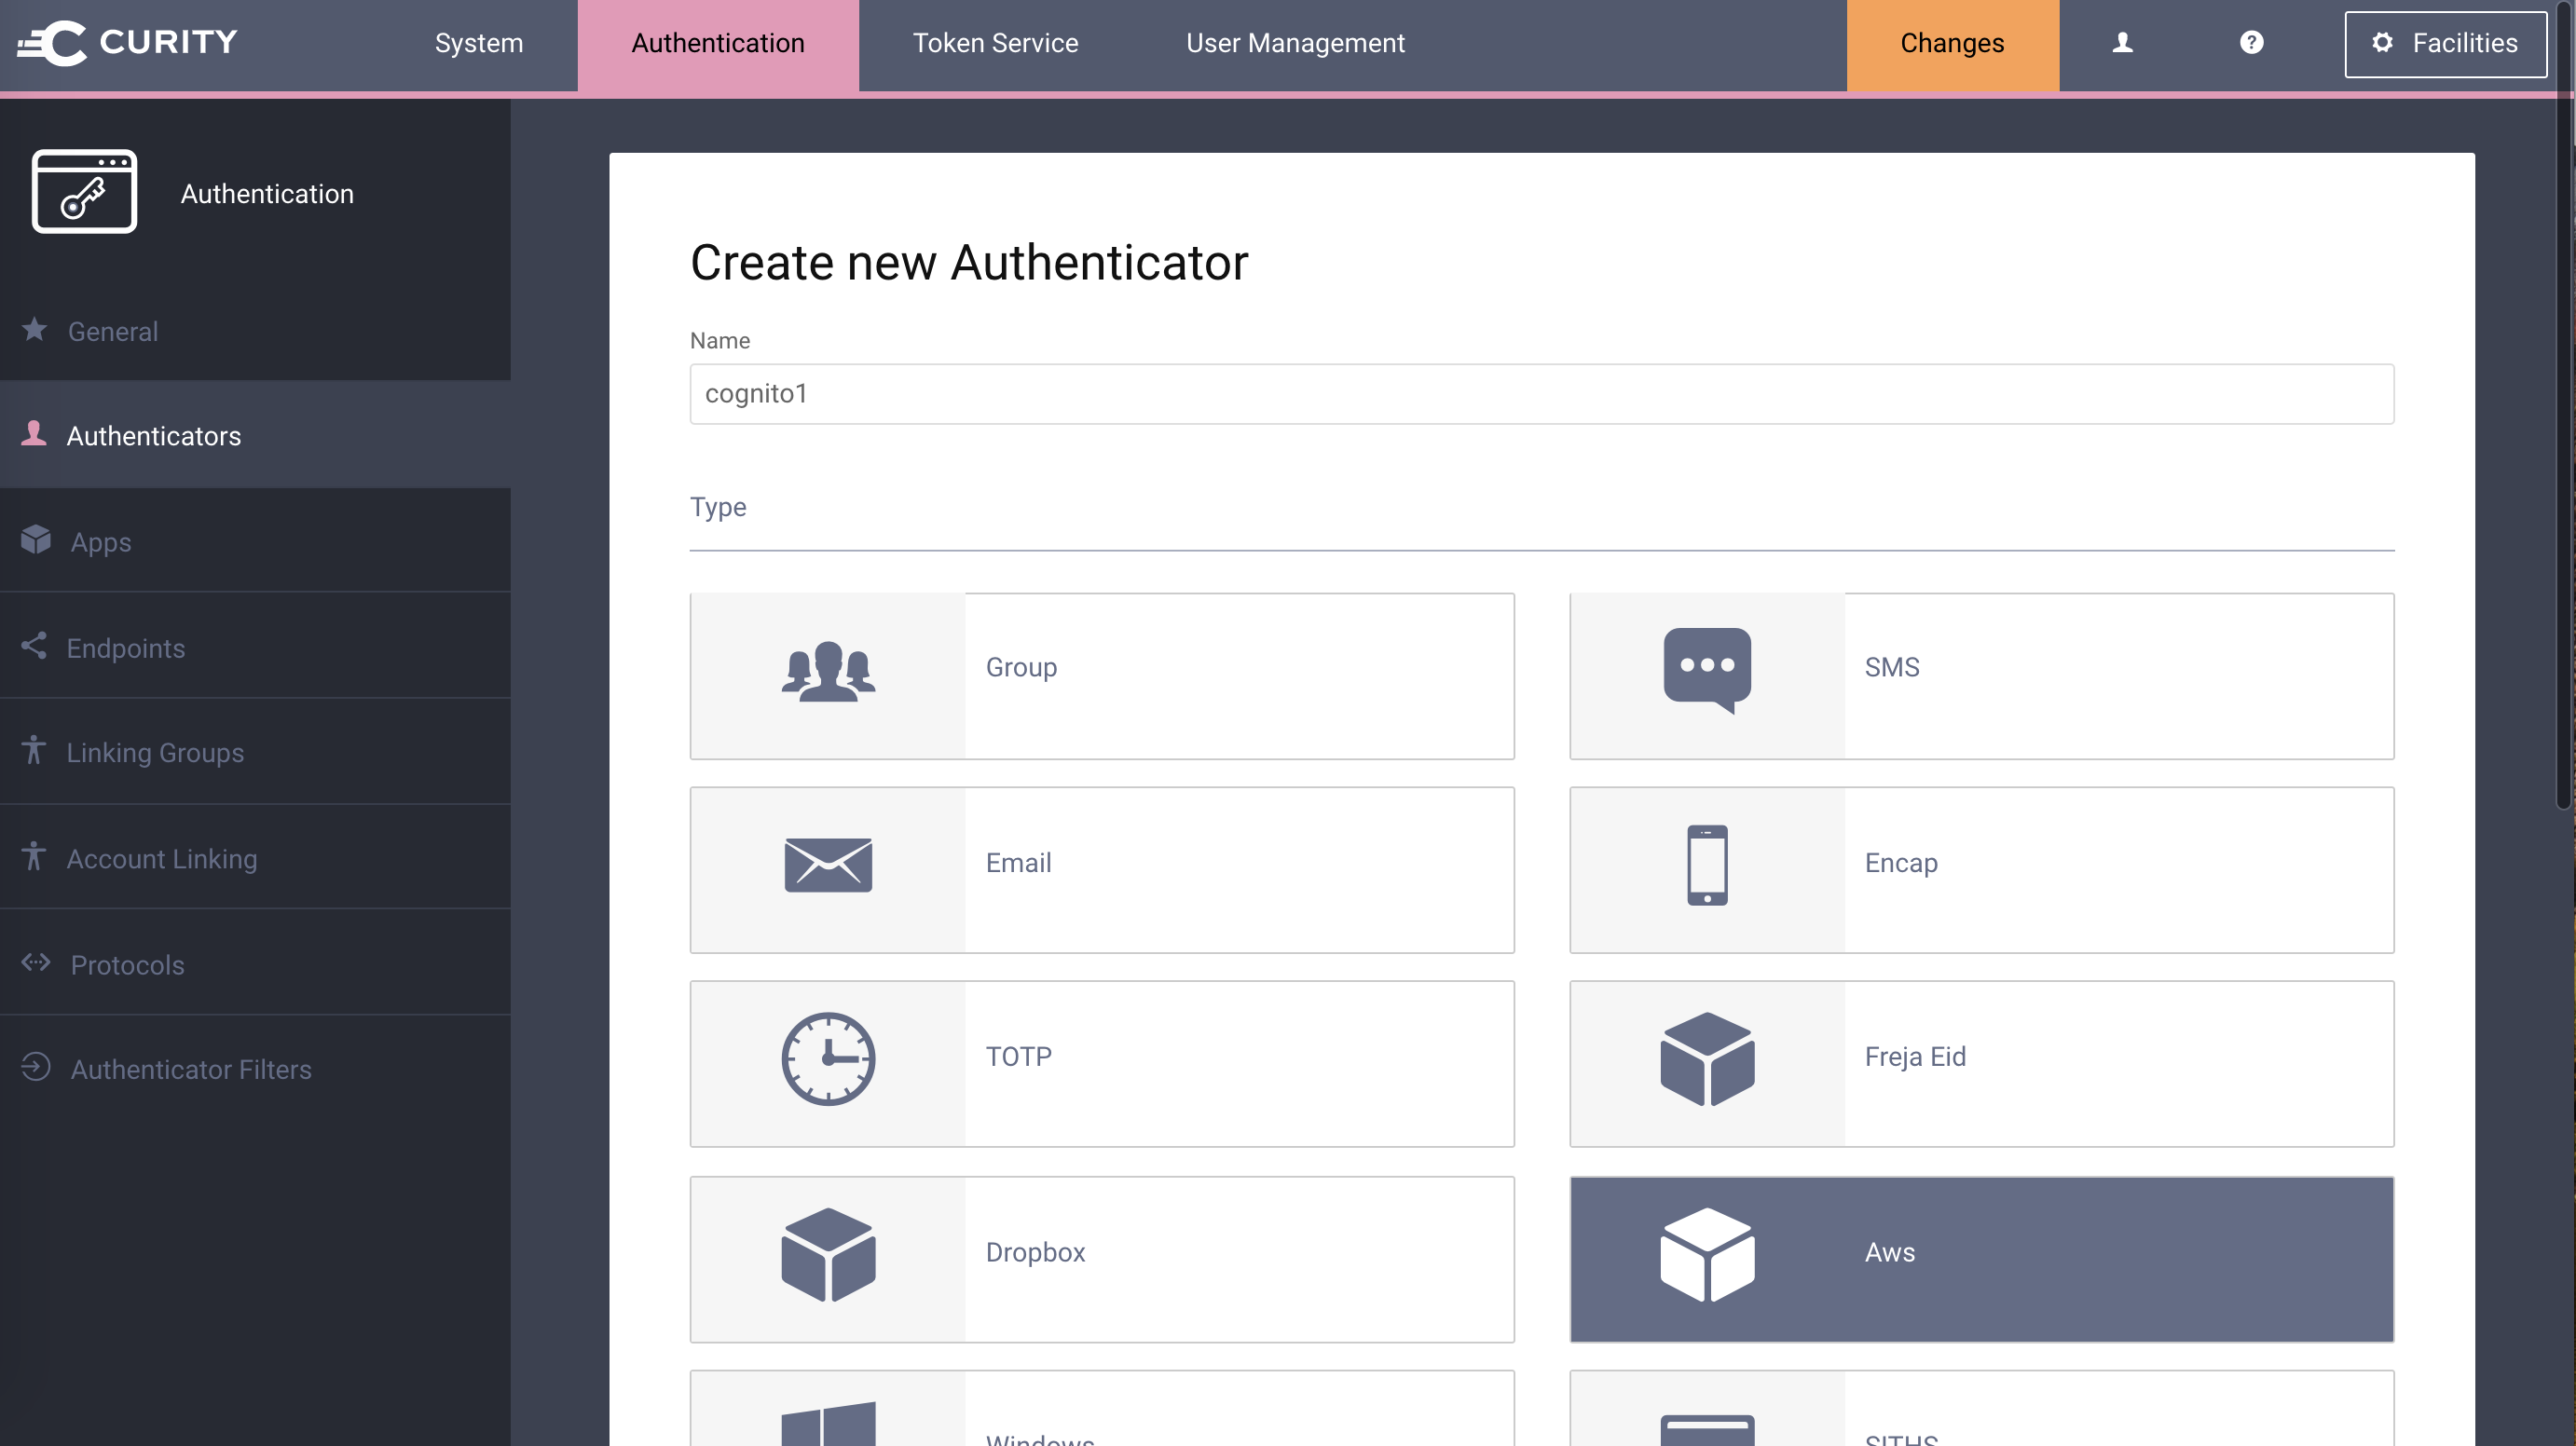
On the next page, you can define all of the standard authenticator configuration options like any previous authenticator that should run, the resulting ACR, transformers that should executed, etc. At the bottom of the configuration page, the Amazon Cognito-specific options can be found.
Note
The Amazon Cognito-specific configuration is generated dynamically based on the configuration model defined in the Java interface.
Certain required and optional configuration settings may be provided. One of these is the
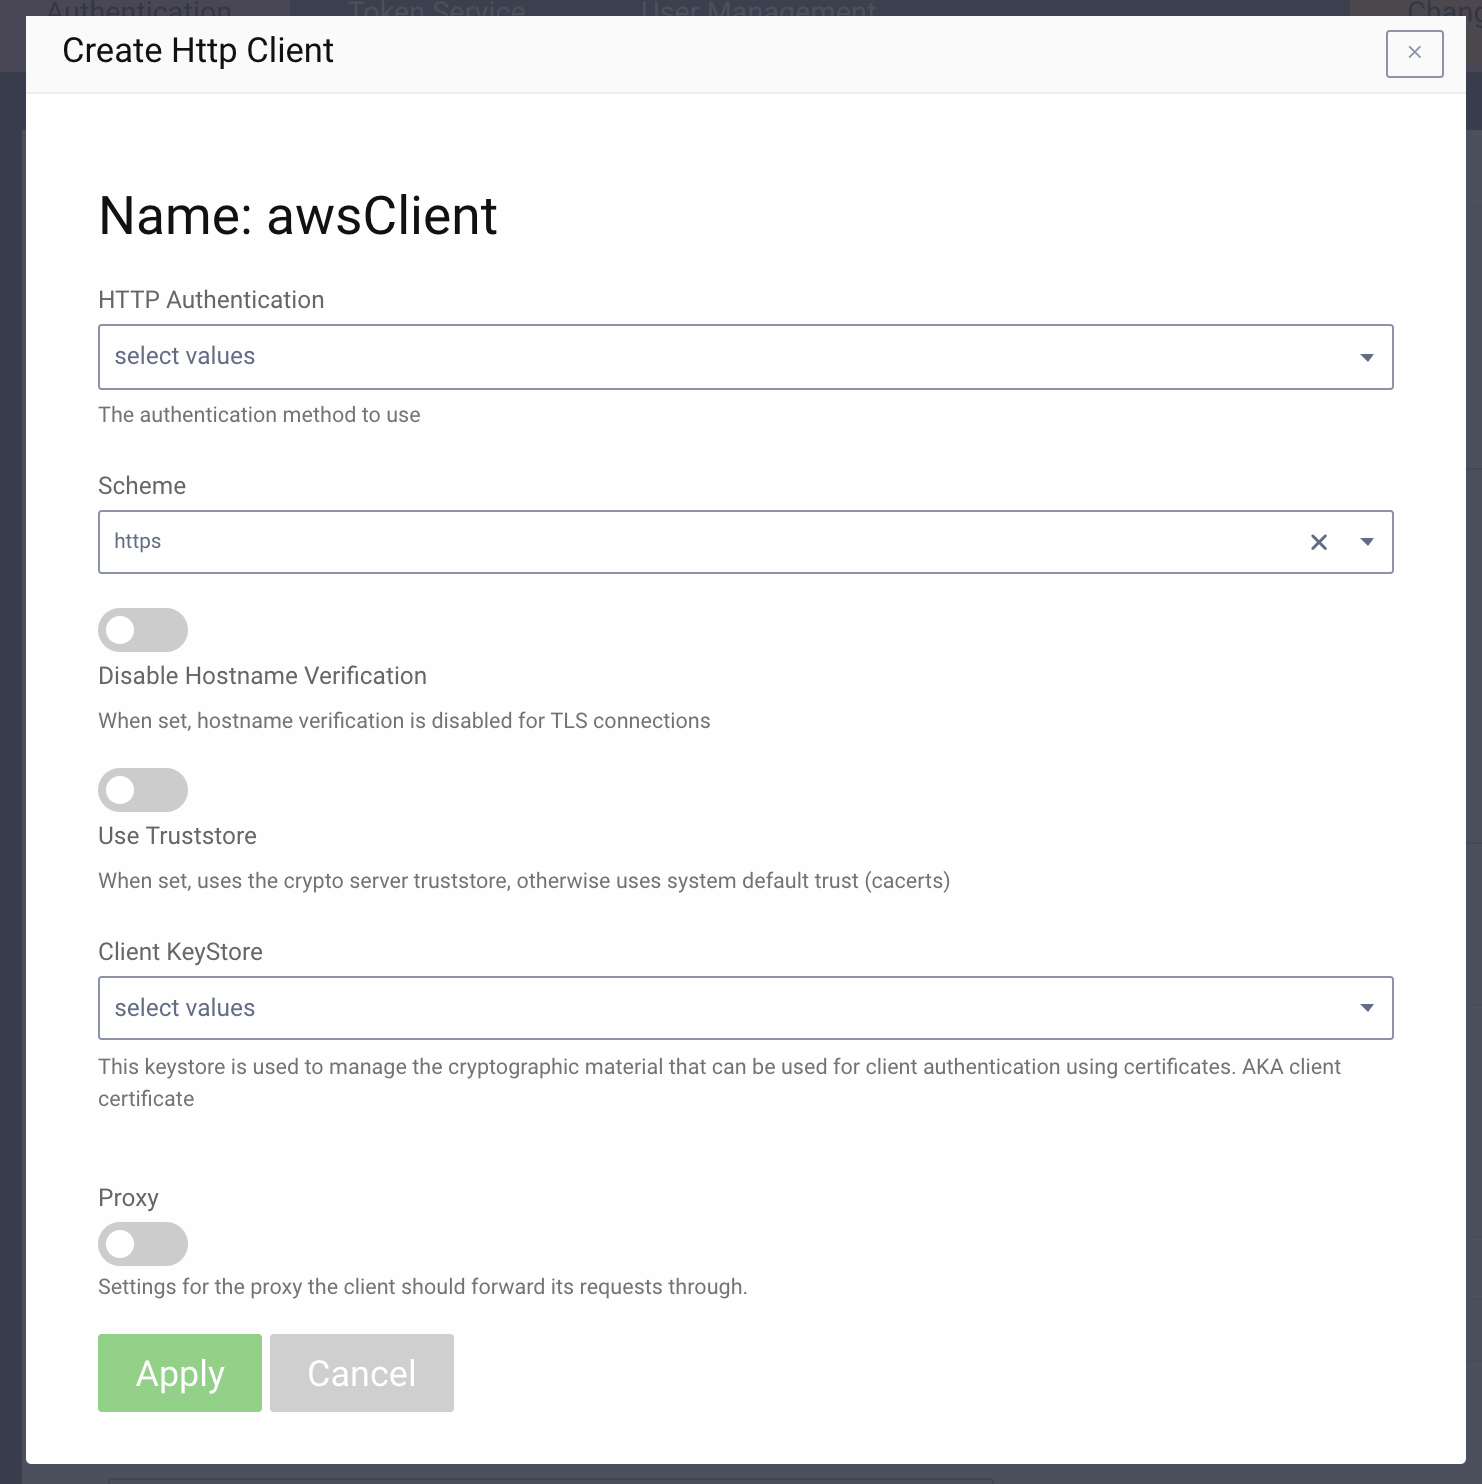
HTTP Clientsetting. This is the HTTP client that will be used to communicate with the Amazon Cognito OAuth server's token and user info endpoints. This will only be required if the calls to Amazon Cognito are made through a forwarding proxy or there is an benign SSL Man-in-the-Middle that uses some untrusted SSL certificate. To define this, do the following:- click the
Facilitiesbutton at the top-right of the screen. - Next to
HTTP, clickNew. - Enter some name (e.g.,
awsClient). - Toggle on the
Use TruststoreorProxyoptions as needed. When finished, clickApply.
- click the
Back in the Amazon Cognito authenticator instance that you started to define, select the new HTTP client from the dropdown if you created one; otherwise, leave this setting blank.

In the
Client IDtextfield, enter the client ID from the Amazon Cognito app configuration. This is the auto-generated ID that was shown after you register it. Also enter the matchingClient SecretandDomain(Domain is the URL to your Cognito App).If you have enabled any scopes or wish to limit the scopes that Curity will request of Amazon Cognito, toggle on the desired scopes (e.g.,
ProfileorEmail).


Once all of these changes are made, they will be staged, but not committed (i.e., not running). To make them active, click the Commit menu option in the Changes menu. Optionally enter a comment in the Deploy Changes dialogue and click OK.
Once the configuration is committed and running, the authenticator can be used like any other.
This plugin and its associated documentation is listed under the Apache 2 license.
Please visit curity.io for more information about the Curity Identity Server.
Copyright (C) 2017 Curity AB.