Carla (0.9.6) dataset collector 🚗 💾
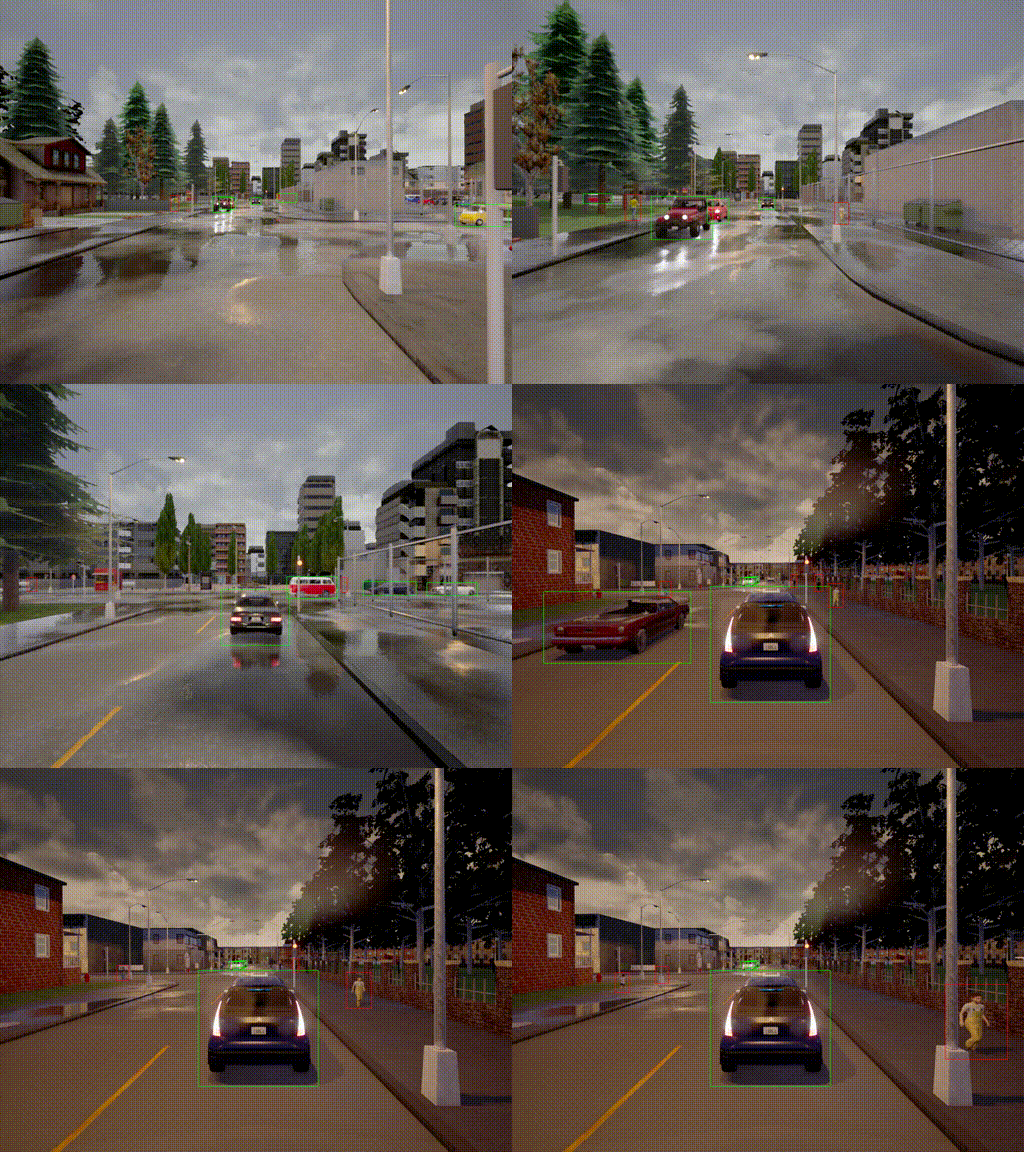
Script used for collecting data on CARLA version 0.9.6. This repository was created mainly by adapting the example python scripts from the carla repository.
Types of data captured include RGB, depth and bounding box of vehicles and pedestrians collection. Other types of data (semantic segmentation, lidar, ...) are not yet implemented, but could be by following the same data structure. Here is a sample of the collected data on Town02:
https://www.youtube.com/watch?v=LgSwWo82wC0
https://www.youtube.com/watch?v=BWh3IdWkFcA
Do note that car light lamps and pole lamps assets were added manually on my own carla source compiled version and thus at the moment are not present on neither the precompiled nor the built from source carla version.
Getting started
Prerequisites
- Python 3
- H5py
- numpy
- Python carla package and its dependencies
*Until now I've only tested on Ubuntu 18.04. It might work on other OS, but that's not certain.
Installation
- Clone this repo
git clone https://github.com/AlanNaoto/carla-dataset-runner
- Install dependencies
Common python packages.
pip3 install numpy
pip3 install h5py
- Carla installation:
Refer to https://carla.readthedocs.io/en/latest/getting_started/ and https://github.com/carla-simulator/carla/blob/master/Docs/download.md
- Set the python path for the carla egg file
Open the settings.py file and change the carla egg path to your own.
- Create a dir to store the to-be recorded data
Navigate to dataset runner's root and create a data dir. The recorded HDF5 files will stay there.
mkdir data
Running the dataset collector
- Launch CarlaUE4:
navigate to carla root and run either:
if you built carla from source:
DISPLAY= "./Unreal/CarlaUE4/Binaries/Linux/CarlaUE4" TownXX -opengl
if you downloaded the carla pre-compiled package:
DISPLAY= ./CarlaUE4.sh TownXX -opengl
where:
- DISPLAY= launches the simulator without a visualization window.
- TownXX is the name of the map to be loaded (e.g.: Town01, Town02, Town03...)
- -opengl is needed to run the simulator without a window. Also, helps for weaker computers not to crash when running the simulator 😅
Wait for some time until the world is fully loaded on your computer. In mine, with a GTX 1050 and 8 GB RAM, it takes about 5 minutes to load. If you built it from source, a message along the lines of "ports open" is shown on the terminal.
- Launch the dataset collector
In the cloned carla-dataset-runner repo, run in another terminal:
python3 main.py hdf5_file -ve 100 -wa 110 -v
where:
- hdf5_file is the name of to be created hdf5 file containing all the collected data
- -ve is an optional arg that spawns 100 random vehicles
- -wa is an optional arg that spawns 110 random pedestrians
- -v is an optional flag to create a mp4 video file
*Further commands can be seen by running the --help flag.
After running this command, the script will begin collecting the data from the sensors by iterating over the predefined weather and ego vehicle variations. Finally, it will create a HDF5 file containing all the data and also a MP4 video showing the RGB recorded footage.
*At the moment, to avoid high correlation between consecutive frames, it is saving only once every 5th frame.
HDF5 data output format
The HDF5 file is structured in the following groups, where each frame entry is assigned a common UTC timestamp. A common parser for this file is provided in create_content_on_hdf5.py.
- bounding_box
- vehicles
- walkers
- depth
- rgb
- ego_speed
- timestamps
| Data | Description | Type |
|---|---|---|
| bounding boxes | array [xmin, ymin, xmax, ymax] | int |
| depth | array [sensor_width * sensor_image] | float |
| rgb | array [sensor_width * sensor_image * 3 channels] | int |
| ego_speed | array [vx, vy, vz in m/s] | float |
| timestamps | UTC milisseconds since the UNIX epoch format | int |
