This library exposes a simple API for retrieving, sending, and manipulating images in the browser.
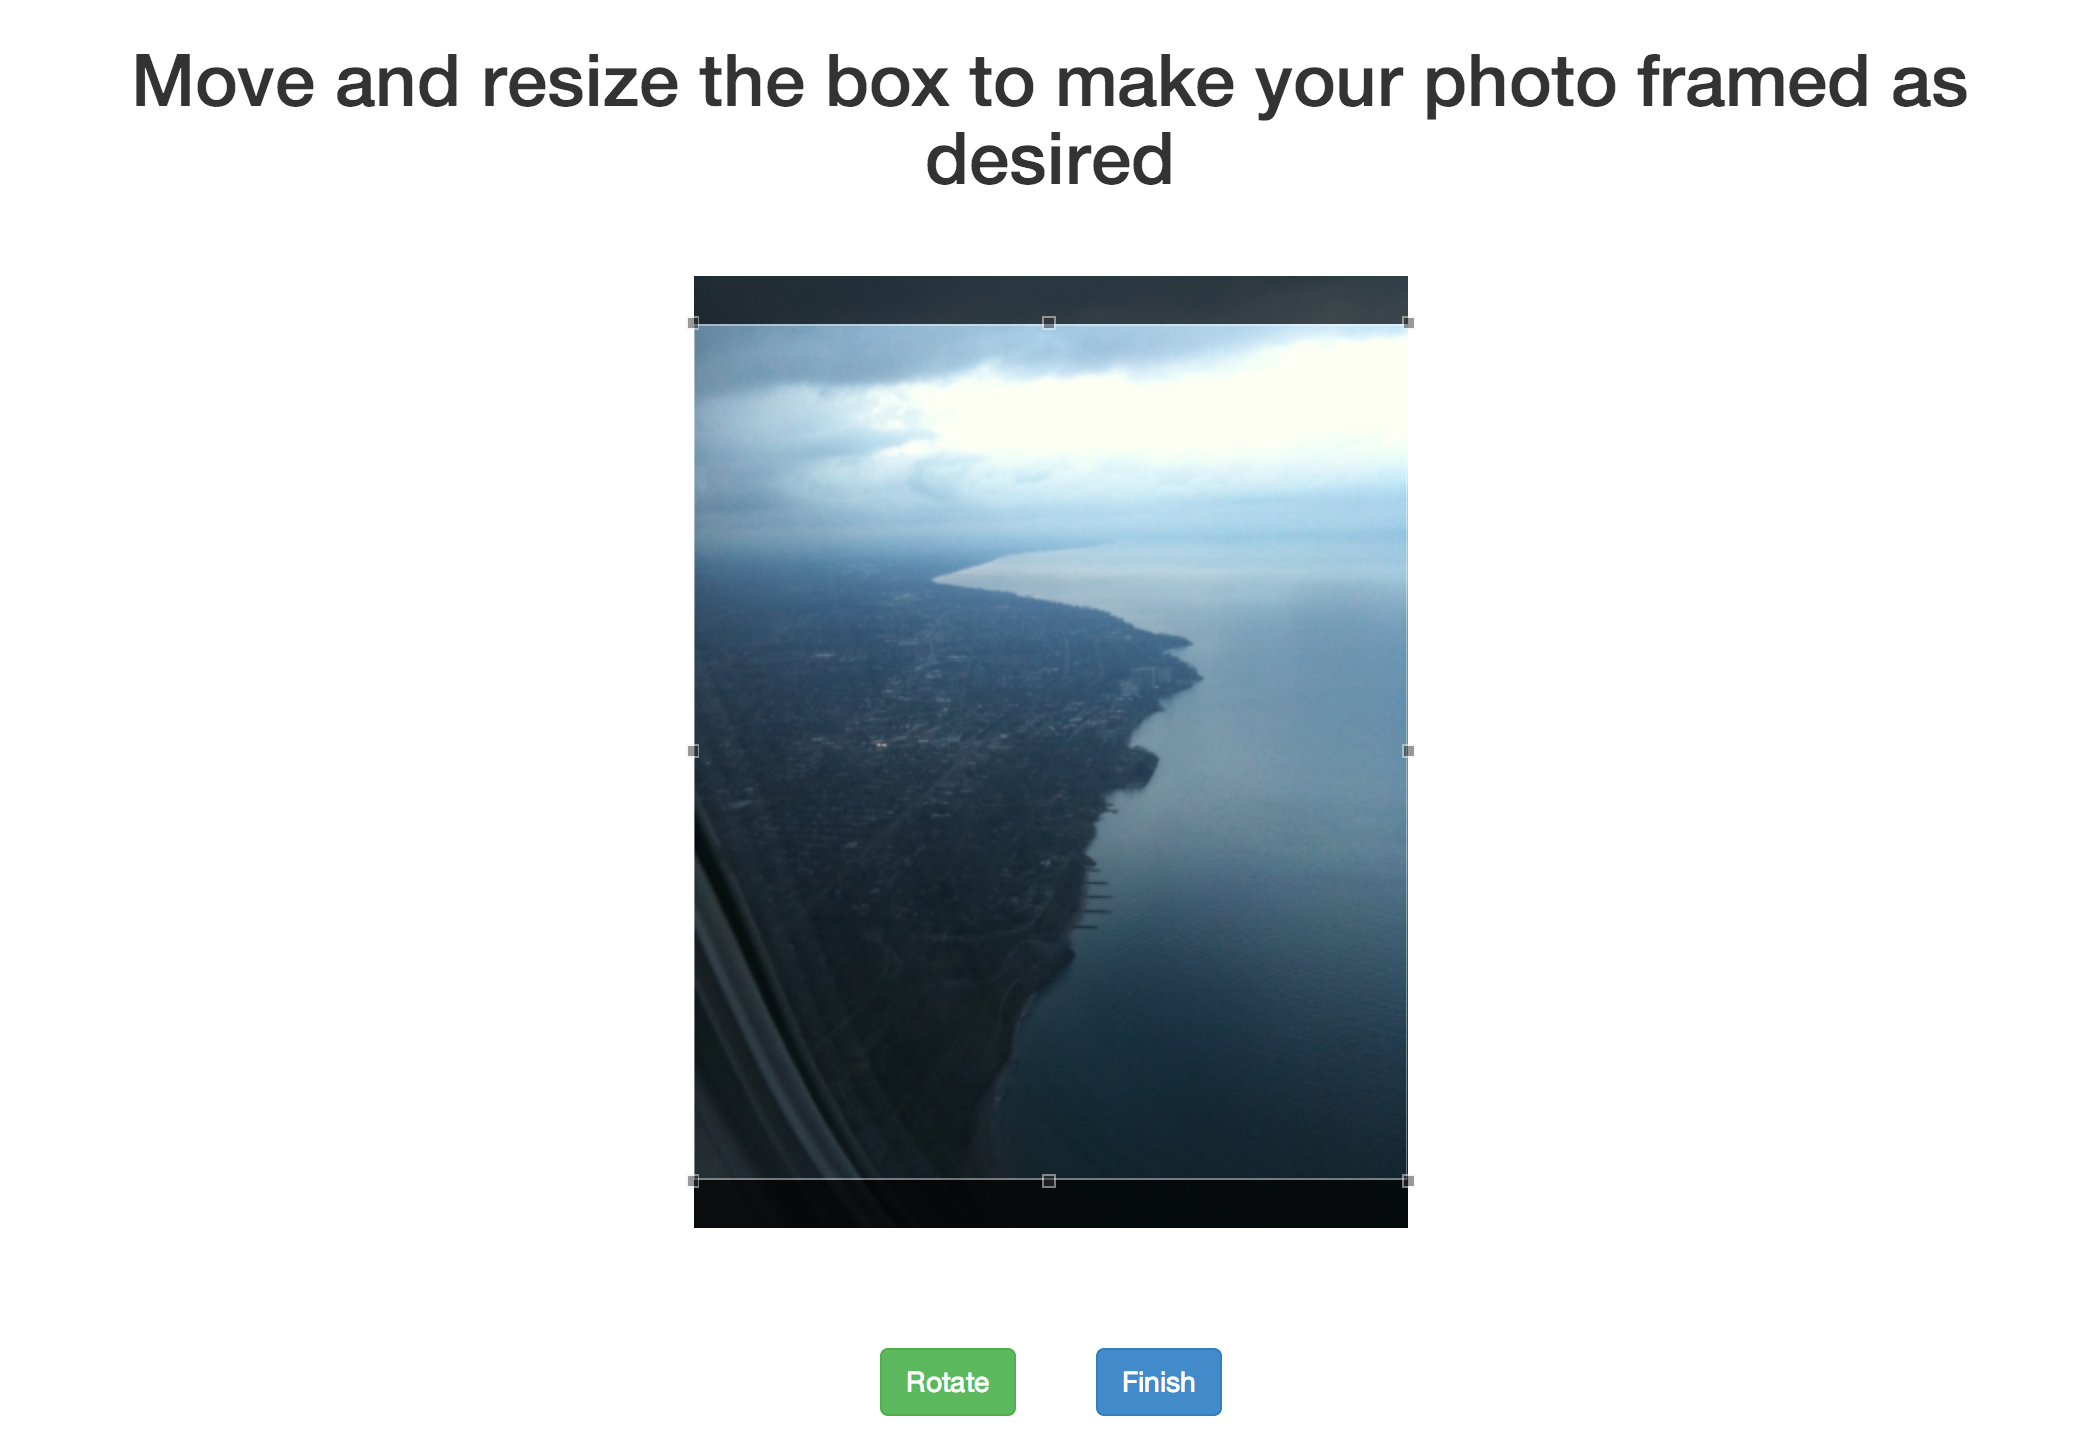
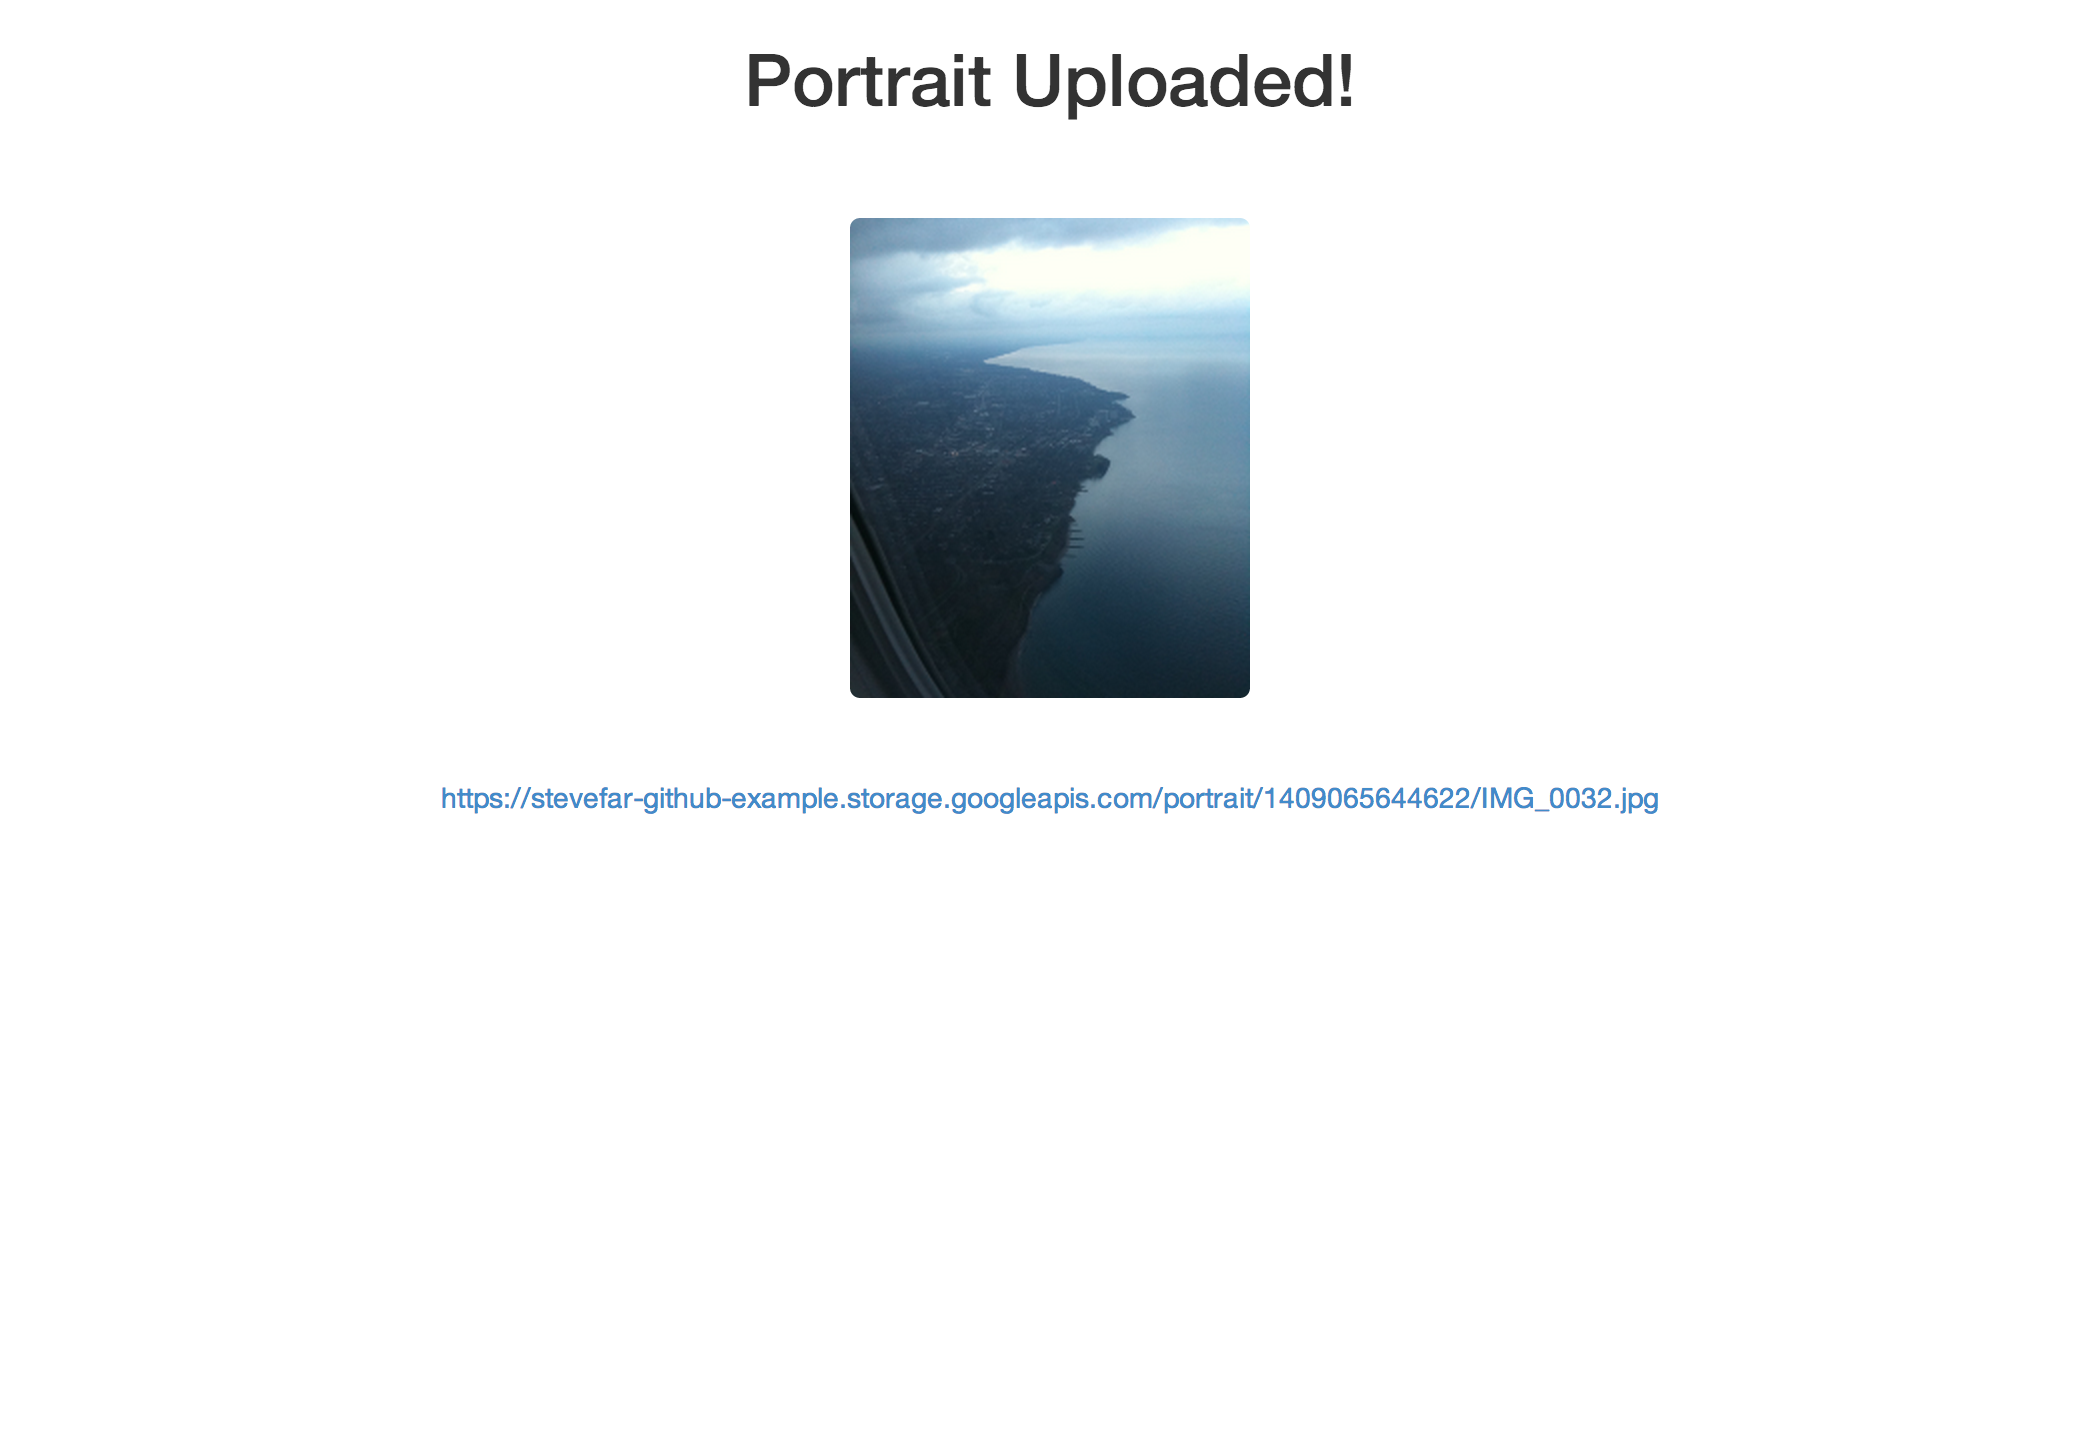
The demo allows the visitor to select a photo from his or her computer, crop and rotate the image, and upload directly to Google Cloud Storage using the gcs-signed-urls module to handle permissions.
See demo: http://blooming-bastion-8931.herokuapp.com/
- Hermite sampling is used to resize images rather than canvas's drawImage. This results in a much better quality photo after resizing. See this stackoverflow.
- The library parses EXIF meta data to always provide the correct orientation. Photos taken with older cameras rely on EXIF metadata and the browser does not take this metadata into account. See this article.
The library is available on bower and npm.
bower install image-manipulation
OR
npm install image-manipulation
You can access via "window.ImageMethods"
A canvas can be changed using the manipulator methods: rotate, resize and crop. One can use the static methods.
var canvas = document.querySelector("canvas");

var resizedCanvas = ImageMethods.resize(canvas, 100, 100);

var rotatedCanvas = ImageMethods.rotate(resizedCanvas, 90);

document.body.append(rotatedCanvas);
or one can also make a manipulator instance and chain these methods.
var canvas = document.querySelector("canvas");

var manipulator = new ImageMethods(canvas);

manipulator.resize(100, 100).rotate(90);

document.body.append(manipulator.canvas);
Grab an image from the DOM and flip it upside down
var img = document.querySelector("img"),
	canvas = ImageMethods.getCanvasFromImage(img);

img.src = ImageMethods.rotate(canvas, 180).toDataURL();
Grab an image from an input element (<input type="file" accept="image/*">), create a thumbnail at 200px width and add it to the screen.
document.querySelector("input[type=file]").onchange = function(e) {
	ImageMethods.getCanvasFromFile(e.files[0], function(canvas) {

		var manipulator = new ImageMethods(canvas);

		manipulator.resize(200);

		// Add our resized canvas to the screen
		document.body.appendChild(manipulator.canvas)

	});
};
Download an image from the server, cut it into 2 pieces, and upload the pieces back to the server via xhr2
ImageMethods.getCanvasFromUrl("/path/to/image.jpg", function(canvas, file) {

	var manipulator = new ImageMethods(canvas);

	var piece1Canvas = ImageMethods.crop(0, 0, canvas.width/2, canvas.height),
		piece2Canvas = ImageMethods.crop(canvas.width/2, 0, canvas.width/2, canvas.height),

	// Put together FormData for submission
	var formData = new FormData();
	formData.append("images[]", ImageMethods.toBlob(piece1Canvas), file.name);
	formData.append("images[]", ImageMethods.toBlob(piece2Canvas), file.name);

	// Post to server
	var xhr = new XMLHttpRequest();
	xhr.open("POST", "/my/upload-handler", true);

});
// Create an manipulator instance likeso:
var instance = new ImageMethods(canvas)

// The canvas element can be exposed
instance.canvas

// You can convert your instance into a blob
var blob = instance.toBlob();
These methods follow this form except getCanvasFromImage which simply returns a canvas element.
ImageMethods.getCanvasFromFile(file, function(canvas) {
	// Get access to the canvas element here
});
Karma/Jasmine is used for unit tests.
npm install
karma start
Testling integration can be tested likeso:
npm install
npm install -g testling
testling -u
// A localhost Url will be given to run tests. Simply paste it in the browser
NOTE: ci.testling.com integration was setup, but testling has had ongoing issues timing out service timeout issues
First run the app (requires you to setup Google Cloud Storage).
node example/app
No need to start a standalone selenium server, protractor uses the chromedriver installed via npm. Simply:
protractor
This process also creates these screenshots automatically:
Setup a google cloud storage with a service account as explained on the gcs-signed-urls page.
Drop your private key in the example directory.
Create gcs-config.js in the example directory with your Google Cloud Storage information like below
module.exports = {
    "storageBucket":    "storage-bucket",
    "servicesEmail":    "your-services-email@developer.gserviceaccount.com",
    "privateKey":       __dirname +"/google-services-private-key.pem"
};
Now you can run the app by running...
node example/app.js
The example will be visible on http://localhost:3001/
Remove "gcs-config.js" and "google-services-private-key.pem" from .gitignore
git commit -a
heroku create
git push heroku master
- Use web workers (with transferable objects) to process resize and add new sharpen feature. This will require async methods. Start using promises so we can continue to chain


