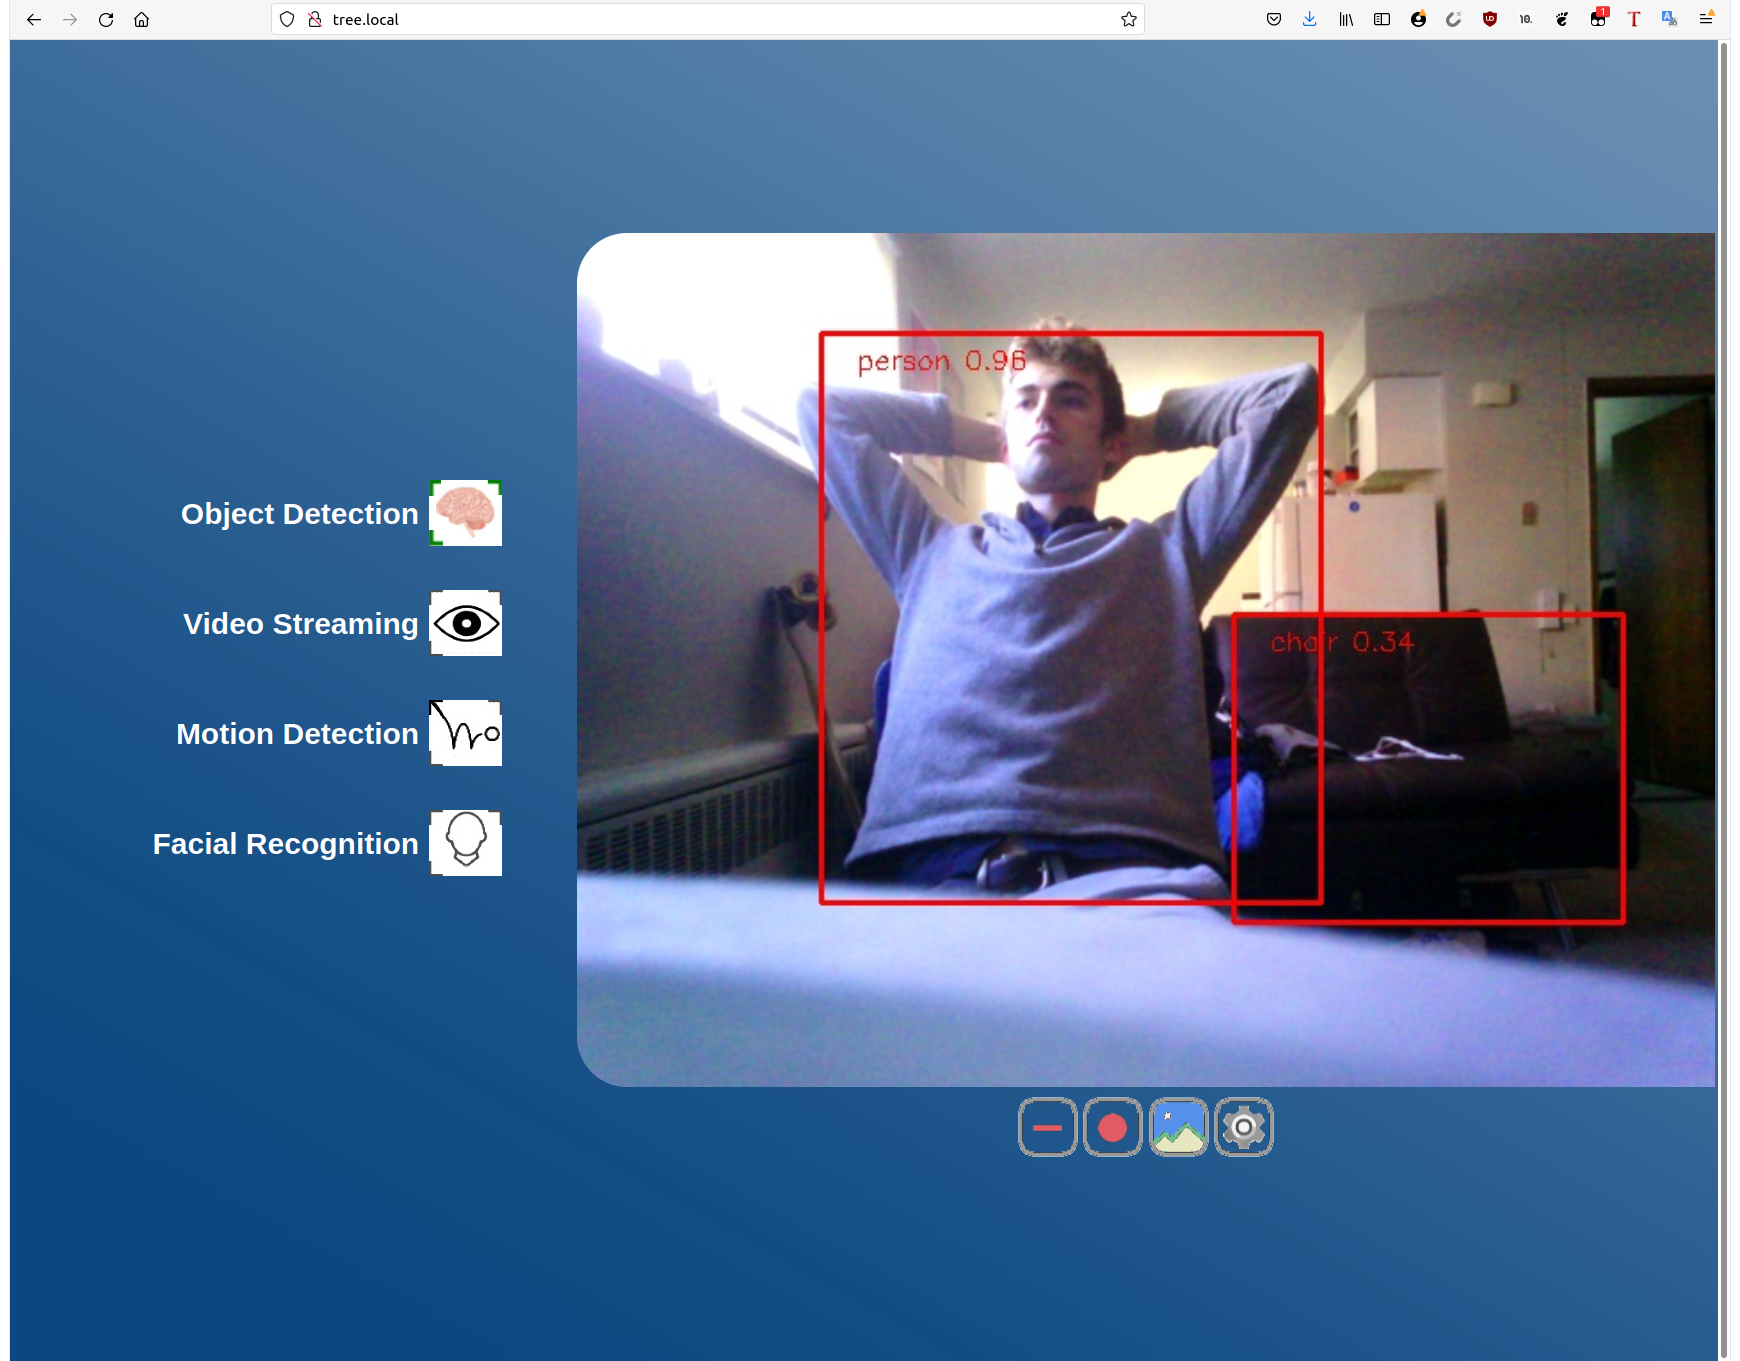
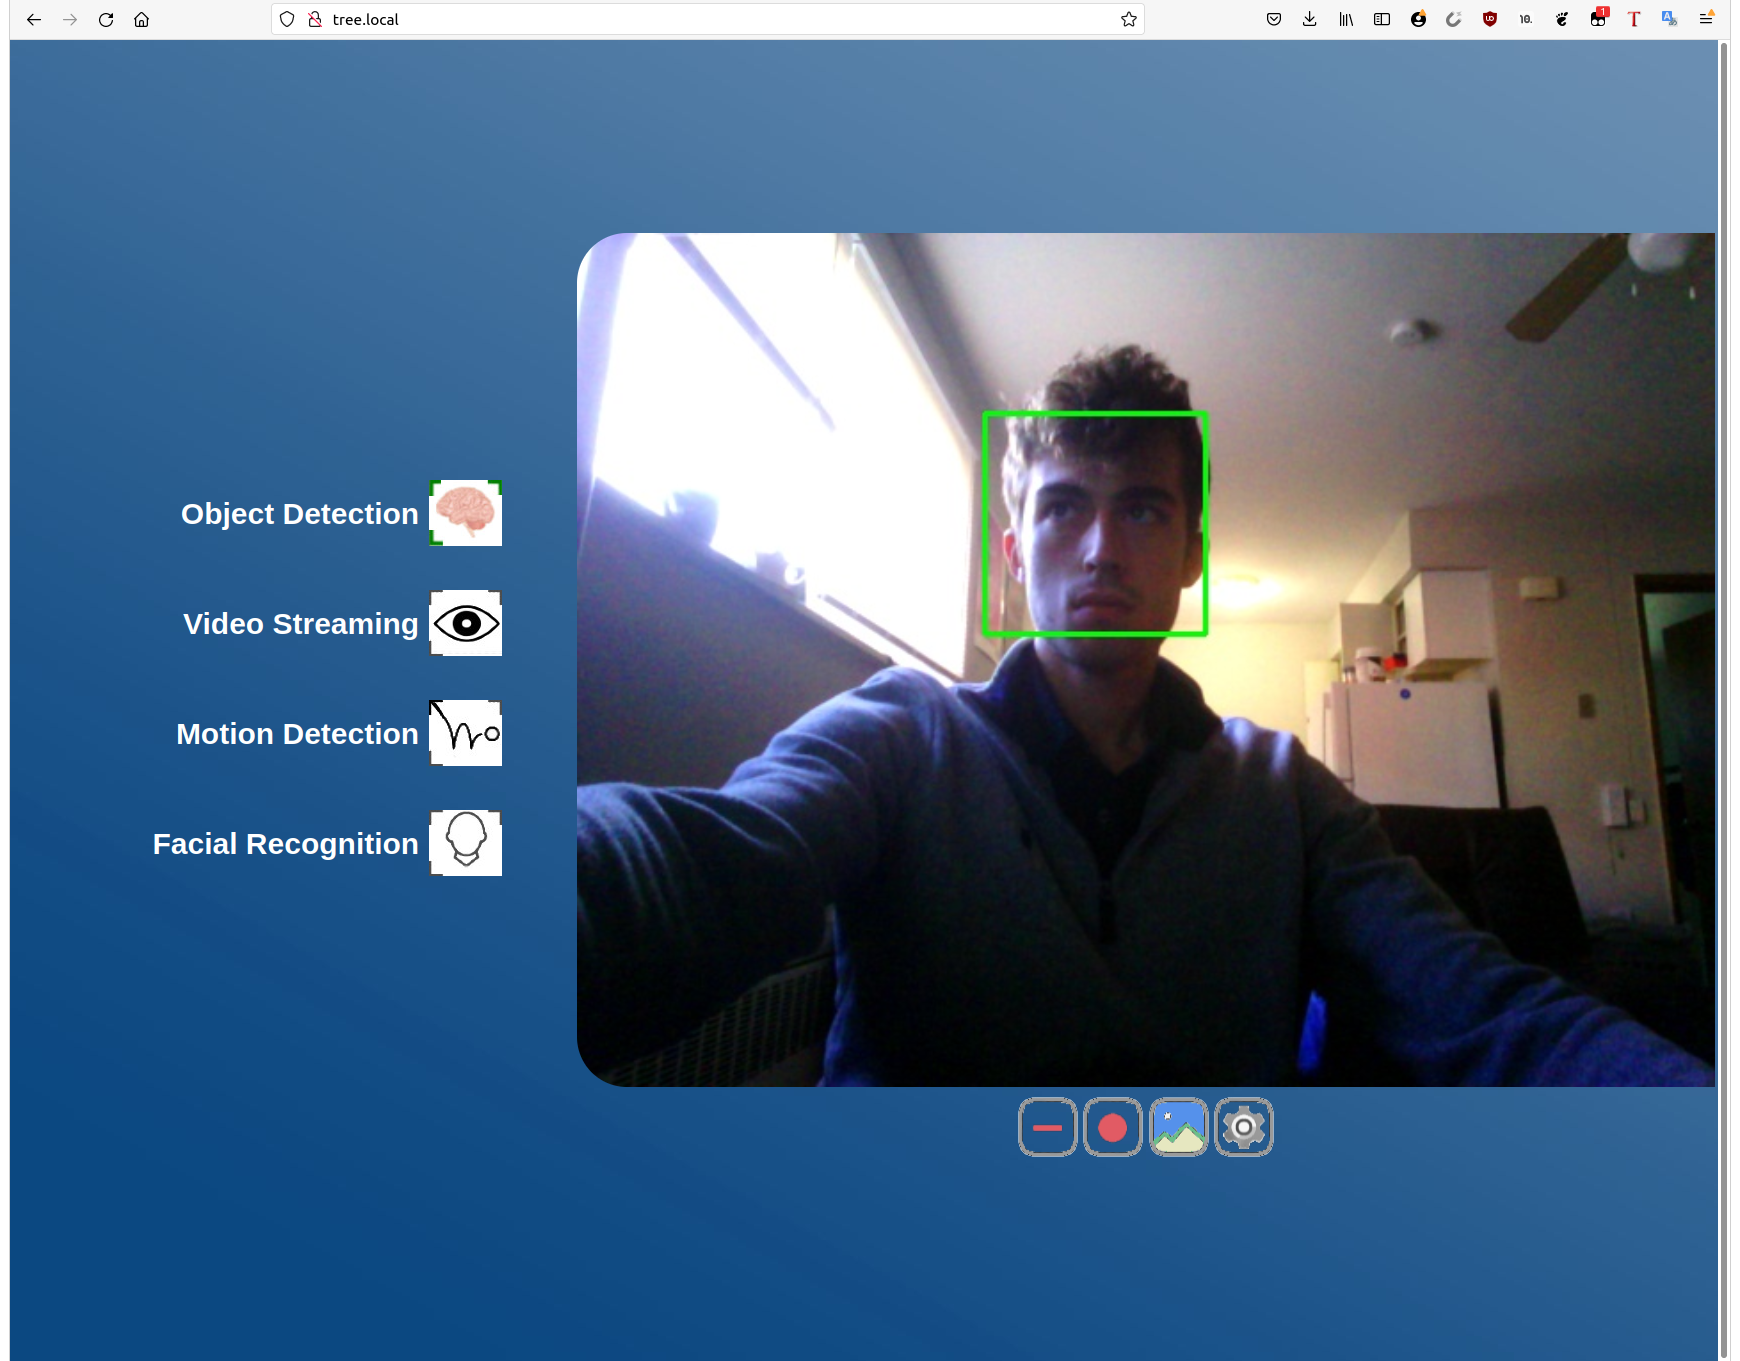
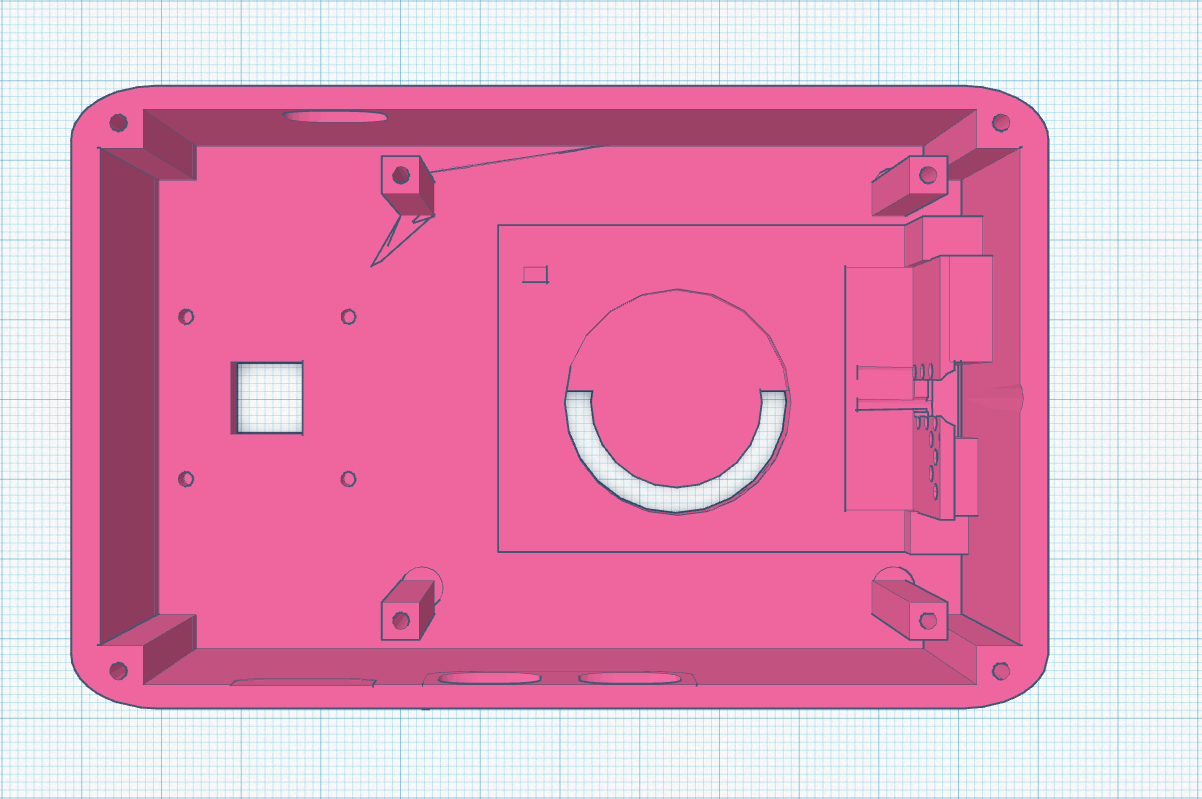
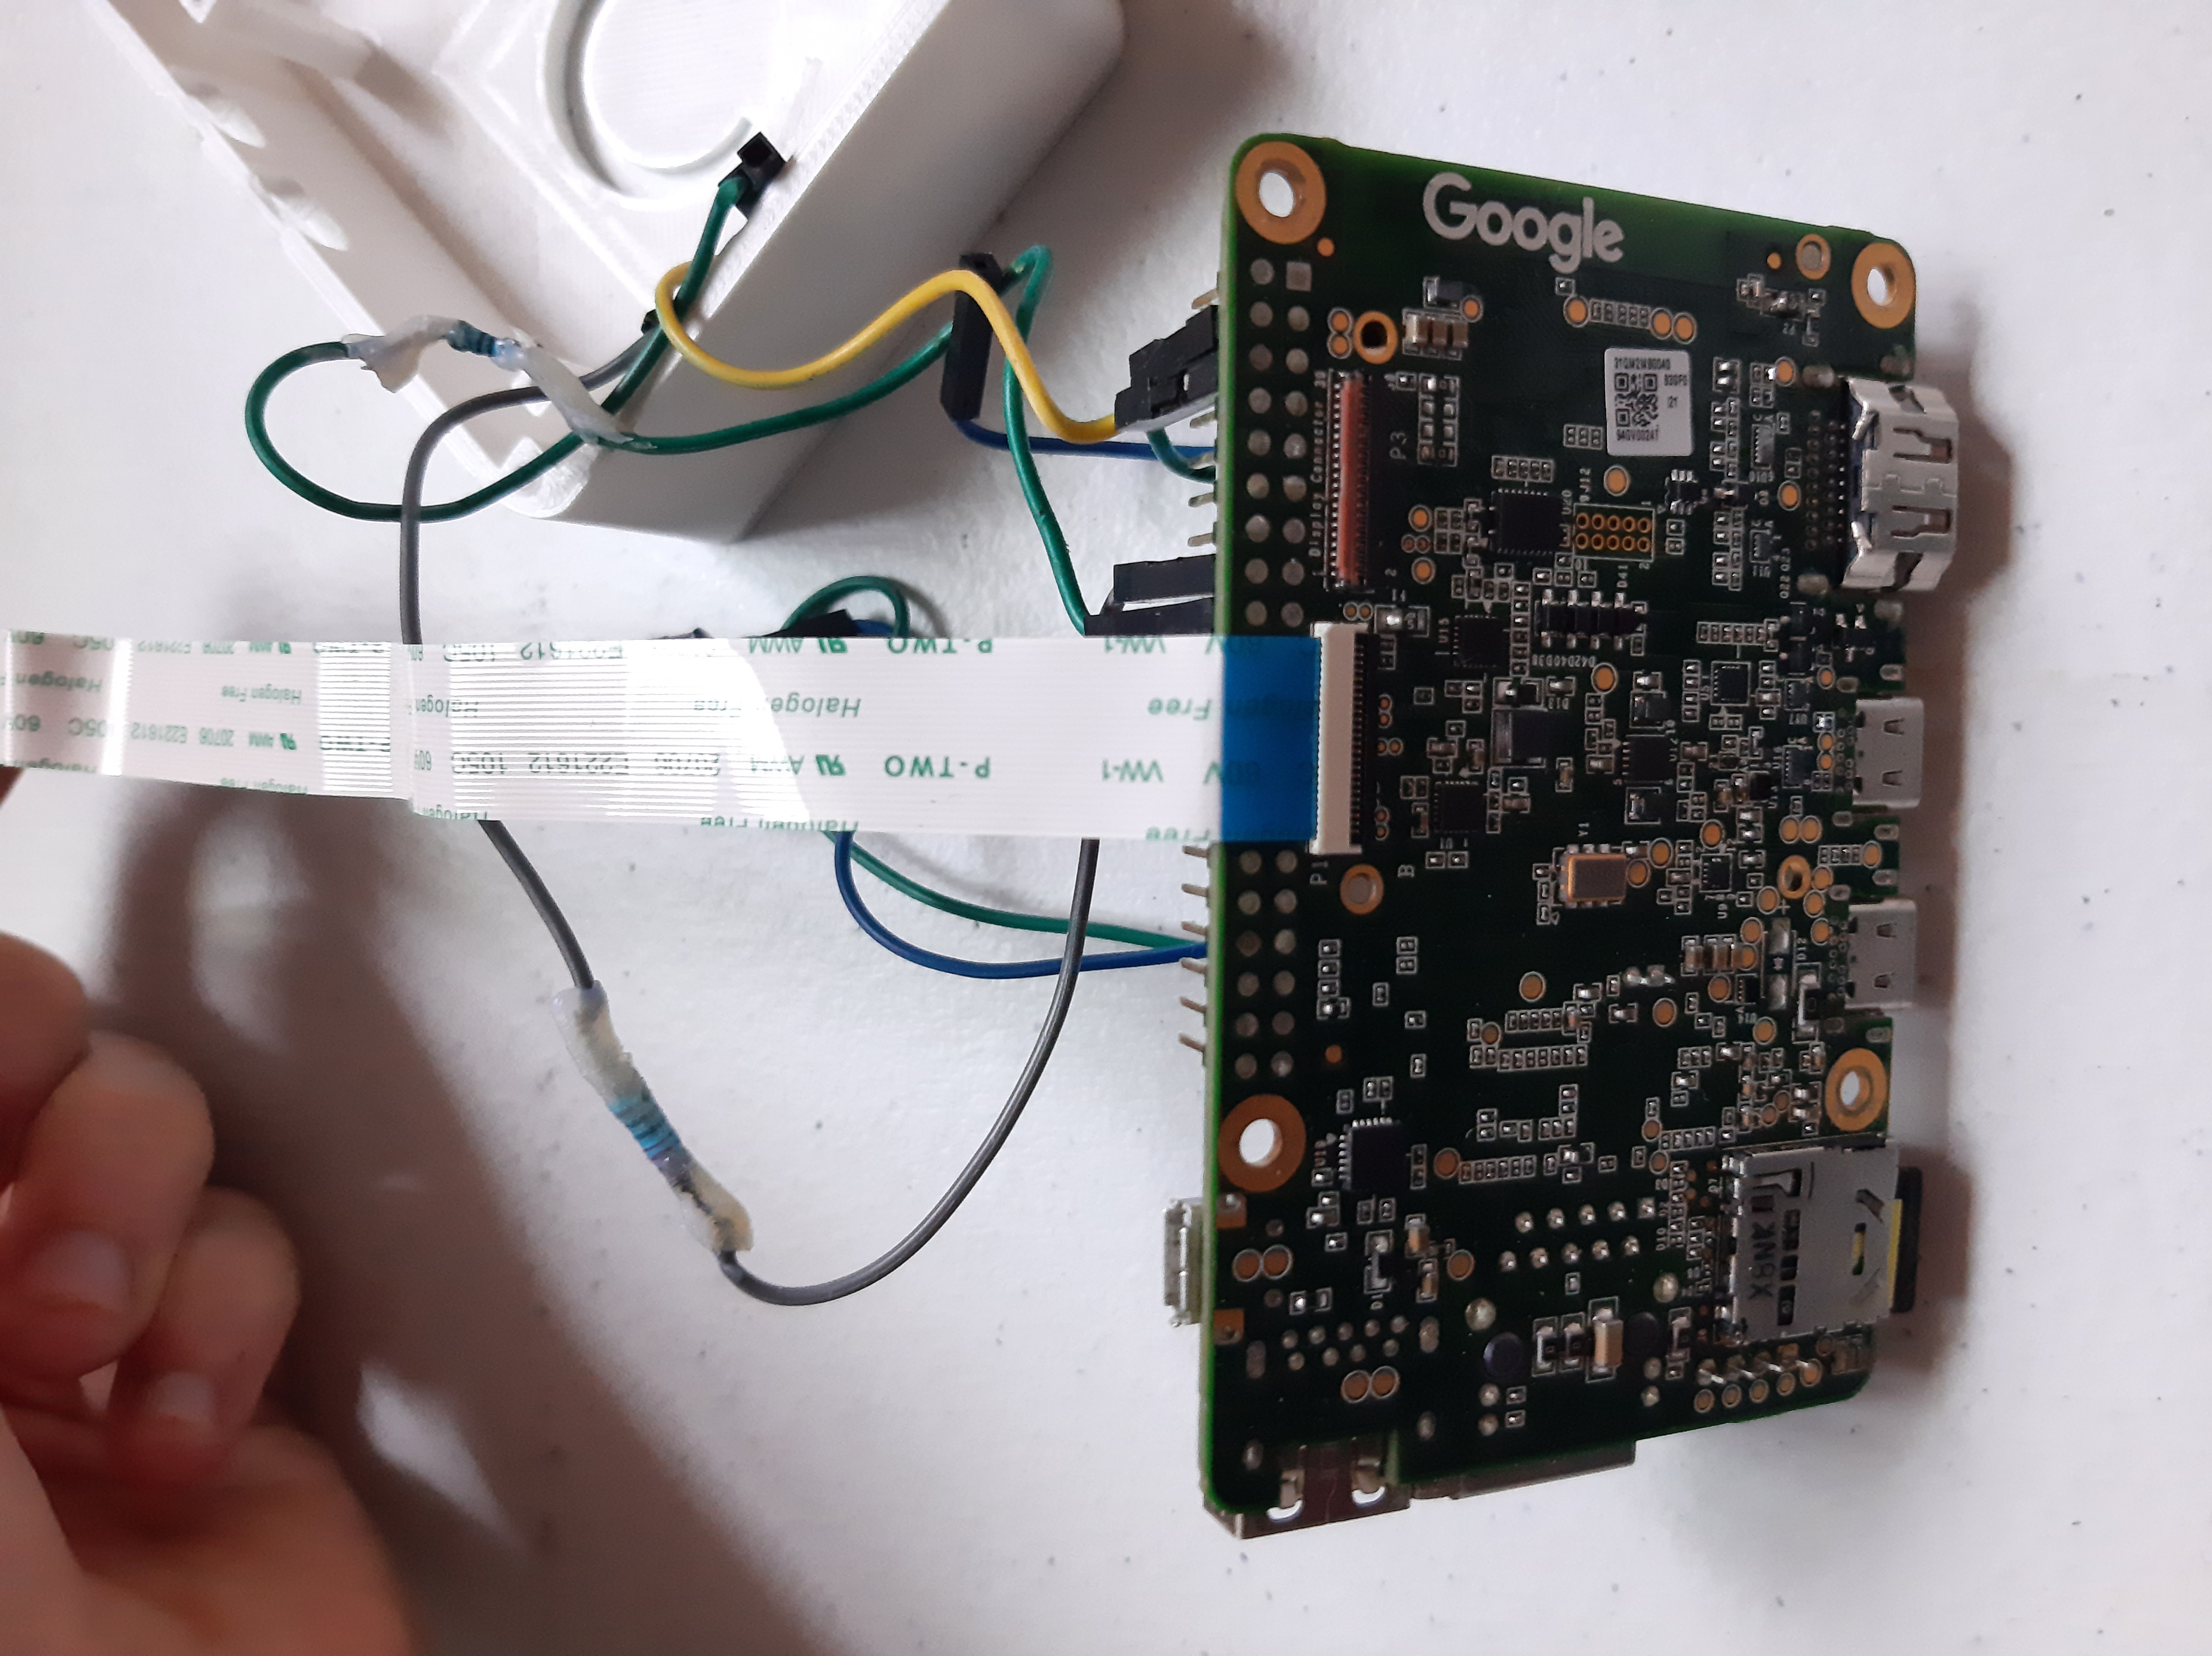
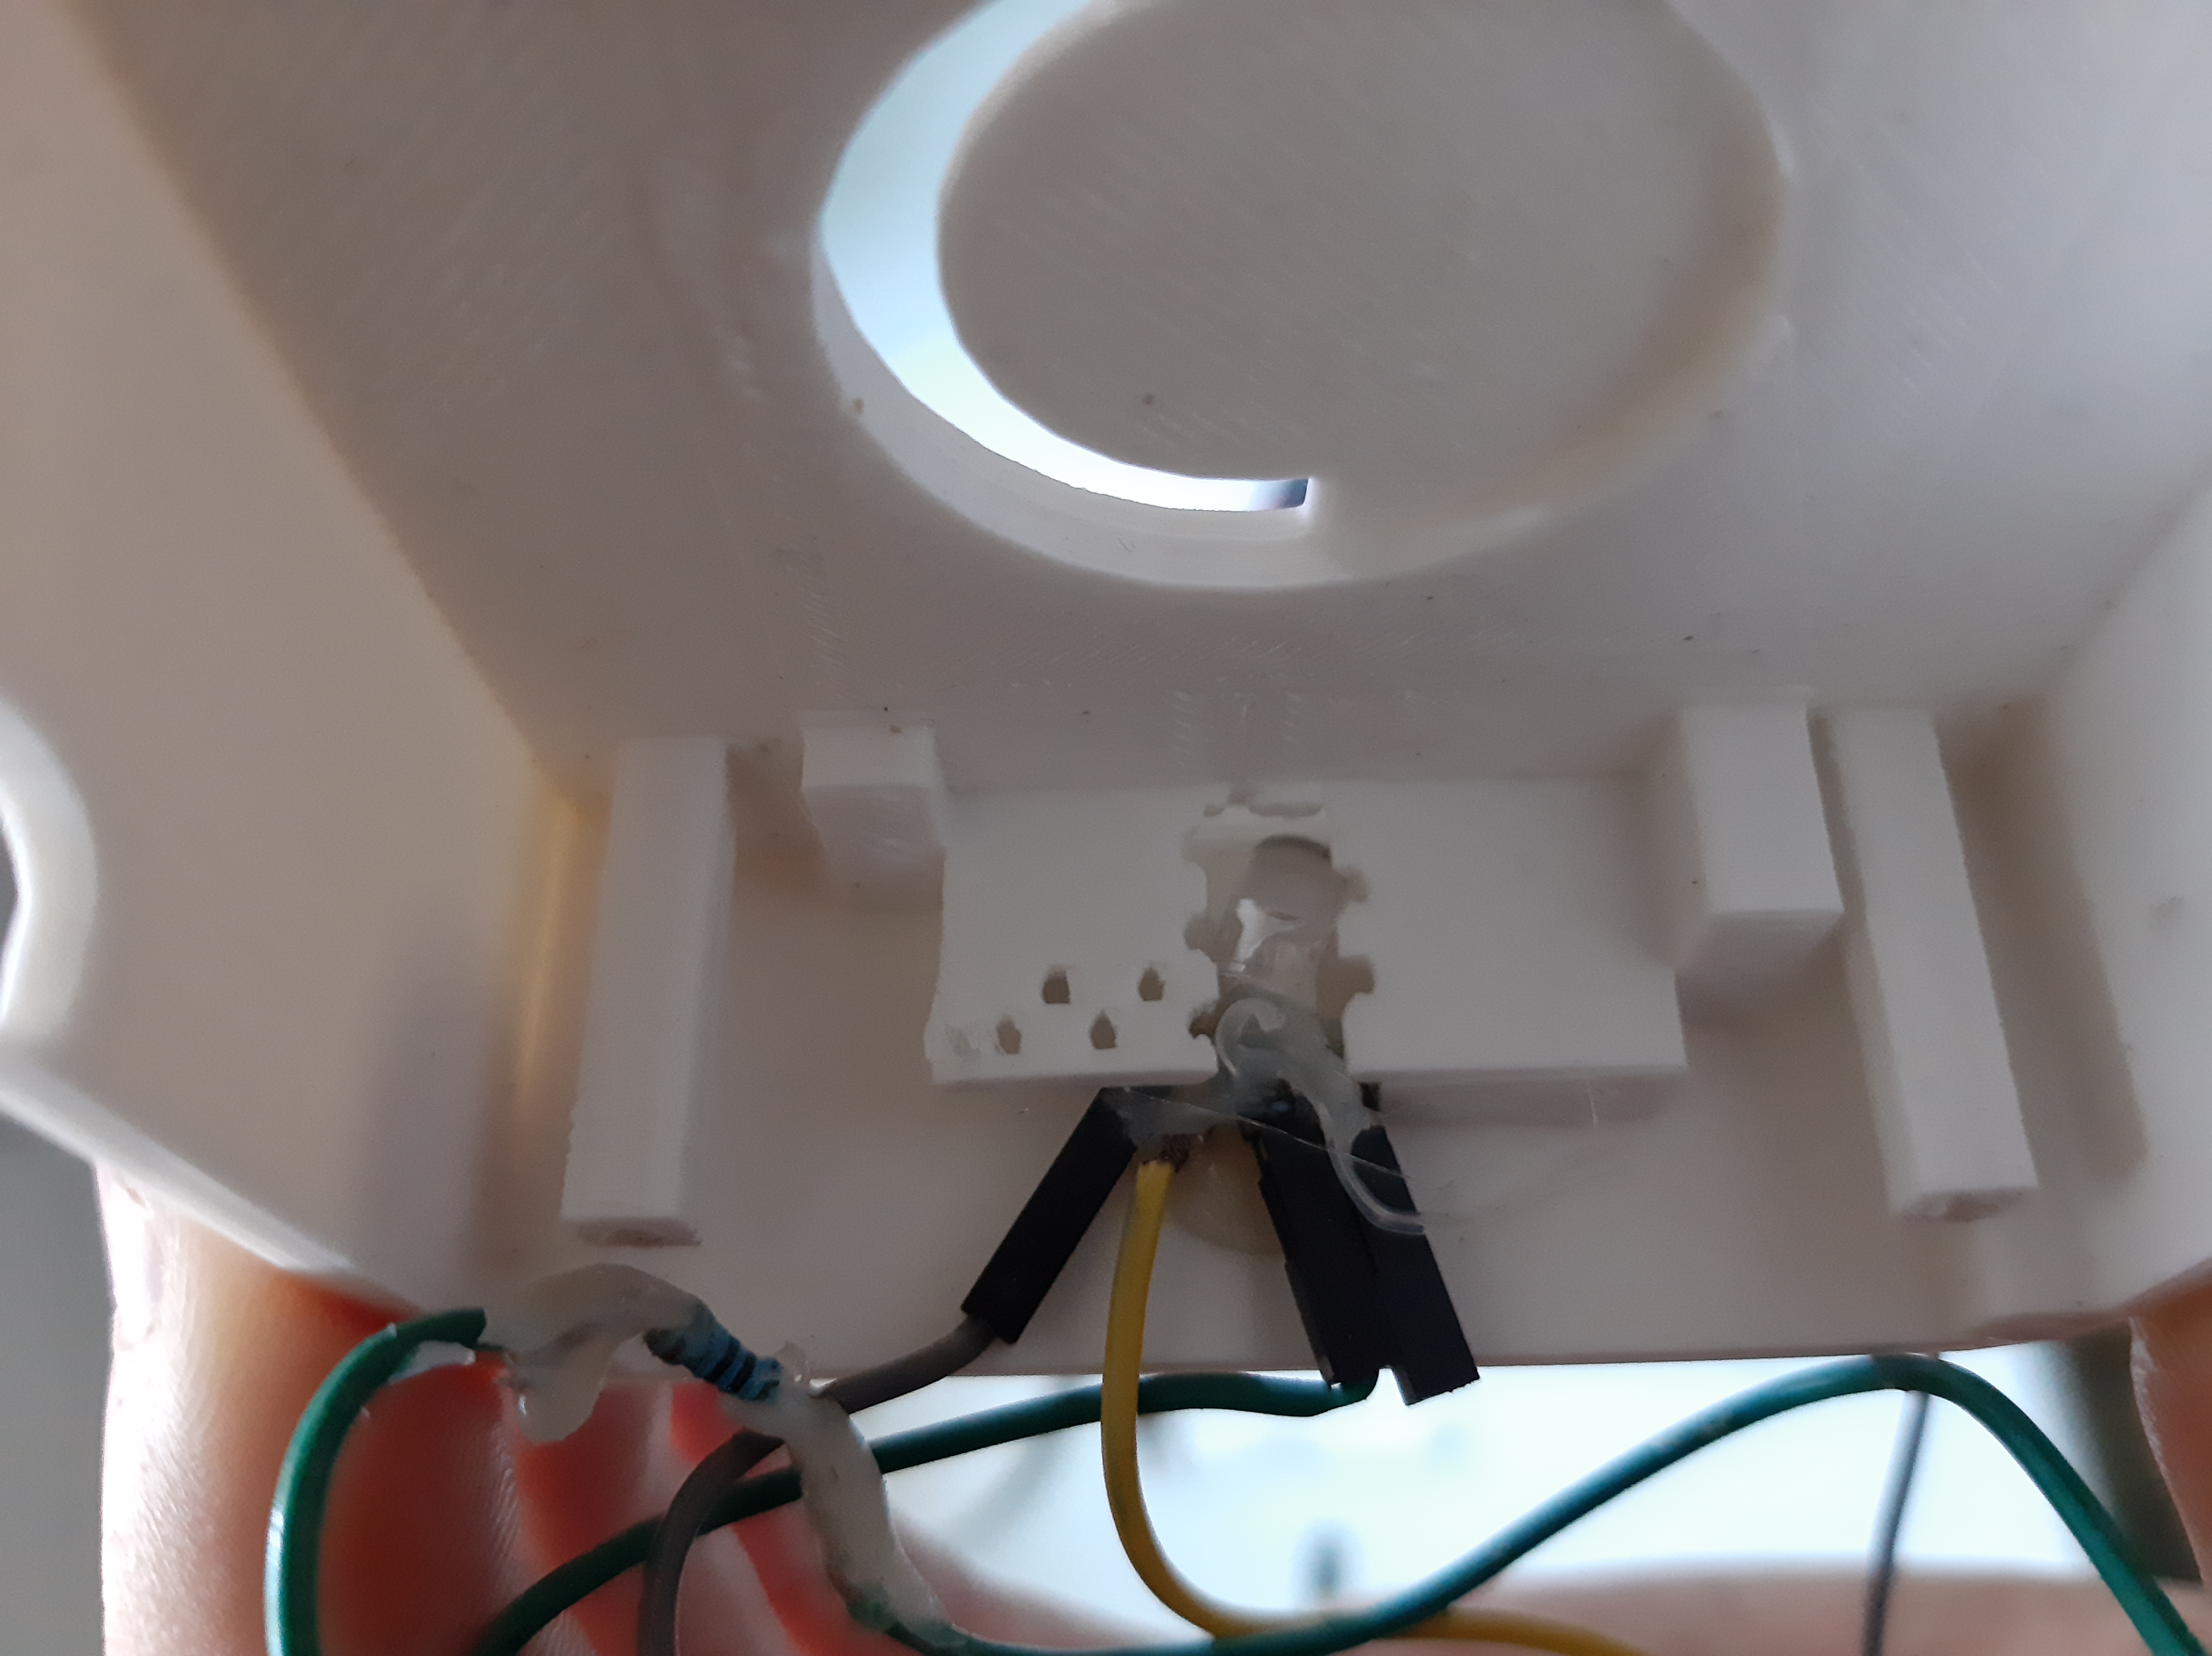
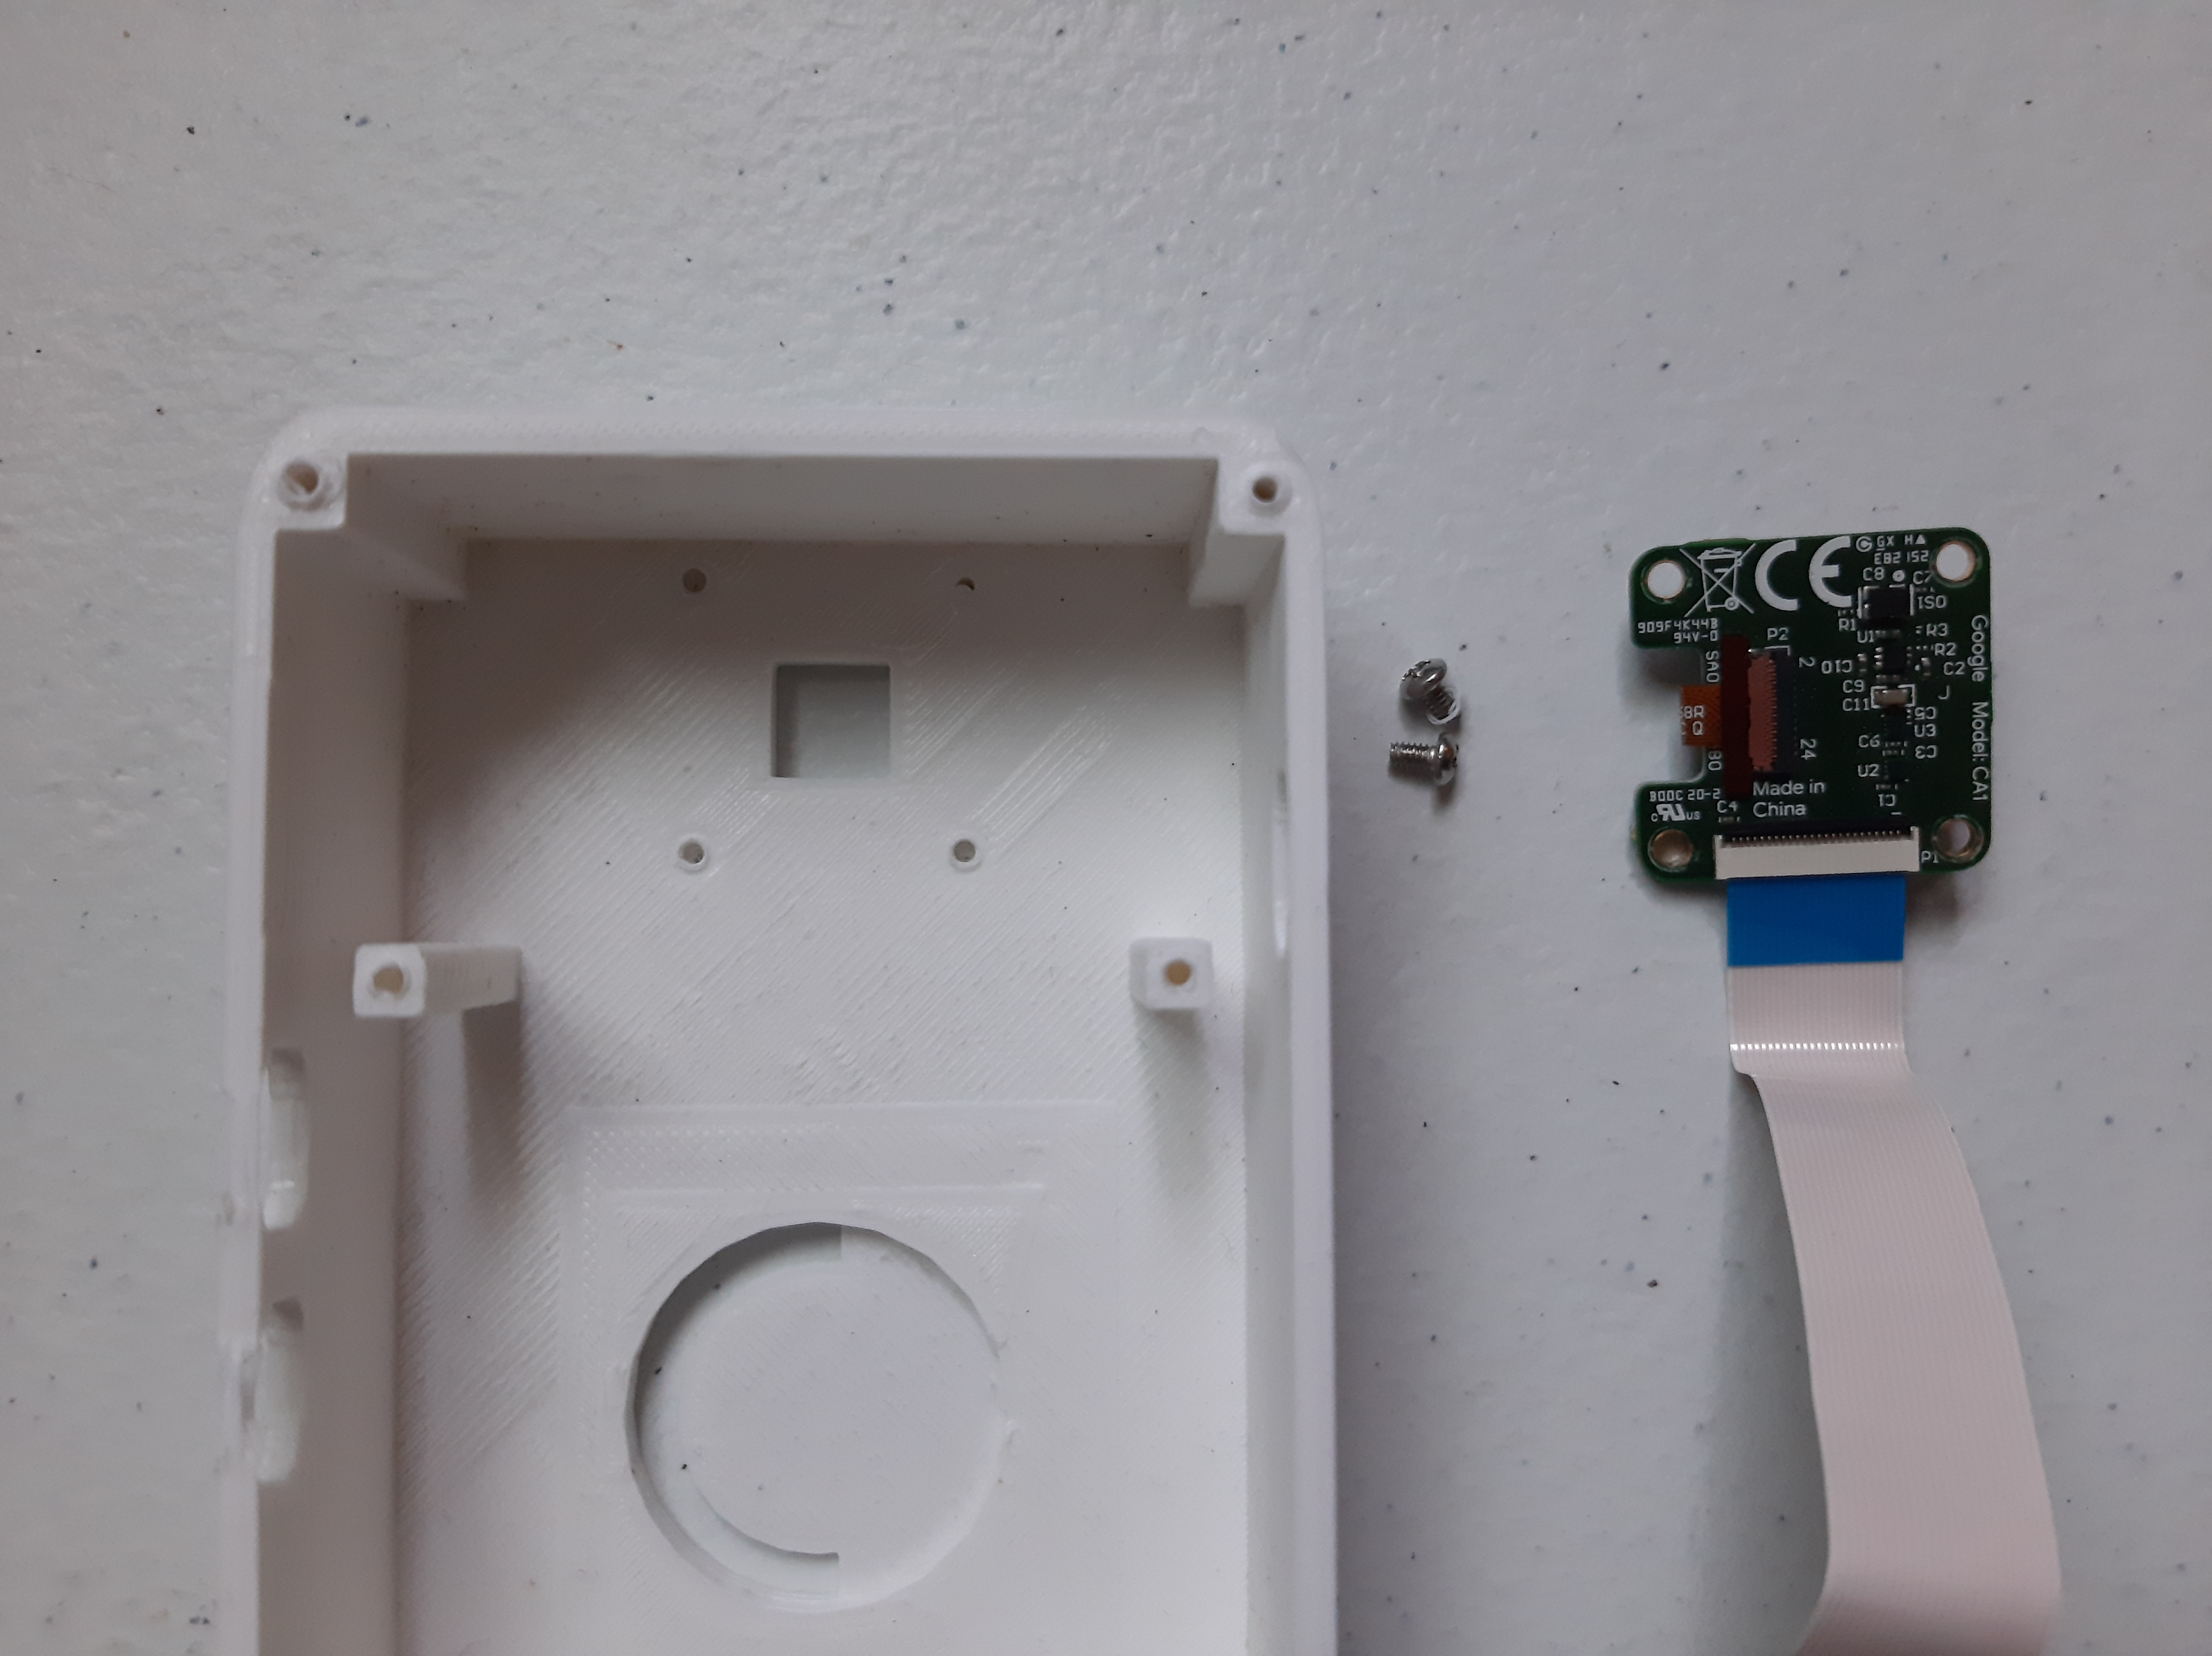
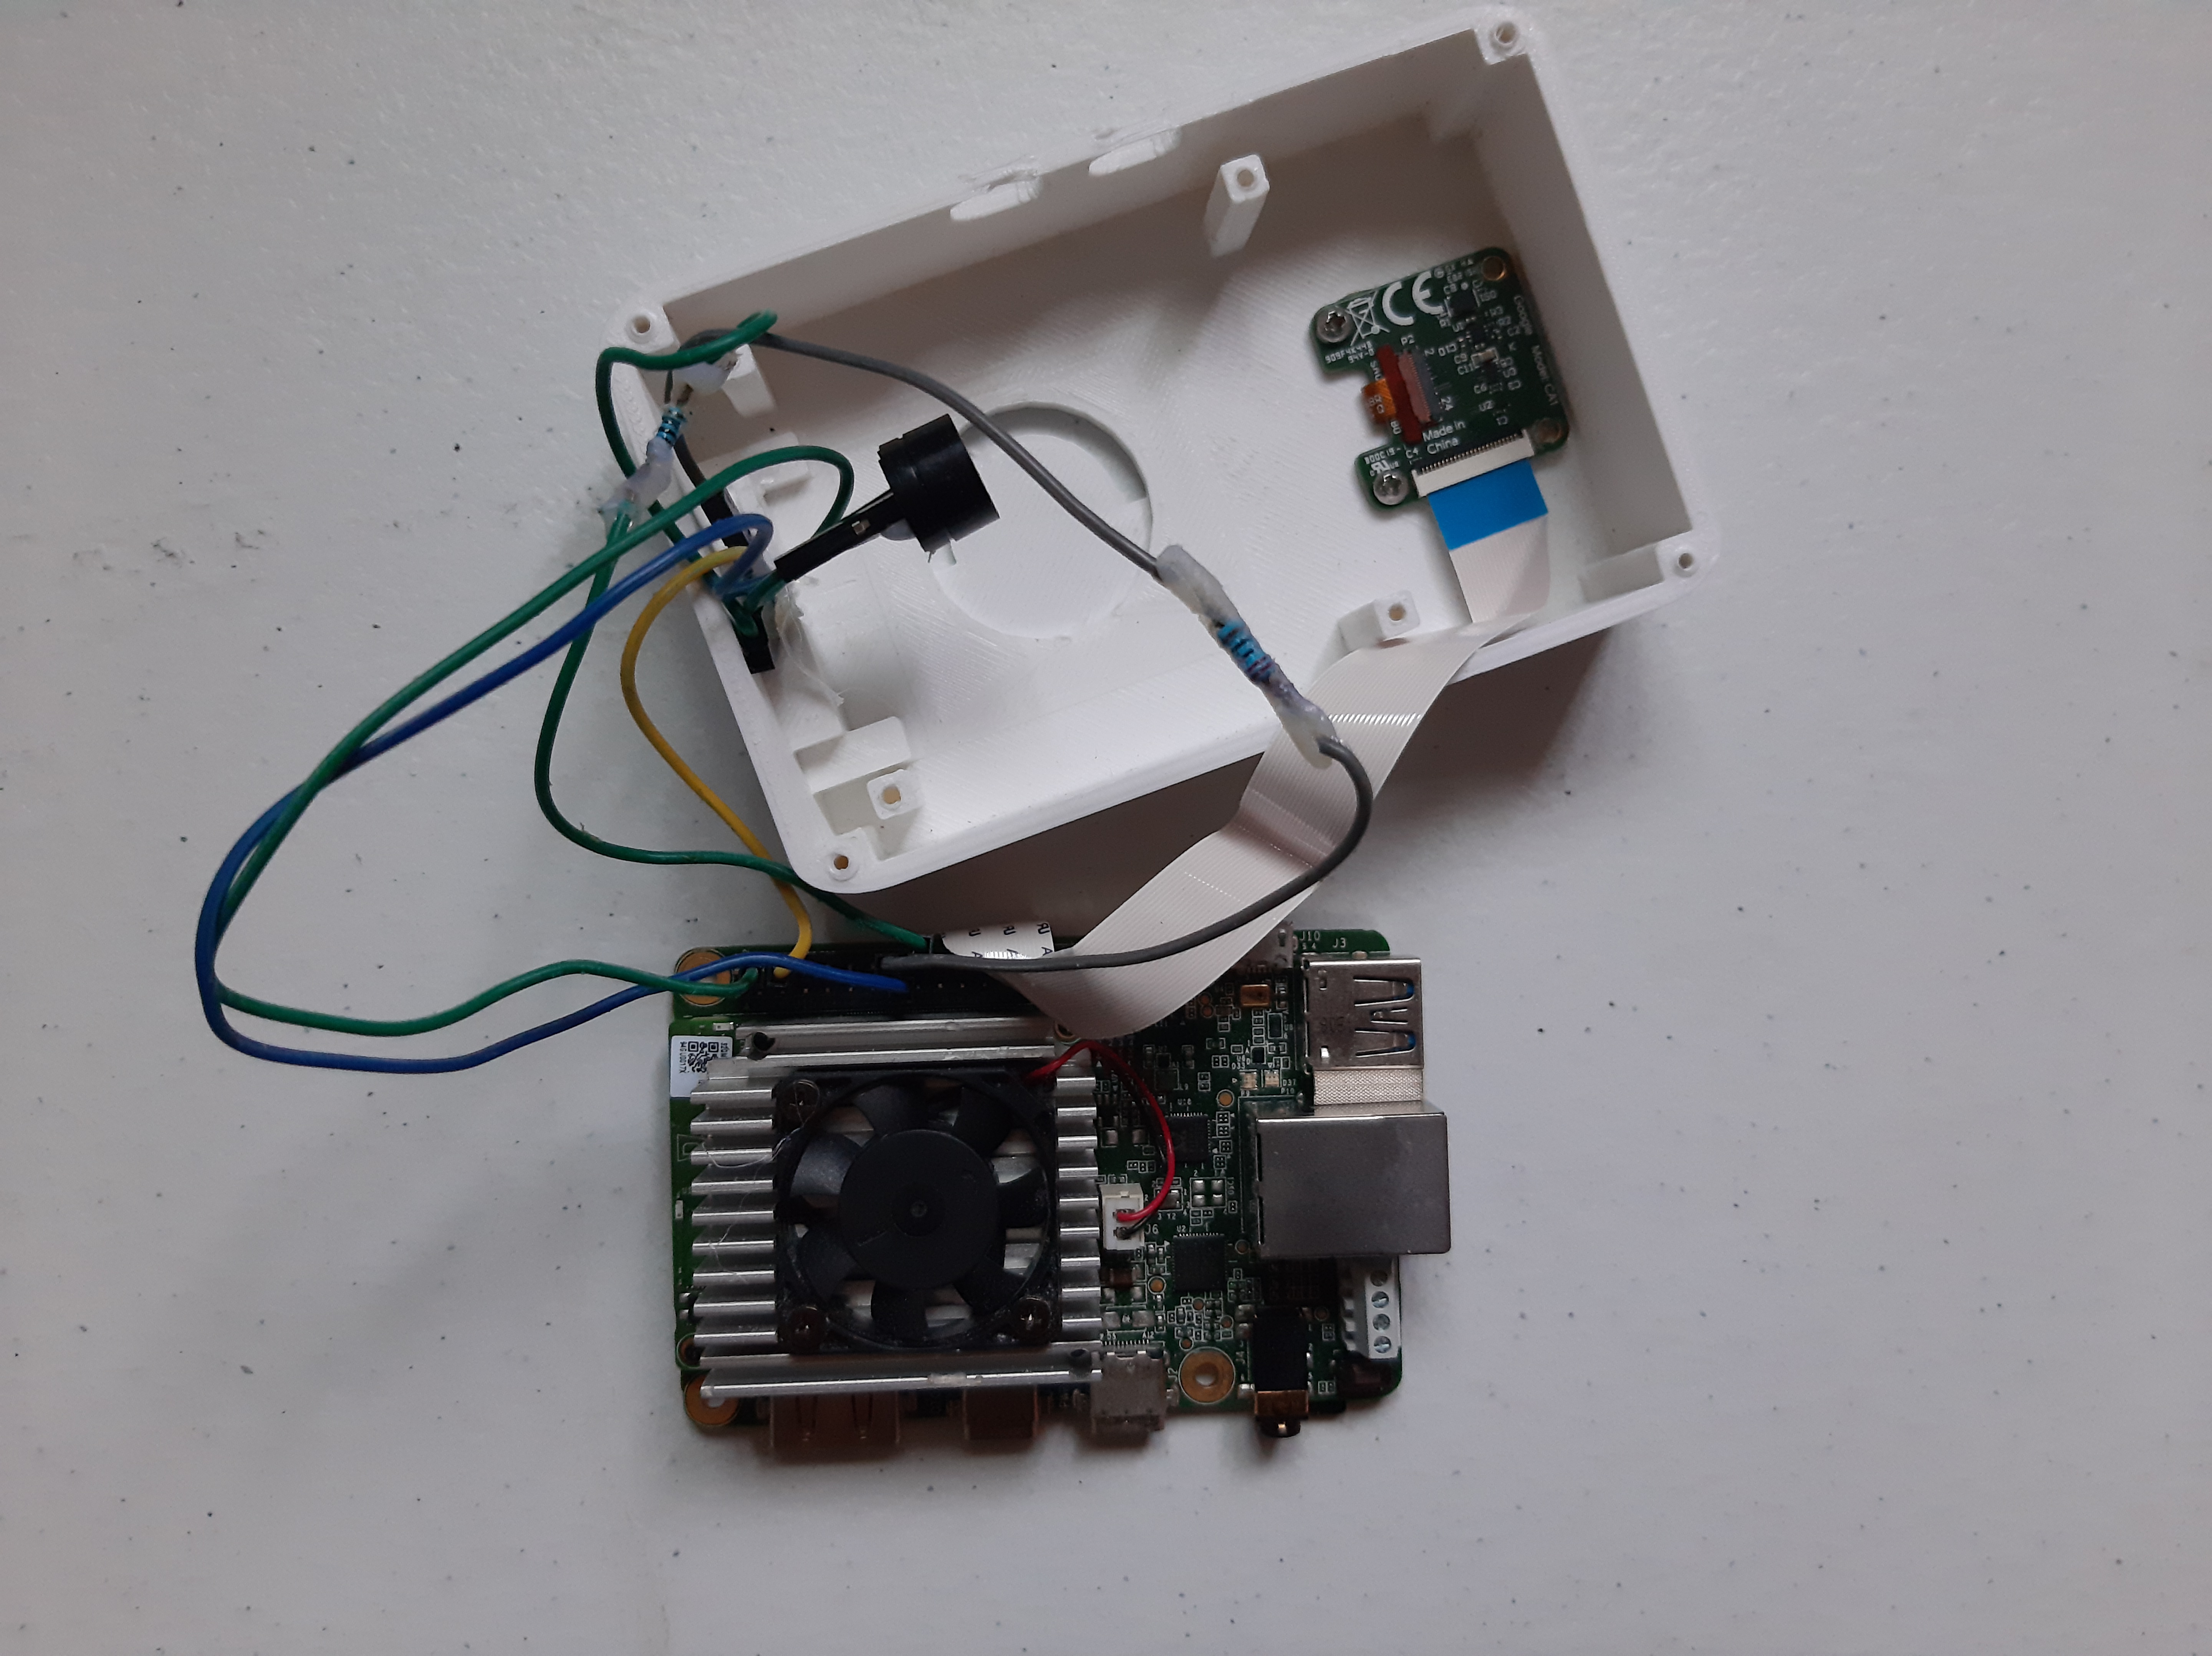
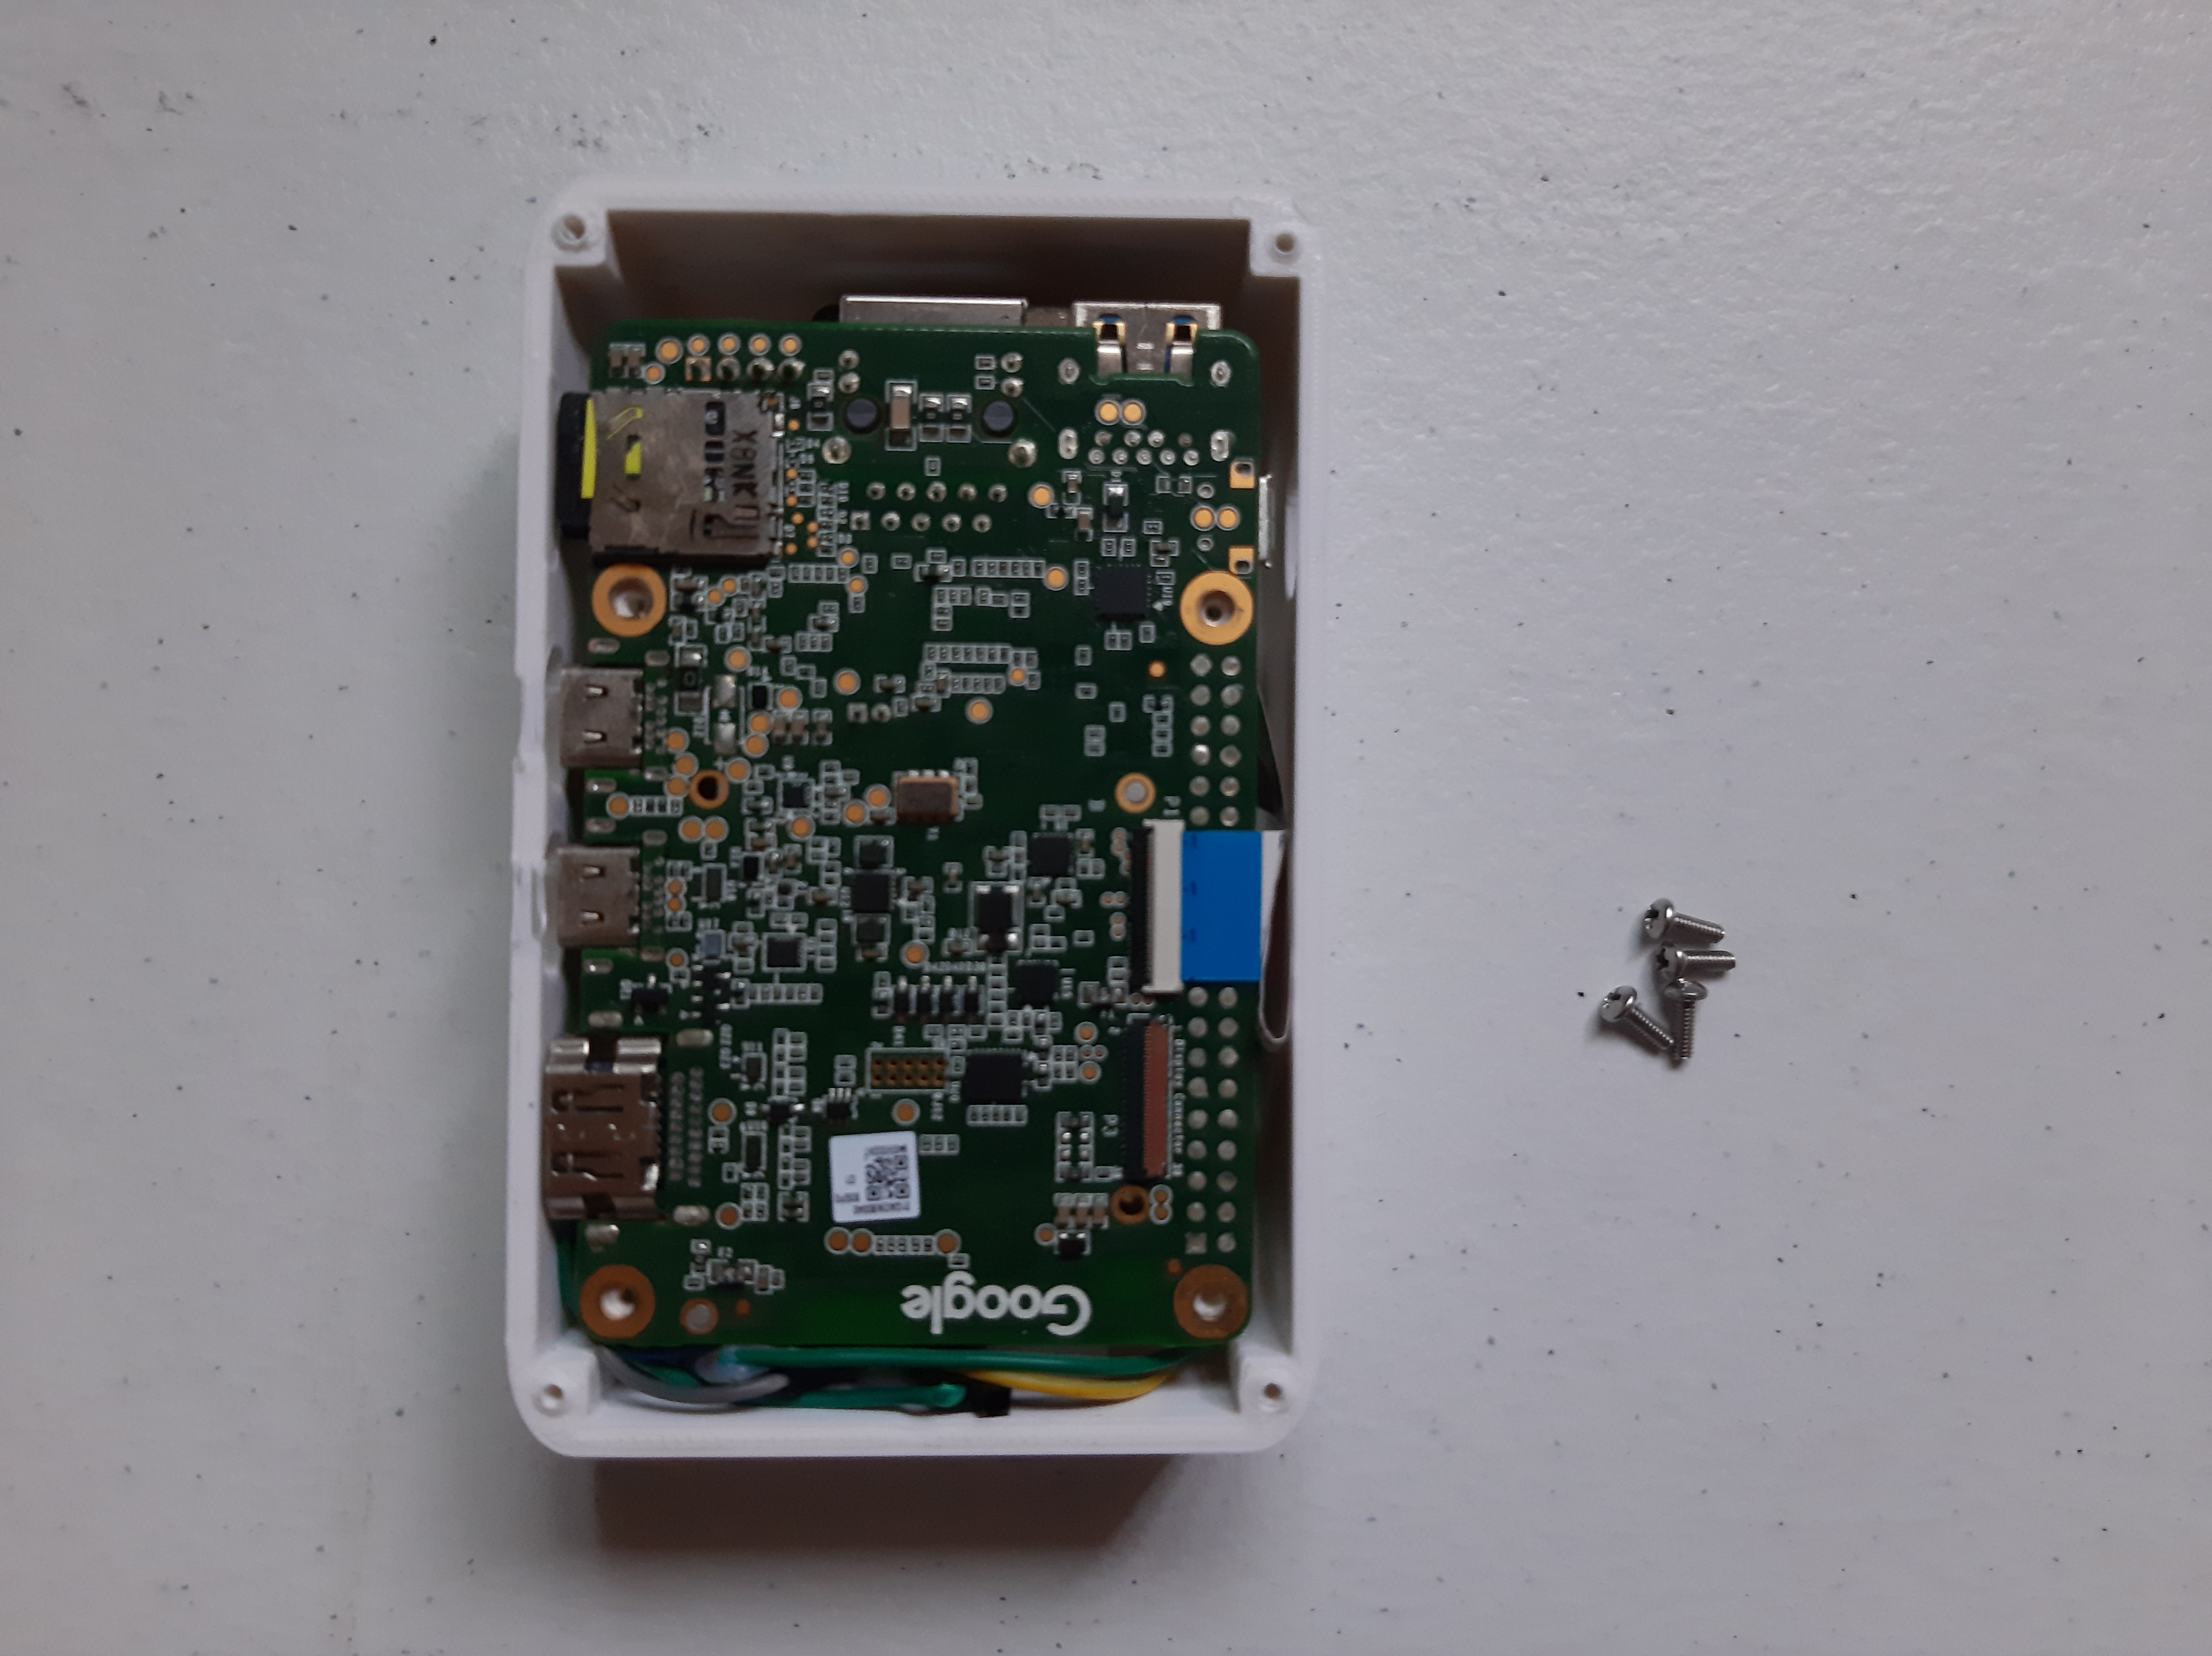
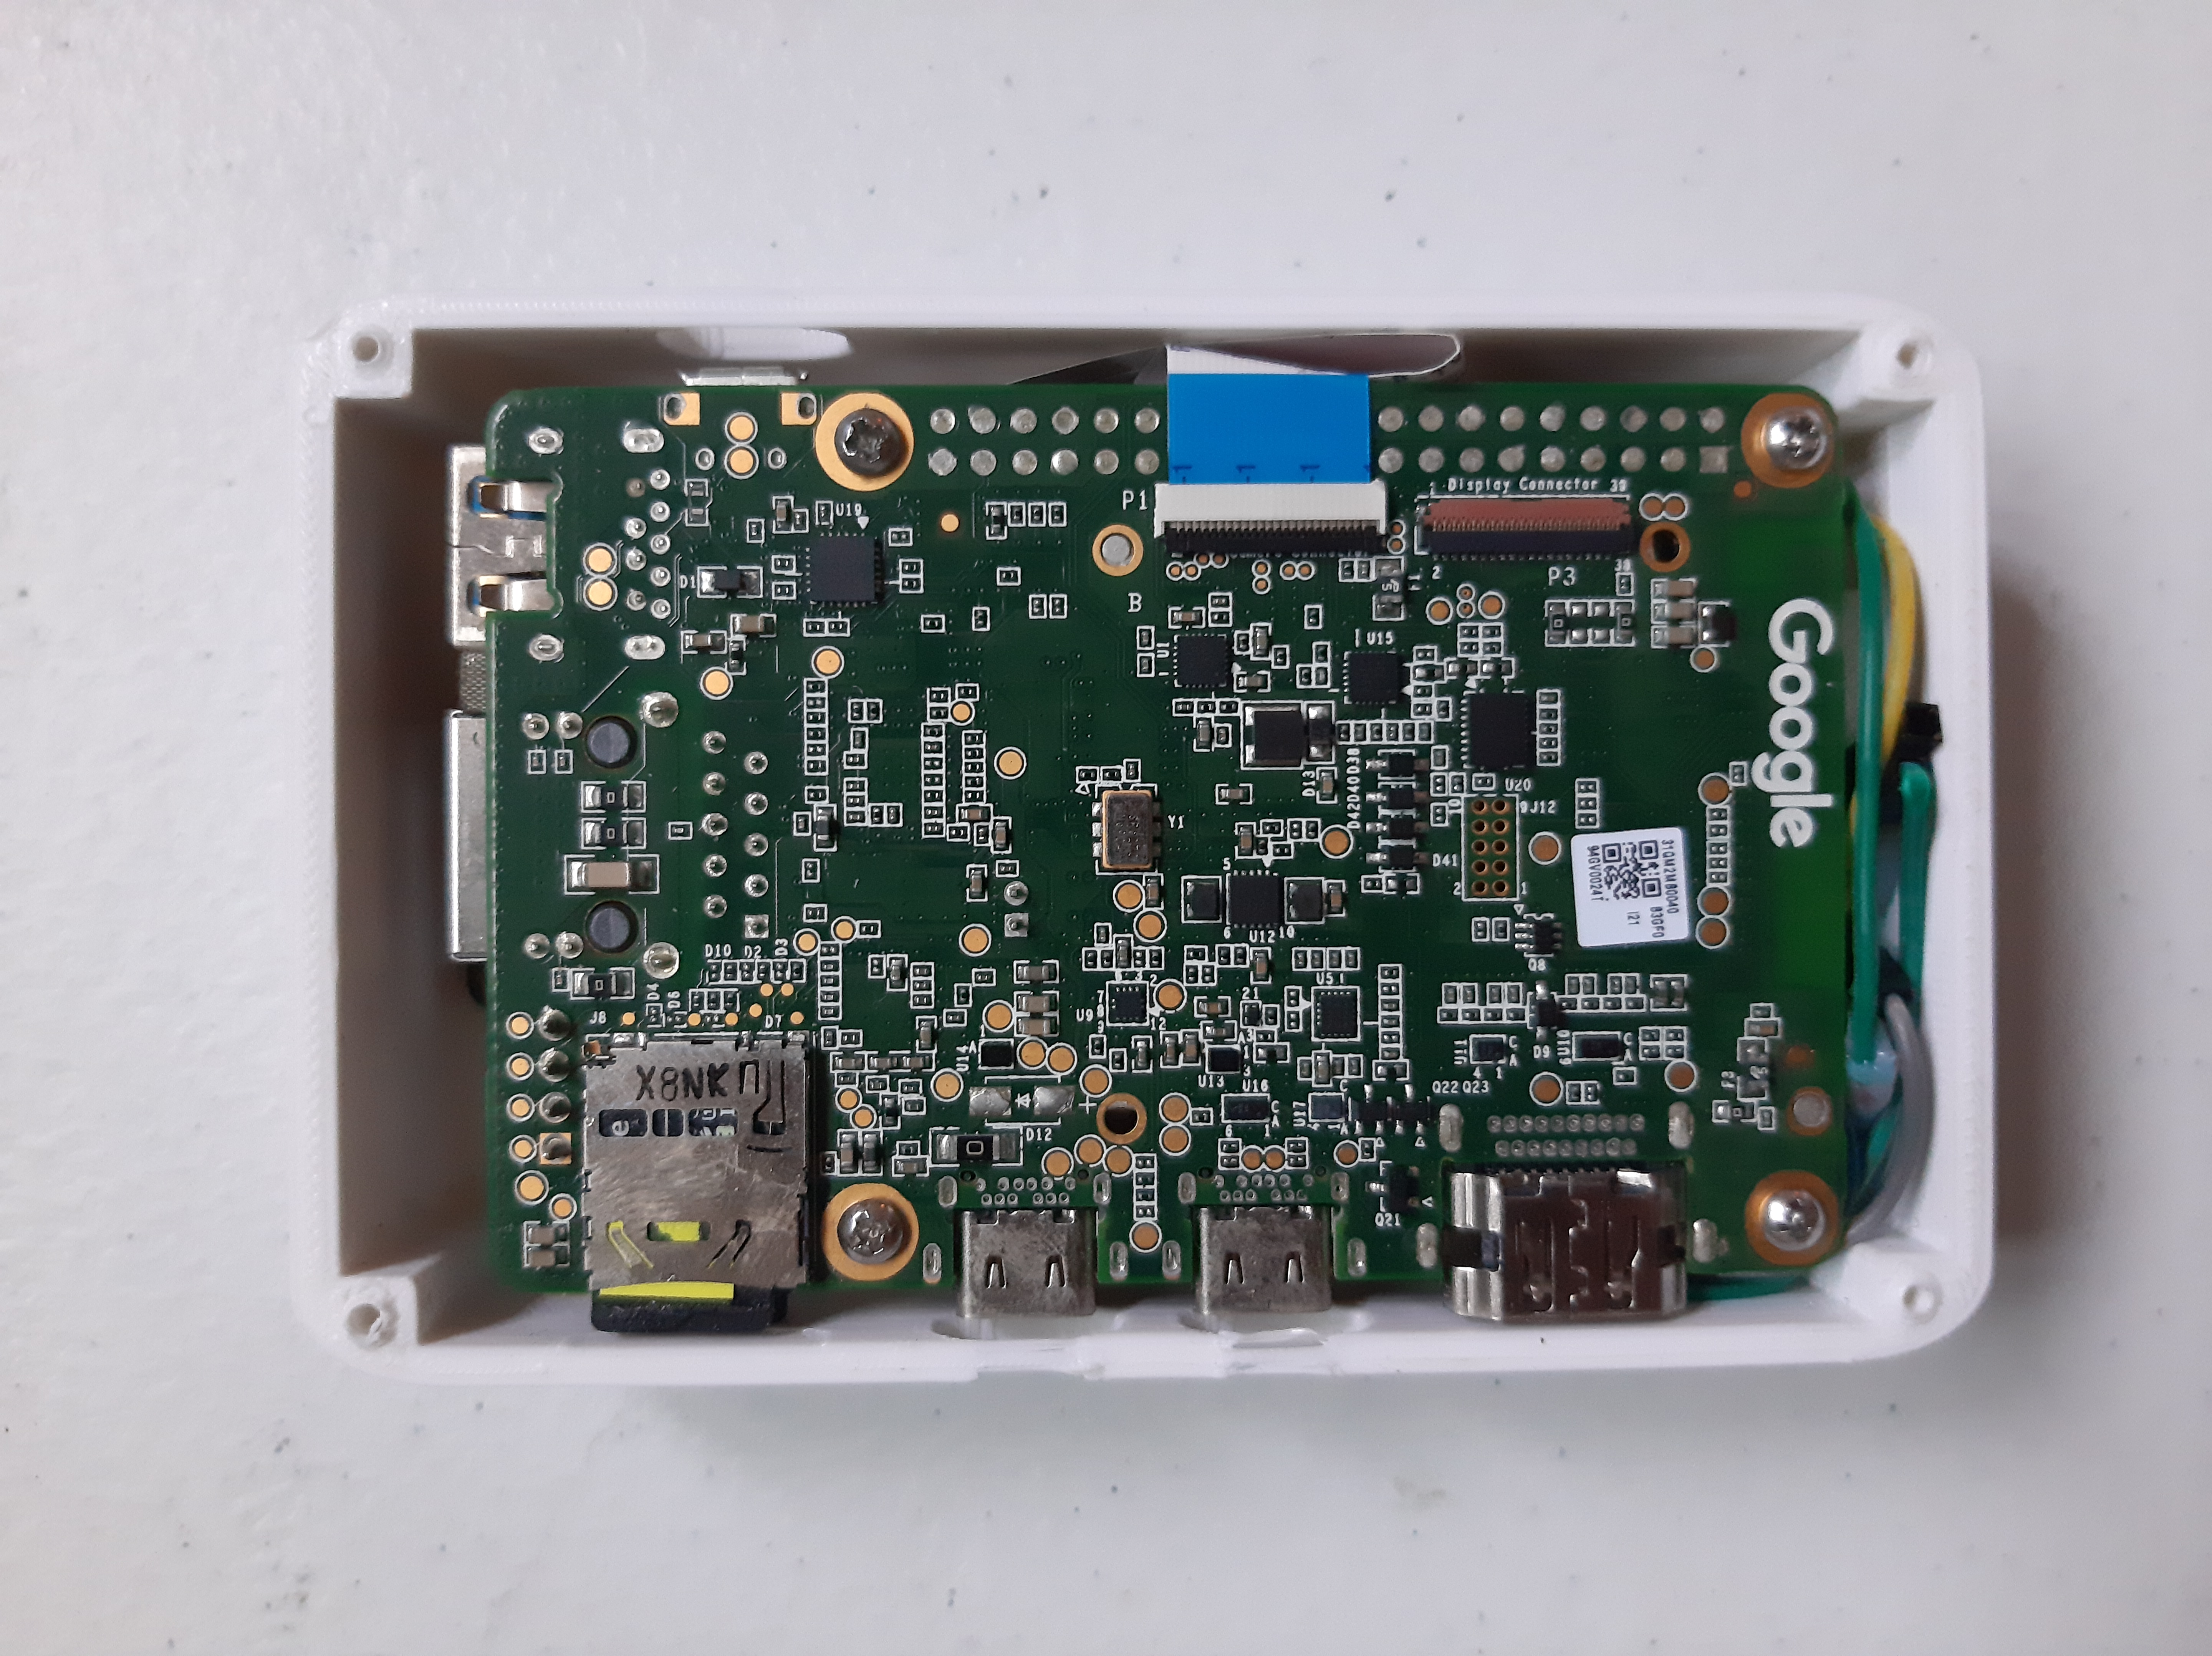
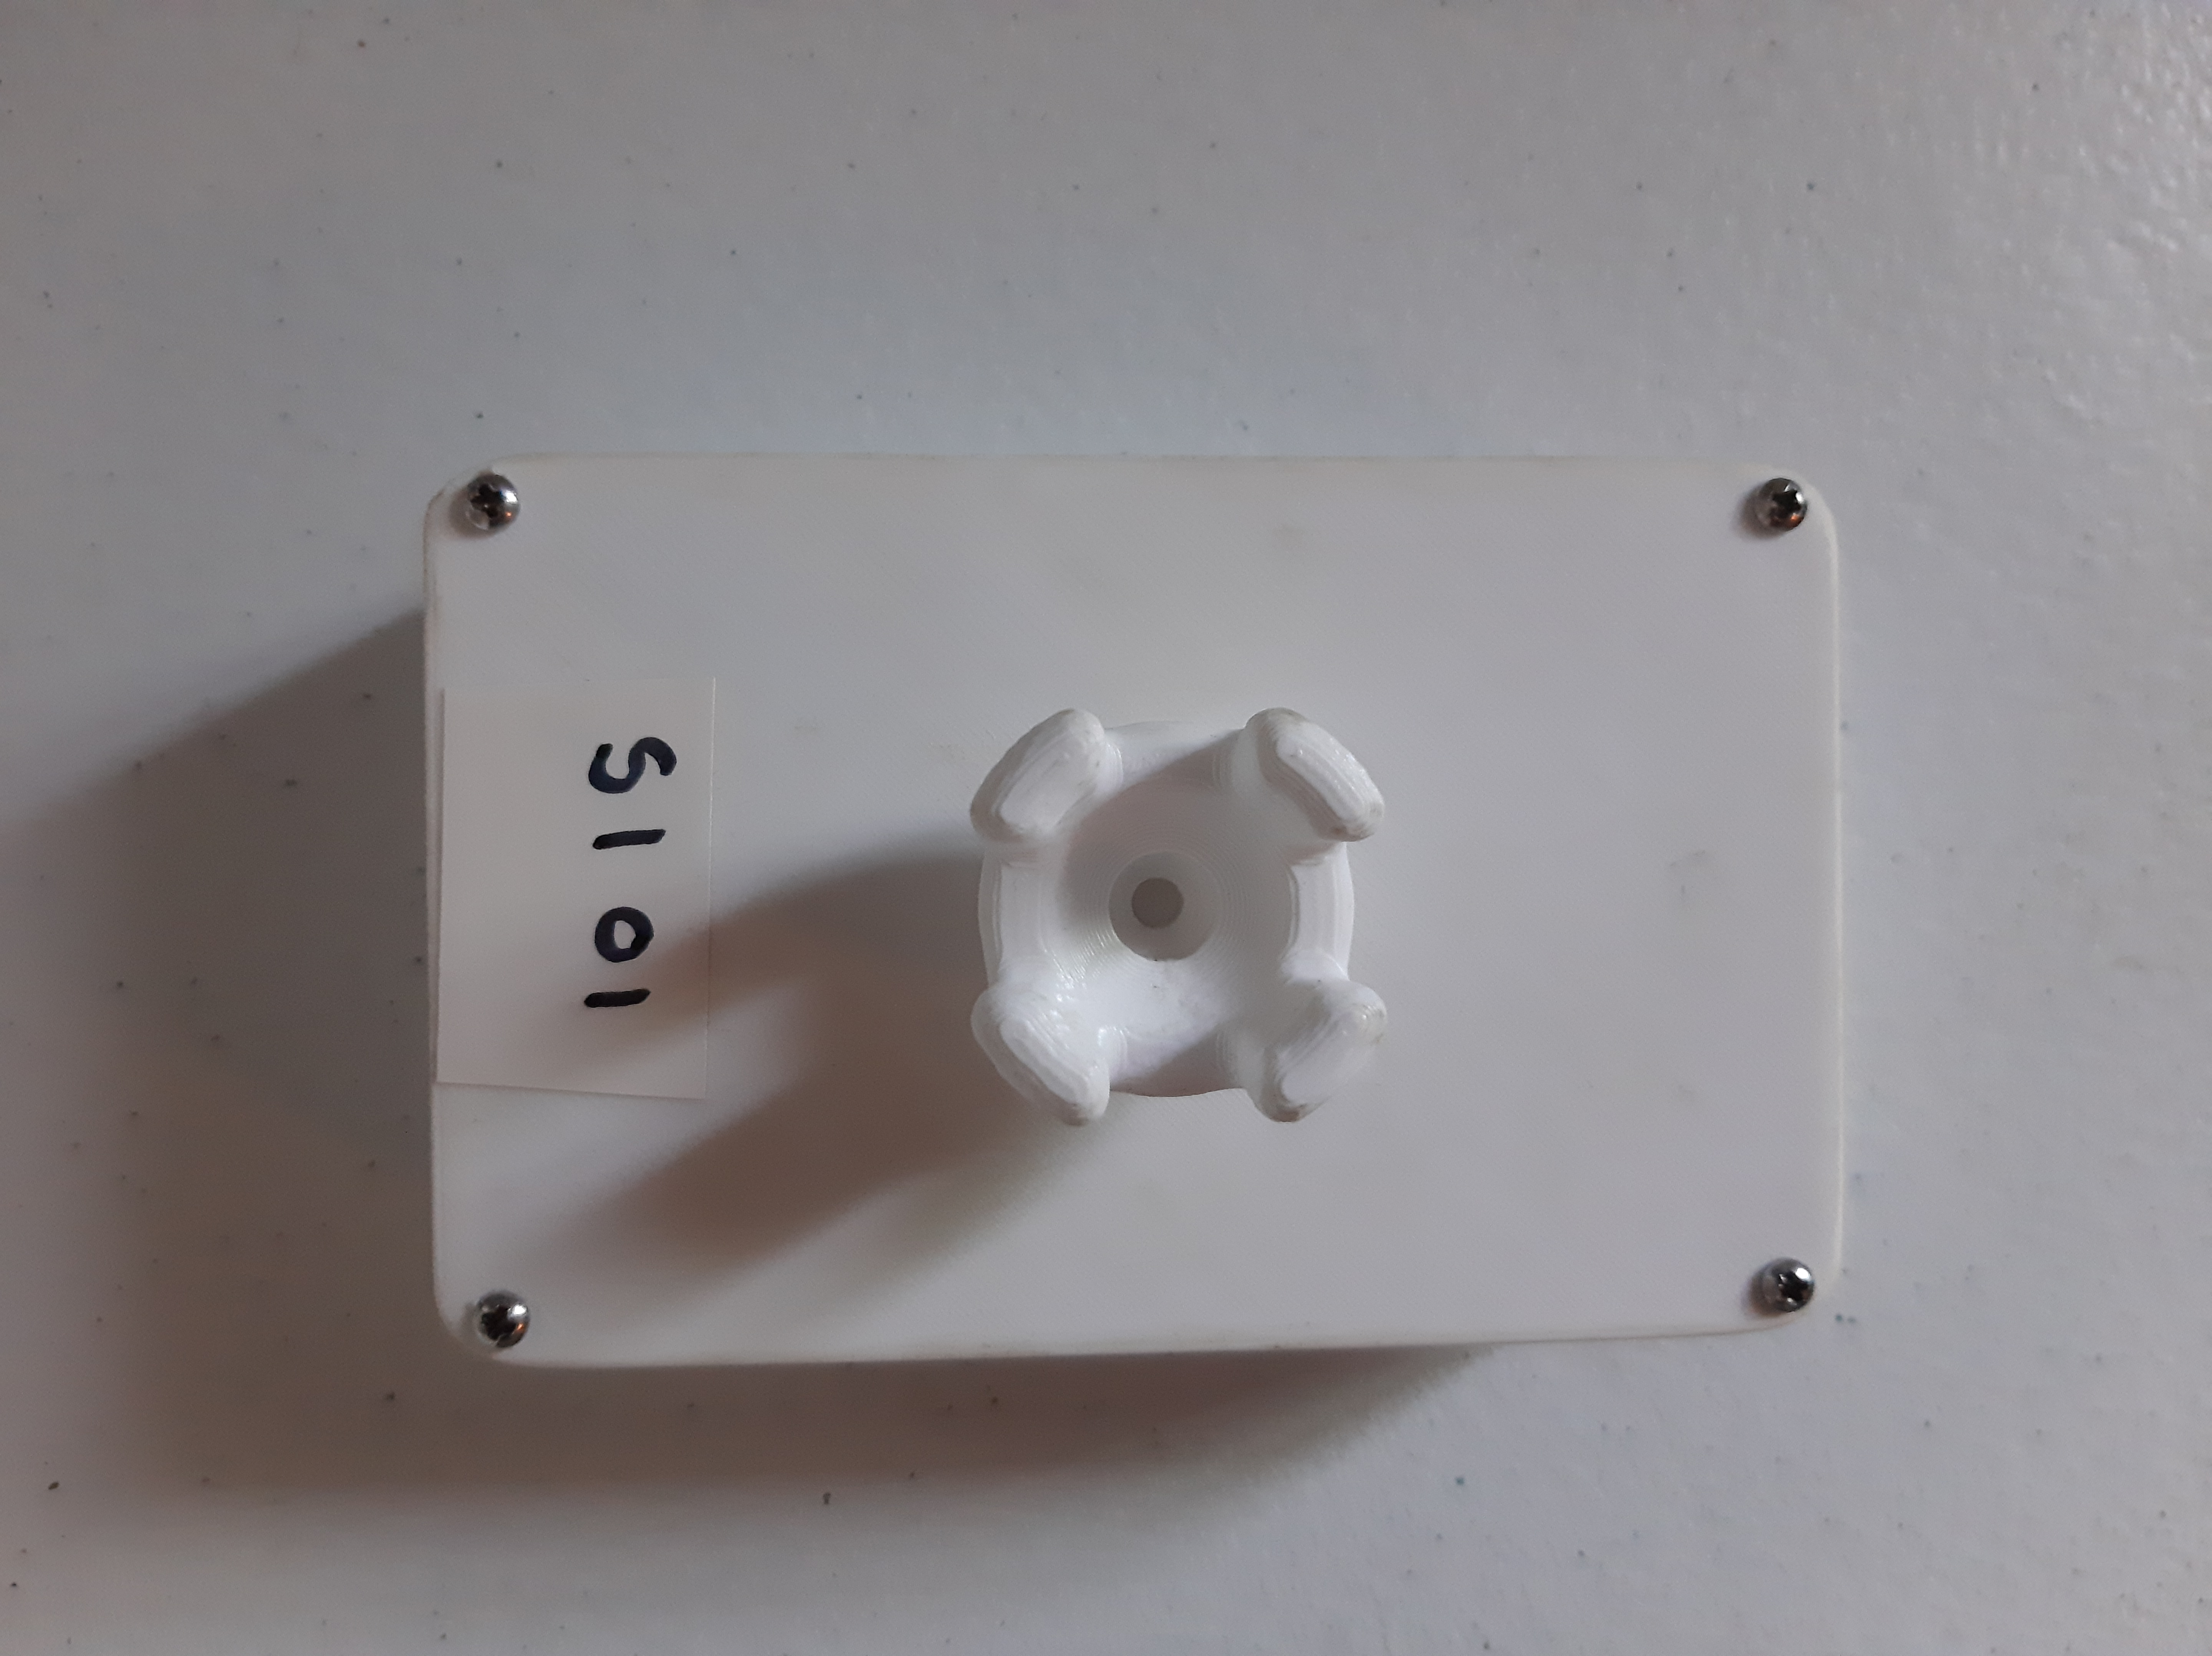
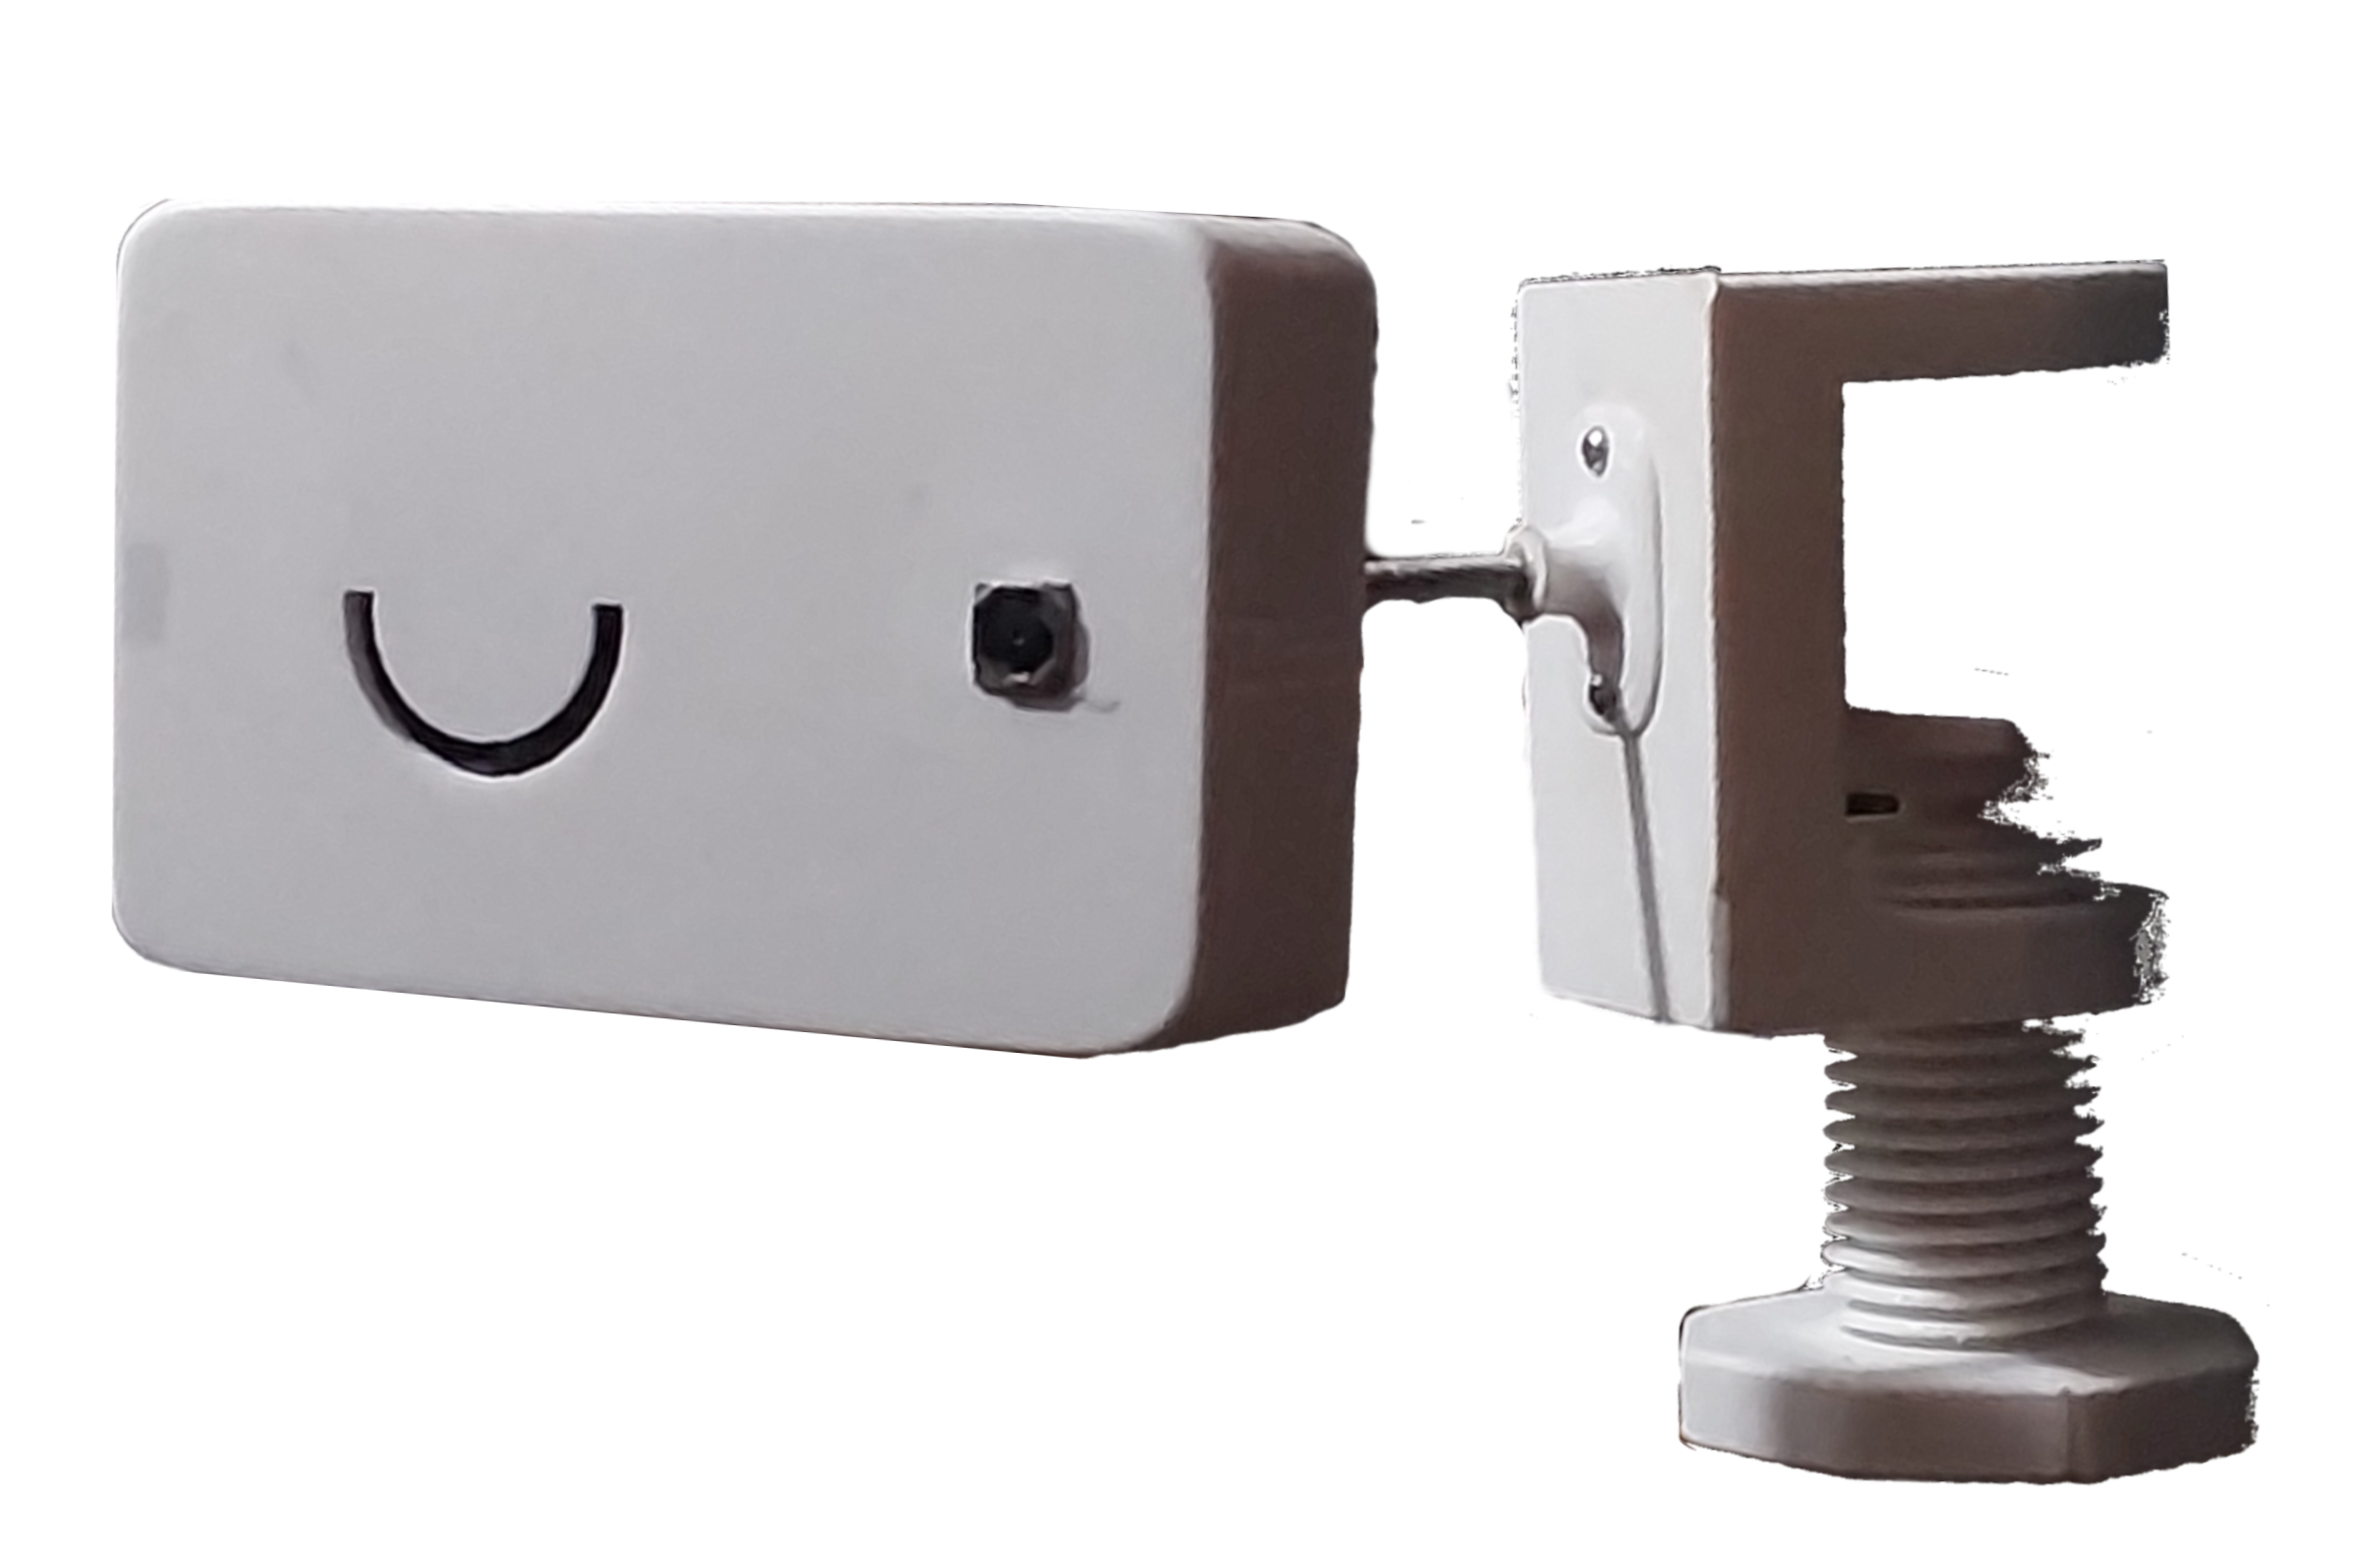
seeOS is an operating system designed to run on homemade AI cameras, specifically the Tree Camera.
Tree Camera is an open-source camera hardware platform based on the Google Coral platform. Using the on-board edge TPU (tensor processing unit) it can run machine learning applications quickly and efficiently on-device.
The promise of modern AI cameras to augment manufacturing, enhance safety and security, and enable novel applications has been hindered by general distrust towards the parties manufacturing these devices. The parties who manufacture these devices (Amazon Blink/Ring, Google Nest, Etc) have in essence unbridled liberty to monitor, record, and analyze sensitive parts of our lives because these devices are not open source.
As an analogy: Suppose we removed the ingredients list from everything at the grocery. Would you consume a manufactured product if it's constituents were not disclosed publicly or regulated? Would you send your child to a school if you were withheld details about what subjects, textbooks, or ideologies the students were taught?
This is a rough approximation of the situation I'm trying to address here, but the point here is that when we allow closed-source "black box" systems to access an intimate part of our life, we have no assurances that that access will not be abused by it's holders to psychologically manipulate and coerce us.
When you buy a stick-up camera for your home, that device unarguably has access to some of the most sensitive information about your life, are you OK not knowing where exactly the information it collects is going? The information collected about you by your own cameras could be sent to any government, used by special interests to manipulate you through targeted ads or psychological means, or for even more potentially dastardly orwellian operations.
Moreover, the cameras these companies create are either extremely simplified (where useful AI features are restricted for the sake of user friendliness), or highly technical (granting users a high degree of autonomy but without a standardized packaging system or user interface)
Tree Camera and seeOS provide an alternative to the sparse landscape of smart cameras that is both open-source and user friendly. We want users to have a functional, friendly product that belongs to them.
In its current state, this platform is in development, so only try to build it if you have a technical inclination. Any technically comfortable person, not necessarily a computer scientist, should be able to assemble this device to a functional state.
We hope you enjoy using seeOS and look forward to a future where AI video processing technology is not a trope of dystopian science fiction but rather a useful tool by the people, for the people.
- A computer running Ubuntu 20
- 3D printer or means to acquire 3D printed parts 1. STL files are included for the Ender 3 model of printer
- Google Coral Dev Board
- Google Coral Camera Module
- 16GB or higher capacity MicroSD card
- Soldering Iron
- Piezo speaker
- RGB LED, resistors and F-F jumper wires (The kind included in electronics hobby kits)
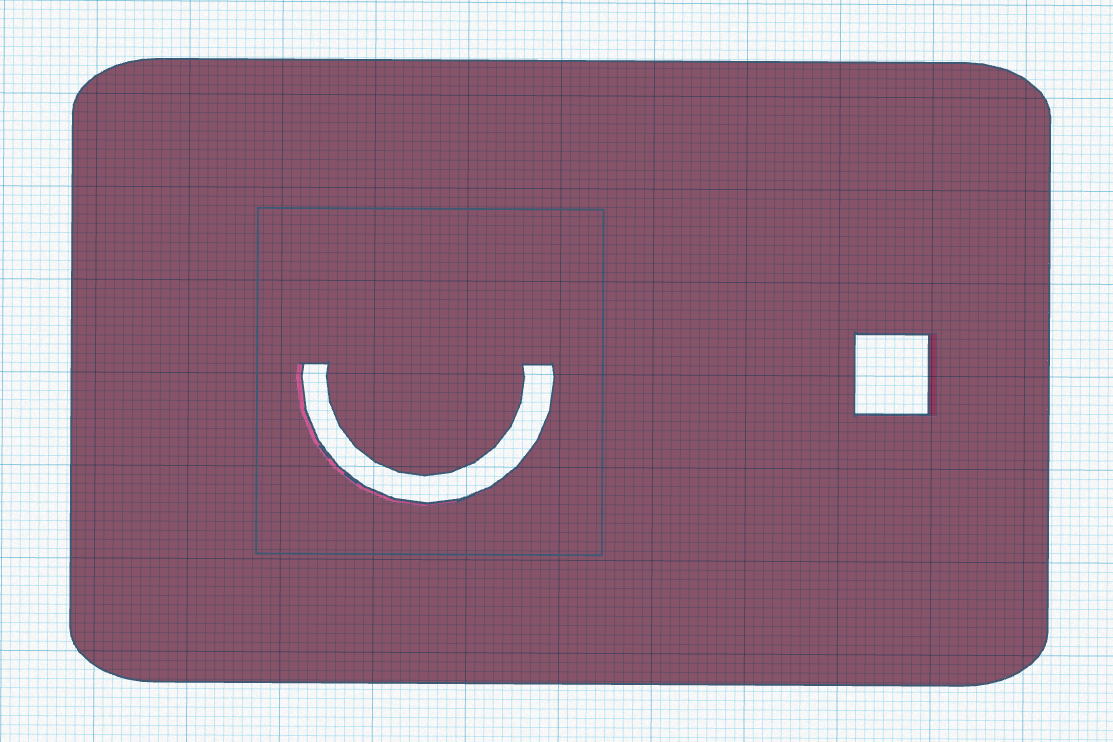
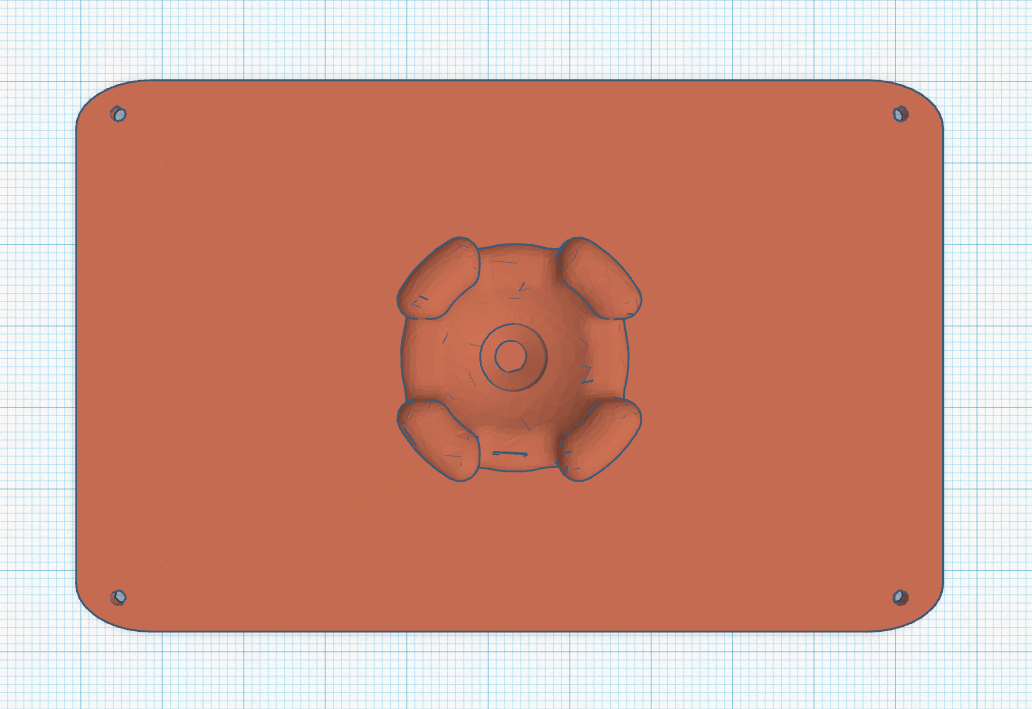
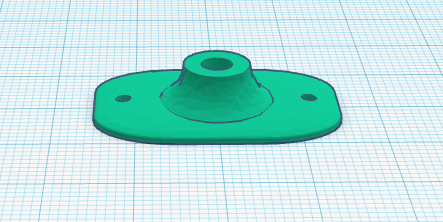
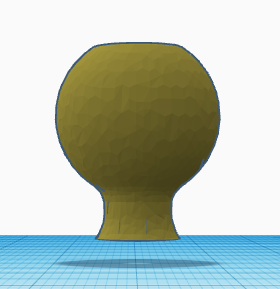
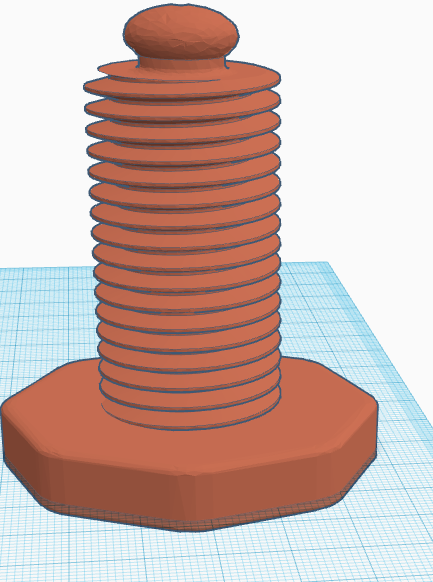
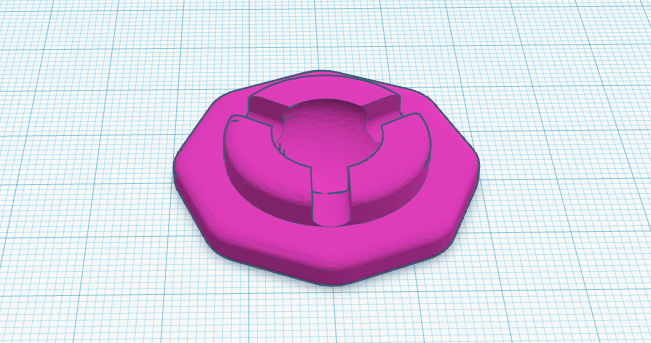
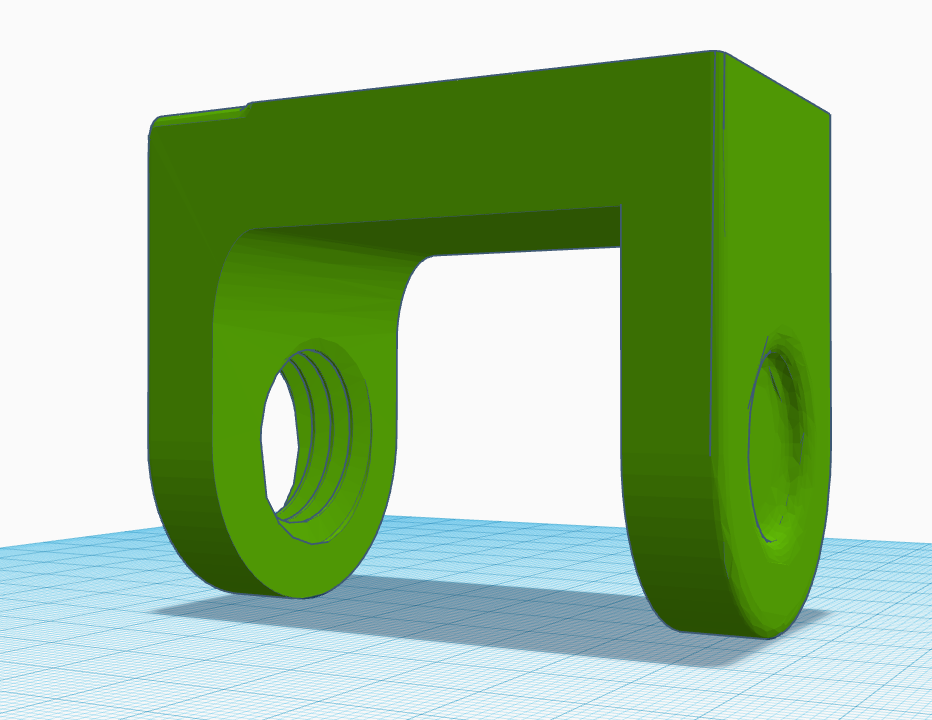
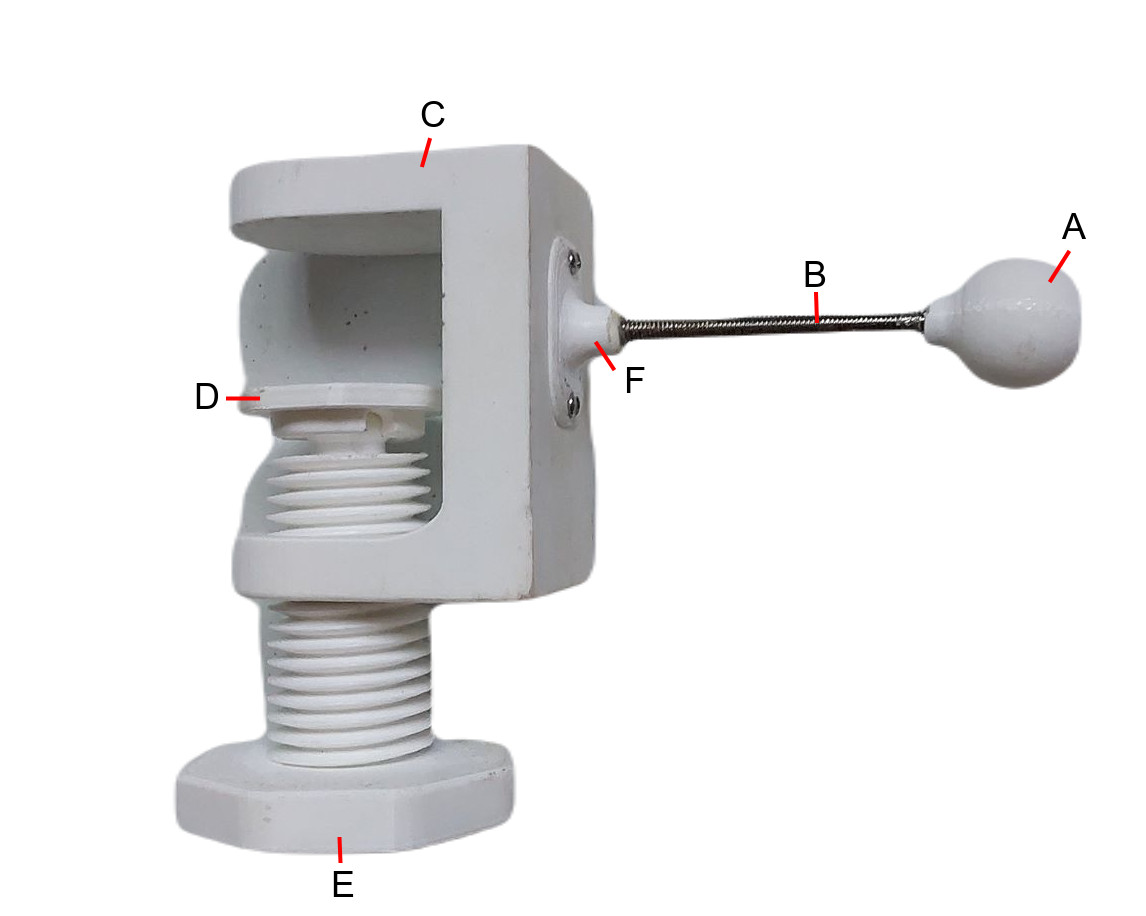
3D print all STL files here.
Print all files on 100% infill at med-low resolution.
A point of focus in the future would be optimizing the tensile strength of the device.
At this point if you haven't flashed your board yet, skip to stage B and C to flash the operating system and verify your hardware is all connected properly before further assembling the device.
sudo apt install python3-pip screen
python3 -m pip install --user mendel-development-tool
echo 'export PATH="$PATH:$HOME/.local/bin"' >> ~/.bash_profile
source ~/.bash_profile
sudo usermod -aG plugdev,dialout
- reboot
- Tree Camera device (Preferably, not inside a case, in case you need to access the board. Wait until device is fully functional to put in the case. Trust me!) - 2-3A USB type C PSU (Can probably get away with 2A) - additional USB type C cable for data - micro USB to issue serial commands - One microSD card with at least 16GB capacity - Ubuntu 20 host PC - a serial console program such as screen, picocom, or Putty - ##### sudo apt install screen - The latest fastboot tool - ##### sudo apt install fastboot - ##### fastboot --versionsudo reboot now
since seeOS is built on top of mendel linux (the official supported distribution for the coral board), we first flash mendel linux to the board normally.
If something in this section of the guide doesn't work, you may want to check out the official google coral setup guide.
Follow the guide at this page to flash mendel linux your coral dev board.
Find your SSH key with
cat ~/.ssh/id_rsa.puband copy/paste it somewhere.
Now run this command in the terminal to connect to the device.
mdt wait-for-device && mdt shell
Once you are connected to the device, change the system hostname and edit the system hosts
nmcli general hostname tree
sudo sh -c 'echo "127.0.0.1       localhost
::1             localhost ip6-localhost ip6-loopback
ff02::1         ip6-allnodes
ff02::2         ip6-allrouters
127.0.0.1 tree" > /etc/hosts'
echo ssh-rsa '<your SSH key from step 1> <your email address>' >> .ssh/authorized_keys
sudo reboot now
... At this point, reboot the camera (sudo reboot now) and make sure your SSH keys work. You should be able to run this without a password.
  ssh-keygen -f "/home/daniel/.ssh/known_hosts" -R "tree.local"
ssh mendel@tree.local
you may need to run
If you have worked on a different board on this PC since they will have colliding hostnames
... format the SD card
sudo fdisk /dev/mmcblk1
// create new partition. If this step gives you an error (bc of pre-existing partition), try deleting (d) first, then try again.
Command (m for help): n
// Use the defaults, if it asks you to remove signature, say No [N]
// make this a primary partition, leave default values for first and last sector
Command (m for help): p
// Write it (by default fdisk will make this a ext4 partition)
Command (m for help): w
sudo fdisk -l should show something like this:
Disk /dev/mmcblk1: 29.7 GiB, 31914983424 bytes, 62333952 sectors
Units: sectors of 1 * 512 = 512 bytes
Sector size (logical/physical): 512 bytes / 512 bytes
I/O size (minimum/optimal): 512 bytes / 512 bytes
Disklabel type: dos
Disk identifier: 0x2aaeb742

Device         Boot Start      End  Sectors  Size Id Type
/dev/mmcblk1p1       2048 62333951 62331904 29.7G 83 Linux
Mount the SD Card under /home/mendel/sdcard
# This one usually takes a few minutes
y | sudo mkfs.ext4 /dev/mmcblk1p1

mkdir sdcard
sudo mount /dev/mmcblk1p1 sdcard
sudo chmod 777 sdcard
mkdir sdcard/tree

# Make the important system files editable.
sudo chmod 666 /etc/fstab
sudo chmod 666 /etc/sysctl.conf

# Allocate a swap file on the SD Card. We will make the swappiness low to reduce wear.

sudo fallocate -l 2G /home/mendel/sdcard/swapfile
sudo chmod 600 /home/mendel/sdcard/swapfile
sudo mkswap /home/mendel/sdcard/swapfile
sudo swapon /home/mendel/sdcard/swapfile

# These commands make changs permanent.
sudo echo " /dev/mmcblk1p1 /home/mendel/sdcard ext4 defaults 0 1" >> /etc/fstab
sudo echo "/home/mendel/sdcard/swapfile none swap sw 0 0" >> /etc/fstab
sudo echo "vm.swappiness=10" >> /etc/sysctl.conf

#Now we edit rc.local to add the bootup script

sudo sh -c 'echo "#!/bin/bash -e
chmod +x /home/mendel/sdcard/tree/bootloader.sh
/bin/bash /home/mendel/sdcard/tree/bootloader.sh
exit 0

" > /etc/rc.local'

sudo chmod +x /etc/rc.local
debug mode
echo 'alias debug="sudo pkill -9 python3; cd ~/sdcard/tree/; python3 boot.py"' >> ~/.bashrc
... SCP OS file (from host system.)
rsync -avh seeOS/ mendel@tree.local:/home/mendel/sdcard/tree
... connect it to wifi using nmtui.
nmtui # Set up wifi here

# Run these commands to download all dependencies.

sudo apt -y update && sudo apt -y upgrade && sudo apt -y dist-upgrade
sudo apt-get -y install git build-essential cmake unzip pkg-config libjpeg-dev libpng-dev libtiff-dev libavcodec-dev libavformat-dev libswscale-dev libv4l-dev libxvidcore-dev libx264-dev libgtk-3-dev libatlas-base-dev gfortran python3-dev python3-opencv
sh -c "yes | sudo pip3 install flask waitress psutil imutils  flask-login PyOpenGL-accelerate  twilio imgurpython wget tornado terminado"
sudo nohup pip3 install dlib face_recognition & #(This takes hours to install)


# At this point the setup is over and you can assemble the device.
If it doesn't load, use mdt shell to log into the board and run "debug". This will restart the application verbosely and run it on port 8000.
Did something go wrong? If you cannot SSH into the board using MDT shell or SSH, connect using the USB serial port. Log in via this. Then runmdt reboot-bootloader
this puts the board in fastboot mode, so you can re-flash the operating system
To restart the board into fastboot mode. This is effectively a factory reset. (I've probably had to do this 10,000 times.)
