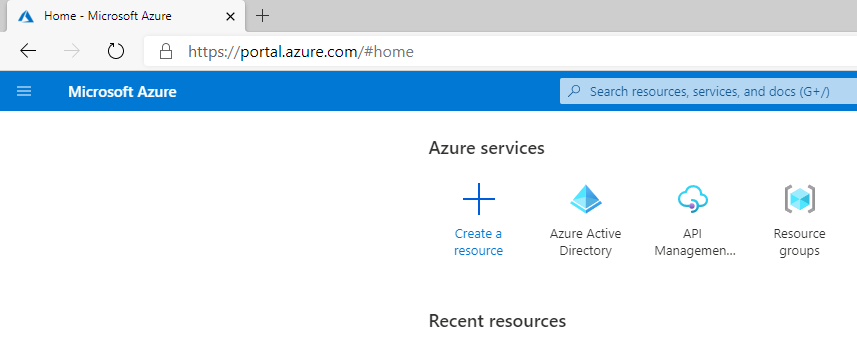
Demo environment parameters will be provided by Microsoft. Current parameters as of 6/22/2020 for R2 QA environment is provided below. For customer tenant custom deployments the location to get the parameter is also provided.
client_id <Your Client ID Here>
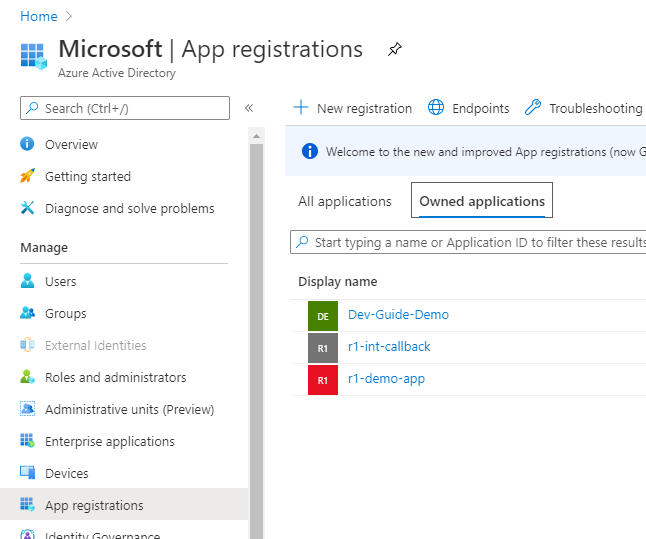
Select App Registrations if you have an existing application then select it otherwise select New Registration.
Client ID can be obtained from the Overview tab under Application (client) ID value. Copy this for Client_Id parameter.
client_secret <Your Client Secret Here>
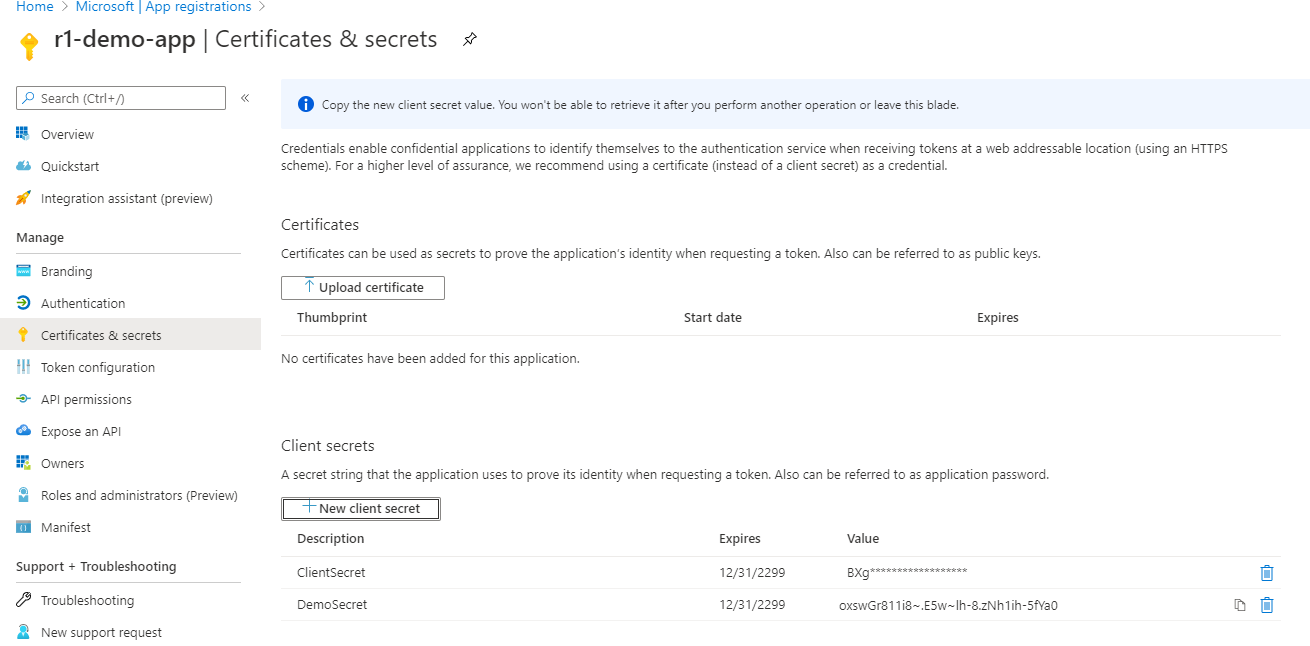
Select Certificates and secrets tab, hit New client secret and copy the Value for client_secret. Note that once you create and save the client secret, you will not have access to the secret value. Be sure to copy it as soon as you create before navigating to a new tab.
scopes openid profile offline_access <Your Client ID Here>/.default
The last parameter of the scopes parameter contains a GUID, replace it with the client_id parameter above if you’re accessing a custom application
In the following parameters, you will need the replace the GUID with the tenant ID for custom deployments.
tenant_id <Your Tenan ID Here>
auth_authorize_url https://login.microsoftonline.com/<Your Tenan ID Here>/oauth2/v2.0/authorize
auth_token_url https://login.microsoftonline.com/<Your Tenan ID Here>/oauth2/v2.0/token
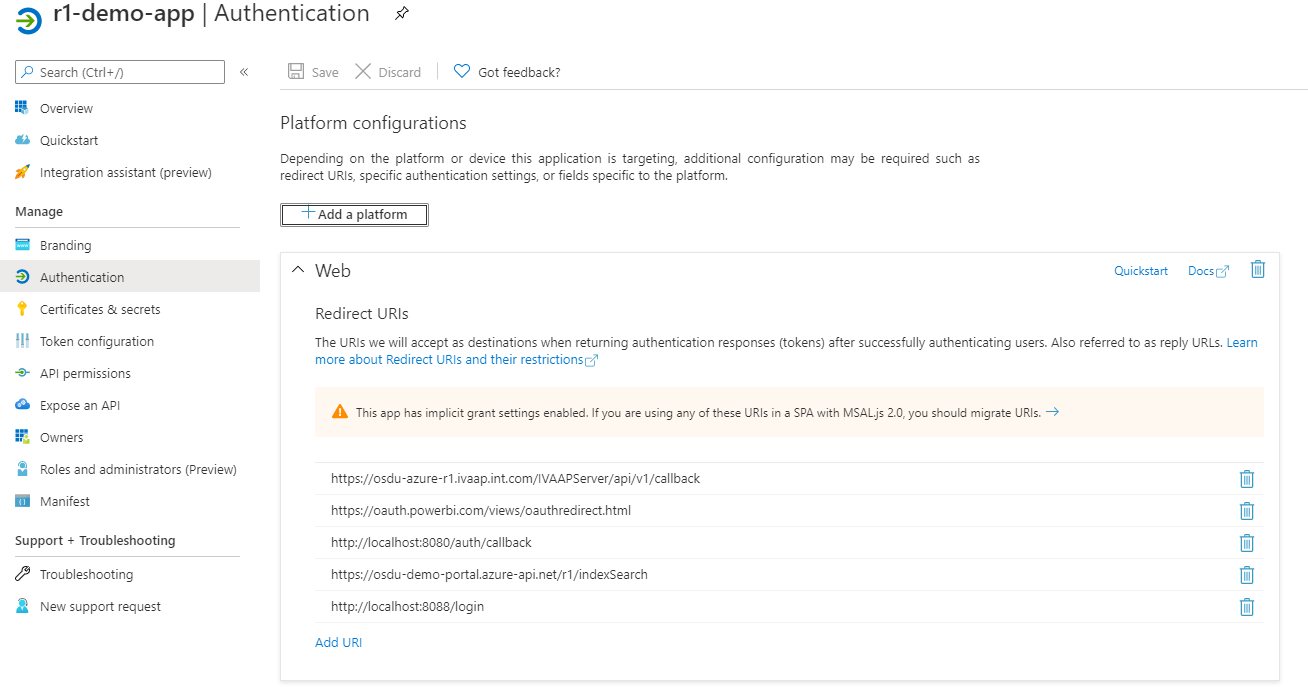
auth_callback_url http://localhost:8080/auth/callback
Callback URL needs to be added to the Authentication tab as a Web Redirect URI
search_api_url <OSDU Host Here>/api/search/v2/query
data-partition-id opendes
These parameters need to be provided by the deployment team for deployments in customer tenants
To be able to connect to OSDU R2 we need to support OAuth2 and OpenID protocol with Code Grant Workflow. This needs development of a very simple Power BI connector in M Language. Most of the code is boilerplate and the core part of the code could also be augmented with other M Language constructors to clean up the results. For illustrative purposes we will provide a very simple connector which could be used to send a full text query and get the returned results as a hierarchical JSON object which is re-shaped in Power BI Desktop.
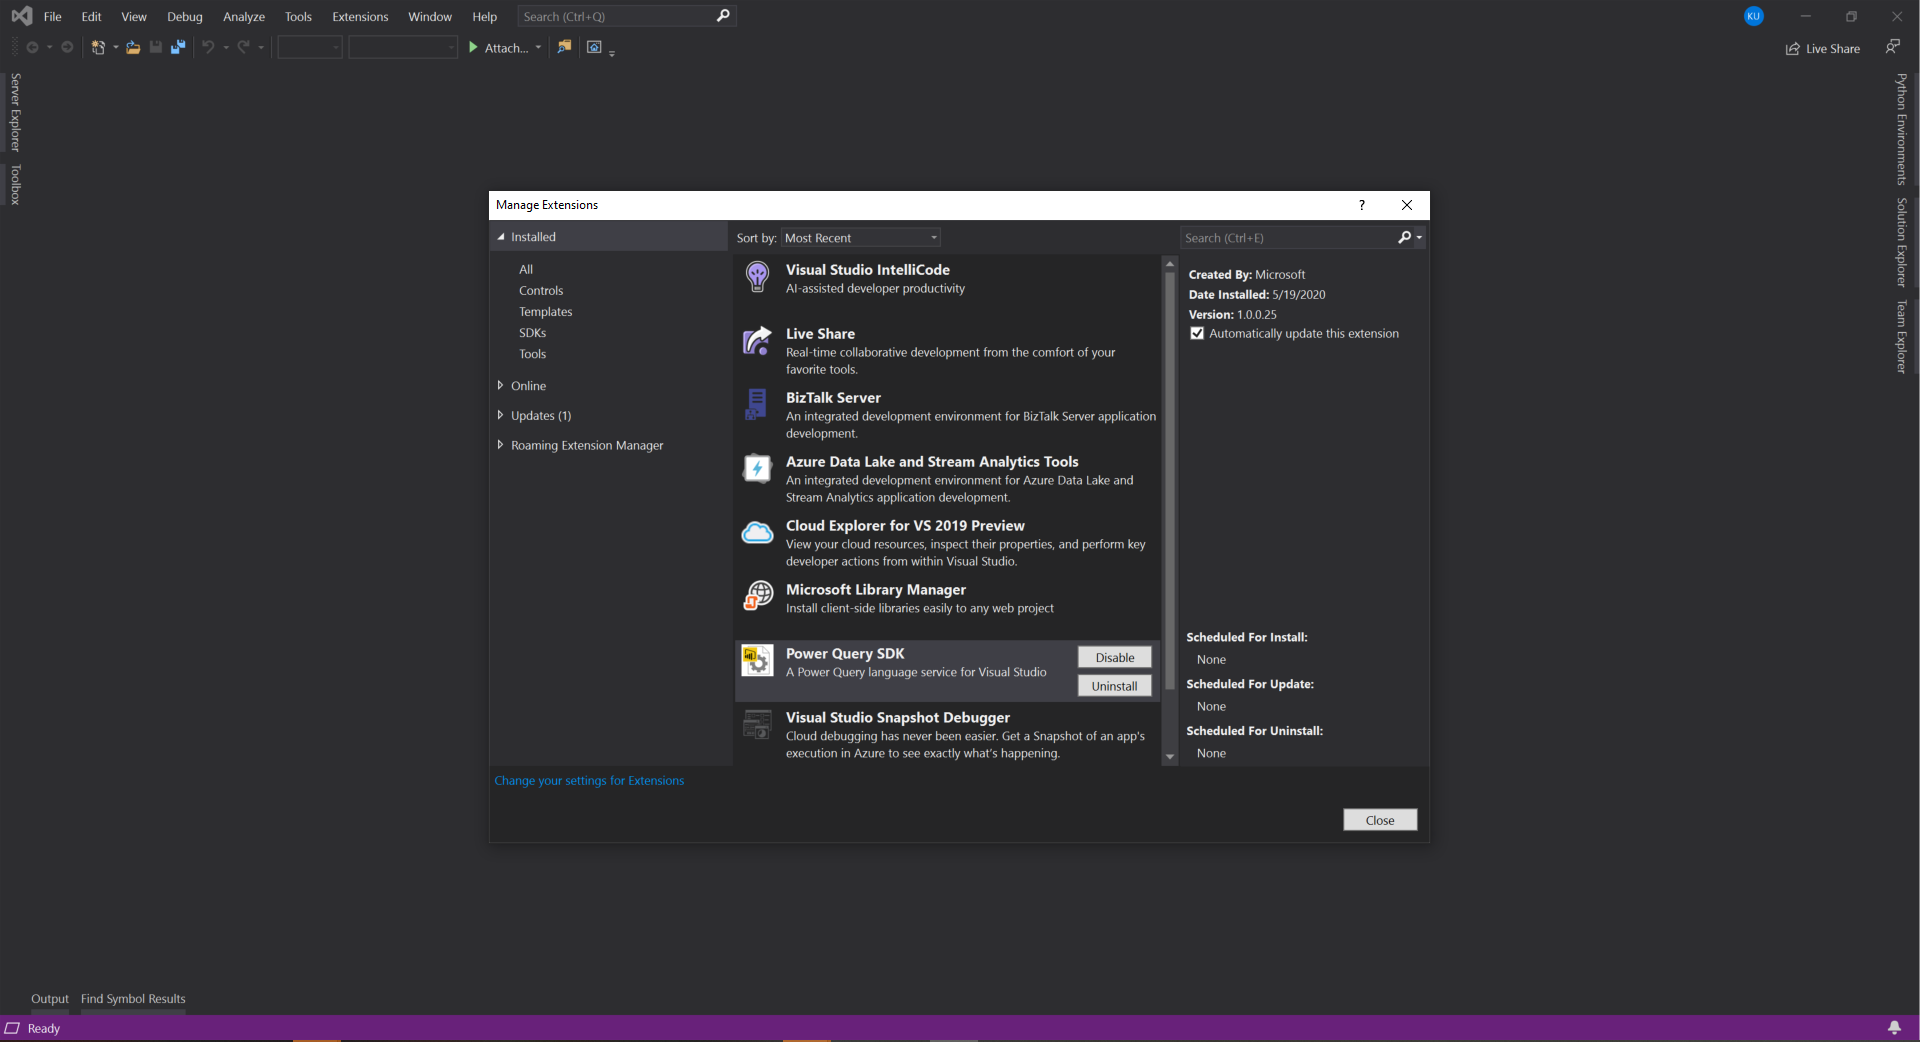
First we’ll need to open Visual Studio and load M-Language extensions. Select Extensions and install Power Query SDK as shown below.
Once installed open the M Language Project here.
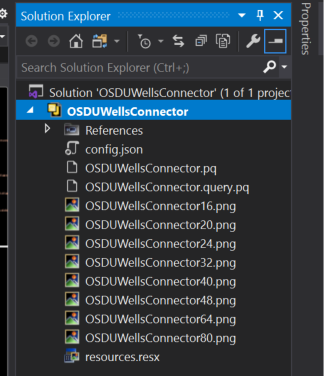
Solution has 3 main files and set of resources. Config.json stores the connection parameters, it has been pre-populated with the demo environment values. For custom tenants, replace the parameters with the customer values as explained in the first section of this document.
OSDUWellsConnector.pg is the main code with the connector logic. OSDUWellsConnector.query.pg has the test code which enabled the connector to be run and tested within Visual Studio, hit F5 or the green run button, first you will prompted to authenticate and get token, once the token is acquired hit the Store Credentials, close the window and re-rerun the query.
Code for the connector consists of several sections, mostly boilerplate code to acquire and store tokens via OAuth2 and OpenID code grant workflow.
The main section that call’s OSDU R2 is below, the variables defined here shown up in the connector surface when getting data in the Power BI Desktop. You can also put the keyword optional in front of the variables you define. For the purposes of the demo we are defining a kind attribute and query which form the body of the search query in Lucene syntax sent to the OSDU R2 search engine.
[DataSource.Kind="OSDUWellsConnector", Publish="OSDUWellsConnector.Publish"]
shared OSDUWellsConnector.Contents = (kind as text, query as text) =>
let
body = GetQueryString(kind as text, query as text),
Source = Json.Document(Web.Contents(osduindexsearchendpoint,[
Headers = [#"Content-Type"="application/json", #"data-partition-id"=data_partition_id],
Content = Text.ToBinary(body)
]
))
in
Source;
GetQueryString function forms the query from the input parameters. The rest of code doesn’t need to be changed, it is boilerplate code to get the id_token and authorization tokens.
Build the application, it generates OSDUWellsConnector.mez located under <Project Directory>/bin/Debug or Release.
Copy the .mez file and the config.json file in the project directory to the following directory. Create the directory if it doesn’t exist. If Power BI Desktop is open, close and reopen.
C:\Users\<username>\Documents\Power BI Desktop\Custom Connectors
NOTE: If you don't see the connector in PowerBI, you might have a redirected Documents folder. Directory above might not work if your organization has implemented a home folder redirection. Check the location of your Documents folder and create a directory here. For example : C:\Users\\OneDrive\Documents\Power BI Desktop\Custom Connectors
Open Power BI Desktop (not the PowerBI Windows Application). You can download Power BI Desktop from https://powerbi.microsoft.com/en-us/desktop/, login with your corporate credentials. Dismiss the data window.
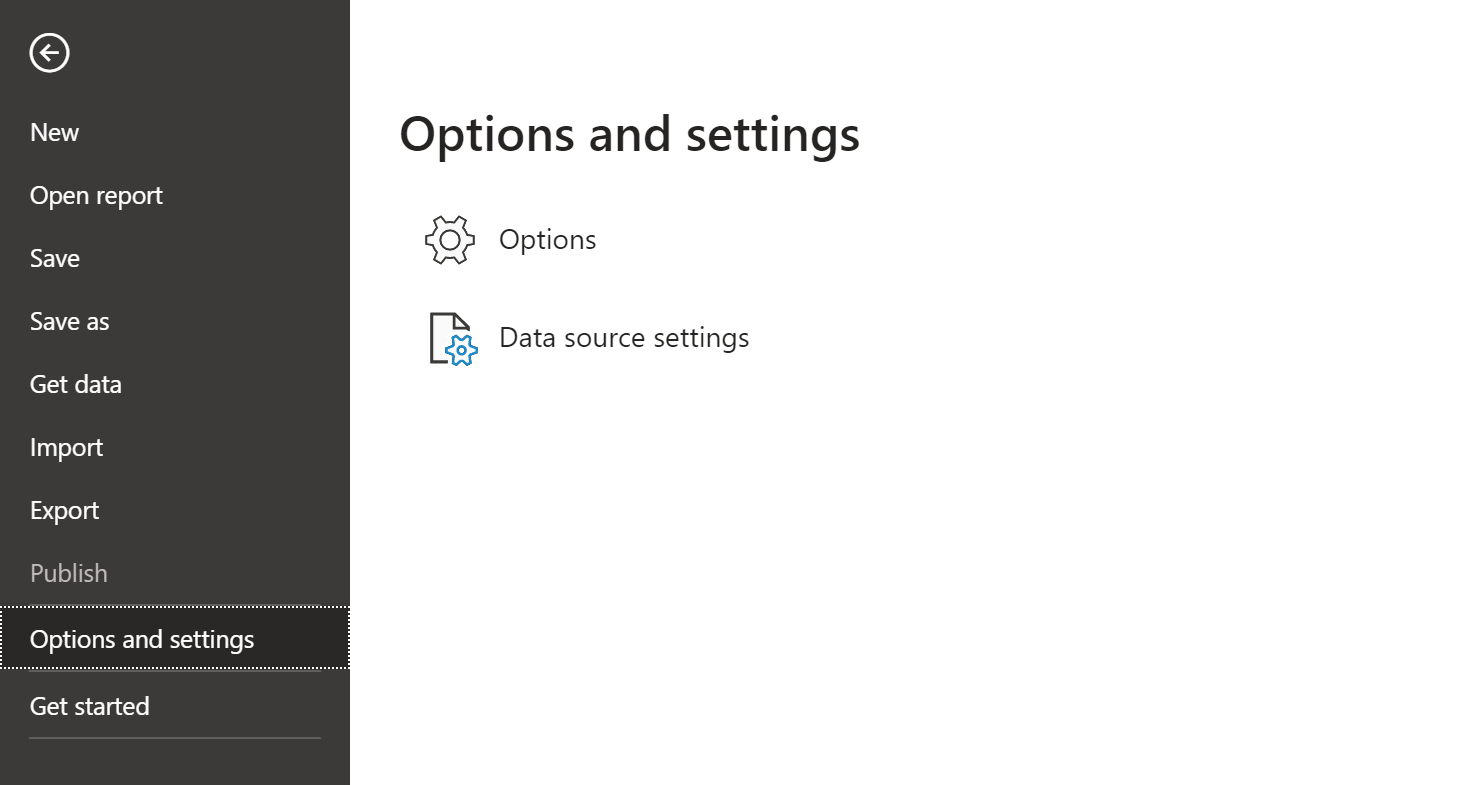
From the menu select File -> Options and setting and select Options
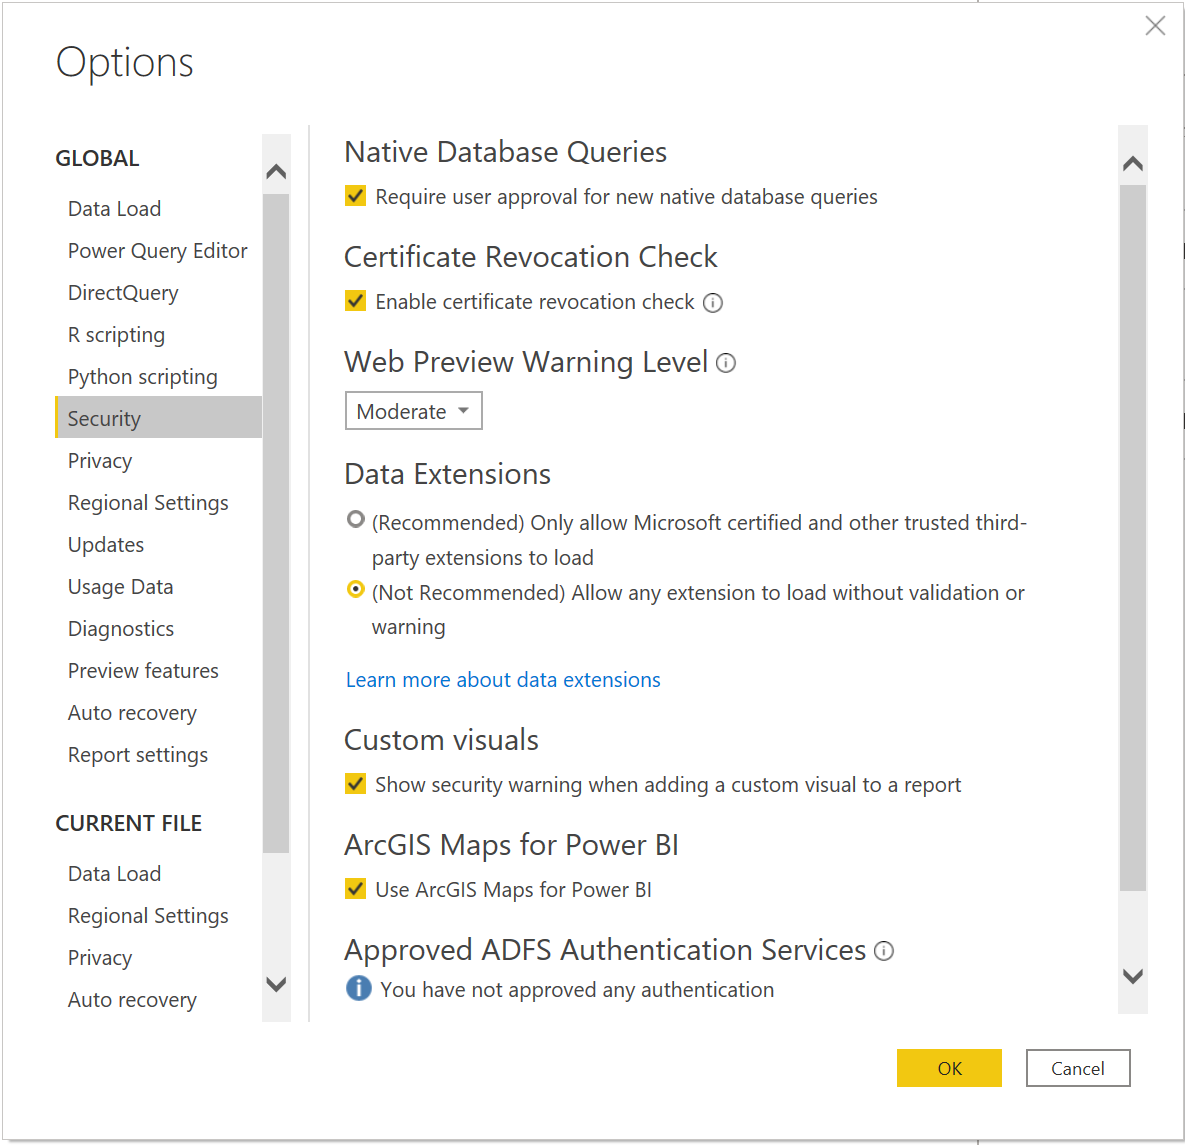
Select Security Options and under Data Extension click the second option, re-start Power BI Desktop.
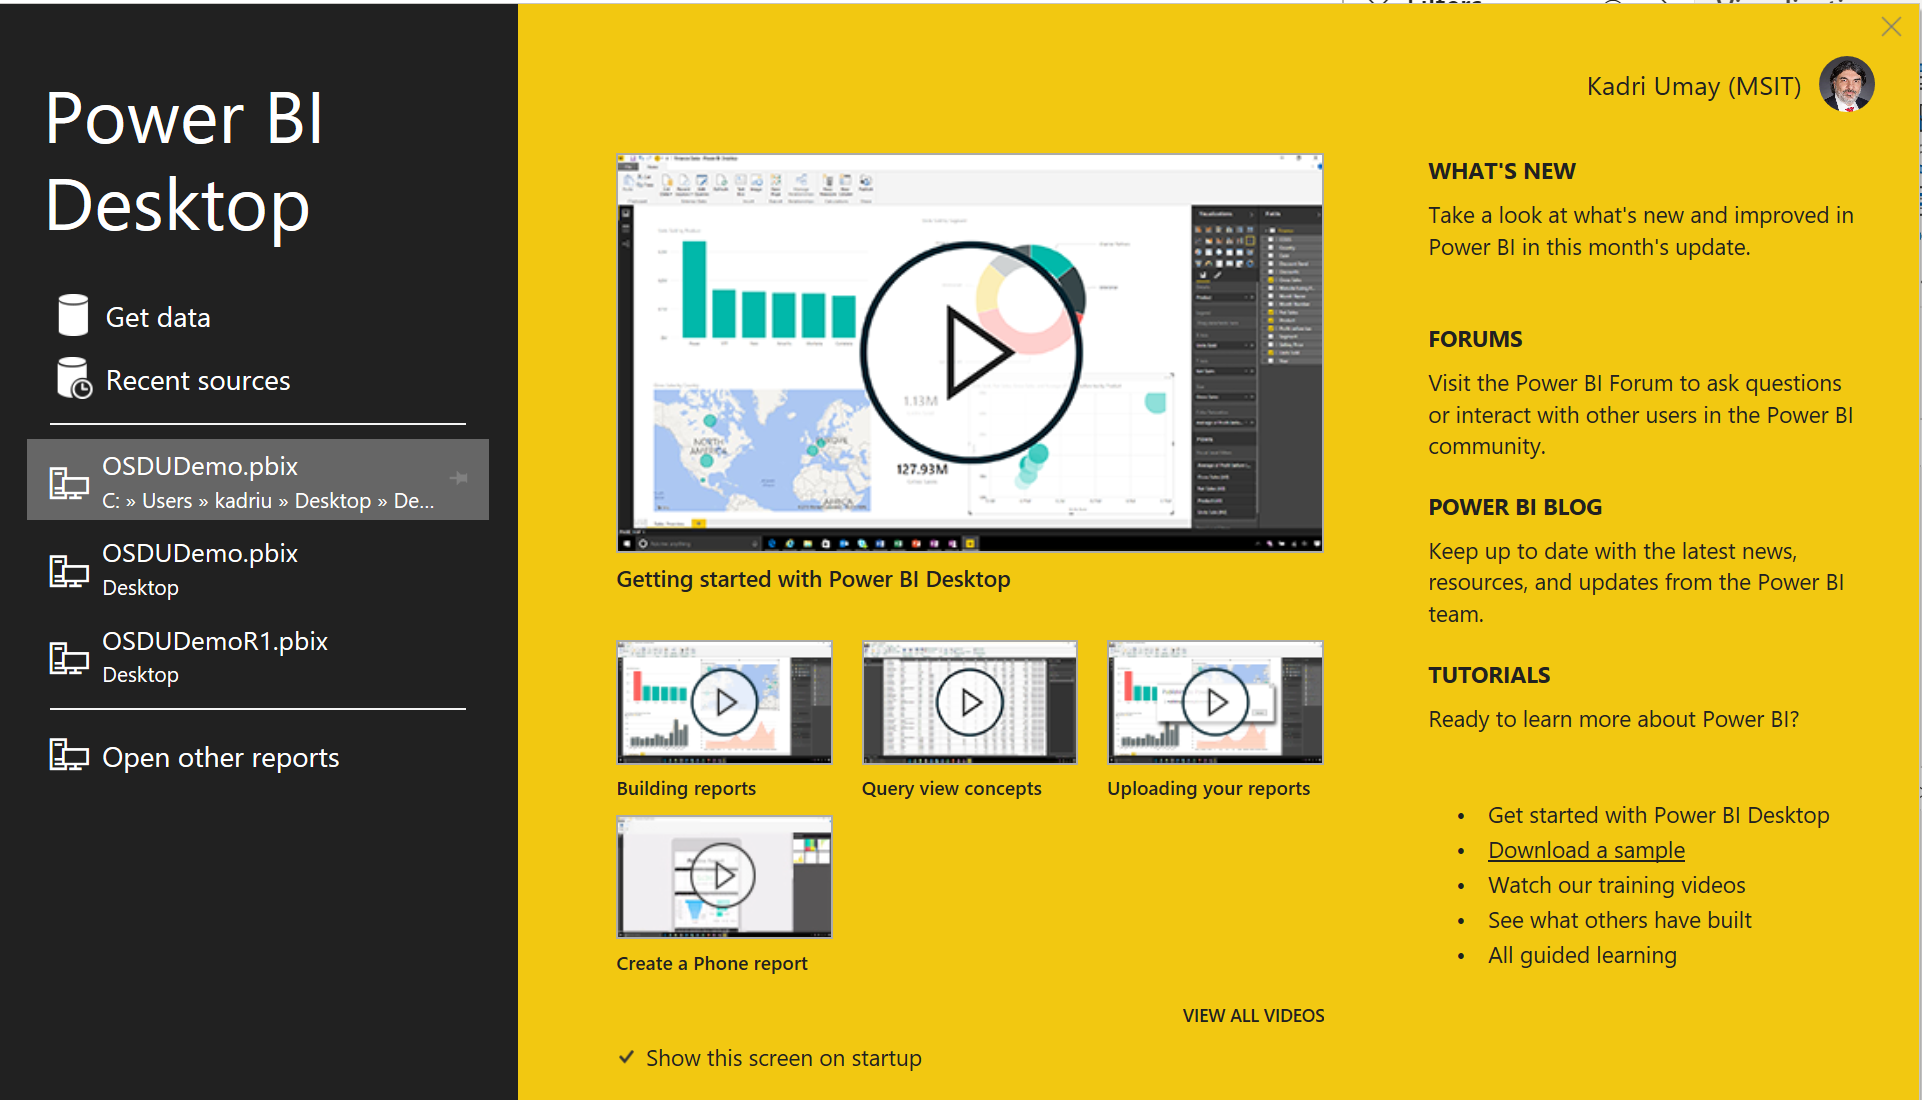
Select Get data on the Splash window. Note that if you dismissed this window, you can access Get data from the top menu.
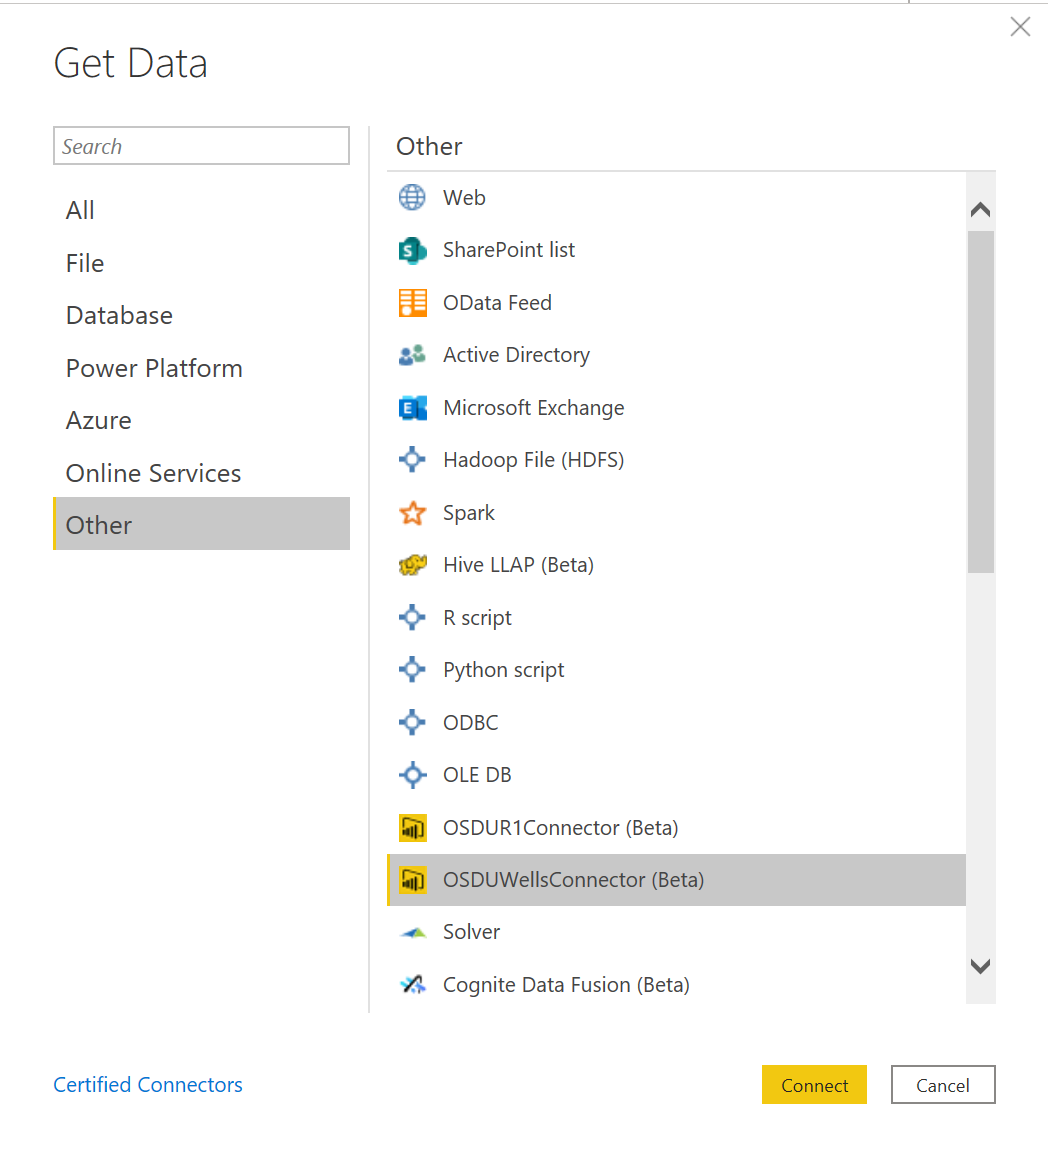
Select Other and OSDUWellsConnector (Beta). If you don’t see the connector after copying mez file most probably there’s an issue with the connector code.
Fill in the kind and query fields with the OSDU syntax and hit OK.
On the first run you will be prompted to login with your credentials and get the token. Make sure that the credentials are either enabled on the demo tenant or in your own tenant if you’re using a custom deployment. Hit Sign, fill in account details and hit connect.
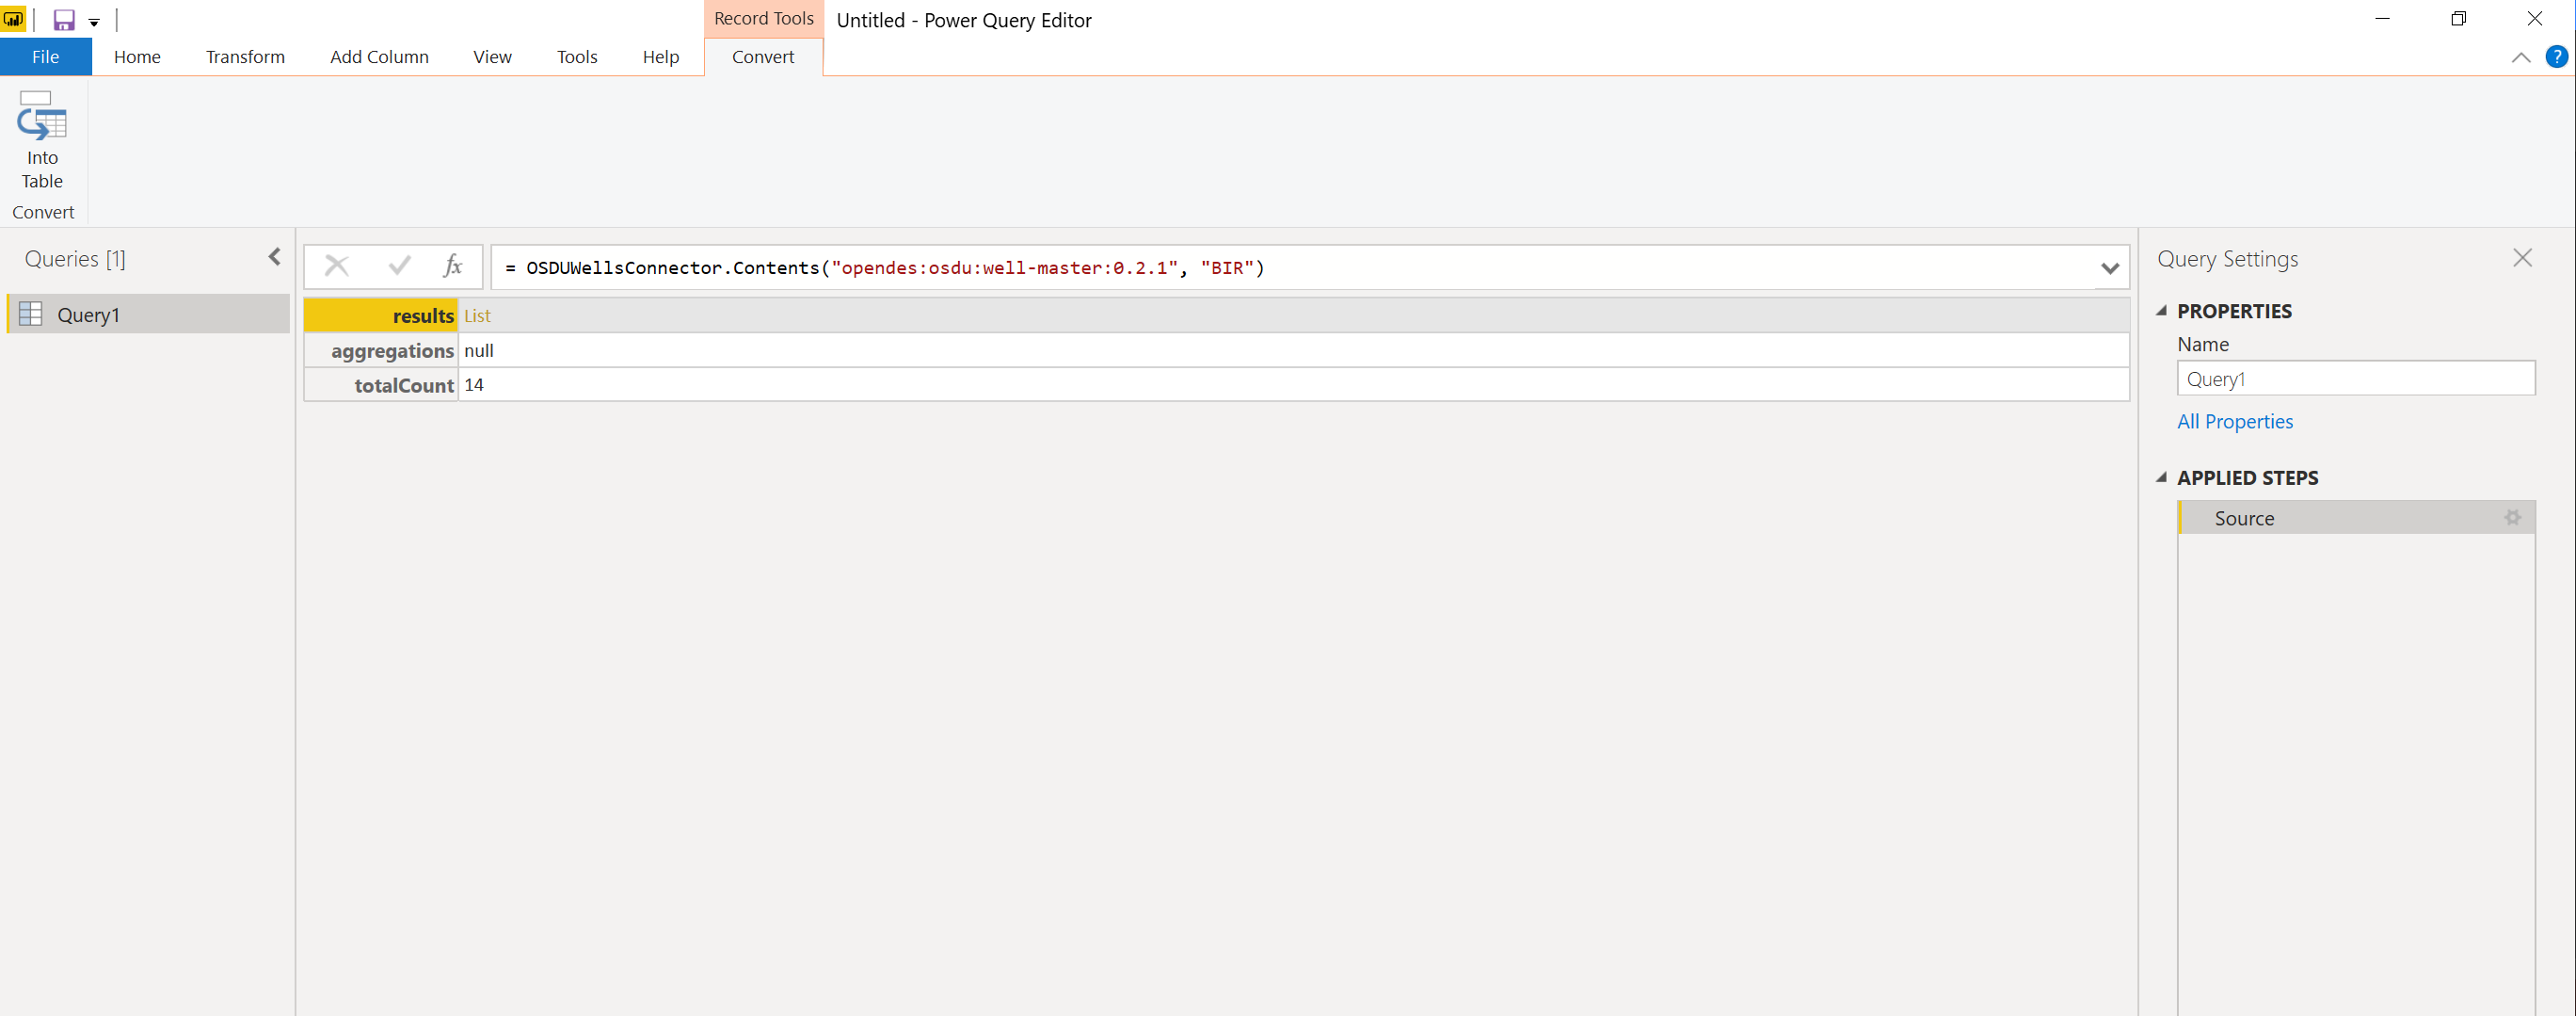
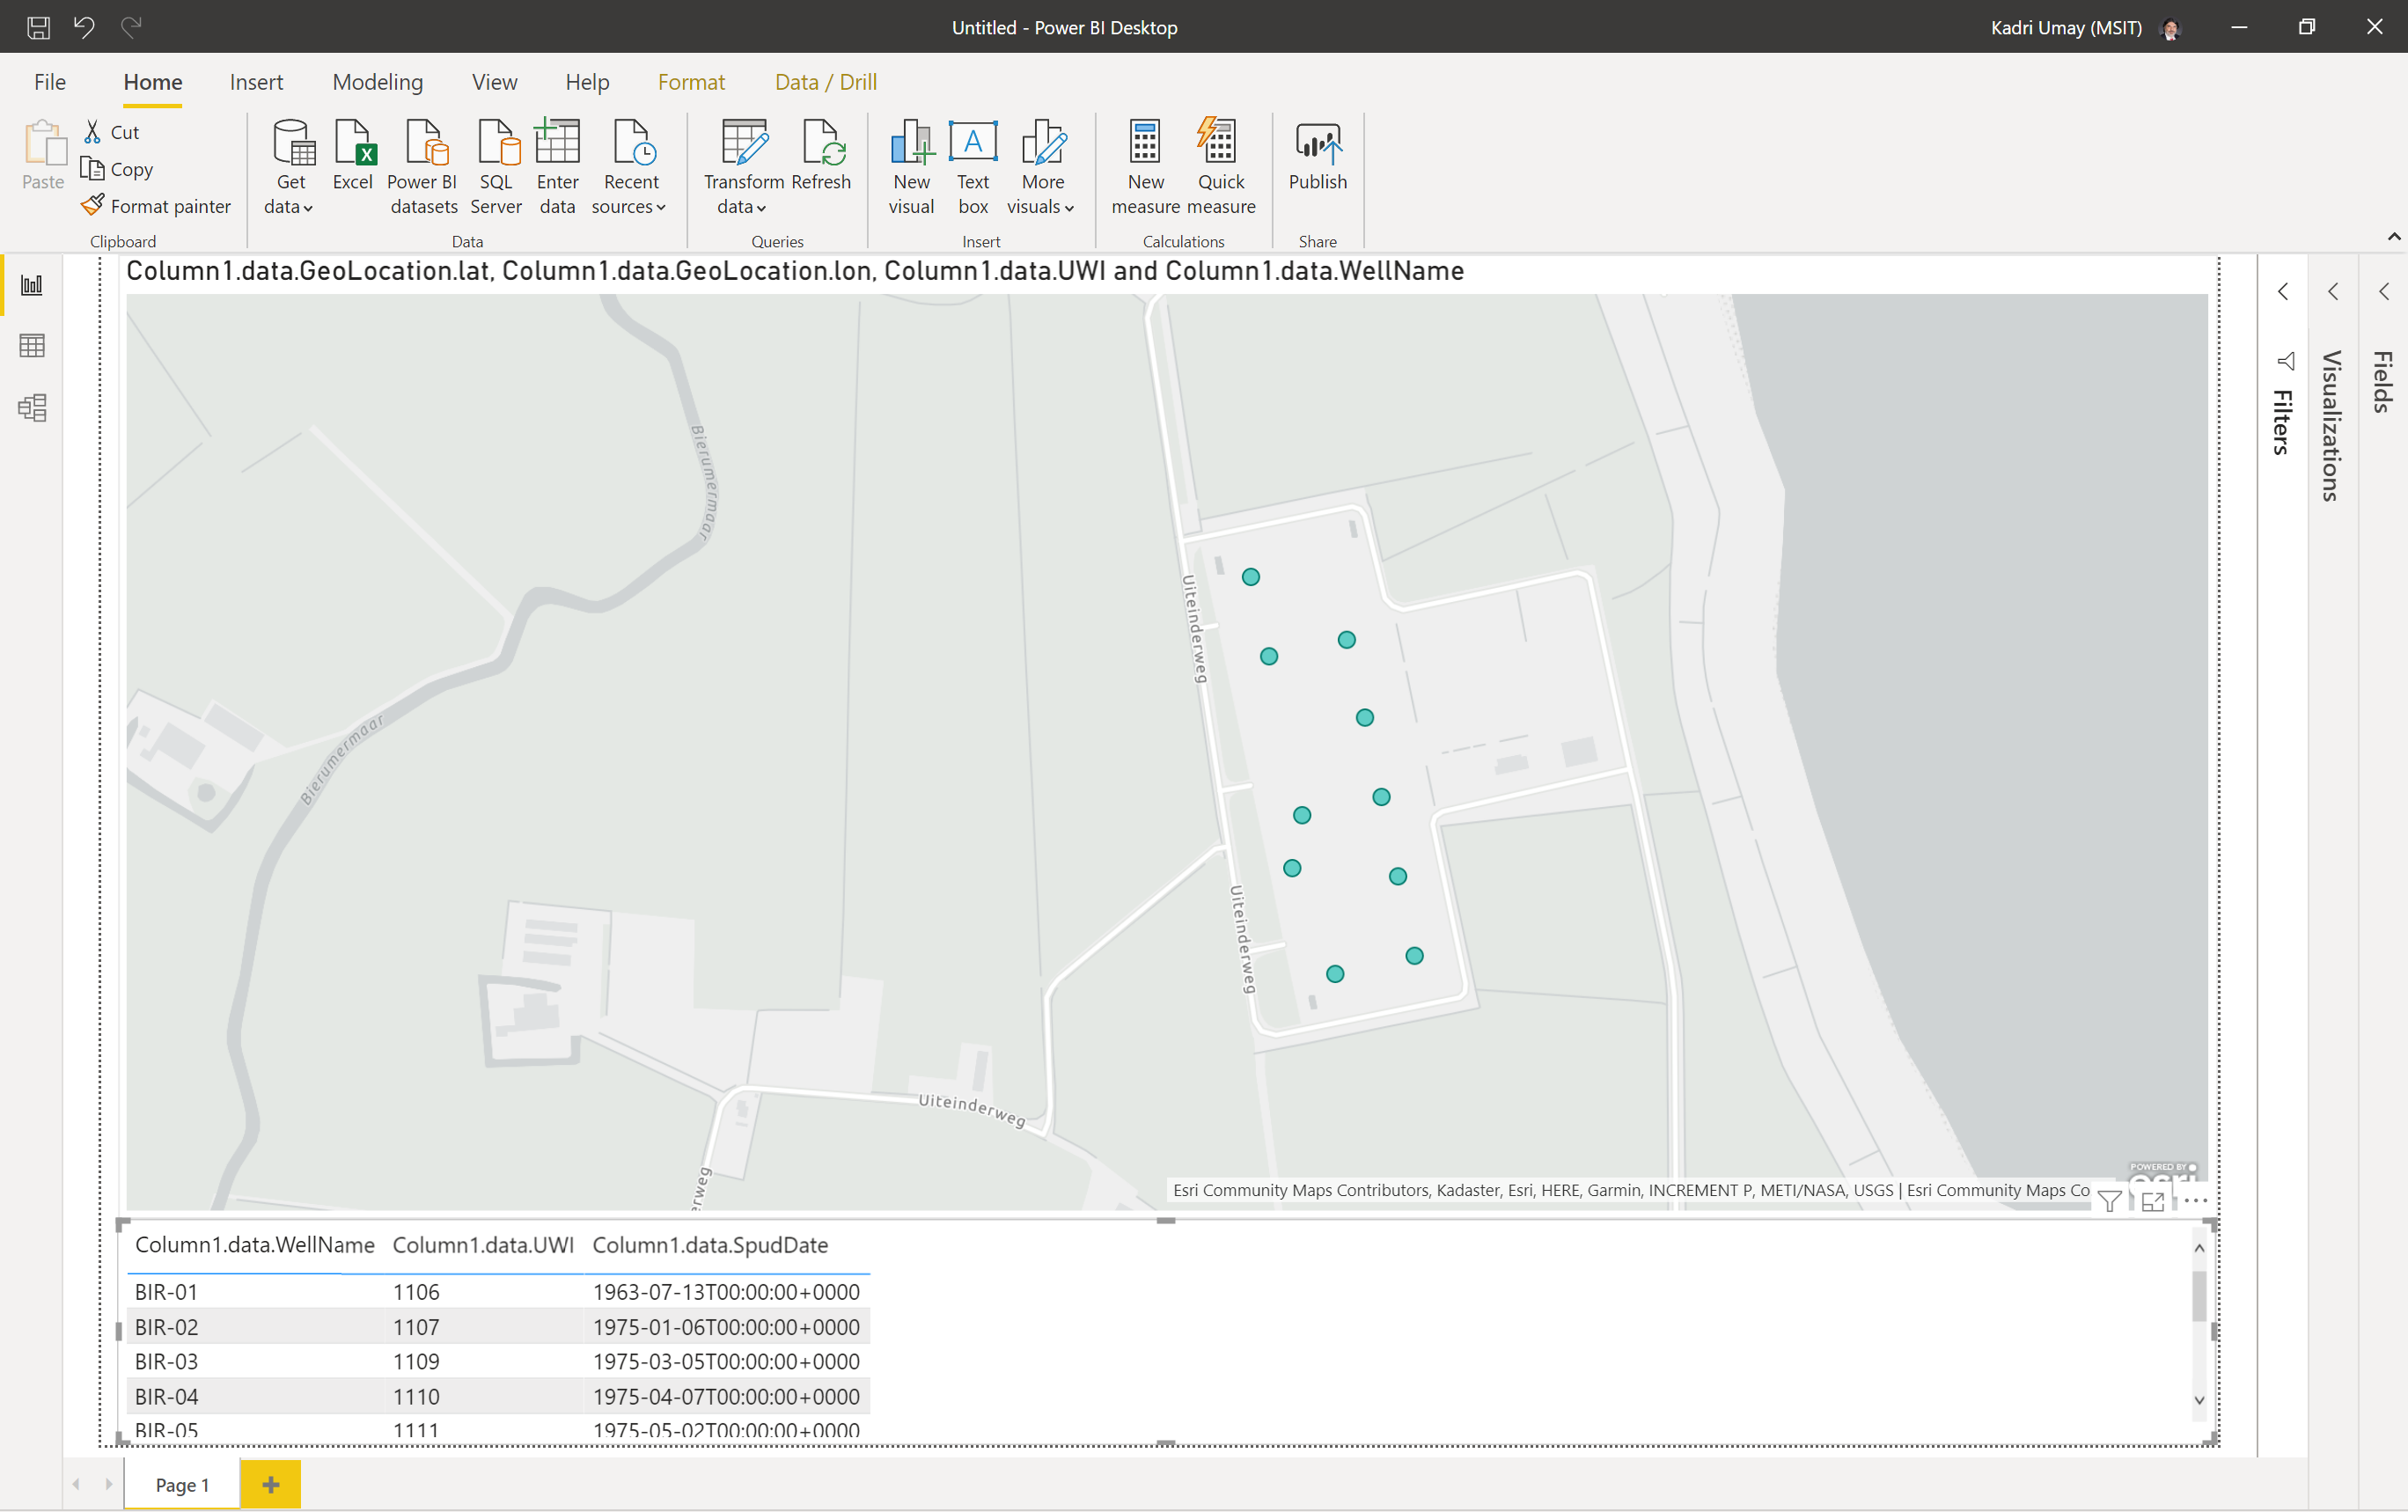
You will get a query results window where the data from OSDU R2 is pulled as a hierarchical json file. For a sample file see the PBIX file here.
Connecting to OSDU R2 thru Power Apps will use Power Automate and connector framework. It will enable a zero code client to read data from OSDU. In this example we will first create an Power Automate Custom Connector to implement the OAuth2 and OpenID code grant workflow to get access token and search for data in OSDU given a kind and query using Lucene syntax.
Connection Parameters are provided for the demo environment, see the first section to get parameters for your environment. We will need to add a return url parameter to the Application in Azure Active Directory hence you will need someone with administrative privileges to make the necessary changes on the application definitions.
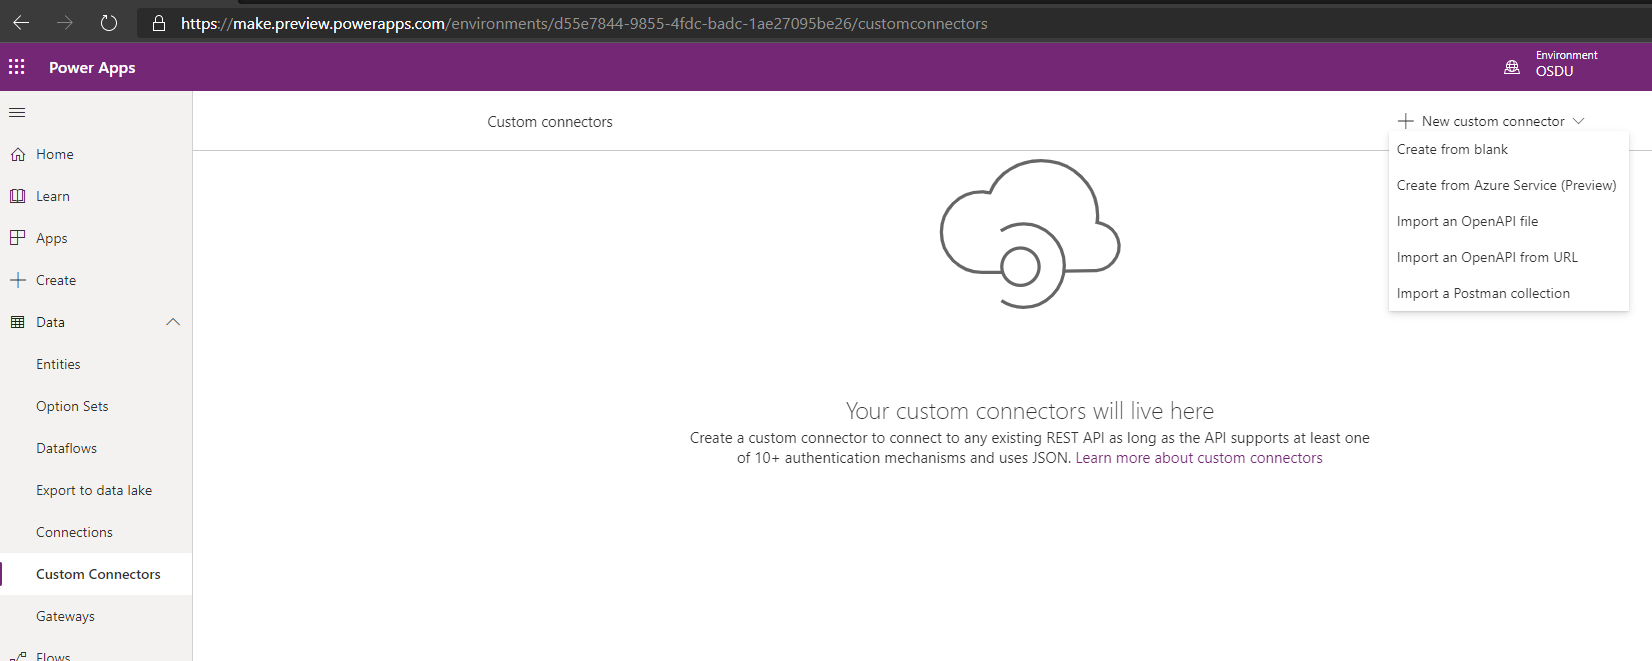
To support the code grant workflow we first need to create a custom connector in Power Automate. Open up the Power Automate designer by navigating to https://make.preview.powerapps.com/ , Open data section and select Custom Connectors, select Import a Postman Collection. In this demo we are using a simple Postman Collection with a single query to search for wells in OSDU R2.
The Power Automate Connector Postman collection could be downloaded from here. Note that the query doesn’t run as you need to provide a bearer token.
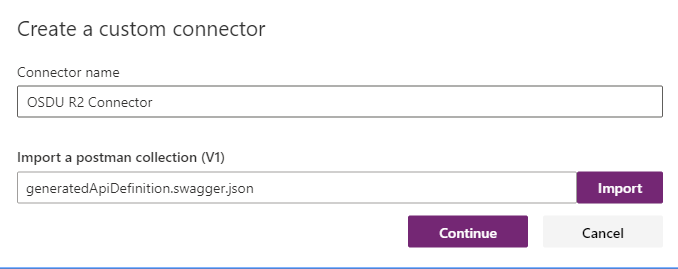
Note that the Postman collection should be exported as v1. Select the Postman Collection and give the connector a name.
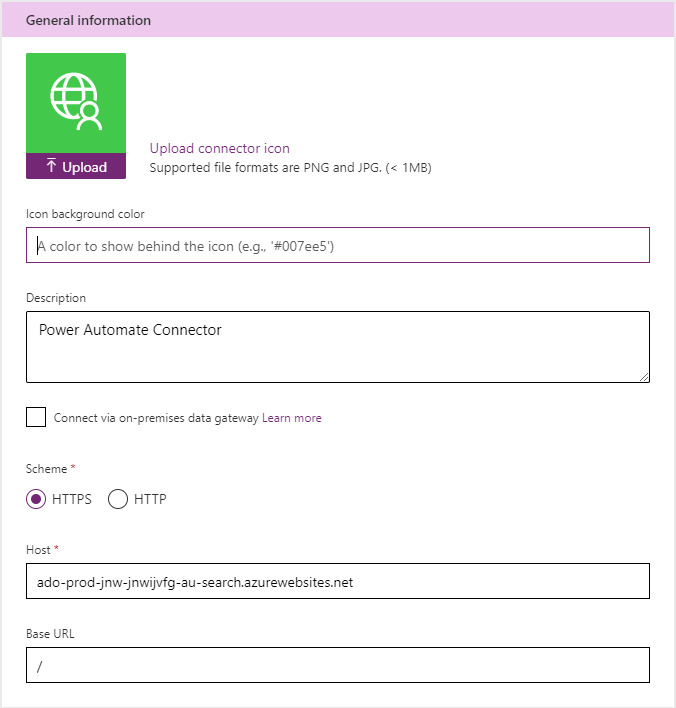
You can upload a logo if needed, select Security to define OAuth 2 parameters
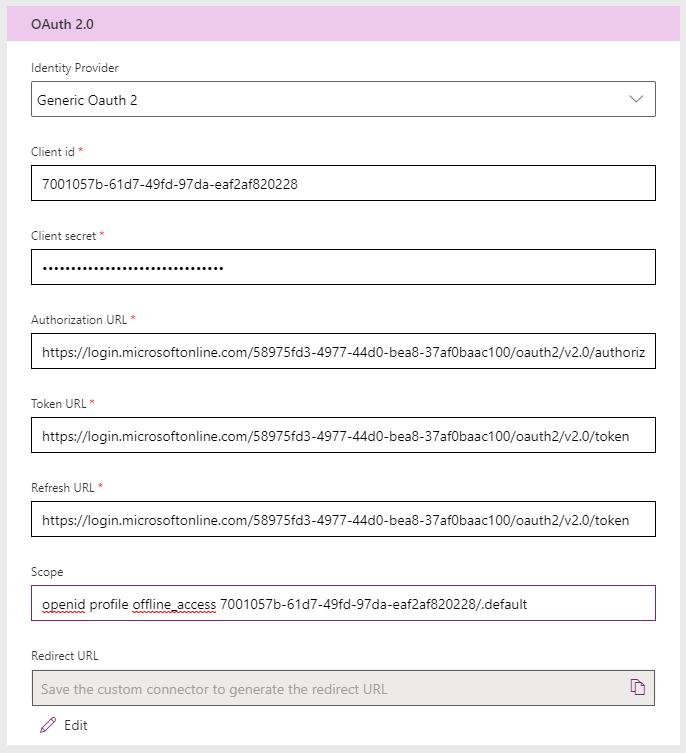
Select OAuth2 as the authentication type and provide the parameters provided in first section of this document.
Hit Create connector, make a note of the Redirect URL generated, you should provide this to your Azure Active Directory Administrator to add it as a redirect URL in the Application Settings as outlined in the first section of this document.
Hit Definition, you should see Validation Succeeded at the bottom of the page.
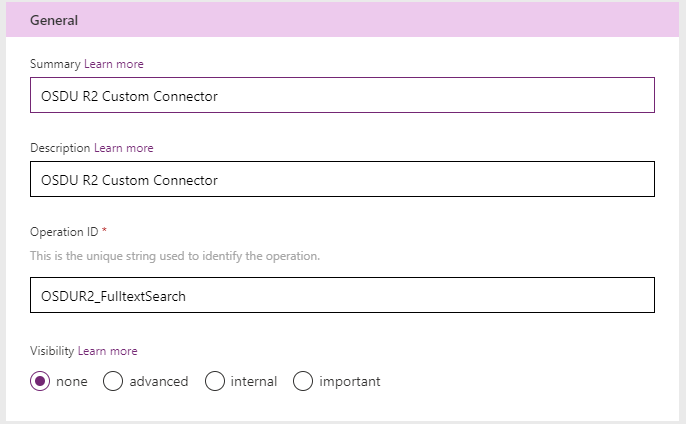
Make sure to change the operation ID to OSDUR2_FulltextSearch for the Power Apps demos to import.
Hit test, first create a connection by selecting new +Connection. Hit Create to select a new instance of the connector. Select your account. (Make sure that you have access to the demo environment, or your system admin has provided you access if you are using a custom tenant).
You have created a connector
Go back to Custom Connectors and search for the connector you are working on and select edit (Pencil Icon) to go back and test the connector.
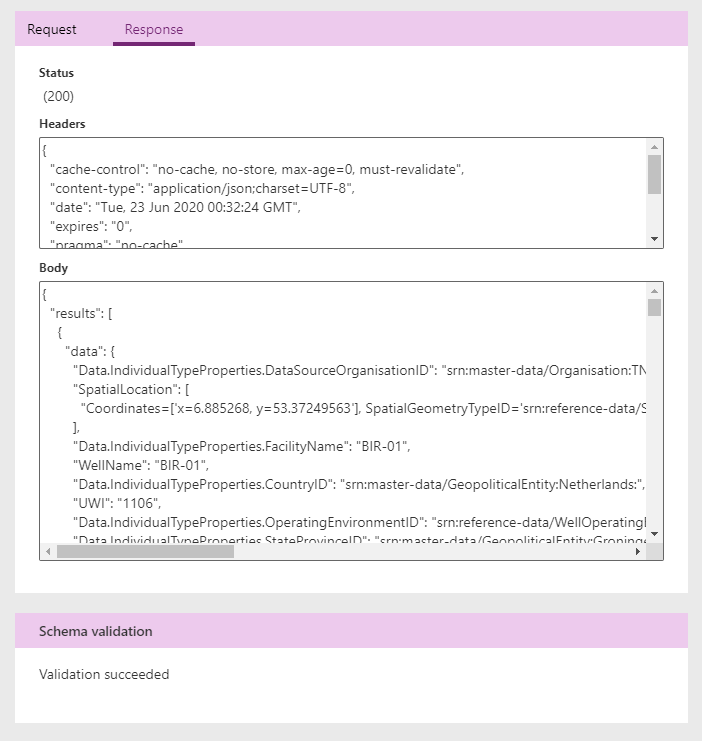
Select the Test tab, fill in the parameters with values and select Test Operation. Note that the connector instance you’ve created before shows up in the connections combo on top of the page.
You will see the successful response on the bottom of the page
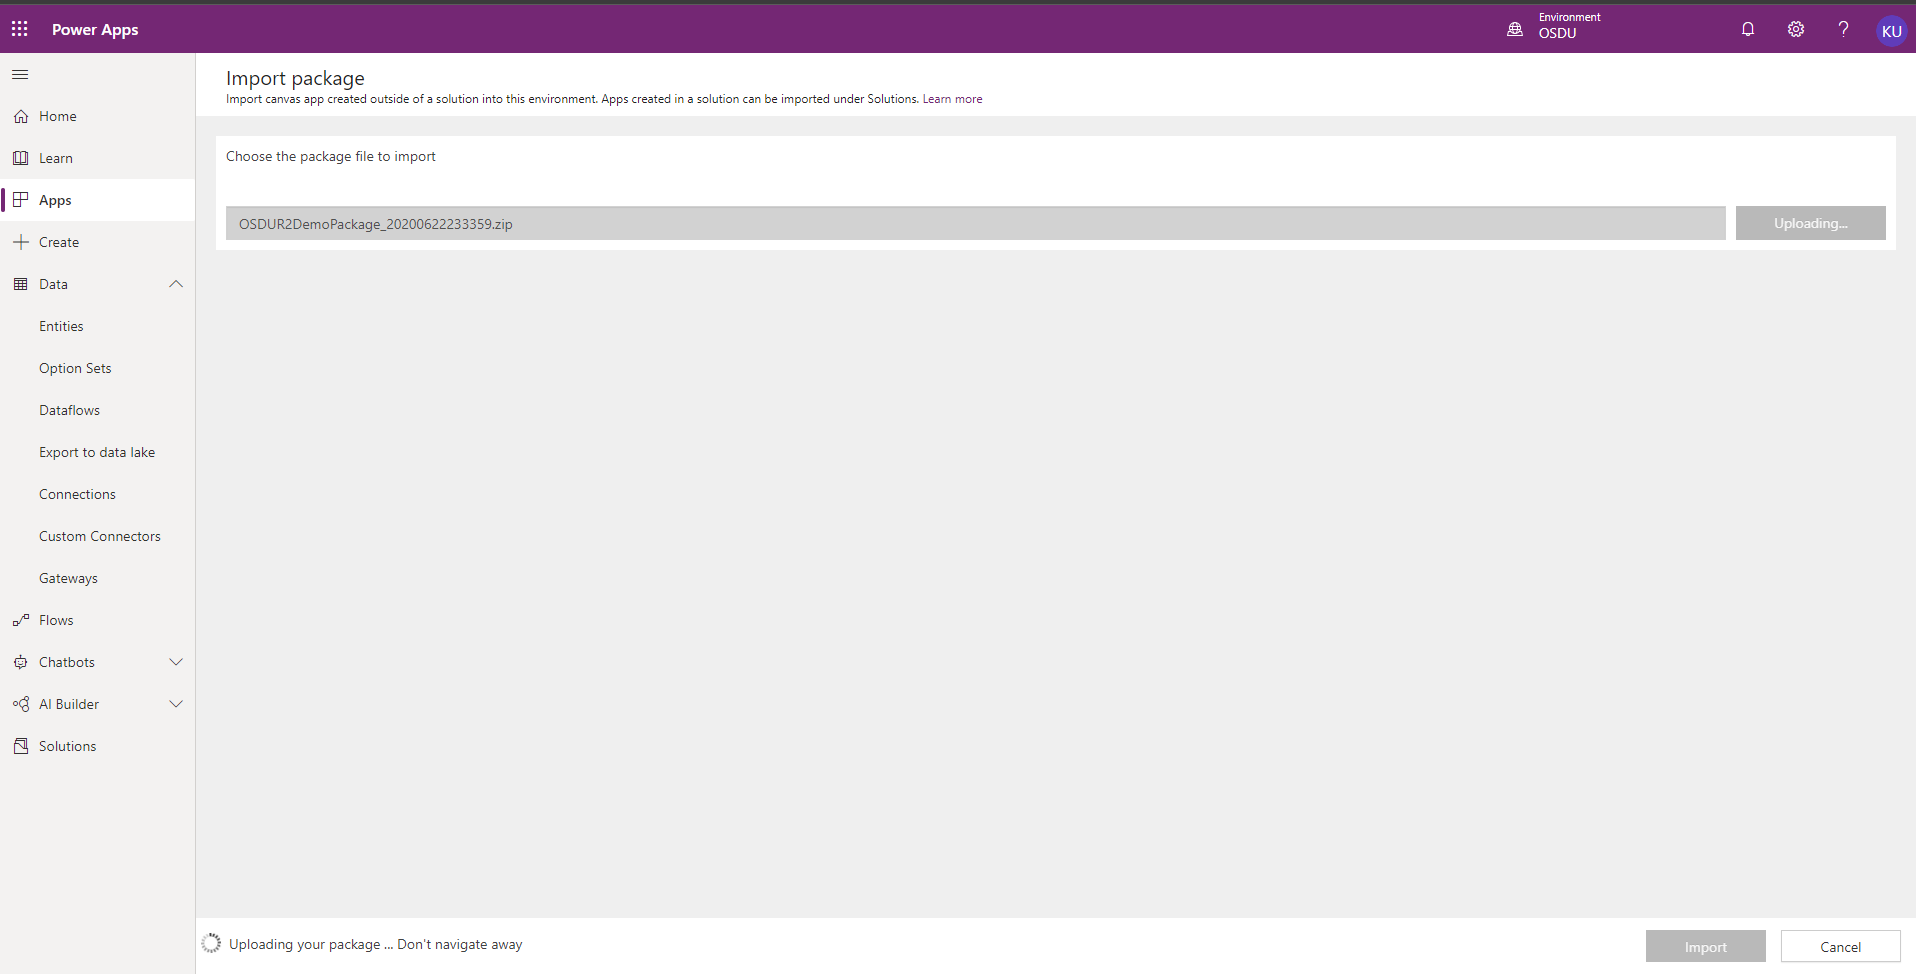
Now that you have created a custom connector, you can create a Power Automate flow using the designer. Navigate to https://make.preview.powerapps.com/ , select Apps -> Import Canvas App, it upload and select zip file located here.
Upload process begins.
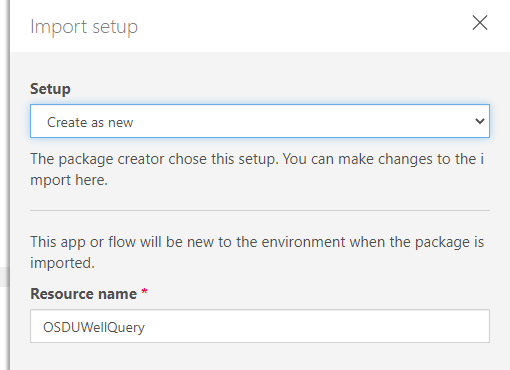
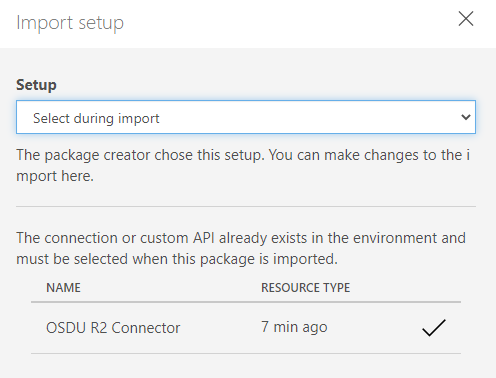
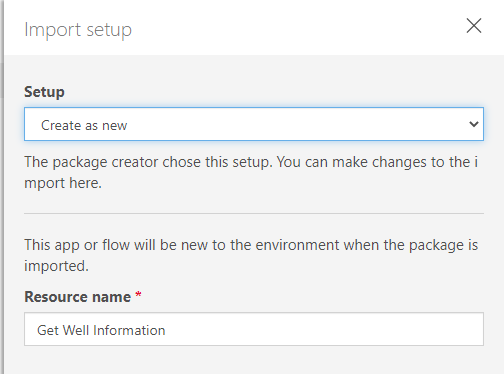
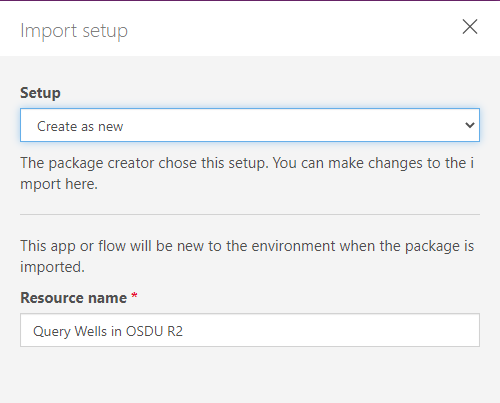
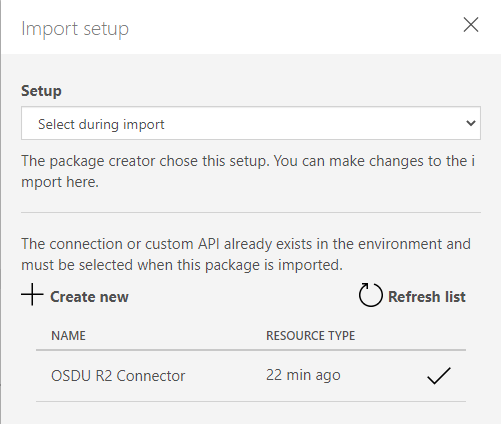
Select the Action Icon and do the following changes
Hit Import to create the Power Apps and Power Automate Flows in your tenant
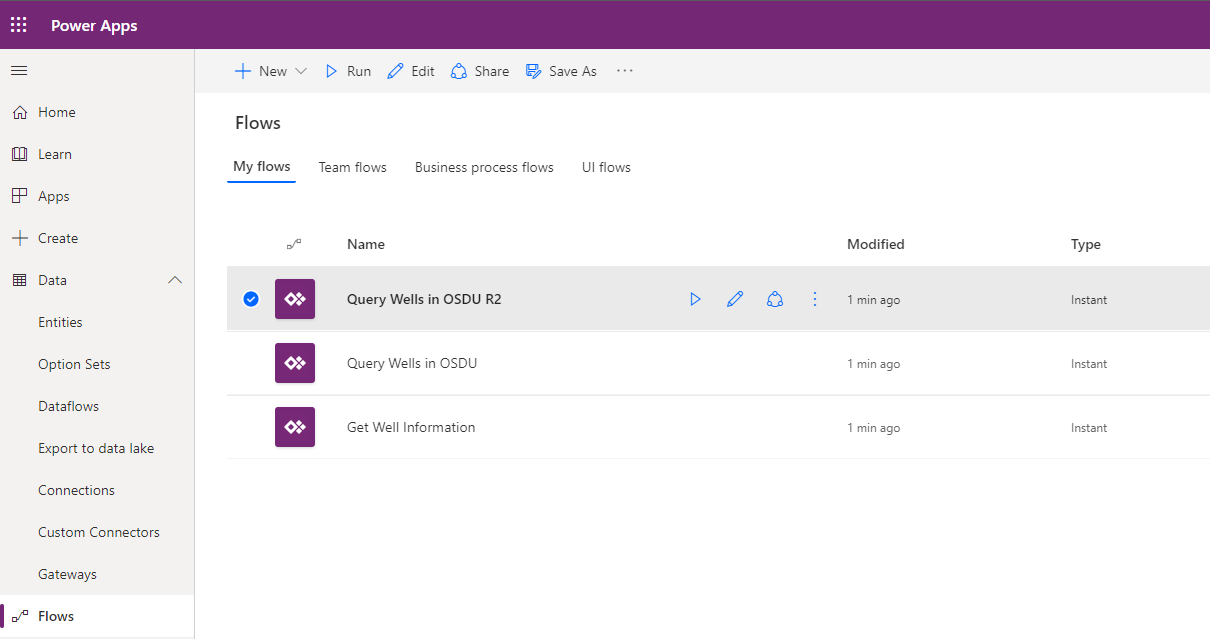
Open Flows and select the Query Wells in OSDU R2, Click the edit icon (Pencil)
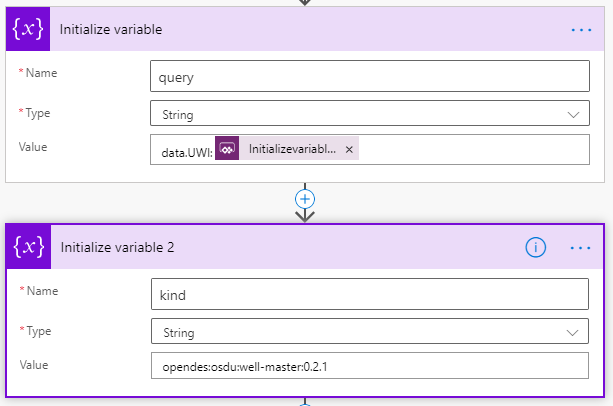
First box gets the UWI from the Power Apps Application
Second and third boxes set the kind and query text. Note that the UWI value read from Power Apps is used to generate a query data.UWI: <UWI Value>.
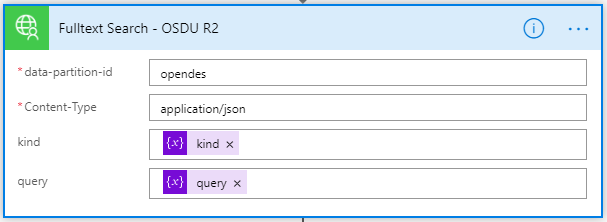
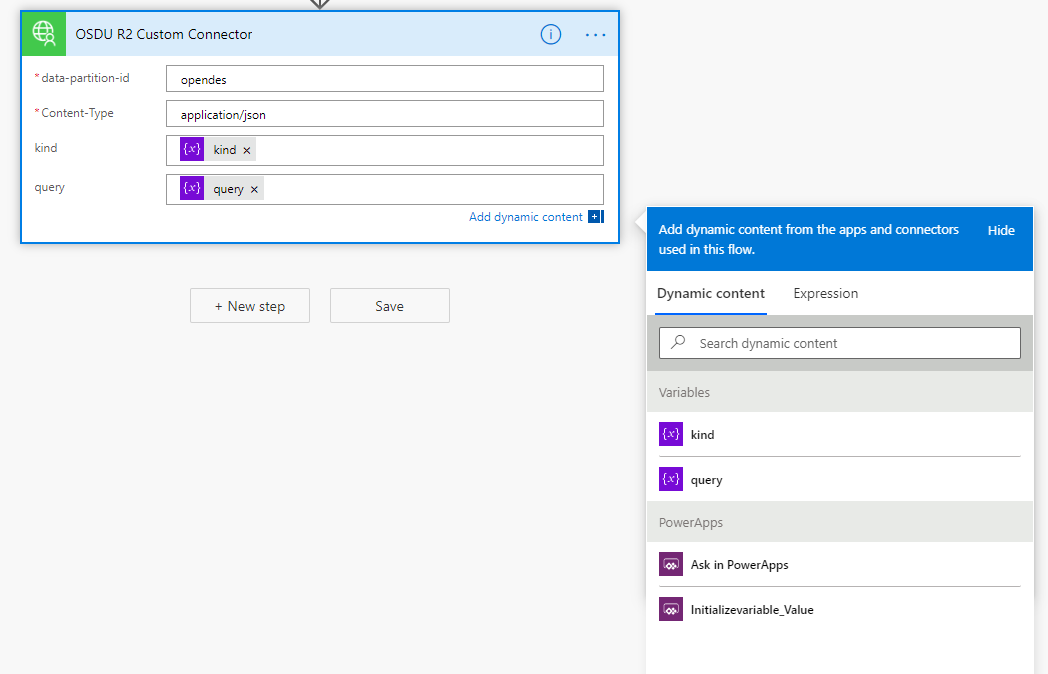
Third box is the custom connector we’ve built, the kind and query parameters are sent as calculated. Header parameters are also provided.
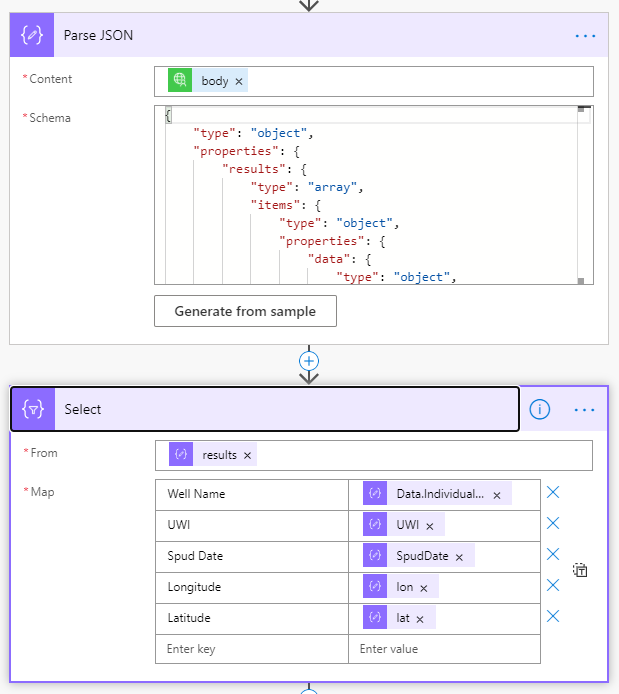
We do parse the Json returned from OSDU R2 search query and the information is extracted using a second block based on the schema. In the first block we provide a sample OSDU R2 schema which generates the parsing logic.
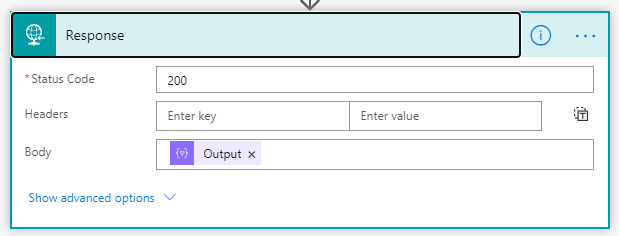
Finally the result is returned back to Power App.
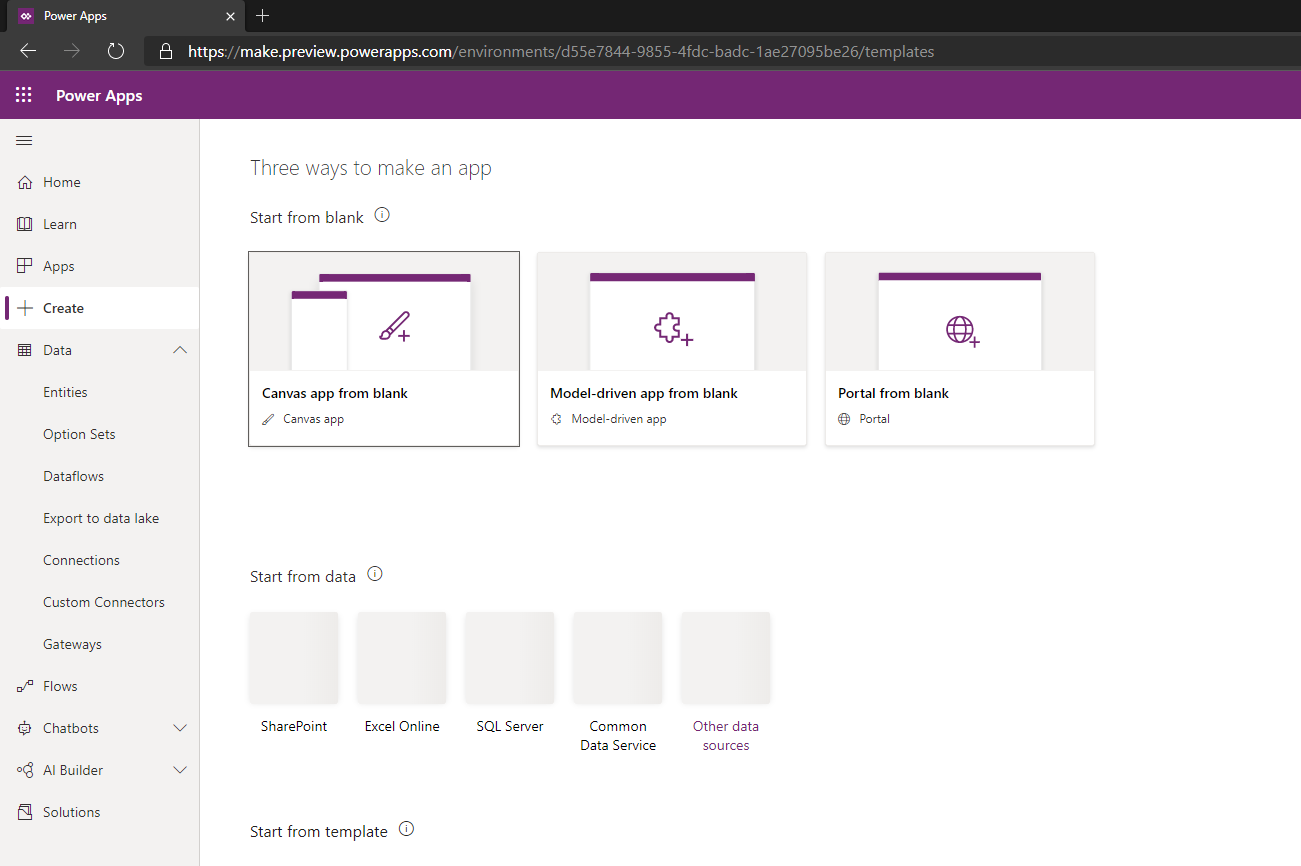
In the Power Apps design page select + Create and select Canvas app from blank to create a Power App.
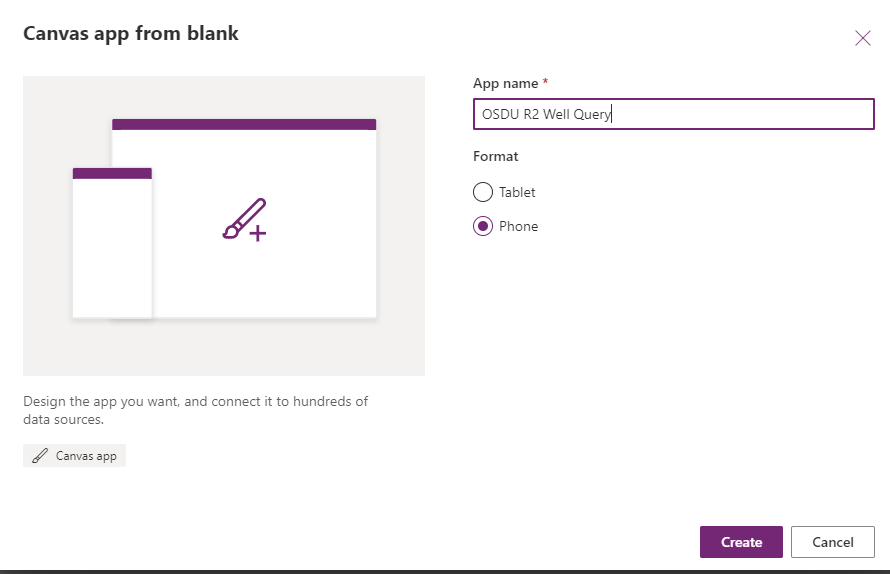
Select Phone Format and provide an application name
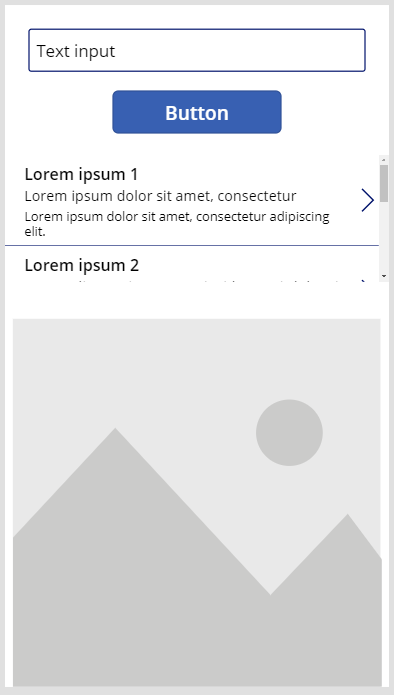
Add the following controls to the gallery:
-
Text - Text Input
-
Button
-
Gallery – Vertical, select the Title, subtitle, and body template
-
Medi - Image
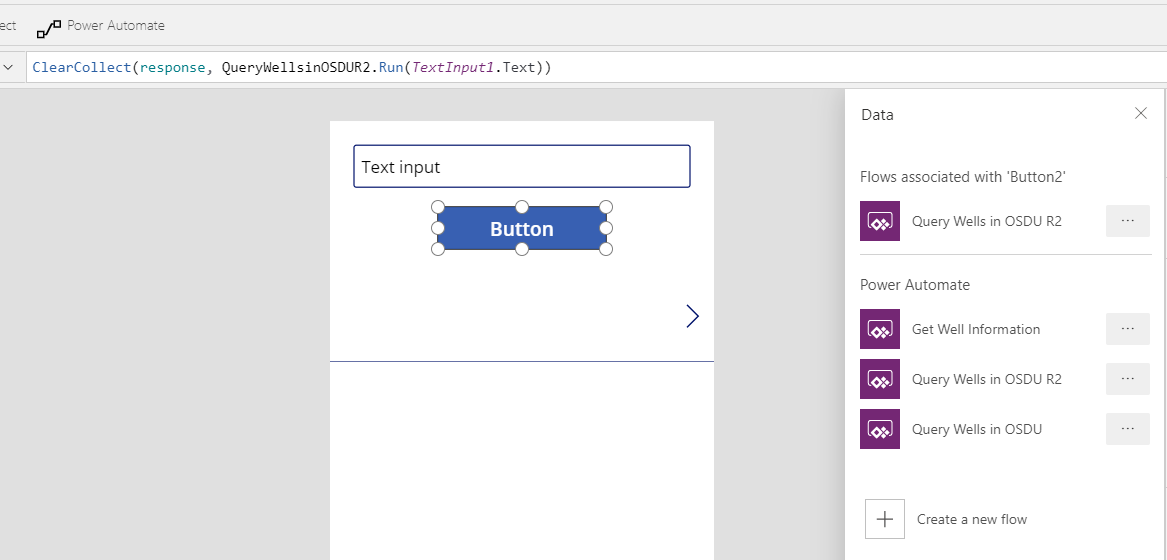
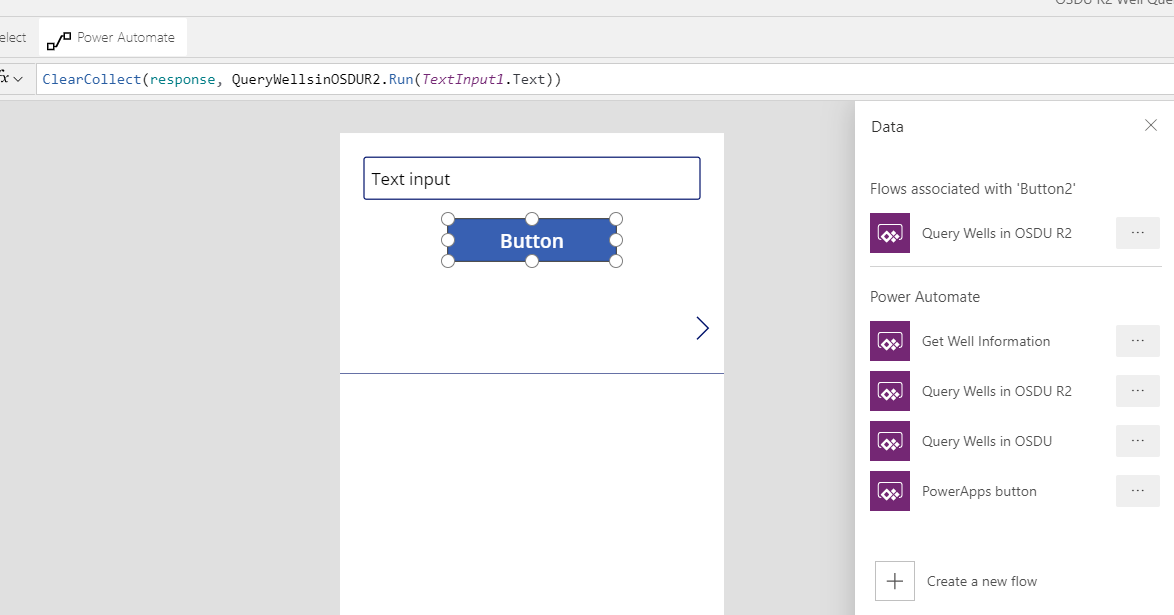
Select Button control, select Action tab on the ribbon above, click Power Automate on the dynamic ribbon. Select Query Wells in OSDU R2 in the Data panel. Add following code to OnSelect on top.
ClearCollect(response, QueryWellsinOSDUR2.Run(TextInput1.Text))
Note: Default name for text input is TextInput1, you might need to change above if the name is different.
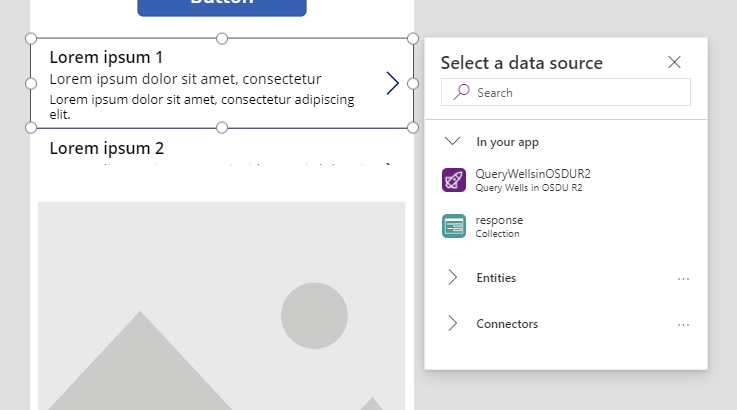
Select the Gallery Control and set the data source as response collection which you’ve just created with the above code.
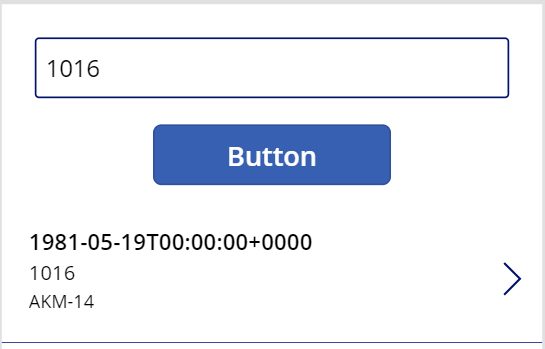
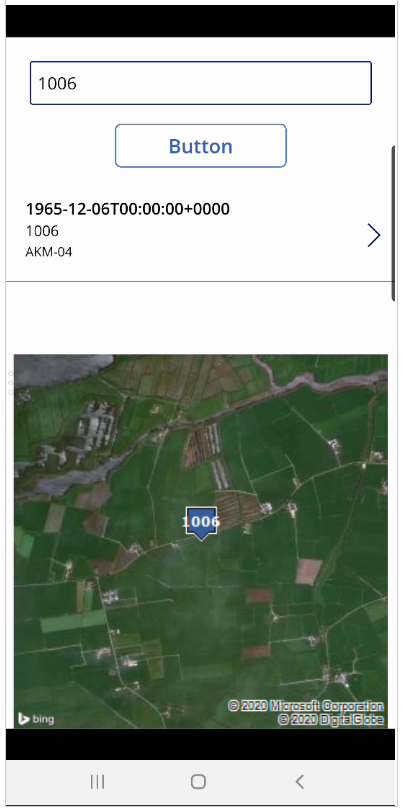
Hit run on the Ribbon to test the application, search a UWI, for instance 1016.
Optional:
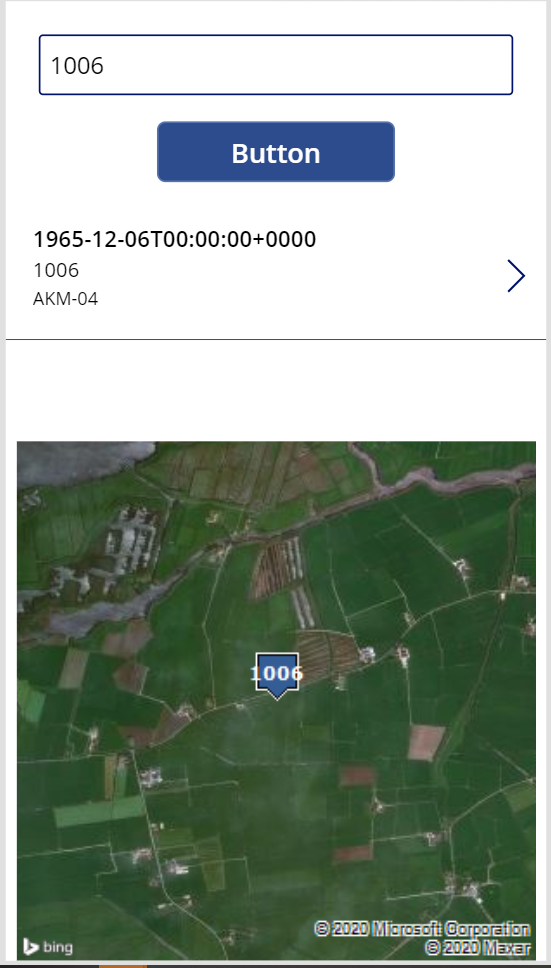
Select image control and add the following code. Power App doesn’t provide a map visualization control, in this example we are using an image control and using Bing Maps static image generator, providing the lat – long we are receiving from OSDU R2. You can use a similar service that generates images or get a free Bing Maps key at https://www.microsoft.com/en-us/maps/create-a-bing-maps-key.
"https://dev.virtualearth.net/REST/V1/Imagery/Map/Aerial/" & Gallery1.Selected.Latitude & "%2C" & Gallery1.Selected.Longitude & "/13?mapSize=300,300&format=png&pushpin="& Gallery1.Selected.Latitude & "," & Gallery1.Selected.Longitude & ";;"& Gallery1.Selected.UWI & "&key=<Your Key>"
Run the application and enter a UWI
You have to Save and Publish your application, select File on the ribbon and select the option to save your application on the cloud
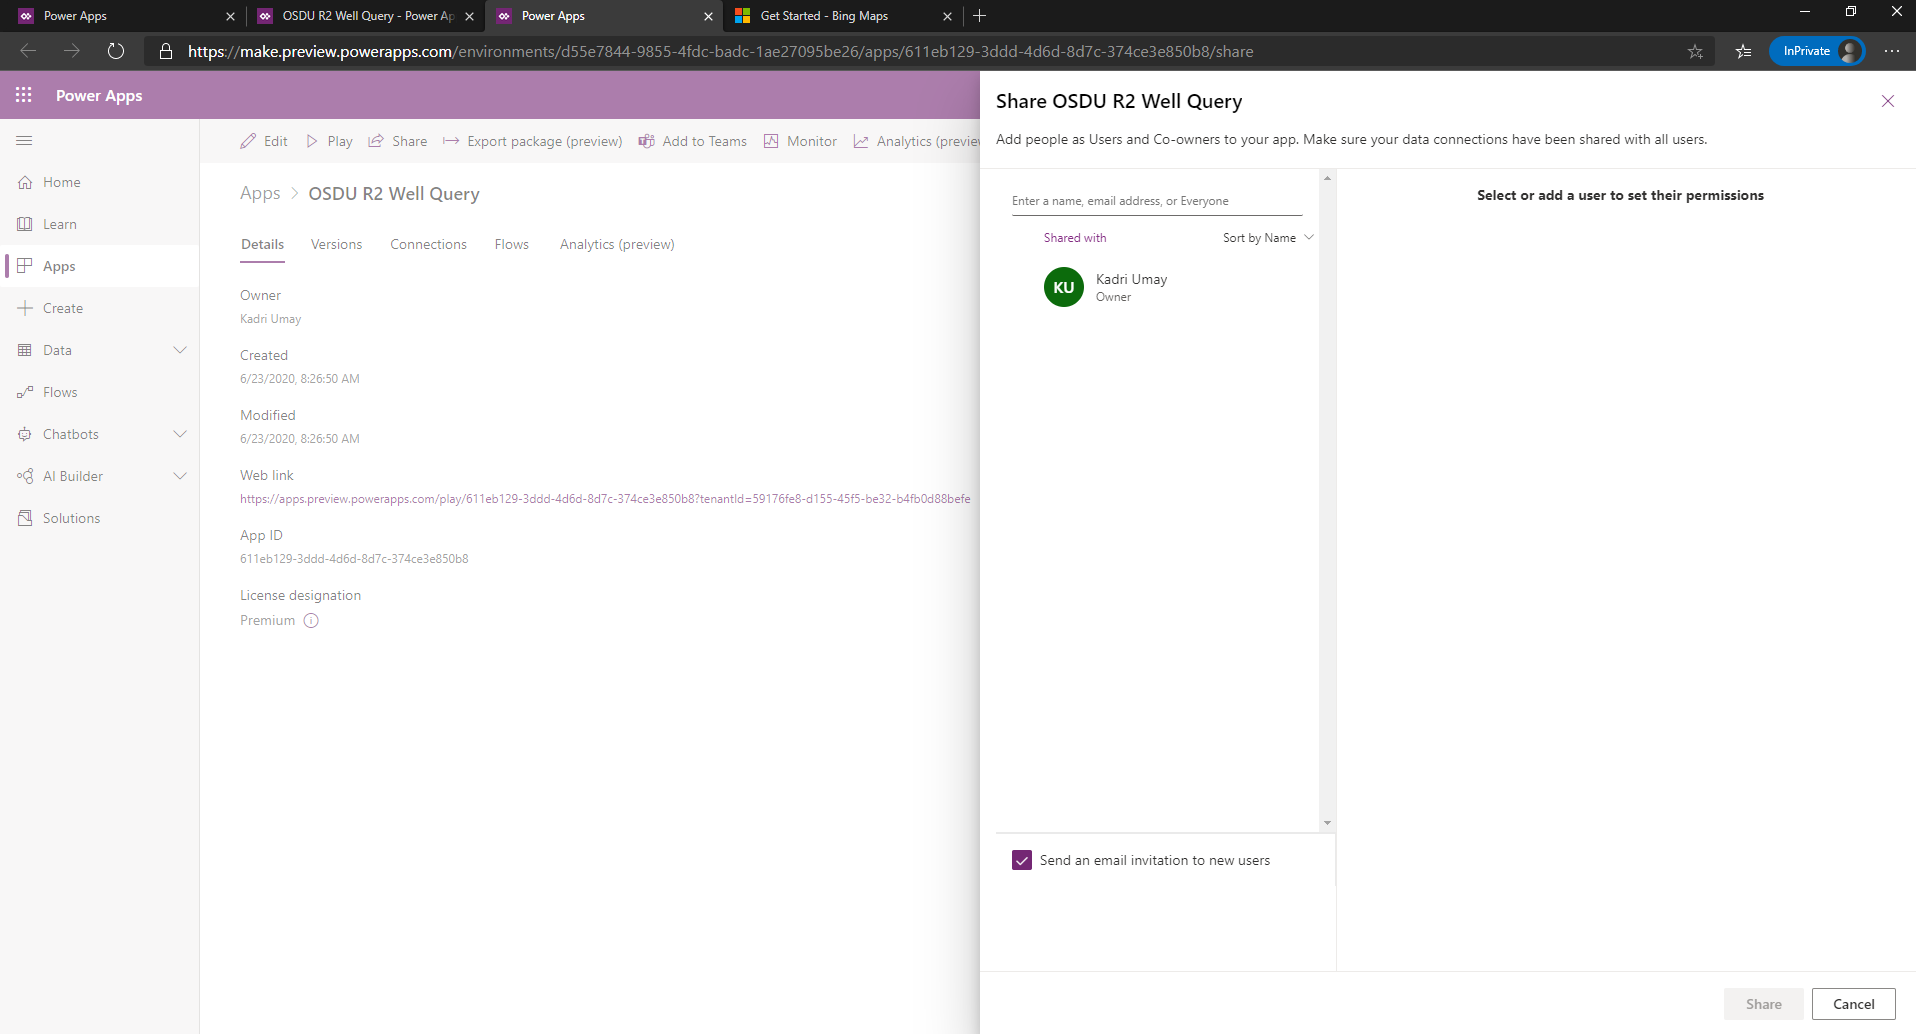
Select Share
You can share your application with other people in your organization
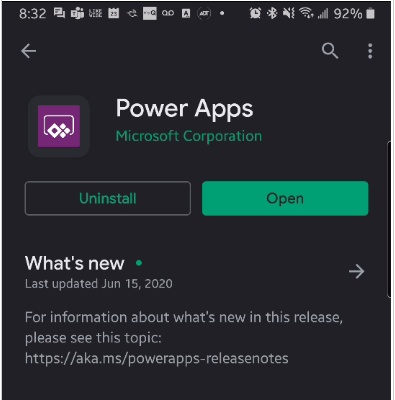
Install Power Apps on your iOS or Android device and login with your credentials.
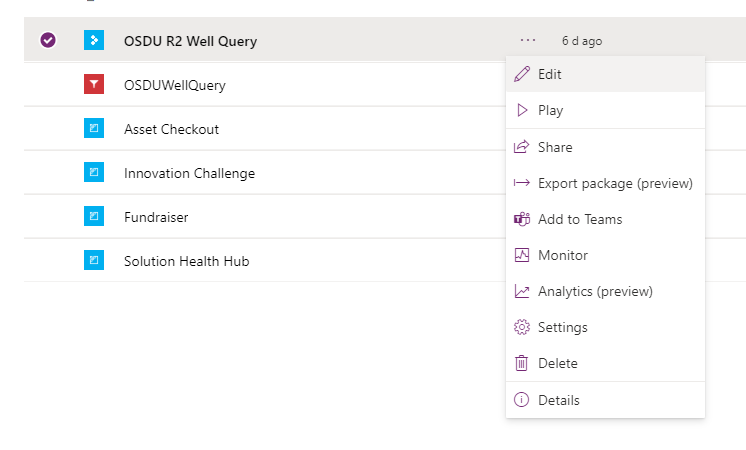
Select All Apps from the Power Apps Drop Down if you don’t see the newly created application in the list.
Select the Application and test from your phone.
Congratulations, you’ve built your first OSDU R2 mobile application.
In the previous section we’ve imported the solution for the Power Apps Flow, in this section we’ll show the step by instruction to build it from scratch
Open the newly created application and select edit
Select the Button and select the Action ribbon item and Select Power Automate
Select Create a new flow
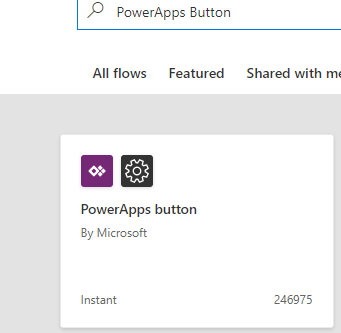
Select the first template called PowerApps button
Add a New Step
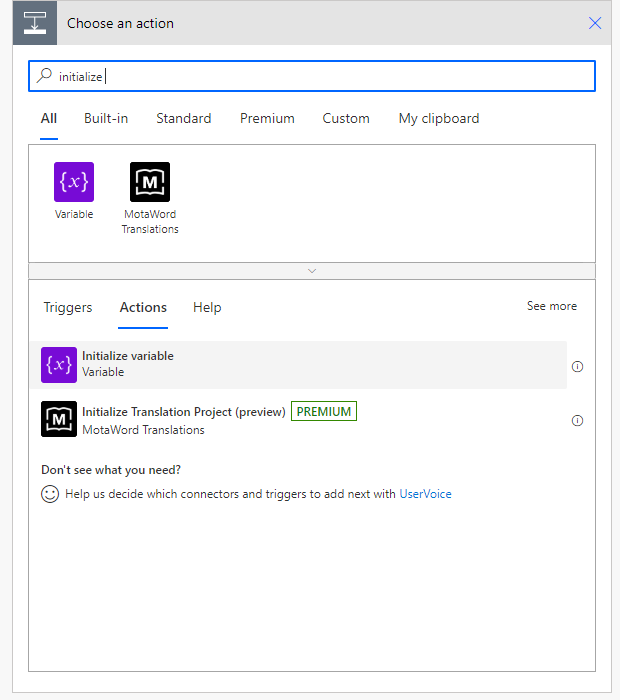
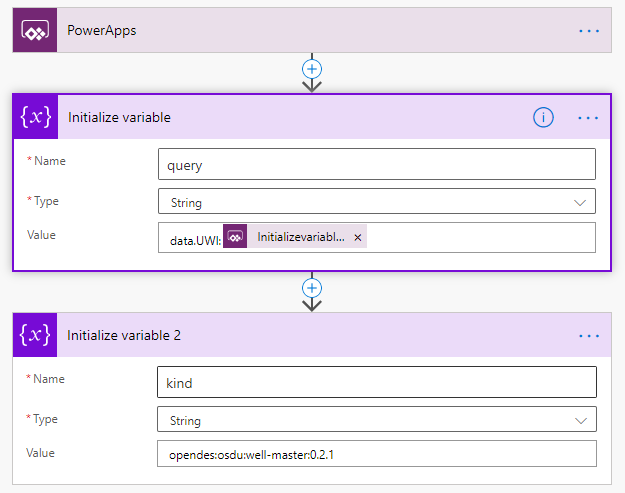
Search for Initialize variable and add to the Canvas, repeat this step to add a second Initialize variable.
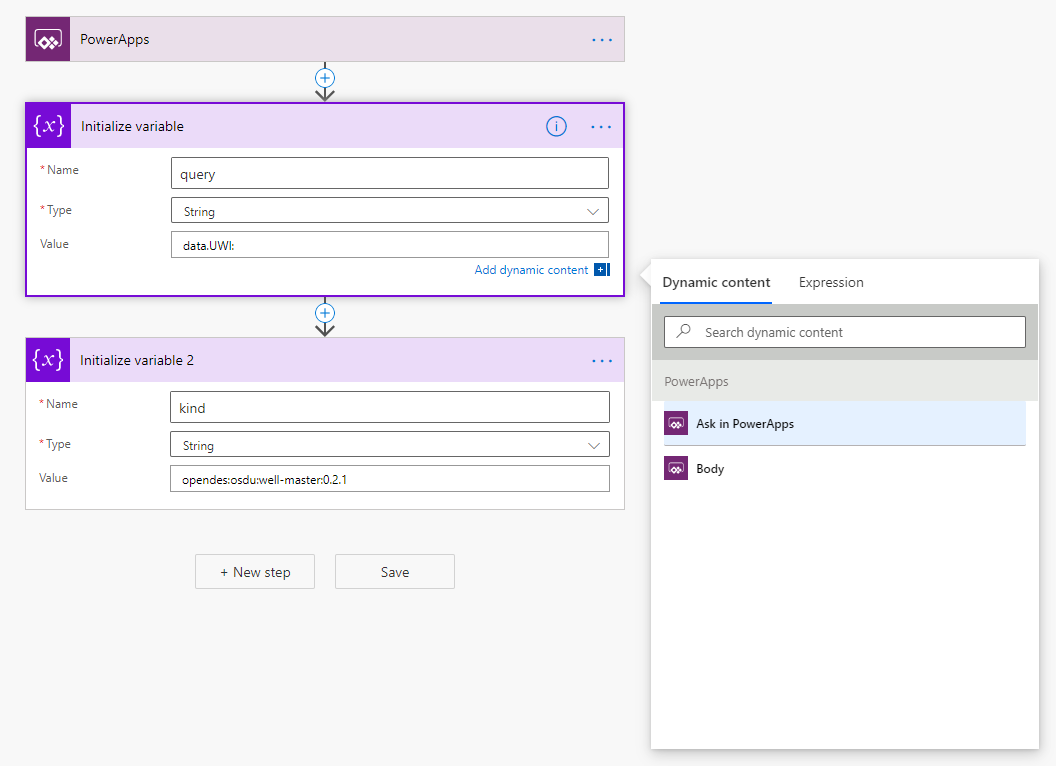
Add the following to the two initialize variable boxes:
-
Name: query
-
Type: String
-
Value: data.UWI:
-
Name: kind
-
Type: String
-
Value: opendes:osdu:well-master:0.2.1
For the “query” box, put the cursor after the data:UWI: and select the Ask in PowerApps from the Dynamic content
It will create a variable to read the UWI value put in the TextBox in the Power App. Your flow should like this
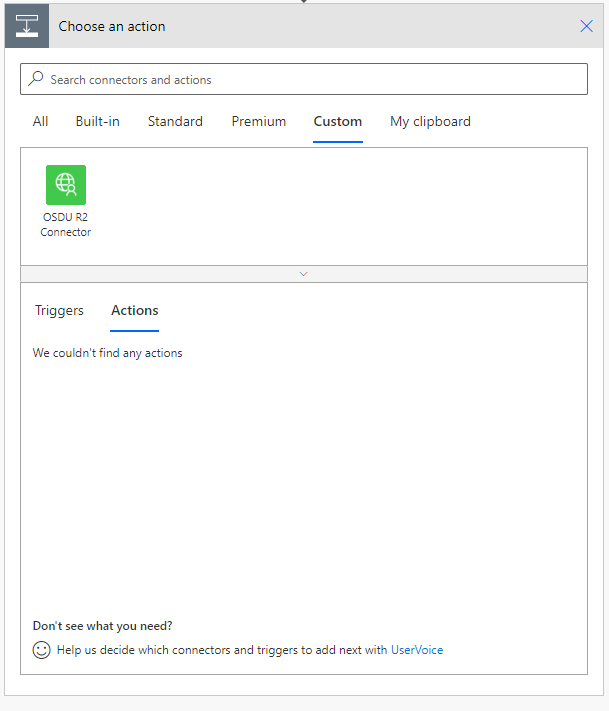
Add a new step, Select Custom and add the custom connector you’ve created previously as mentioned in this document
Drag – Drop the kind and query fields from Dynamic content. Note: When you select the kind or query field the Dynamic content tab pops out.
Add a new Parse JSON step
For the content, select Dynamic content and pick the Body from the customer connector
Schema could be generated from sample, you can find a sample file from the OSDU search query under Power Automate Connector Postman Collection/Sampleresponse.json. Copy the contents of this file, click Generate from sample, and paste and click done, the schema for parser is generated automatically.
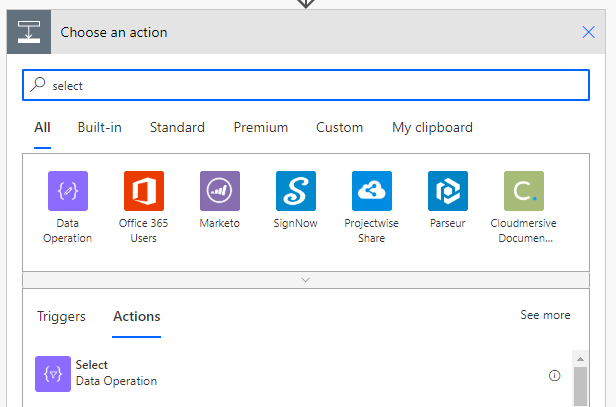
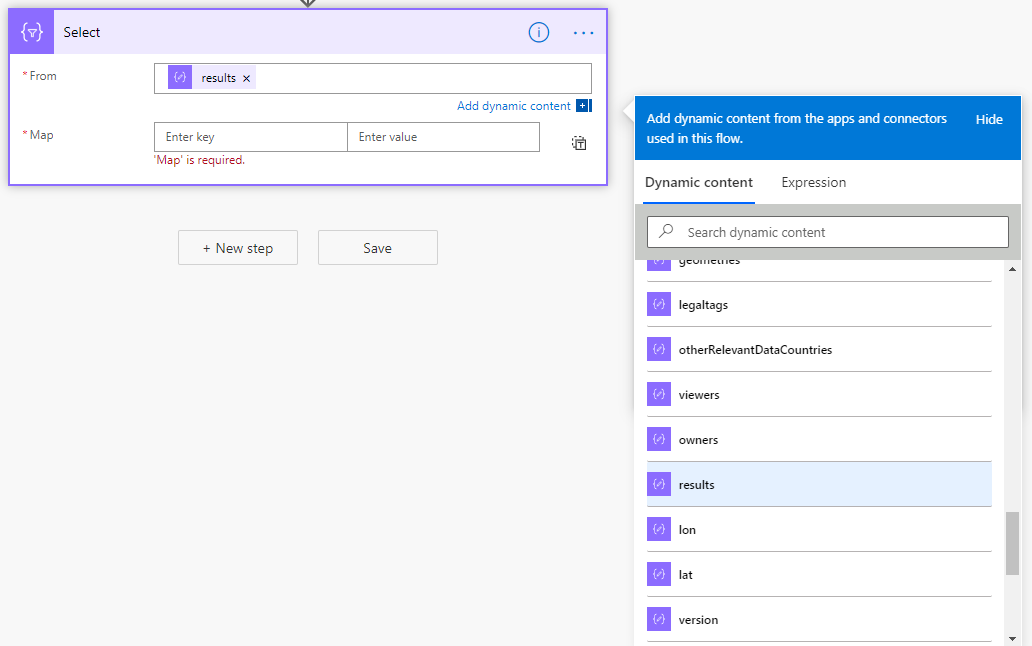
Create new Select step
Select the From field, and select results from Parse JSON step from the Dynamic content selector
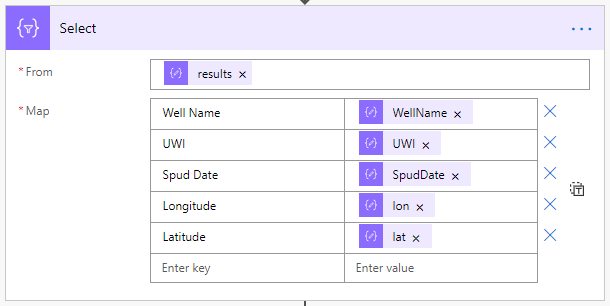
Add the following to Map variables
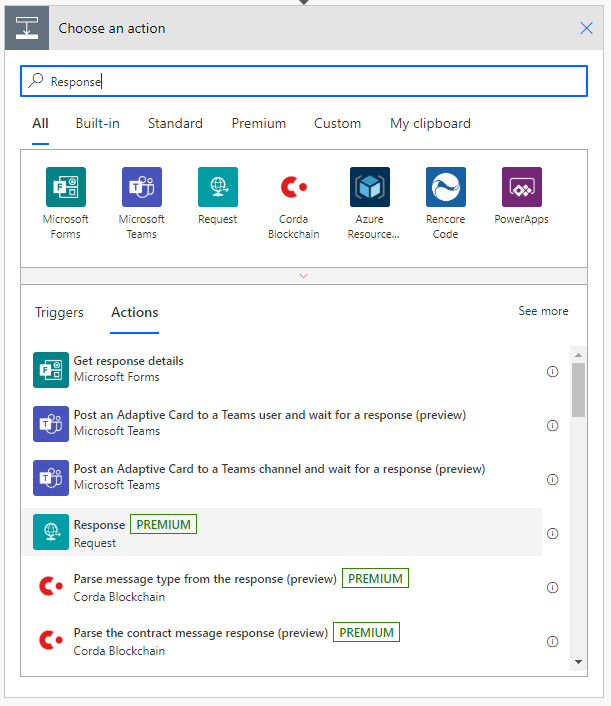
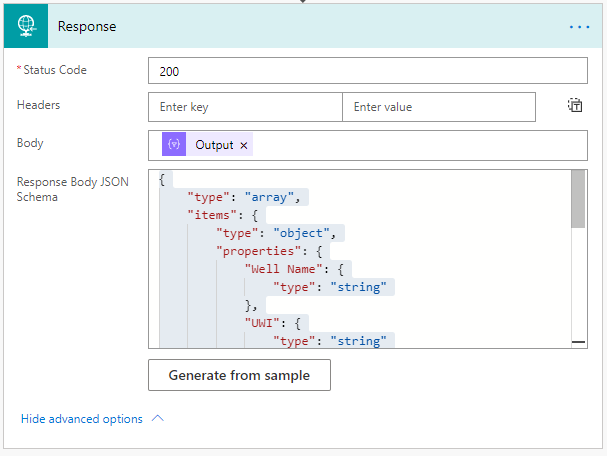
Add a new Http Response step by clicking the Add an action within the Apply to each block.
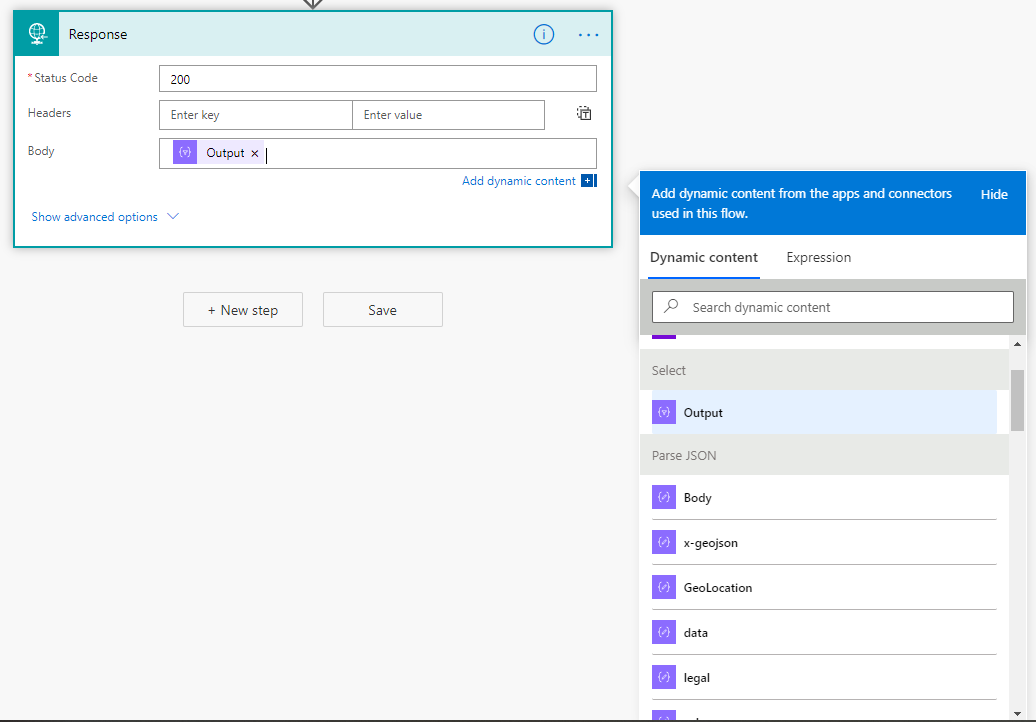
Add the following parameter as output.
Click Show advanced options. Schema could be generated from sample, you can find a sample file from the OSDU search query under Power Automate Connector Postman Collection/ SampleoutputtoPowerApps.json. Copy the contents of this file, click Generate from sample, and paste and click done, the schema for parser is generated automatically.
Save the Power Automate Flow and go back to the Power App and select the newly created Power Automate Flow (PowerApps button in this case)
Add the following code to the Button OnSelect, this will call the new Power Automate Flow and search for the specific well with the UWI.
ClearCollect(response, PowerAppsbutton.Run(TextInput1.Text))
Hit Run and you should see below screen for a sample search
