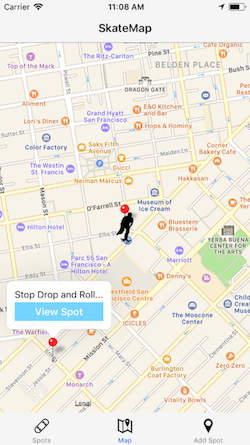
I've been skateboarding on and off for about a decade now. When I was growing up, we didn't have a skatepark nearby, so my friends and I would always find cool street skating spots around town instead. When I moved to Denver, I didn't know any local street skating spots. The only place I could think to skate is the Denver skate park.
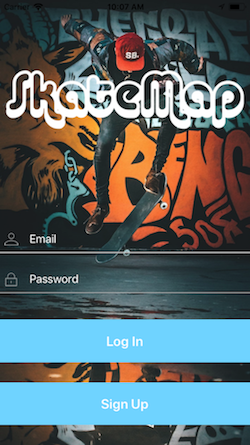
I made SkateMap so that street skaters who are tired of the park can find spots all around their cities.
If you don't already have these installed...
- brew install node
- brew install watchman
- brew install yarn
- react-native run-ios OR open the .xcodeproj file in the ios folder with Xcode, then run build.
- Fork and clone this repo
- cd into project folder and run 'npm install'
- Open up the project in Xcode
- Plug in your device via USB
- Connect your iOS device to your Mac using a USB to Lightning cable. Navigate to the ios folder in your project, then open the .xcodeproj file within it using Xcode.
- If this is your first time running an app on your iOS device, you may need to register your device for development. Open the Product menu from Xcode's menubar, then go to Destination. Look for and select your device from the list. Xcode will then register your device for development.
- Configure code signing
- Register for an Apple developer account if you don't have one yet.
- Select your project in the Xcode Project Navigator, then open the sidebar (to the left of the "General" Tab) then select your main target (it should share the same name as your project).
- Look for the "General" tab. Go to "Signing" and make sure your Apple developer account or team is selected under the Team dropdown.
- Select the (Project-Name)Tests as a target and repeat the "signing" steps performed above
- Build and Run your app
- If everything is set up correctly, your device will be listed as the build target in the Xcode toolbar, and it will also appear in the Devices pane (⇧⌘2). You can now press the Build and run button (⌘R) or select Run from the Product menu. Your app will launch on your device shortly.
- React Native
- Firebase
After doing a lightning talk on React Native, I was hooked. Being able to develop a native application on your phone with nothing but Javascript is awesome. I knew that I wanted to make this a mobile app and RN totally made that easy and possible.
I decided to use firebase after hearing so many good things about it. Authentication was a breeze and all of the REST routes are taken care of once you initialize a project. There was a bit of a learning curve with how to interact with the database from the app but overall it definitely saved me time and let me focus more on the front end.
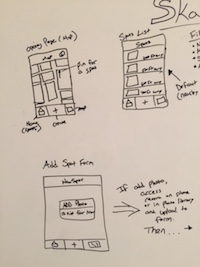
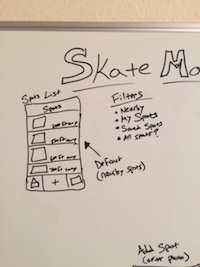
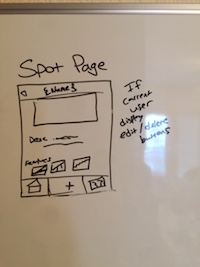
I knew that in order for this app to be desriable there were some core features that needed to be present. I wrote some user stories to help myself visualize what the app would need. You can check out my trello board here.
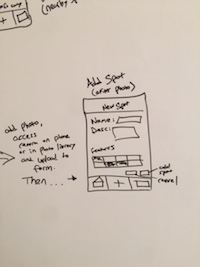
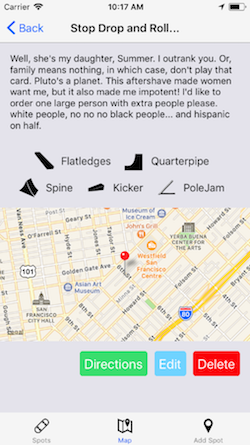
- I plan on incoroporating photos into the spots. They say a picture is worth a thousand words and that is definitely true when it comes to seeing what a spot looks like and if it will be worth traveling to. I have to look into RN accessing the device camera and using either a photo taken or from the devices library before the create spot form shows up.
After cleaning the app up and adding the pictures feature, I plan on getting this app onto the app store! Getting an app on the app store has been a bucket list item for me and I'm excited to finally make that happen.