- Set
use3dTerrain: truefor 3D maps
Some stories are best told with a map. Data journalists covering changing conditions in a population's demographics, the environment, an international conflict, or telling a simple travel story frequently provide geographic context in their graphics.
This template is designed to accelerate building out a "scrollytelling" map story. The primary input is a story broken into sections (chapters), each hooked to a particular view of a map.
Optionally, you can input a custom Mapbox Style with layers styled in Studio and toggle the layer's opacity.
The output is an HTML and JavaScript file. These outputs can be hosted on any web-accessible location, with no extra code or infrastructure required. Note that embedding the output as an iFrame in another page will not work as expected. The scroll-driven interface requires the full page.
This template is for data journalists and digital storytellers of any kind. No coding experience is required. If you are planning to include some custom map layers, you will need some familiarity with Mapbox Studio.
To configure and publish a story, you will need:
-
A Mapbox access token. Sign up for a free account at mapbox.com to get one.
-
A text editor. Atom, Sublime Text, and Visual Studio Code are all fine choices.
-
A place to publish your work. Any service that hosts static files that can be accessed with a browser will do.
-
A story. This is unquestionably the hardest part. The best stories for this template will have sections that benefit from a map.
-
Attention to detail. The configuration file does require specific syntax and punctuation. Braces, brackets, commas, and quotes are important. Follow the
config.js.templatefor guidance. Some familiarity with JSON is recommended. -
Optionally, some spatial data in your Mapbox map. The template has options to include layer names to show and hide the data as the story sections transition. You may want to highlight a neighborhood, or show satellite data from two different times.
The template does not rely on any particular CSS framework, fonts, or images. There are some basic styles in the head of the HTML file that can be changed, so feel free to adapt and add to these to match your site and story brand.
- Download this repository as a ZIP file using the button above, and unzip it. If you are using
git, clone this repository.
In your local copy of this repository (the unzipped file you downloaded), navigate to the src/ directory.
Make a copy of config.js.template and name it config.js. Open the new config.js file in your text editor.
-
Select the map style you want to use (the default is Mapbox Streets, but you can find more here https://docs.mapbox.com/api/maps/#styles, or use one of your custom Studio styles).
-
Add a Mapbox access token. A good practice is to create a separate token per map to be able to track traffic to your different maps.
-
Choose whether or not to display a marker at the center of each map location. If you are displaying markers, you can set the color using the
markerColorproperty. The default color is light blue. -
Choose a theme for the story text. There are
lightanddarkoptions. -
Choose where your story should be aligned over the map. Options are
center,left,right, andfull.
{
    style: 'mapbox://styles/mapbox/streets-v11',
    accessToken: 'YOUR_ACCESS_TOKEN',
    showMarkers: true,
    markerColor: '#3FB1CE',
    theme: 'light',
    use3dTerrain: false,
    title: 'The Title Text of this Story',
    subtitle: 'A descriptive and interesting subtitle to draw in the reader',
    byline: 'By a Digital Storyteller',
    footer: 'Source: source citations, etc.',
    chapters: [
        {
- Add as many
chaptersin your template as needed. You'll need a,between each section, but no comma at the end. Here is what achapterlooks like:
{
            id: 'slug-style-id',
            alignment: 'left',
            hidden: false,
            title: 'Display Title',
            image: './path/to/image/source.png',
            description: 'Lorem ipsum dolor sit amet, consectetur adipiscing elit, sed do eiusmod tempor incididunt ut labore et dolore magna aliqua. Ut enim ad minim veniam, quis nostrud exercitation ullamco laboris nisi ut aliquip ex ea commodo consequat. Duis aute irure dolor in reprehenderit in voluptate velit esse cillum dolore eu fugiat nulla pariatur. Excepteur sint occaecat cupidatat non proident, sunt in culpa qui officia deserunt mollit anim id est laborum.',
            location: {
                center: [-122.418398, 37.759483],
                zoom: 8.5,
                pitch: 60,
                bearing: 0
            },
            mapAnimation: 'flyTo',
            rotateAnimation: false,
            callback: '',
            onChapterEnter: [],
            onChapterExit: []
        },
-
Fill out your sections as needed. Give each section a unique name in the section
idproperty. This will become the HTMLdivid, so avoid spaces in the name. Thetitle,descriptionproperties are optional. Thedescriptionsupports HTML tags. If you have an image that goes with that section of the story, add the path to the image in theimageproperty. -
For
location, you can use thehelper.htmlfile to help you determine the map's position. This tool prints the location settings of the map on the screen in a format ready for copy/paste into the template. Optionally, you can change the style in this file to your custom style. -
Repeat until you have the location entered for each of your sections.
-
Open
index.htmlin a browser, and scroll. Voila!
Using the helper.html file, you can search for places, zoom, pan, tilt, and rotate the map to get the desired map position (Hint: To tilt and rotate the map, right-click and drag the map).
Notice the location parameters are updated in the upper left corner with everytime you move the map. You can copy the location definition from that page into the config.js location property section.
There is also a hosted version of this file at https://demos.mapbox.com/location-helper/
Here is a sample configuration:
var config = {
    style: 'mapbox://styles/branigan/cjz37rcb003ib1cr3s8rnkt2d',
    accessToken: 'pk.eyJ1IjoibWJ4c29sdXRpb25zIiwiYSI6ImNrMm01aG9hdTBlZGwzbXQ1ZXVrNHNmejAifQ.QHQA0N6XPWddCXtvoODHZg',
    showMarkers: false,
    theme: 'dark',
    use3dTerrain: true,
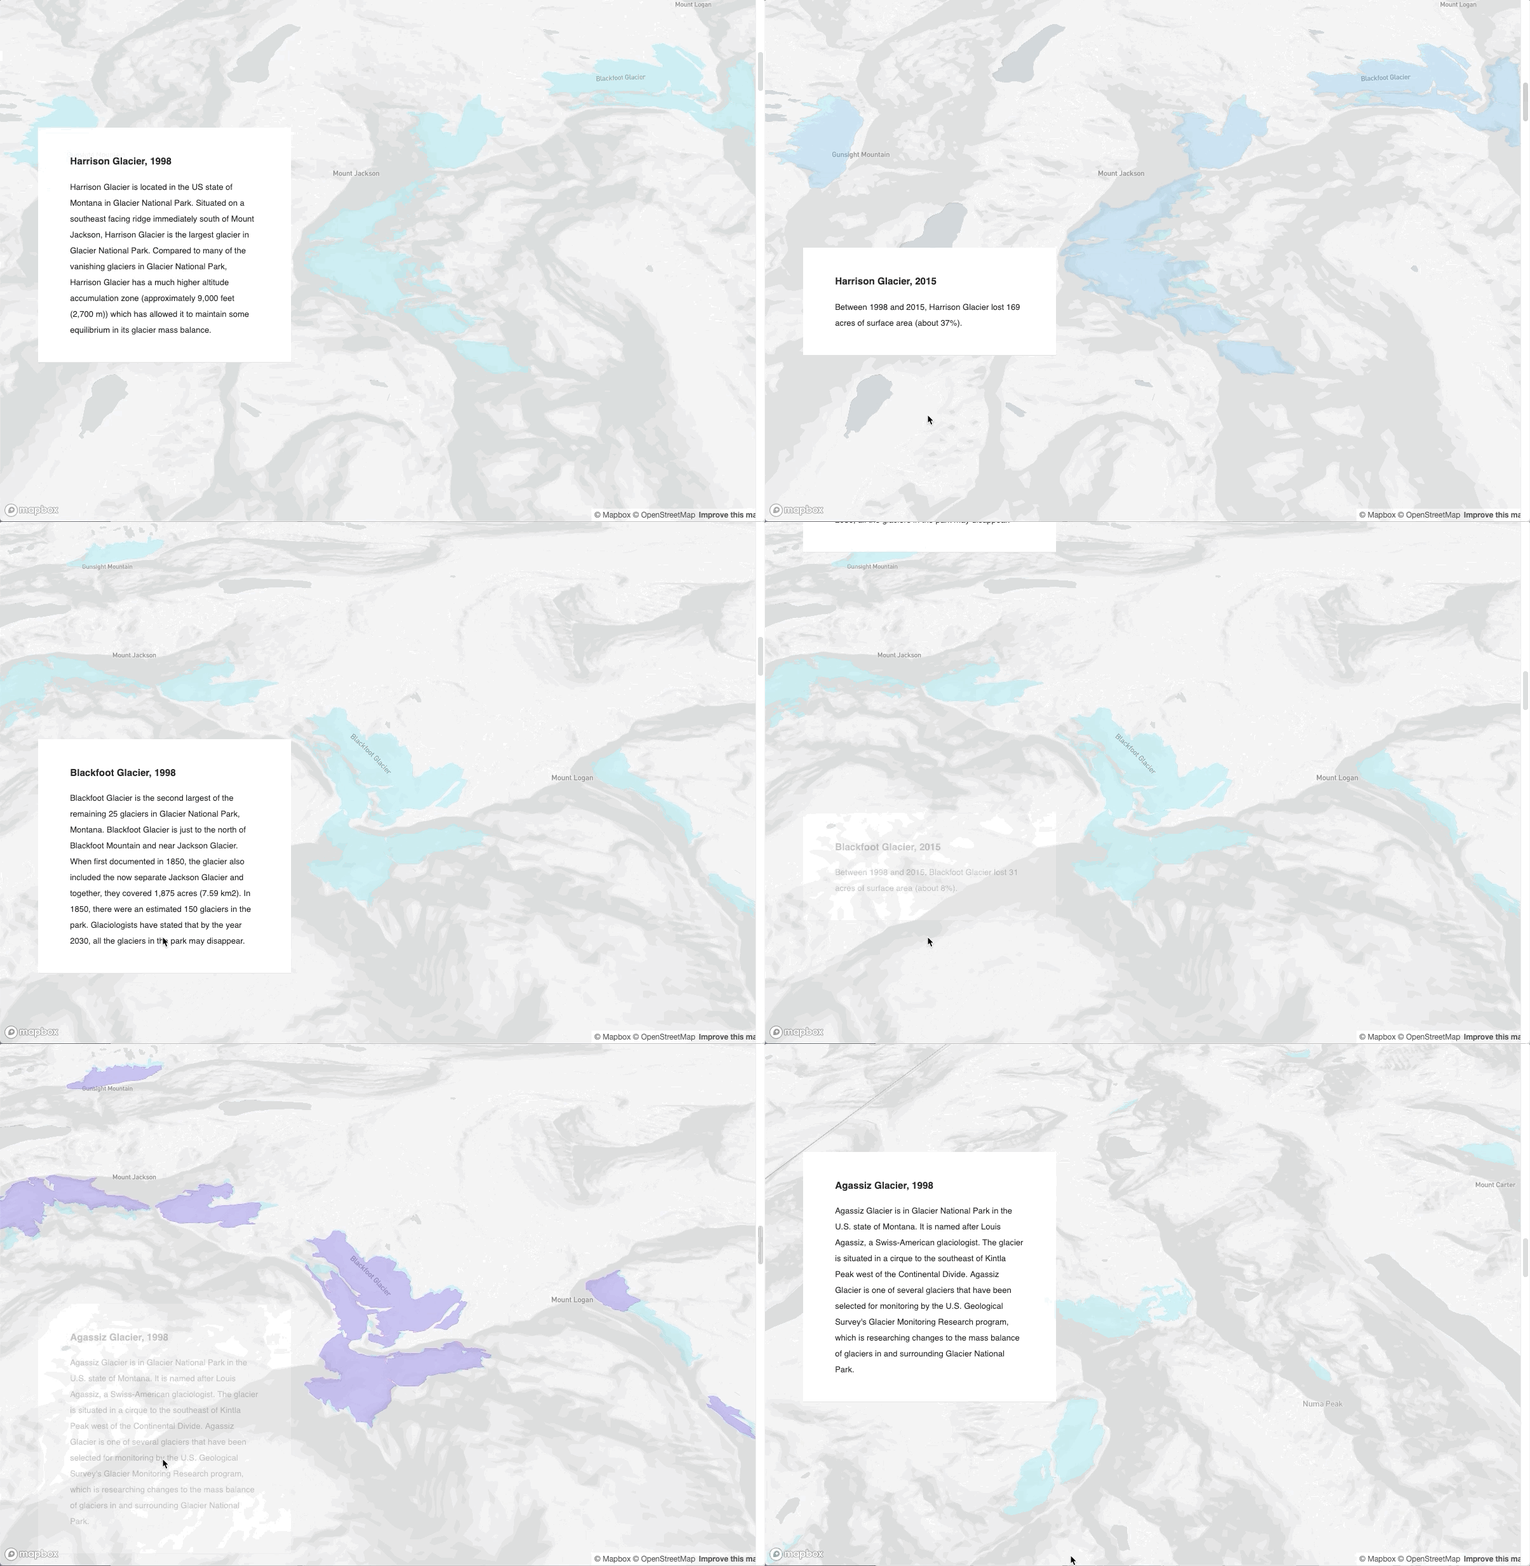
    title: 'Glaciers of Glacier National Park',
    subtitle: 'Change in coverage from 1998 to 2015',
    byline: '',
    footer: 'Source: Story text from Wikipedia, August 2019. Data from <a href="https://www.usgs.gov/centers/norock/science/retreat-glaciers-glacier-national-park">USGS</a>',
    chapters: [
        {
            id: 'glacier-np',
            alignment: 'full',
            title: 'Glacier National Park Glaciers',
            image: 'https://upload.wikimedia.org/wikipedia/commons/thumb/e/ea/2015-06-19_Glacier_National_Park_%28U.S.%29_8633.jpg/800px-2015-06-19_Glacier_National_Park_%28U.S.%29_8633.jpg',
            description: 'Glacier National Park is dominated by mountains which were carved into their present shapes by the huge glaciers of the last ice age...',
            location: {
                center: [-113.91666, 48.66451],
                zoom: 8,
                pitch: 0.00,
                bearing: 0.00
            },
            onChapterEnter: [
                {
                    layer: 'gnpglaciers-1998',
                    opacity: 0.25
                },
                {
                    layer: 'glaciernp-boundary',
                    opacity: 0.25
                }
            ],
            onChapterExit: [
                {
                    layer: 'glaciernp-boundary',
                    opacity: 0
                }
            ]
        },
        {
            id: 'harrison1998',
            alignment: 'left',
            title: 'Harrison Glacier, 1998',
            image: '',
            description: 'Harrison Glacier is located in the US state of Montana in Glacier National Park. Situated on a southeast facing ridge immediately south of Mount Jackson, Harrison Glacier is the largest glacier in Glacier National Park...',
            location: {
                center: [-113.72917, 48.58938],
                zoom: 12.92,
                pitch: 39.50,
                bearing: 36.00
            },
            onChapterEnter: [],
            onChapterExit: [
                // {
                //     layer: 'gnpglaciers-2015',
                //     opacity: 0
                // }
            ]
        }
    ]
}
Note: items in bold are required.
style: This is the Mapbox style url to use for the app. It can be a standard style, or a custom style from your Mapbox account. Use a custom style if you want to include custom data or layers.
accessToken: Your Mapbox access token.
showMarkers: This controls whether markers are shown at the centerpoint of each chapter. If true, the map will display a default blue, inverted-teardrop icon.
markerColor: Accepts hexadecimal, RGB, and color names compatible with CSS standards. If showMarkers is true, this property will override the default light blue marker color.
theme: Two basic themes (light and dark) are available.
use3dTerrain: Enables 3D terrain. (Optional)
title: The title of the overall story. (Optional)
subtitle: A subtitle for the story. (Optional)
byline: Credit the author of the story. (Optional)
footer: Citations, credits, etc. that will be displayed at the bottom of the story.
chapters: This contains all of the story content and map controls for each section of the story. Array of objects
id: A slug-style ID for the chapter. This is read by the JavaScript driving the app and is assigned as an HTMLidfor thedivelement containing the rest of the story. A best-practice format would be to use kebab case, likemy-story-chapter-1.alignment: This defines where the story text should appear over the map. Options arecenter,left,right, andfull. When the browser window is less than 750 pixels wide, the story will becenteraligned.hidden: Sets the visibility of the chapter tohiddenwhentrue. The chapter will still trigger a map and layer transition.title: The title of the section, displayed in anh3element.image: The path to an image to display in this section.description: The main story content for the section. This should be aligned with what the reader is seeing on the map. In the vanilla version, this field will render as HTML. Images, links, and other items can be included as HTML.location: Details about the map display and camera view.center: Center coordinates of the map, aslongitude, latitudezoom: Zoom level of the map.pitch: Angle of the map view.0is straight down, and60is highly tilted.bearing: Degrees of rotation clockwise from North (0). Negative values represent counter-clockwise rotation.
mapAnimation: Defines the animation type for transitioning between locations. This property supports 'flyTo', 'easeTo', and 'jumpTo' animations. If not specified, defaults toflyTo.rotateAnimation: Starts a slow rotation animation at the end of the map transition when set totrue. The map will rotate 90 degrees over 24 seconds.callback: Accepts the name of a JavaScript function and executes the function. Use this if you have custom code you want to run for a chapter, like turning a legend on or off, adding data from an API request, or displaying an interactive graph.onChapterEnter: Layers to be displayed/hidden/muted when the section becomes active. Array of objectslayer: Layer name as assigned in Mapbox Studio.opacity: The opacity to display the layer.0is fully transparent,1is fully opaque.duration: The length of the opacity transition, numeric, in milliseconds. Default is 300. This is an optional parameter and can be omitted.
onChapterExit: Same asonChapterEnterexcept it is triggered when the section becomes inactive. Array of objects
Add and style each custom layer in your Studio style. Before the final publish, set any layers's style to be hidden with 0 opacity. Do not hide the layer. For example, if you have a circle layer, makes sure the color-opacity and/or the stroke-opacity is set to 0.
This will ensure that the map appears correctly when the story page loads. To adjust the opacity of the layers as the reader scrolls through the story, use the onChapterEnter or onChapterExit configuration options to set your desired opacity for the layer.
src: Code for the templateexample: Example storiesglacier: Glaciers of Glacier National Park examplebike-philly: Philadelphia bicycle infrastructure example
Host the index.html and config.js files in the same directory in a web-accessible location. If you don't know where to start, look into GitHub Pages or Netlify.
- Mapbox GL JS
- Scrollama.js
John Branigan on the Mapbox Solutions Architecture Team
BSD 3-Clause License
- Lo Bénichou for the idea, support, and awesome feedback throughout the design and build process
- Paige Moody and Lem Thornton for early testing and feedback
- Chris Toomey for ushering this work through and keeping things on track
- Journalists with stories that help us make sense of what goes around us


